

P0030 on 2011-2014 Chrysler 200 3.6L: HO2S Heater Circuit Causes and Fixes
This code indicates a fault in the heater circuit of the upstream oxygen sensor on the rear cylinder bank (Bank 1). The most common fix is replacing the Bank 1, Sensor 1 oxygen sensor. Access to this sensor is tight. Expect to pay between $40-$70 for an aftermarket sensor and $100-$140 for an OEM Mopar part. The OEM part number is 5149171AA, which has been superseded by 5149171AB.
- P0030 specifically points to a failure in the heater circuit of the Bank 1, Sensor 1 oxygen sensor.
- On your Chrysler 200 3.6L, Bank 1 is the rear cylinder bank, near the firewall.
- The most common cause is the oxygen sensor itself failing. This is a routine maintenance item that wears out over time.
- Before replacing the sensor, always perform a quick visual inspection of the wiring for heat damage and check the related fuse.
- An oxygen sensor socket is highly recommended for DIY replacement to avoid damaging the new sensor.
What's Unique About the 2011-2014 Chrysler 200
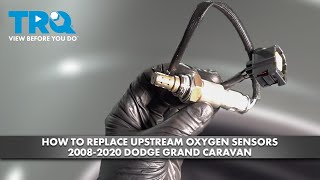
On the 3.6L Pentastar V6 mounted transversely 🎬 See this walkthrough for Pentastar V6 upstream sensor replacement. in the Chrysler 200, 'Bank 1' refers to the cylinder bank closer to the firewall (rear bank). 'Sensor 1' is the upstream sensor located in the exhaust manifold before the catalytic converter. Accessing this rear sensor is significantly more challenging than the front (Bank 2) sensor due to extremely tight space against the firewall and under the intake manifold. Many owners report needing to access it from above and below the vehicle, often requiring specialized tools like swivel-head O2 sensor sockets and long extensions. This difficult access can increase labor time for a DIY or professional repair compared to other vehicles.
Symptoms You May Notice
- Check Engine Light is on
- Decreased fuel economy
- Rough or unstable idle on cold starts
- Failure to pass an emissions test
- Engine hesitation or stalling during warm-up
- Replacing the wrong oxygen sensor (e.g., Bank 2 instead of Bank 1, or the downstream Sensor 2 instead of the upstream Sensor 1).
- Replacing the catalytic converter. This code is for the sensor's heater circuit, not the converter's efficiency.
- Assuming an aftermarket sensor will work. Some owners on forums report that Pentastar engines can be sensitive to aftermarket sensors, sometimes causing the code to return. Using an OEM Mopar or a high-quality OEM-supplier brand like NTK is often recommended.
Most Likely Causes
- Failed Oxygen Sensor Heater Element 🔴 High Probability The internal heating element is a common failure point on all heated oxygen sensors as they age and are subjected to thousands of heat cycles.
How to confirm: Disconnect the sensor and measure the resistance between the two heater circuit pins (usually the two wires of the same color). A reading of infinite resistance (open circuit) or very low resistance (short) confirms a bad heater element. A good sensor typically has a resistance between 2 and 30 ohms, with many Chrysler/Mopar sensors falling in the 2-5 ohm range.
Typical fix: Replace the Bank 1, Sensor 1 oxygen sensor.
Est. part cost: $40 - $140 - Damaged Wiring or Connector 🟡 Medium Probability The wiring harness for the rear oxygen sensor is routed in a high-heat area near the exhaust manifold and firewall. Over time, the plastic conduit and wire insulation can become brittle, melt, or chafe, leading to a short or open circuit. The connector itself can also be damaged during other engine repairs.
How to confirm: Visually inspect the wiring harness and connector leading to the sensor for any signs of melting, chafing, corrosion, or broken wires. Check for 12V power at the connector's power pin with the key on, engine off. Then, check for a good ground on the ground circuit pin.
Typical fix: Repair the damaged section of the wiring harness or replace the connector pigtail.
Est. part cost: $15 - $50 - Blown Fuse ⚪ Low Probability While not specific to this vehicle, a short circuit in the heater element of the O2 sensor can cause the corresponding fuse to blow as a protective measure.
How to confirm: Check the fuse for the O2 sensor heater circuit. On many Chrysler products, the O2 sensor heaters share a fuse with the ignition coil circuit. If the vehicle runs, the fuse is likely good. However, it's still worth checking the fuse box in the engine compartment. Consult the owner's manual or the fuse box lid for a fuse labeled 'O2 HTR', 'ENG SENS', or similar.
Typical fix: Replace the blown fuse. If the fuse blows again, it indicates a short circuit in the wiring or the sensor itself that must be diagnosed and fixed first.
Est. part cost: $1 - $5
Rare But Worth Checking
- Faulty Powertrain Control Module (PCM): This is extremely rare. The PCM's internal driver circuit that controls the O2 heater can fail. However, this should only be considered after exhaustively ruling out the sensor, wiring, and fuse. PCM replacement is expensive and requires programming.
Diagnosis Steps
- Read the code with an OBD-II scanner to confirm P0030 is present. Note any other codes.
- Identify the correct sensor: Bank 1 is the rear bank (firewall side); Sensor 1 is the upstream sensor (before the catalytic converter, in the exhaust manifold).
- Visually inspect the sensor's wiring harness and connector. Look for obvious signs of damage, such as melting on the exhaust, fraying, or corrosion in the connector pins.
- Check the fuse for the O2 sensor heater circuit in the engine bay fuse box. Replace if blown.
- Disconnect the sensor. With the ignition in the 'On' position (engine off), use a multimeter to check for 12V battery voltage on the power supply wire in the harness-side connector.
- Check the ground circuit on the harness side. A common method is to use a test light connected to the battery positive; it should illuminate when probing the ground pin.
- If power and ground are present at the harness, test the sensor itself. Use a multimeter set to Ohms to measure the resistance across the two heater pins on the sensor (usually the two matching color wires). A good sensor should read between 2 and 30 Ohms. An infinite reading (OL) means an open circuit, and near-zero means a short. Both indicate a failed sensor.
- If all other tests pass, the oxygen sensor has failed and must be replaced.
Parts You'll Likely Need
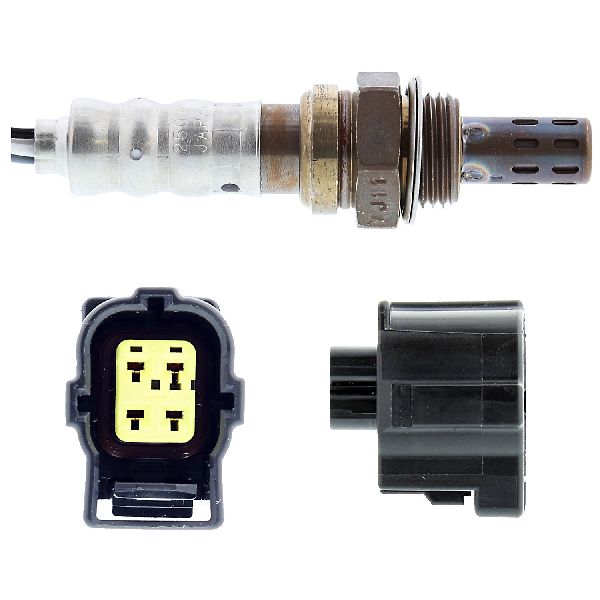
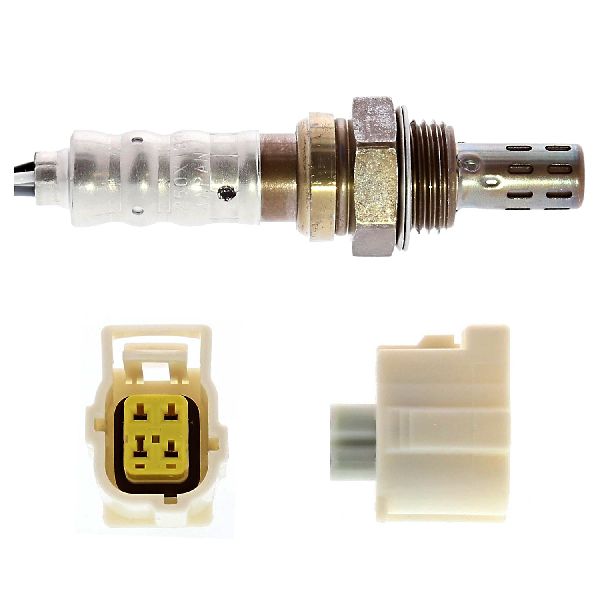
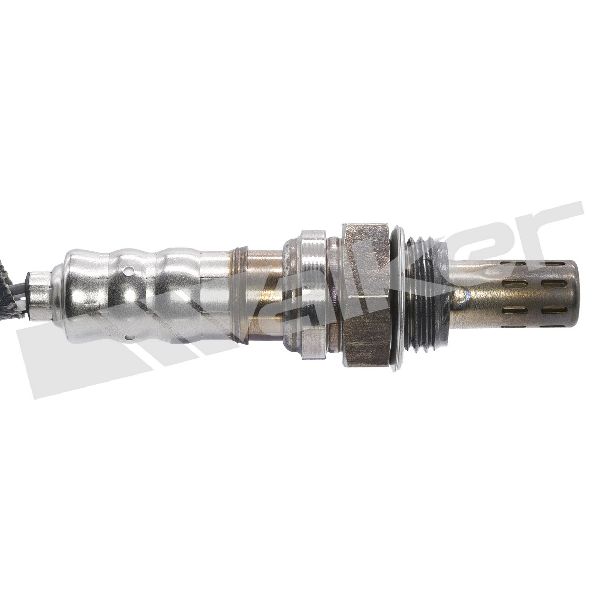
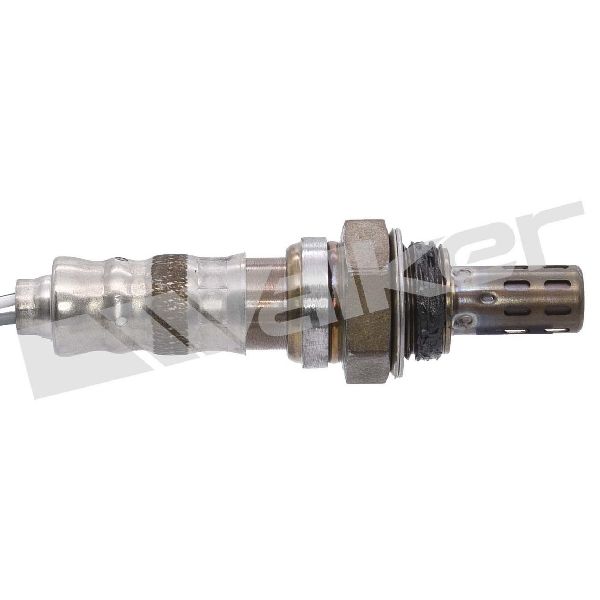
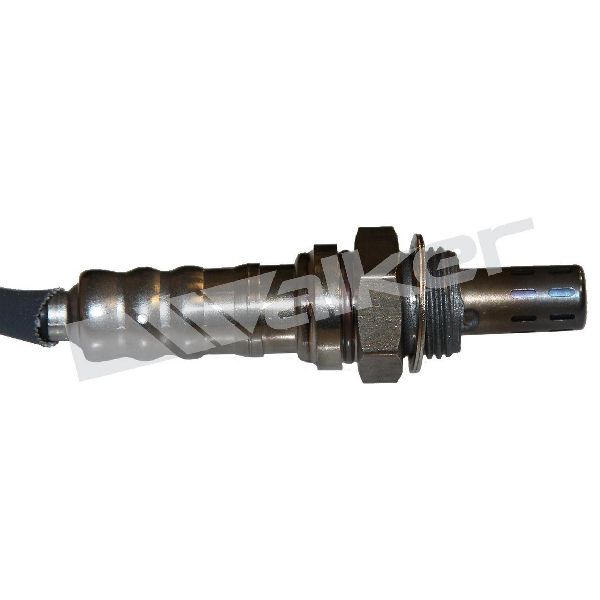
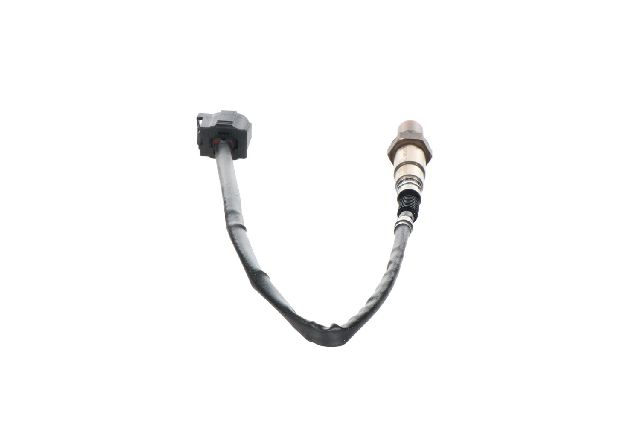
- Upstream Oxygen Sensor (Bank 1, Sensor 1)
(OEM #5149171AB)— This is the most common failure point for a P0030 code, as the internal heater element burns out over time.
Trusted brands: Mopar, NTK (OEM supplier), Denso, Bosch
OEM price range: $100-$140
Aftermarket price range: $40-$70
Platform-Specific Known Issues
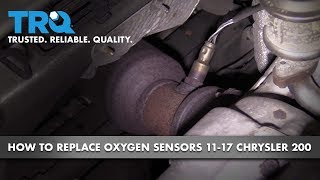
- Difficult Access to Bank 1 Sensor: The primary vehicle-specific issue is the difficult location of the Bank 1, Sensor 1 O2 sensor. It is tucked between the engine block and the firewall, underneath the intake plenum. Replacement often requires a combination of extensions, universal joints, and a specialized O2 sensor socket. Some mechanics find it easier to remove the wiper cowl for better top-down access 🎬 Watch: Step-by-step guide to replacing Chrysler 200 oxygen sensors., while others work from underneath the vehicle. Due to rust and heat cycling, the sensor can be very difficult to break loose.
Mechanic-Grade Diagnostic Values
- O2 Sensor Heater Element Resistance — expected: 2 to 30 Ohms at room temperature. Many Mopar sensors measure between 2-5 Ohms.. Failure: A reading of OL (infinite resistance) indicates an open circuit, while a reading near 0 Ohms indicates a shorted element.
- Heater Circuit Power Supply Voltage — expected: Battery voltage (approx. 12.6V) at the harness-side connector with Key On, Engine Off.. Failure: A voltage reading significantly below 12V (e.g., under 9V) points to a problem with the power supply from the TIPM, a blown fuse, or high resistance in the power wire.
- Heater Control Circuit Live Data (Scan Tool) — expected: With the engine running, a scan tool should show the PCM commanding the heater circuit with a pulsing duty cycle (e.g., 0-100%).. Failure: A duty cycle that is stuck at 0% when the engine is cold, or stuck at 100% with no corresponding rise in sensor temperature, indicates a fault in the control circuit or a bad PCM driver.
Scan Tool Commands That Help
- Witech or equivalent professional scan tool: O2 Heater Duty Cycle PID Monitoring — This is not a direct command, but a diagnostic observation. After a cold start, a technician should monitor the live data PID for 'O2S 1/1 Heater Duty Cycle'. The PCM should actively command the heater, showing a fluctuating percentage. If the command is present but the sensor fails a resistance test, the sensor is bad. If the PCM does not command the heater on (stuck at 0%), it could indicate a PCM logic issue or a fault in the control circuit wiring preventing the PCM from seeing the heater.
Wiring & Ground Locations
- Bank 1 Sensor 1 Connector — On the rear of the engine (firewall side), connected to the upstream O2 sensor in the exhaust manifold. It is a 4-pin connector.. This is the primary connection point to test both the sensor's heater element and the integrity of the vehicle's wiring harness providing power and control.
- PCM Heater Control Pin (Reference) — On a similar 3.6L Pentastar in a Jeep JK, the Bank 2 Sensor 1 heater control wire is at PCM connector C2, pin 17. While Bank 1 would be different, this indicates the heater control wires terminate directly at a specific pin on a main PCM connector, which is essential for end-to-end continuity testing.. If voltage and ground are missing at the sensor connector, testing for continuity between the connector pin and the corresponding PCM pin can determine if the wire is broken in the harness.
- Engine Ground Point (Reference) — While not specific to the 200, Chrysler vehicles of this era often have a primary chassis ground point on the strut tower for jump-starting, and multiple smaller ground straps from the harness to the engine block/heads. A wiring diagram for a Grand Cherokee 3.6L shows a relevant ground point G903A located at the right front of the engine compartment.. A poor engine ground can cause a variety of electrical issues, including creating a voltage offset that could confuse the PCM's monitoring of the O2 heater circuit, although it would likely cause multiple codes.
Real Owner Repair Stories
- Reddit user in r/cruze (2011 Chevrolet Cruze 1.4T (Note: Different vehicle, but illustrates a relevant failure pattern for P0030)) — Initially had a P0420 (catalyst efficiency) code. After replacing the upstream O2 sensor, a P0030 code appeared.
❌ Tried (didn't work) Replacing the upstream O2 sensor (a Denso part)., Checking the O2 sensor fuse and wiring harness.
✅ What actually fixed it The root cause was a failed PCV system. The final fix was replacing the intake manifold and valve cover to correct the PCV issue. This likely stopped oil from fouling the exhaust and sensors. The P0030 code did not return after this repair.
OEM Part Supersession History
5149171AA→5149171AB— Standard part revision by the manufacturer, likely for improved durability or minor design change.
Model Year Variations Within This Range
- 2011: A PCM software update may be required per TSB #18-059-16 to resolve issues related to O2 sensor heater circuit codes. This should be investigated before replacing hardware on 2011 models.
Diagnostic Flowchart
Used vs. New Parts: Buying Guide for This Vehicle
When a used part is the smart pick: A used part is a reasonable choice for the wiring harness connector pigtail if the original is melted or damaged. Sourcing a used connector from a junkyard is often faster and cheaper than ordering a new pigtail.
Donor-vehicle mileage cap: roughly under 80000 miles for the part to have meaningful remaining life.
What to inspect on the donor part:
- Inspect the connector for any signs of melting, cracking, or discoloration from heat.
- Check the pins inside the connector for corrosion (green or white powder).
- Ensure the locking tab is intact and clicks securely.
- Bend the wires near the connector; they should be flexible, not brittle or stiff.
OEM-only on this vehicle (don't cheap out):
- Powertrain Control Module (PCM) - Requires VIN-specific programming that makes used units difficult to implement.
Aftermarket brands forum-validated for this vehicle:
- NTK (often the OEM supplier)
- Denso
- Bosch
Brands owners have reported issues with on this vehicle:
- Unbranded, low-cost sensors from online marketplaces are frequently reported on forums to fail quickly or have incorrect resistance values, causing the code to return.
Real Owner Stories
Aggregated from forums and TSBs cited above. Mileages and costs reflect what owners reported in those sources.
2011-2014 Chrysler 200 3.6L Pentastar V6
Symptoms: The Check Engine Light came on, and a scan showed code P0030.
What fixed it: The issue was resolved by replacing the Bank 1, Sensor 1 oxygen sensor, which is the most common cause discussed by owners.
Source hint: 200forums.com thread titled 'P0030 and P0050 HO2S Heater Control Circuit'
Related OBD-II Codes
Frequently Asked Questions
Where exactly is the Bank 1, Sensor 1 oxygen sensor located on my 2011-2014 Chrysler 200 3.6L?
Is it difficult to replace the P0030 sensor myself on this vehicle?
What resistance reading should I get from a good oxygen sensor for my Pentastar V6?
Could a blown fuse cause the P0030 code even if my car is running fine?
Are there any recommended aftermarket O2 sensor brands for my Chrysler 200?
How common are wiring problems for this code on the 3.6L engine?
Does this P0030 issue also affect the Dodge Avenger or Grand Caravan?
Helpful Videos
We Have This Part in Stock

The information in this article is provided for general reference and educational purposes only. Vehicle specifications, procedures, and part compatibility can vary by production date, trim level, and region. Always consult your vehicle's factory service manual and verify part numbers before purchasing or performing repairs. Safety-critical components such as airbags, seat belts, and braking systems should be installed by a qualified professional.
- Chrysler 200:
- 🎬 Helpful Videos
- 🛍️ Shop This Part
- What's Unique About the 2011-2014 Chrysler 200
- Symptoms You May Notice
- Most Likely Causes
- Rare But Worth Checking
- Diagnosis Steps
- Parts You'll Likely Need
- Platform-Specific Known Issues
- Mechanic-Grade Diagnostic Values
- Scan Tool Commands That Help
- Wiring & Ground Locations
- Real Owner Repair Stories
- OEM Part Supersession History
- Model Year Variations Within This Range
- Diagnostic Flowchart
- Used vs. New Parts: Buying Guide for This Vehicle
- Real Owner Stories
- 2011-2014 Chrysler 200 3.6L Pentastar V6
- Related OBD-II Codes
- Frequently Asked Questions
- 🎟️ Get 5% Off