

P0442 on 2010-2015 Toyota Prius: EVAP Small Leak Causes and Fixes
On a 2010-2015 Prius, code P0442 is most often caused by a loose or worn-out gas cap. Before attempting more complex repairs, tighten the cap and clear the code, or replace it with an OEM cap for about $20-$30. If the code persists, the next most likely culprit is the expensive charcoal canister assembly, a known failure point on this platform.
- Always check the gas cap first for code P0442. Ensure it's tight and the seal is in good condition.
- If a new OEM gas cap doesn't fix the issue, a smoke test is the most reliable way to find the leak.
- The code does not indicate a serious mechanical problem, and the vehicle is safe to drive.
- While the gas cap is a cheap fix, be aware that a faulty charcoal canister can be an expensive repair, costing over $800 at a shop.
What's Unique About the 2010-2015 Toyota Prius
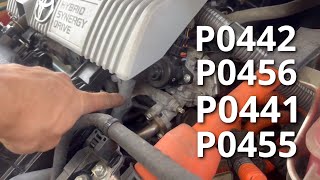
The 2010-2015 Prius (third generation) uses a specific bladder-style fuel tank designed to minimize vapor space by contracting as fuel is used. While this reduces emissions, it can complicate diagnosis. Mechanics unfamiliar with the system may struggle to perform a smoke test correctly, as the bladder can affect system pressurization. While a simple gas cap is still the top cause, the second most common failure is the entire charcoal canister assembly. 🎬 Watch: A quick guide to common Prius EVAP system fixes. The vent valve and leak detection pump are integrated into this assembly and are not sold separately, making the repair significantly more expensive than on vehicles with discrete components.
Symptoms You May Notice
- Check Engine Light is on.
- A faint smell of gasoline, particularly when parked in an enclosed space like a garage.
- A 'Check Gas Cap' message may appear on the dashboard (on some models).
- Difficulty refueling, such as the gas pump clicking off repeatedly, can occur if a vent line is blocked.
- Replacing the oxygen (O2) or air-fuel ratio sensor. These sensors are not part of the EVAP system and will not cause a P0442 code.
- Replacing the purge valve or charcoal canister before checking the gas cap. Always start with the simplest and most common fix.
Most Likely Causes
- Loose or Faulty Gas Cap 🔴 High Probability The gas cap seal can degrade over time or may not be tightened correctly after refueling, which is the most frequent trigger for this code across all Toyota vehicles. Using a non-OEM cap is also a common cause of sealing issues.
How to confirm: Ensure the gas cap is tightened until it clicks several times. Inspect the rubber O-ring on the cap for cracks, stiffness, or damage.
Typical fix: Tighten the cap and clear the code. If the code returns, replace the gas cap with a new OEM part (Toyota P/N 77300-52040). NHTSA ODI #10735783 confirms this sequence, where an owner reported a check engine light for P0442 was initially addressed by replacing a faulty gas cap.
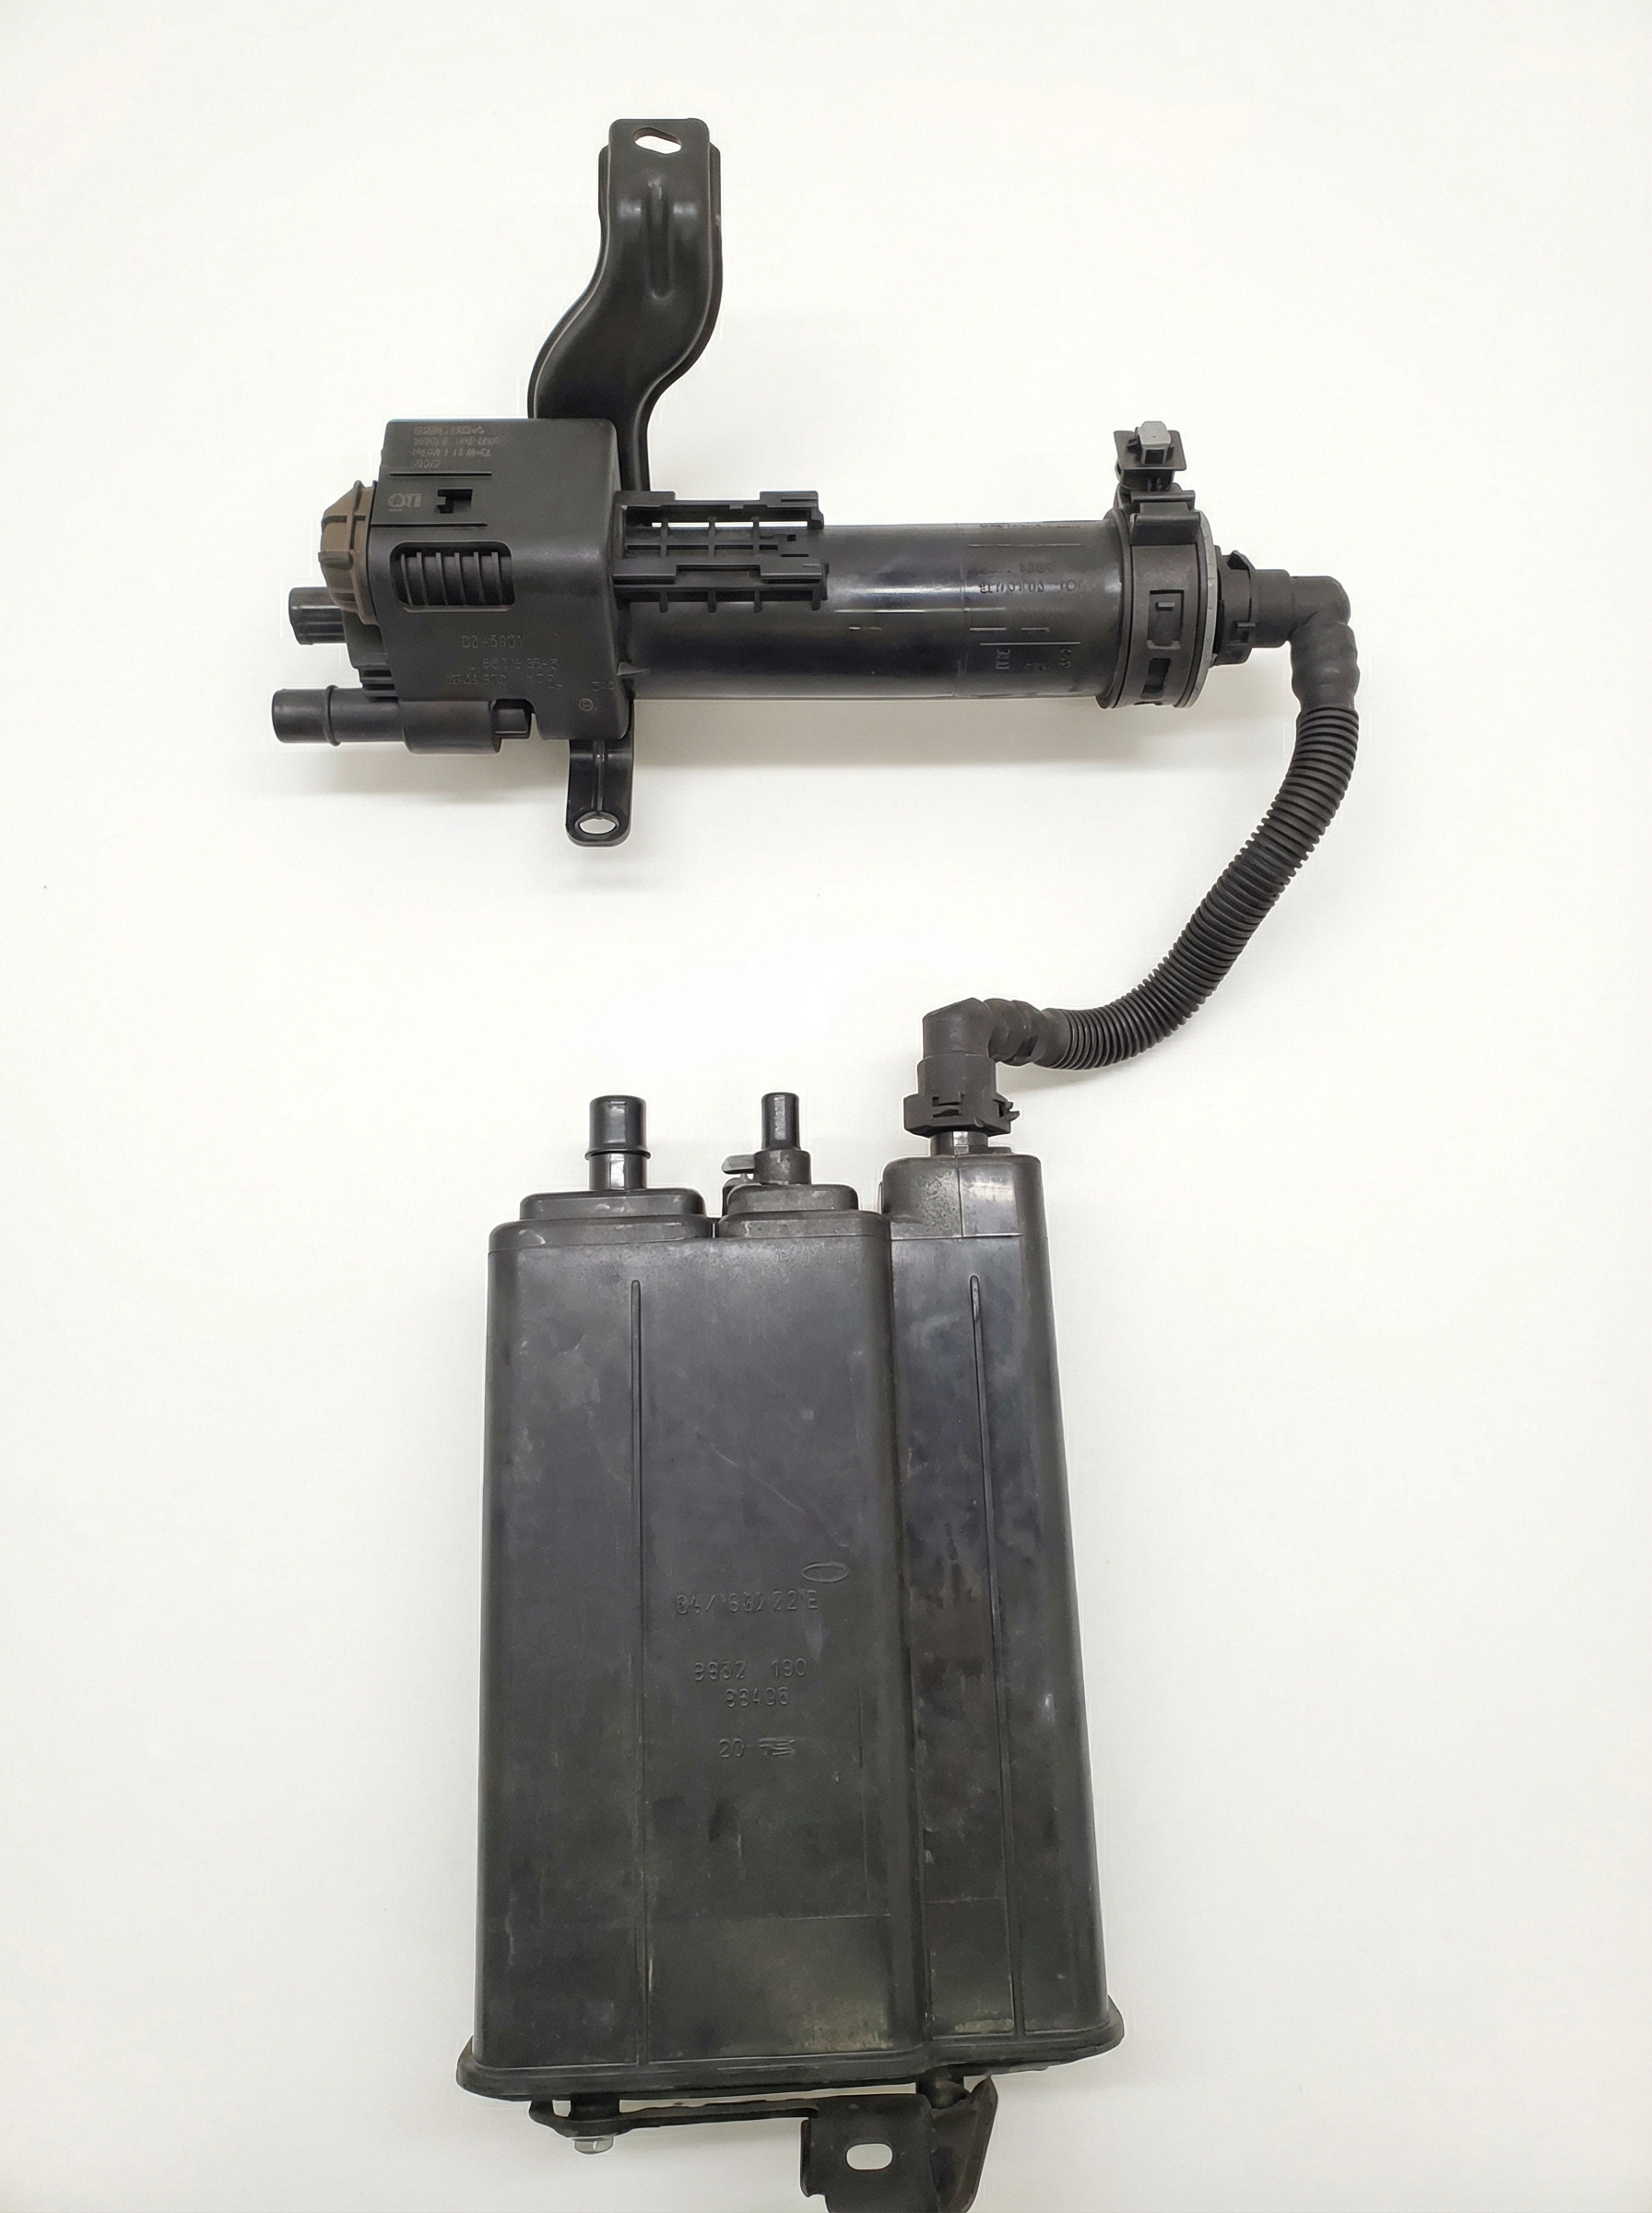
Est. part cost: $20-$40 - Faulty Charcoal Canister Assembly 🟡 Medium Probability This is the second most common cause after the gas cap. The canister assembly, which is located near the fuel tank, houses the vent valve and other components that are prone to failure. The vent valve can get stuck, or the canister body can develop cracks. Overfilling the gas tank is a known contributor to premature canister failure by saturating the charcoal with liquid fuel.
How to confirm: This is difficult to confirm without a smoke test and a bi-directional scan tool to command the integrated valves to open and close. A Reddit user on r/prius was quoted $900 for this repair, with the shop noting the vent valve was not closing and is only available as part of the canister assembly.
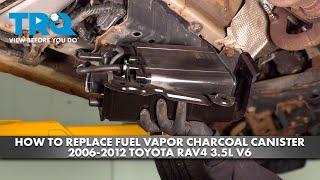
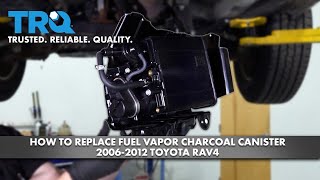
Typical fix: Replacement of the entire charcoal canister assembly. This is often located near the fuel tank and can be labor-intensive.
Est. part cost: $450-$750 - Cracked or Leaking EVAP Hoses/Lines ⚪ Low Probability Rubber hoses can become brittle and crack with age and exposure to engine heat and the elements, especially at connection points. Rodent damage is also a known cause for chewed lines on top of the fuel tank.
How to confirm: Visually inspect all accessible EVAP hoses between the engine bay, charcoal canister, and fuel tank for obvious cracks or loose connections. A smoke test is the definitive method to find small, hard-to-see leaks.
Typical fix: Replace the specific section of cracked hose. This can be a simple DIY fix if the hose is accessible.
Est. part cost: $10-$50 - Leaking Purge Valve (VSV) ⚪ Low Probability The purge valve (or Vacuum Switching Valve - VSV) located in the engine bay can get stuck open, creating a constant small leak.
How to confirm: With the engine off, remove the valve and try to blow through it; it should be closed and not allow air to pass. A scan tool can also be used to cycle the valve and check its operation.
Typical fix: Replace the purge valve.
Est. part cost: $40-$90
Rare But Worth Checking
- Cracked Fuel Filler Neck: Rust or corrosion on the metal surface where the gas cap seals can prevent a proper seal, even with a new cap. This is more common in areas that use road salt. Toyota issued TSB EG051-06 for other models for this exact issue. Furthermore, NHTSA ODI #10276828 notes that on some Toyota models, code P0442 can indicate a defective fuel filler, referencing manufacturer bulletin EG022-06.
- Spider Webs in Vent Hose: Spiders can build nests inside the EVAP vent hose (usually the fresh air inlet near the canister), causing a restriction or blockage that can lead to various EVAP codes. This is a known, albeit strange, issue across many vehicle makes.
- Leaking Fuel Tank: While very rare, a small crack or rusted pinhole in the fuel tank itself can trigger a P0442 code. This would typically be accompanied by a strong fuel smell.
Diagnosis Steps
- Check the gas cap. Remove it, inspect the seal for damage, and retighten it until it clicks at least once. Clear the code and drive for a few days to see if it returns.
- If the code returns, replace the gas cap with a genuine OEM part (P/N 77300-52040). Aftermarket caps are a frequent source of problems.
- Perform a thorough visual inspection of all visible EVAP hoses and lines in the engine bay and underneath the vehicle near the fuel tank. Look for any cracks, damage, or loose connections.
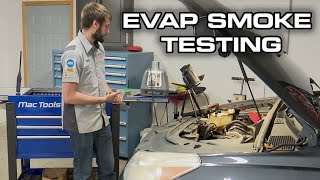
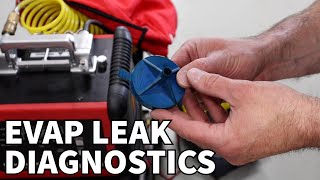
- If no obvious issues are found, the most effective next step is a professional smoke test. A machine injects non-toxic smoke into the EVAP system via a service port, and any leaks will be visible as smoke escapes. 🎬 See how to perform a professional EVAP smoke test.
- Based on the smoke test results, identify the leaking component. This could be a hose, the charcoal canister, the purge valve, or the vent valve.
- If a valve is suspected, a bi-directional scan tool (like Toyota's Techstream) can be used to command the valve to open and close to confirm if it is functioning correctly.
- Replace the confirmed faulty component. If the charcoal canister is the cause, it must be replaced as an assembly.
Parts You'll Likely Need
- Fuel Tank Cap
(OEM #77300-52040)— This is the most common cause of a P0442 code due to a worn seal or improper tightening.
Trusted brands: Toyota Genuine
OEM price range: $20-$40
Aftermarket price range: $10-$25 - Charcoal Canister Assembly
(OEM #77740-47051 (Verify by VIN, supersedes 77740-47050))— The canister can crack or its integrated valves can fail, causing a leak. This is a more expensive but common repair for this code if the gas cap isn't the issue.
Trusted brands: Toyota Genuine, Aisan
OEM price range: $700-$800
Aftermarket price range: $200-$500 - Vapor Canister Purge Valve / Solenoid (VSV)
(OEM #90910-TC001 (Verify by VIN, supersedes 90910-12276))— This valve, located in the engine bay, can fail and stick open, causing a persistent small leak.
Trusted brands: Toyota Genuine, Denso, Standard Motor Products
OEM price range: $70-$120
Aftermarket price range: $30-$60
Related Codes That Often Appear With This One
- P0455 — Indicates a large EVAP leak. If both are present, it may point to a component that has failed completely, like a valve stuck wide open or a disconnected hose.
- P0456 — Indicates a very small EVAP leak. Seeing this with P0442 suggests an intermittent or borderline leak that the computer is having trouble classifying.
- P0441 — Indicates incorrect purge flow. This often points specifically to a problem with the purge valve or a blockage in the purge line, which can also cause a leak code.
Technical Service Bulletins (TSBs) & Recalls
- T-SB-0028-11: While for code P2420 on 2010 models, this TSB is relevant as it points to a known issue with the charcoal canister assembly (P/N 77740-47060) and recommends replacement with an updated part, corroborating that the canister is a weak point on this platform.
- T-SB-0112-11: Mentions EVAP codes in the context of a fuel filler pipe modification, relevant to the rare cause of a leaking filler neck.
Platform-Specific Known Issues
- PriusChat forum members frequently report chasing P0442 for weeks, replacing the gas cap first, only to find the charcoal canister assembly is the ultimate culprit. The high cost of the canister ($700+) leads many to seek extensive diagnosis before committing to the repair.
- The bladder-style fuel tank can make DIY smoke testing difficult. Professionals using Toyota's Techstream software can run a specific EVAP system test that accounts for the tank's design.
- NHTSA ODI #10354544 highlights that failures represented by codes P0440, P0441, and P0442 have been widely reported across various Toyota models from the late 1990s through the mid-2000s, suggesting a long-standing pattern with these emission control systems.
Mechanic-Grade Diagnostic Values
- Purge Valve (VSV for EVAP Control) Resistance — expected: 23 to 26 Ω at 20°C (68°F). Failure: Resistance outside of this range indicates a faulty valve coil.
- Techstream EVAP System Check - Vacuum Level — expected: System should pull down to between -15 and -20 mmHg during the test.. Failure: If the system cannot achieve this vacuum, or if the vacuum decays too quickly after the valves are sealed, it indicates a leak.
Hidden / Shadow Codes Worth Checking
- Mode $06, Test ID (TID) $81-$84: Toyota uses Mode $06 data to store the results of its non-continuous monitor tests, including the EVAP leak checks. Specific Test IDs correspond to different phases of the leak test (e.g., small leak, gross leak, purge flow). A failing value on a specific TID can help a technician understand which part of the multi-stage test is failing, even before a DTC is set. (see via Advanced OBD-II scan tool with Mode $06 capability.)
Scan Tool Commands That Help
- Toyota Techstream: Utility -> Evaporative System Check — This is the dealer-level automated test to diagnose the entire EVAP system. It sequentially opens and closes the various valves (Purge VSV, Canister Close Valve) and monitors the system pressure sensor to isolate leaks to the tank side or the canister side. It provides a definitive pass/fail result and saves an event file for detailed analysis.
- Toyota Techstream: Active Test -> Activate the VSV for Evap Control — This command allows a technician to manually open and close the purge valve in the engine bay. It's used to confirm if the valve is physically working and to check for leaks through the valve when it's commanded closed.
- Toyota Techstream: Active Test -> Activate the VSV for CCV — This command manually operates the Canister Close Valve (Vent Valve) located on the charcoal canister assembly. It is essential for sealing the system during a smoke test to build pressure and find the source of a leak.
Wiring & Ground Locations
- Ground Point 'EA' and 'EB' — Located in the engine compartment, typically on the left side fender apron or near the cylinder head.. The Purge VSV (in the engine bay) relies on a clean ground connection at one of these points. A corroded or loose ground here can cause intermittent or incorrect valve operation, potentially mimicking a leak or flow problem.
- Ground Point 'IC' — Located under the rear of the vehicle, near the fuel tank and charcoal canister assembly.. The charcoal canister assembly, which includes the integrated vent valve and leak detection pump, uses this ground point. Corrosion in this area due to road salt and moisture is common and can cause failure of the canister's electronic components, leading to various EVAP codes including P0442.
Real Owner Repair Stories
- CarHub on YouTube (Gen 3 Prius (2010-2015)) — Persistent Check Engine Light for an EVAP leak.
❌ Tried (didn't work) Replacing the gas cap
✅ What actually fixed it After a smoke test showed a leak from above the gas tank, the tank was dropped. A mouse had chewed through a vent hose on top of the tank. Replacing the damaged hose section resolved the code. - Atomic Auto Repair Blog (2014 Toyota Prius) — Check Engine Light with codes P0441 and P0455 (Incorrect Purge Flow and Gross Leak).
❌ Tried (didn't work) Replacing the gas cap, Replacing the purge solenoid valve
✅ What actually fixed it A smoke test revealed cracked and leaking hoses. After replacing the hoses, a re-test showed a *second* leak from the leak detection pump, which was part of the charcoal canister. The final fix was replacing both the damaged hoses AND the entire charcoal canister assembly.
"I Checked Everything" — The Actual Cause
- In a case documented by Atomic Auto, the initial smoke test was inconclusive because there were multiple failure points. After replacing obviously cracked hoses, a second smoke test revealed the charcoal canister itself was also leaking. This highlights that a single smoke test might not reveal all issues if multiple leaks are present.
When the Usual Fixes Don't Work
- While the gas cap and charcoal canister are the most common culprits, a significant number of forum and video reports show the final fix being something else after those parts were replaced. A recurring theme is rodent damage to EVAP lines on top of the fuel tank, which is impossible to see without a smoke test and sometimes requires dropping the tank to repair. This emphasizes that skipping a proper smoke test and guessing on the canister can be a costly mistake.
OEM Part Supersession History
77740-47050→77740-47051— Part revision for improved reliability or manufacturing change. The original part is associated with Gen 2 and early Gen 3 models.
Heads up: While 77740-47050 was used on early models, the correct part for the 2010-2015 range is generally 77740-47051. Always verify by VIN, as TSBs indicate changes were made to address canister issues.90910-12276→90910-TC001— Standard part update and consolidation by Toyota.
Model Year Variations Within This Range
- 2010: The 2010 model year was the first for the Gen 3 platform and is cited in TSB T-SB-0028-11 for potential charcoal canister issues (though for a different code, P2420). This suggests early production canisters may have had a higher failure rate, making replacement more likely on 2010 models compared to later years in the range.
Diagnostic Flowchart
Other Known Issues on This Vehicle
Issues unrelated to this code that are worth knowing about as an owner of this generation:
- Excessive Oil Consumption 🟠 Medium — More common on earlier 2010-2012 models with the 2ZR-FXE engine, often appearing after 60,000-100,000 miles. Caused by piston ring design issues. (Ref: While no specific recall exists, Toyota addressed this in later engine revisions. Owners often mitigate by using a heavier weight oil (e.g., 5W-30 instead of 0W-20) or checking oil levels frequently.)
- Brake Actuator / Booster Failure 🔴 High — A very common failure on this generation, often presenting with a buzzing noise, multiple brake-related warning lights (ABS, VSC, etc.), and fault codes like C1391. Can occur at various mileages. (Ref: Toyota issued a Warranty Enhancement Program (ZJB) for the Brake Booster and a separate one (ZE3) for the Brake Booster Pump Assembly, extending coverage for this specific failure.)
- Inverter Assembly Failure 🔴 High — The Intelligent Power Module (IPM) within the inverter can fail due to heat stress, causing the hybrid system to shut down. This was more prevalent in 2010-2014 models. (Ref: Toyota issued a recall (Safety Recall F0R) and later a Customer Support Program (ZKK) to address the issue, involving either a software update or a complete replacement of the IPM/inverter.)
Used vs. New Parts: Buying Guide for This Vehicle
When a used part is the smart pick: For this repair, used parts are generally not recommended for the electronic or sealing components. However, sourcing simple plastic brackets, mounting hardware, or undamaged sections of hard vapor lines from a low-mileage, non-rusted donor car at a junkyard can be a cost-effective option.
Donor-vehicle mileage cap: roughly under 80000 miles for the part to have meaningful remaining life.
What to inspect on the donor part:
- Check for a build date on the part; newer is better.
- For hoses, ensure the rubber is still pliable and shows no signs of cracking or swelling.
- Inspect plastic components for hairline cracks, especially around mounting points.
- Avoid parts from vehicles that show any signs of rust or corrosion, particularly on the undercarriage.
OEM-only on this vehicle (don't cheap out):
- Fuel Tank Cap: Aftermarket caps are notoriously unreliable and a common cause of P0442. Always use a genuine Toyota cap (P/N 77300-52040).
- Charcoal Canister Assembly: This is a complex, expensive part with integrated electronics. Given its high failure rate and the cost of labor to replace it, a new OEM (Toyota/Aisan) or a top-tier aftermarket part is the only wise choice to avoid repeat failure.
Aftermarket brands forum-validated for this vehicle:
- Denso (for Purge Valve): Denso is the original equipment manufacturer for many Toyota parts, and their aftermarket offerings are generally considered high quality and a safe alternative to the dealer part.
- Standard Motor Products (for Purge Valve): Often cited as a reliable aftermarket alternative with good quality control.
Brands owners have reported issues with on this vehicle:
- Unbranded/White-Box (eBay/Amazon): Avoid generic, unbranded charcoal canisters and purge valves. Forum discussions are filled with stories of these parts failing quickly or not working correctly out of the box, leading to wasted time and money.
Real Owner Stories
Aggregated from forums and TSBs cited above. Mileages and costs reflect what owners reported in those sources.
2014 Toyota Prius
Symptoms: The shop noted the vent valve was not closing, leading to an EVAP system fault.
What fixed it: Replacement of the entire charcoal canister assembly because the vent valve is not available separately.
Cost: $900-$900
Source hint: Reddit r/prius: EVAP valve - quoted $900?
2010-2015 Toyota Prius
Symptoms: Check engine light with codes P0441 and P0442; owner struggled to identify the specific failure point among many potential diagnostic areas.
What fixed it: The source describes a detailed diagnostic process from the service manual to narrow down the failure points.
Source hint: PriusChat: Can't figure out the problem
Documented NHTSA Reports
Toyota Fleet-Wide EVAP Issues
Symptoms: An owner reported that the check engine light for code P0442 appeared, and the initial diagnostic step involved replacing the gas cap.
What fixed it: In this instance, replacing the cap was the first line of defense, though the report also mentions the charcoal canister as a related component in the system.
Source hint: NHTSA ODI #10735783
Toyota Fuel System Emissions
Symptoms: Reports indicate that failures represented by codes P0440, P0441, and P0442 have been prevalent across various Toyota models built from the late 1990s through the mid-2000s.
What fixed it: These codes represent failures in the systems which limit hydrocarbon emissions from the atmosphere.
Source hint: NHTSA ODI #10354544
Related OBD-II Codes
Frequently Asked Questions
I have a 2010 Prius with an EVAP code; is there a TSB for the charcoal canister?
Can I just replace the vent valve on my 2014 Prius to fix P0442?
What is the correct Toyota part number for a replacement gas cap for my 2010-2015 Prius?
Why is it so expensive to fix a small EVAP leak on this generation of Prius?
Does the 2011-2017 Lexus CT200h suffer from the same P0442 issues as the Prius?
Could overfilling my gas tank cause the P0442 code?
Helpful Videos
Used OEM Parts in Stock
New Aftermarket Parts Available


The information in this article is provided for general reference and educational purposes only. Vehicle specifications, procedures, and part compatibility can vary by production date, trim level, and region. Always consult your vehicle's factory service manual and verify part numbers before purchasing or performing repairs. Safety-critical components such as airbags, seat belts, and braking systems should be installed by a qualified professional.
- Toyota Prius:
- 🎬 Helpful Videos
- 🛍️ Shop This Part
- What's Unique About the 2010-2015 Toyota Prius
- Symptoms You May Notice
- Most Likely Causes
- Rare But Worth Checking
- Diagnosis Steps
- Parts You'll Likely Need
- Related Codes That Often Appear With This One
- Technical Service Bulletins (TSBs) & Recalls
- Platform-Specific Known Issues
- Mechanic-Grade Diagnostic Values
- Hidden / Shadow Codes Worth Checking
- Scan Tool Commands That Help
- Wiring & Ground Locations
- Real Owner Repair Stories
- "I Checked Everything" — The Actual Cause
- When the Usual Fixes Don't Work
- OEM Part Supersession History
- Model Year Variations Within This Range
- Diagnostic Flowchart
- Other Known Issues on This Vehicle
- Used vs. New Parts: Buying Guide for This Vehicle
- Real Owner Stories
- 2014 Toyota Prius
- 2010-2015 Toyota Prius
- Documented NHTSA Reports
- Toyota Fleet-Wide EVAP Issues
- Toyota Fuel System Emissions
- Related OBD-II Codes
- Frequently Asked Questions
- 🎟️ Get 5% Off