

P1451 on 1997-2004 Ford F-150: EVAP Vent Solenoid Circuit Fault Causes and Fixes
P1451 on a 1997-2004 Ford F-150 almost always indicates an electrical problem with the EVAP canister vent solenoid or its wiring. The most common fix is repairing a broken or corroded wire (often a red wire) near the spare tire or under the air filter housing. If wiring is good, the next likely culprit is the vent solenoid itself, which should measure 48-65 ohms. The OEM Motorcraft part is F75Z-9F945-CA.
- P1451 is an electrical circuit code, not a leak code. Do not replace the gas cap.
- Before buying any parts, inspect the wiring harness for the vent solenoid near the spare tire AND under the air filter housing; a simple wiring repair is the most frequent fix.
- Confirm the vent solenoid is bad by testing its resistance; it should be between 48-65 ohms. The OEM part number is F75Z-9F945-CA.
- Do not confuse the vent solenoid (by the tank) with the purge valve (in the engine bay).
What's Unique About the 1997-2004 Ford F-150

On the 10th generation F-150, the EVAP canister and vent solenoid are mounted under the truck near the spare tire. The wiring harness that runs to the solenoid is routed along the frame rail, making it highly susceptible to damage from road debris, moisture, and chafing. Owners frequently discover that the power or ground wire has broken or corroded right at the connector or where it lays against a metal bracket. One specific, documented failure point is in the engine compartment, right below the air filter housing, where the harness can rub through on a bracket, specifically cutting the red power wire for the vent solenoid.
Generation note: This guide covers the 10th generation Ford F-150, which includes model years 1997, 1998, 1999, 2000, 2001, 2002, and 2003. It also applies to the 2004 F-150 'Heritage' model, which was a continuation of the 10th generation sold alongside the redesigned 11th generation. The location and function of the EVAP components are consistent across these models. The issue is also common on platform mates like the Ford Expedition and Lincoln Navigator from the same era.
Symptoms You May Notice
- Check Engine Light is on.
- Failing a state emissions inspection.
- In rare cases, a faint fuel odor may be noticeable.
- Replacing the EVAP Purge Valve/Solenoid in the engine bay. P1451 specifically refers to the vent solenoid circuit, which is located near the fuel tank, not the purge valve on the firewall.
- Replacing the gas cap. A bad gas cap typically causes a leak-related code (like P0442 or P0455), not a circuit code like P1451.
Most Likely Causes

- Broken, Chafed, or Corroded Wiring 🔴 High Probability The wiring harness to the vent solenoid runs along the frame and is exposed to the elements, often rubbing against brackets which wears through the insulation. A common chafe point is under the hood below the air filter housing where the harness rests on a bracket. Another is near the solenoid connector itself.
How to confirm: Visually inspect the entire length of the wiring harness leading to the canister vent solenoid. Check for battery voltage on the power wire (often a Red or Red/Yellow wire) at the solenoid connector with the key on. A reading of 0 or low volts points to a break in the power wire. If you have no power at the rear connector, check for a break in the red wire under the air filter housing.
Typical fix: Repair the broken section of wire using a weatherproof butt connector with heat shrink tubing. Replace the connector pigtail if it is corroded or the wire is broken at the connector body.
Est. part cost: $5-$25 - Failed EVAP Canister Vent Solenoid 🟡 Medium Probability The solenoid is an electronic component exposed to harsh conditions under the vehicle, and the internal coil can fail over time due to corrosion or vibration.
How to confirm: Disconnect the solenoid and measure its resistance with a multimeter. A good solenoid for this Ford application should read between 48 and 65 ohms. A reading of infinity (open) or near-zero (short) indicates a bad solenoid. You can also apply 12V directly to the solenoid pins; a healthy solenoid will make an audible 'click'.
Typical fix: Replace the canister vent solenoid. It is typically mounted directly on the charcoal canister and can be removed by depressing a tab and sliding it off.
Est. part cost: $25-$70 - Blown Fuse ⚪ Low Probability
How to confirm: If you confirm no voltage at the vent solenoid connector, consult a wiring diagram. For many F-150s, the Canister Vent solenoid shares power with other components on the same fuse. For example, on some models, it is protected by a 20A fuse in the power distribution box that also covers the heated oxygen sensors and vapor management valve. Check fuse #3 in the under-hood power distribution box.
Typical fix: Replace the blown fuse and investigate the cause of the overcurrent condition, which is likely a shorted wire in the harness.
Est. part cost: $1-$5
Rare But Worth Checking
- Failed Powertrain Control Module (PCM): This is extremely rare. Every other possibility, especially wiring and the solenoid itself, should be exhaustively tested before considering the PCM as the cause.
Diagnosis Steps

- Retrieve the P1451 code using an OBD-II scanner.
- Locate the EVAP charcoal canister and the attached vent solenoid. It is mounted to the frame rail, usually above or near the spare tire.
- Thoroughly inspect the wiring harness and connector going to the vent solenoid. Look for any signs of chafing, breaks, or green/white corrosion, paying close attention to where the harness touches the frame or the connector body itself.
- Disconnect the solenoid. With the ignition key in the 'On' position (engine off), use a multimeter to check for battery voltage (approx. 12V) at the power supply wire in the connector (often Red or Red/Yellow).
- If voltage is present, the power supply is likely good. If no voltage is present, trace the wire back to find the break. A common break point is under the air filter housing where the harness rubs on a bracket. Also check the relevant fuse (e.g., Fuse #3, 20A in the power distribution box).
- With the solenoid still disconnected, measure the resistance across its two pins. The reading should be between 48 and 65 ohms. If it is not, the solenoid has failed and needs to be replaced.
- If voltage is present at the connector and the solenoid's resistance is within spec, the issue may be in the control wire (often Violet/White) running back to the PCM or the PCM's driver circuit, which is a less common failure.
Parts You'll Likely Need
- EVAP Canister Vent Solenoid
(OEM #F75Z-9F945-CA)— The solenoid's internal coil can fail electrically from corrosion or age, causing an open or short in the circuit that the PCM detects as a P1451 fault.
Trusted brands: Motorcraft, Dorman, Standard Motor Products
OEM price range: $40-$70
Aftermarket price range: $25-$60 - EVAP Vent Solenoid Connector Pigtail
(OEM #WPT-1254 (Varies by year, always verify))— Often the connector itself corrodes or the wires break right at the back of the connector, requiring a new pigtail to be spliced in.
Trusted brands: Motorcraft, Dorman
OEM price range: $20-$45
Aftermarket price range: $10-$25
Platform-Specific Known Issues
- Wire Break Under Air Filter Housing: A user on f150forum.com with a '99 4.2L V6 traced a no-voltage condition at the solenoid all the way to the engine bay. They found the red power wire was severed where the main harness passes over a bracket directly below the air filter housing. Repairing this wire solved the P1451 code.
- Corroded Connector Pins: A YouTube video by 'SpanishGuyGarage' on a 1997 F-150 5.4L showed the P1451 was caused by a completely corroded and broken pin inside the electrical connector for the vent solenoid. The solenoid itself was fine, but the connector was no longer making electrical contact, necessitating a new pigtail.
- Previous Improper Repair: One owner on f150forum.com found their P1451 issue persisted because of a previous, incorrect repair. The wires had been twisted together and not properly weatherproofed, leading to a failed connection over time. A proper repair with heat-shrink butt splices was required.
Mechanic-Grade Diagnostic Values
- EVAP Canister Vent (CV) Solenoid Resistance — expected: 48 to 65 Ohms. Failure: A reading of infinity (open circuit) or near zero (short circuit) indicates a failed solenoid.
- Voltage at CV Solenoid Connector (Power Wire) — expected: Approximately 12V (Battery Voltage) with Key On, Engine Off. Failure: A reading of 0V or significantly low voltage (e.g., 2.6V) points to an open circuit or high resistance in the power feed wire.
- Scan Tool PID: EVAPCV (Duty Cycle) — expected: 0% when valve is commanded open; 100% when commanded closed.. Failure: The PCM flags P1451 if the measured voltage doesn't match the expected voltage for the commanded duty cycle.
- Scan Tool PID: EVAPCV (Voltage) — expected: Approximates battery voltage when open (0% duty cycle). Shows a minimum voltage drop of 4 volts when commanded fully closed (100% duty cycle).. Failure: If the voltage does not drop as expected when the solenoid is commanded closed, it indicates a fault in the control circuit or solenoid.
Scan Tool Commands That Help
- Ford IDS / High-End Bidirectional Scanner (Autel, Snap-on): EVAP Canister Vent Solenoid On/Off Test (Output Test Mode) — Use this command to manually cycle the vent solenoid. You should hear an audible click from the solenoid. While commanding it on and off, you can check for the corresponding voltage drop on the control wire (Violet/White) to confirm the PCM driver and wiring integrity are good.
- Ford IDS / High-End Bidirectional Scanner (Autel, Snap-on): EVAP Canister Vent Solenoid Duty Cycle Control — This allows for manually varying the duty cycle from 0% to 100%. While monitoring the EVAPCV voltage PID, you can verify that the voltage responds correctly across the entire range, which helps identify intermittent connection issues that might not be apparent in a simple on/off test.
Wiring & Ground Locations

- CV Solenoid Power Wire — Red/Yellow wire at the 2-pin connector for the EVAP Canister Vent Solenoid, located near the spare tire.. This wire provides battery voltage to the solenoid. A break anywhere along this wire, especially under the air filter housing or near the frame, will cause a P1451 code due to loss of power.
- CV Solenoid Control Wire — Violet/White wire at the 2-pin connector for the EVAP Canister Vent Solenoid. It runs from the solenoid back to a specific pin on the PCM.. The PCM uses this wire to provide a ground, which activates the solenoid. A break or short in this wire will prevent the PCM from controlling the solenoid and will set a P1451 code.
- Main Engine-to-Firewall Ground Strap — Typically located on the passenger side, connecting the back of the engine block to the firewall.. While not directly for the EVAP circuit, a poor main ground can cause floating voltages and unpredictable electrical issues across multiple systems. Ensuring this ground is clean and tight is a good preliminary step for any electrical diagnosis.
- Driver/Passenger Kick Panel Grounds — Located behind the plastic kick panels in the driver and passenger footwells. Multiple grounds for various interior and body circuits terminate here.. These grounds are notorious for corroding due to water entry, especially from a leaking windshield. A bad ground here can cause bizarre electrical problems, and while less likely to be the direct cause of P1451, they are a known weak point on this platform.
Real Owner Repair Stories
- Ford F150 Forum user 'papa tiger' (Year not specified, but within the 1997-2003 generation.) — P1451 code randomly coming on.
❌ Tried (didn't work) Initial visual inspection of wires showed no obvious damage.
✅ What actually fixed it The user found a severed 12V power line about 6 inches away from the vent valve connector. Splicing the wire and repairing the connection resolved the code. - YouTube video by 'Victor Martinez' (1999 Ford F-250 V10 (similar EVAP system and diagnosis)) — P1451 code, Check Engine Light on.
❌ Tried (didn't work) Solenoid tested good with a resistance of 60 ohms, within the 48-65 ohm spec., Power wire (Red/Yellow) confirmed to have 12V at the connector.
✅ What actually fixed it Using a test light on the control wire (Violet/White) while commanding the solenoid with a scan tool showed no ground pulse from the PCM. A visual inspection then revealed the Violet/White wire was broken inside the harness near the connector. Repairing the broken control wire fixed the issue.
OEM Part Supersession History
F75Z-9F945-BA→F75Z-9F945-CA— Standard part revision/update by Ford.
Heads up: The parts are interchangeable. F75Z-9F945-CA is the correct current replacement for the original part.
Diagnostic Flowchart
Used vs. New Parts: Buying Guide for This Vehicle
When a used part is the smart pick: A used EVAP canister vent solenoid from a junkyard is a reasonable choice for this repair, as it is a simple, external, and easily tested component. Given that the most common failure is wiring, you might also source a connector pigtail from a donor vehicle.
Donor-vehicle mileage cap: roughly under 150000 miles for the part to have meaningful remaining life.
What to inspect on the donor part:
- Inspect the plastic housing for cracks or brittleness.
- Check the electrical pins inside the connector port for any signs of green or white corrosion.
- If sourcing a pigtail, ensure there is at least 6 inches of flexible, uncracked wire attached.
- If possible, test the resistance of the used solenoid with a multimeter before purchase; it should be between 48-65 ohms.
Aftermarket brands forum-validated for this vehicle:
- Dorman
- Standard Motor Products (SMP)
Real Owner Stories
Aggregated from forums and TSBs cited above. Mileages and costs reflect what owners reported in those sources.
1997 Ford F-150 5.4L
Symptoms: Check engine light was on with code P1451; the light would not go off.
What fixed it: The electrical connector for the vent solenoid had a completely corroded and broken pin inside. Replacing the connector pigtail and the vent valve solved the problem.
Source hint: YouTube video by 'SpanishGuyGarage' on a 1997 F-150 5.4L
1999 Ford F-150 4.2L V6
Symptoms: P1451 code present with no voltage measured at the vent solenoid connector.
What fixed it: The red power wire was found to be completely severed where the wiring harness passes over a metal bracket under the air filter housing. Repairing this specific wire fixed the code.
Source hint: f150forum.com: 'Code P1451'
Ford F-150 (year not specified)
Symptoms: The P1451 code kept returning even after a supposed repair.
What fixed it: A previous, improper repair was found where the wires had been twisted together without being weatherproofed, causing the connection to fail. A proper repair using heat-shrink butt splices was required to permanently fix the issue.
Source hint: f150forum.com: 'PLEASE HELP DTC p1451'
Related OBD-II Codes
Frequently Asked Questions
Where is the EVAP canister vent solenoid located on my 1997-2004 F-150?
I'm testing the vent solenoid on my F-150. What should the resistance be?
I have no 12V power at the vent solenoid connector. Where is the most common place for the wire to break on these trucks?
Which fuse should I check first for a P1451 code?
Does this P1451 wiring issue also affect the Ford Expedition or Lincoln Navigator?
What is the correct way to repair a broken wire in the vent solenoid harness?
Used OEM Parts in Stock
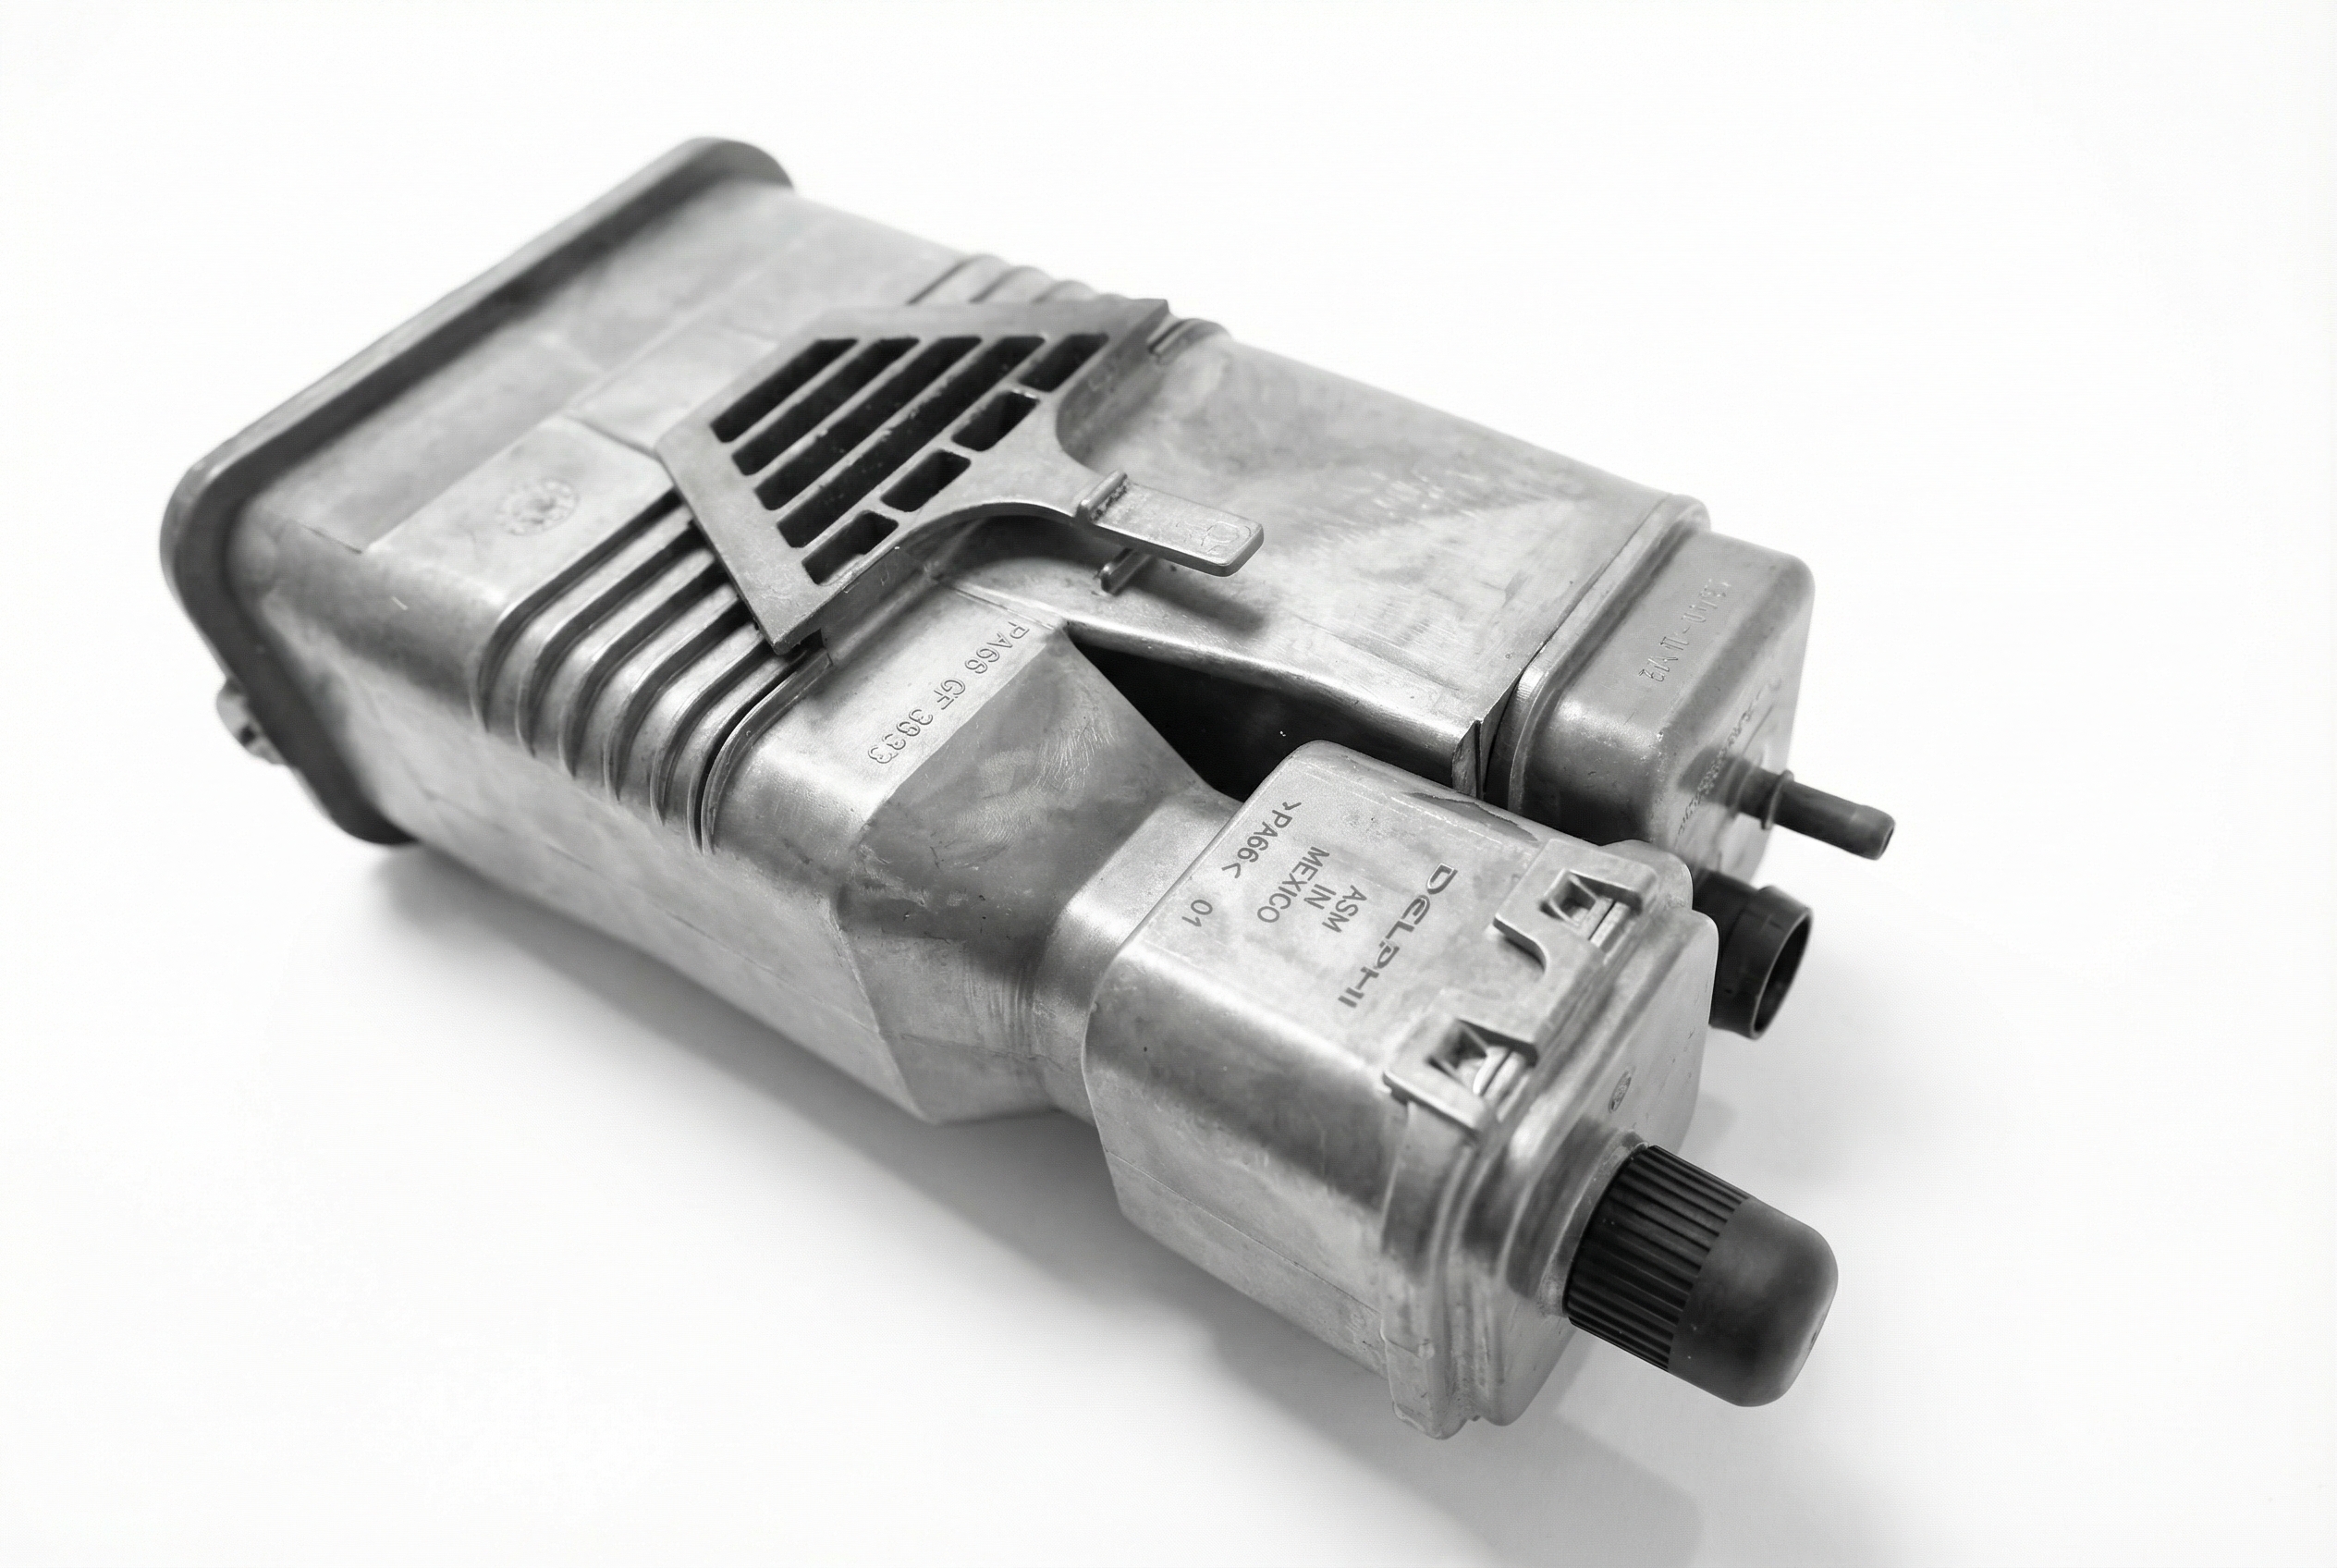
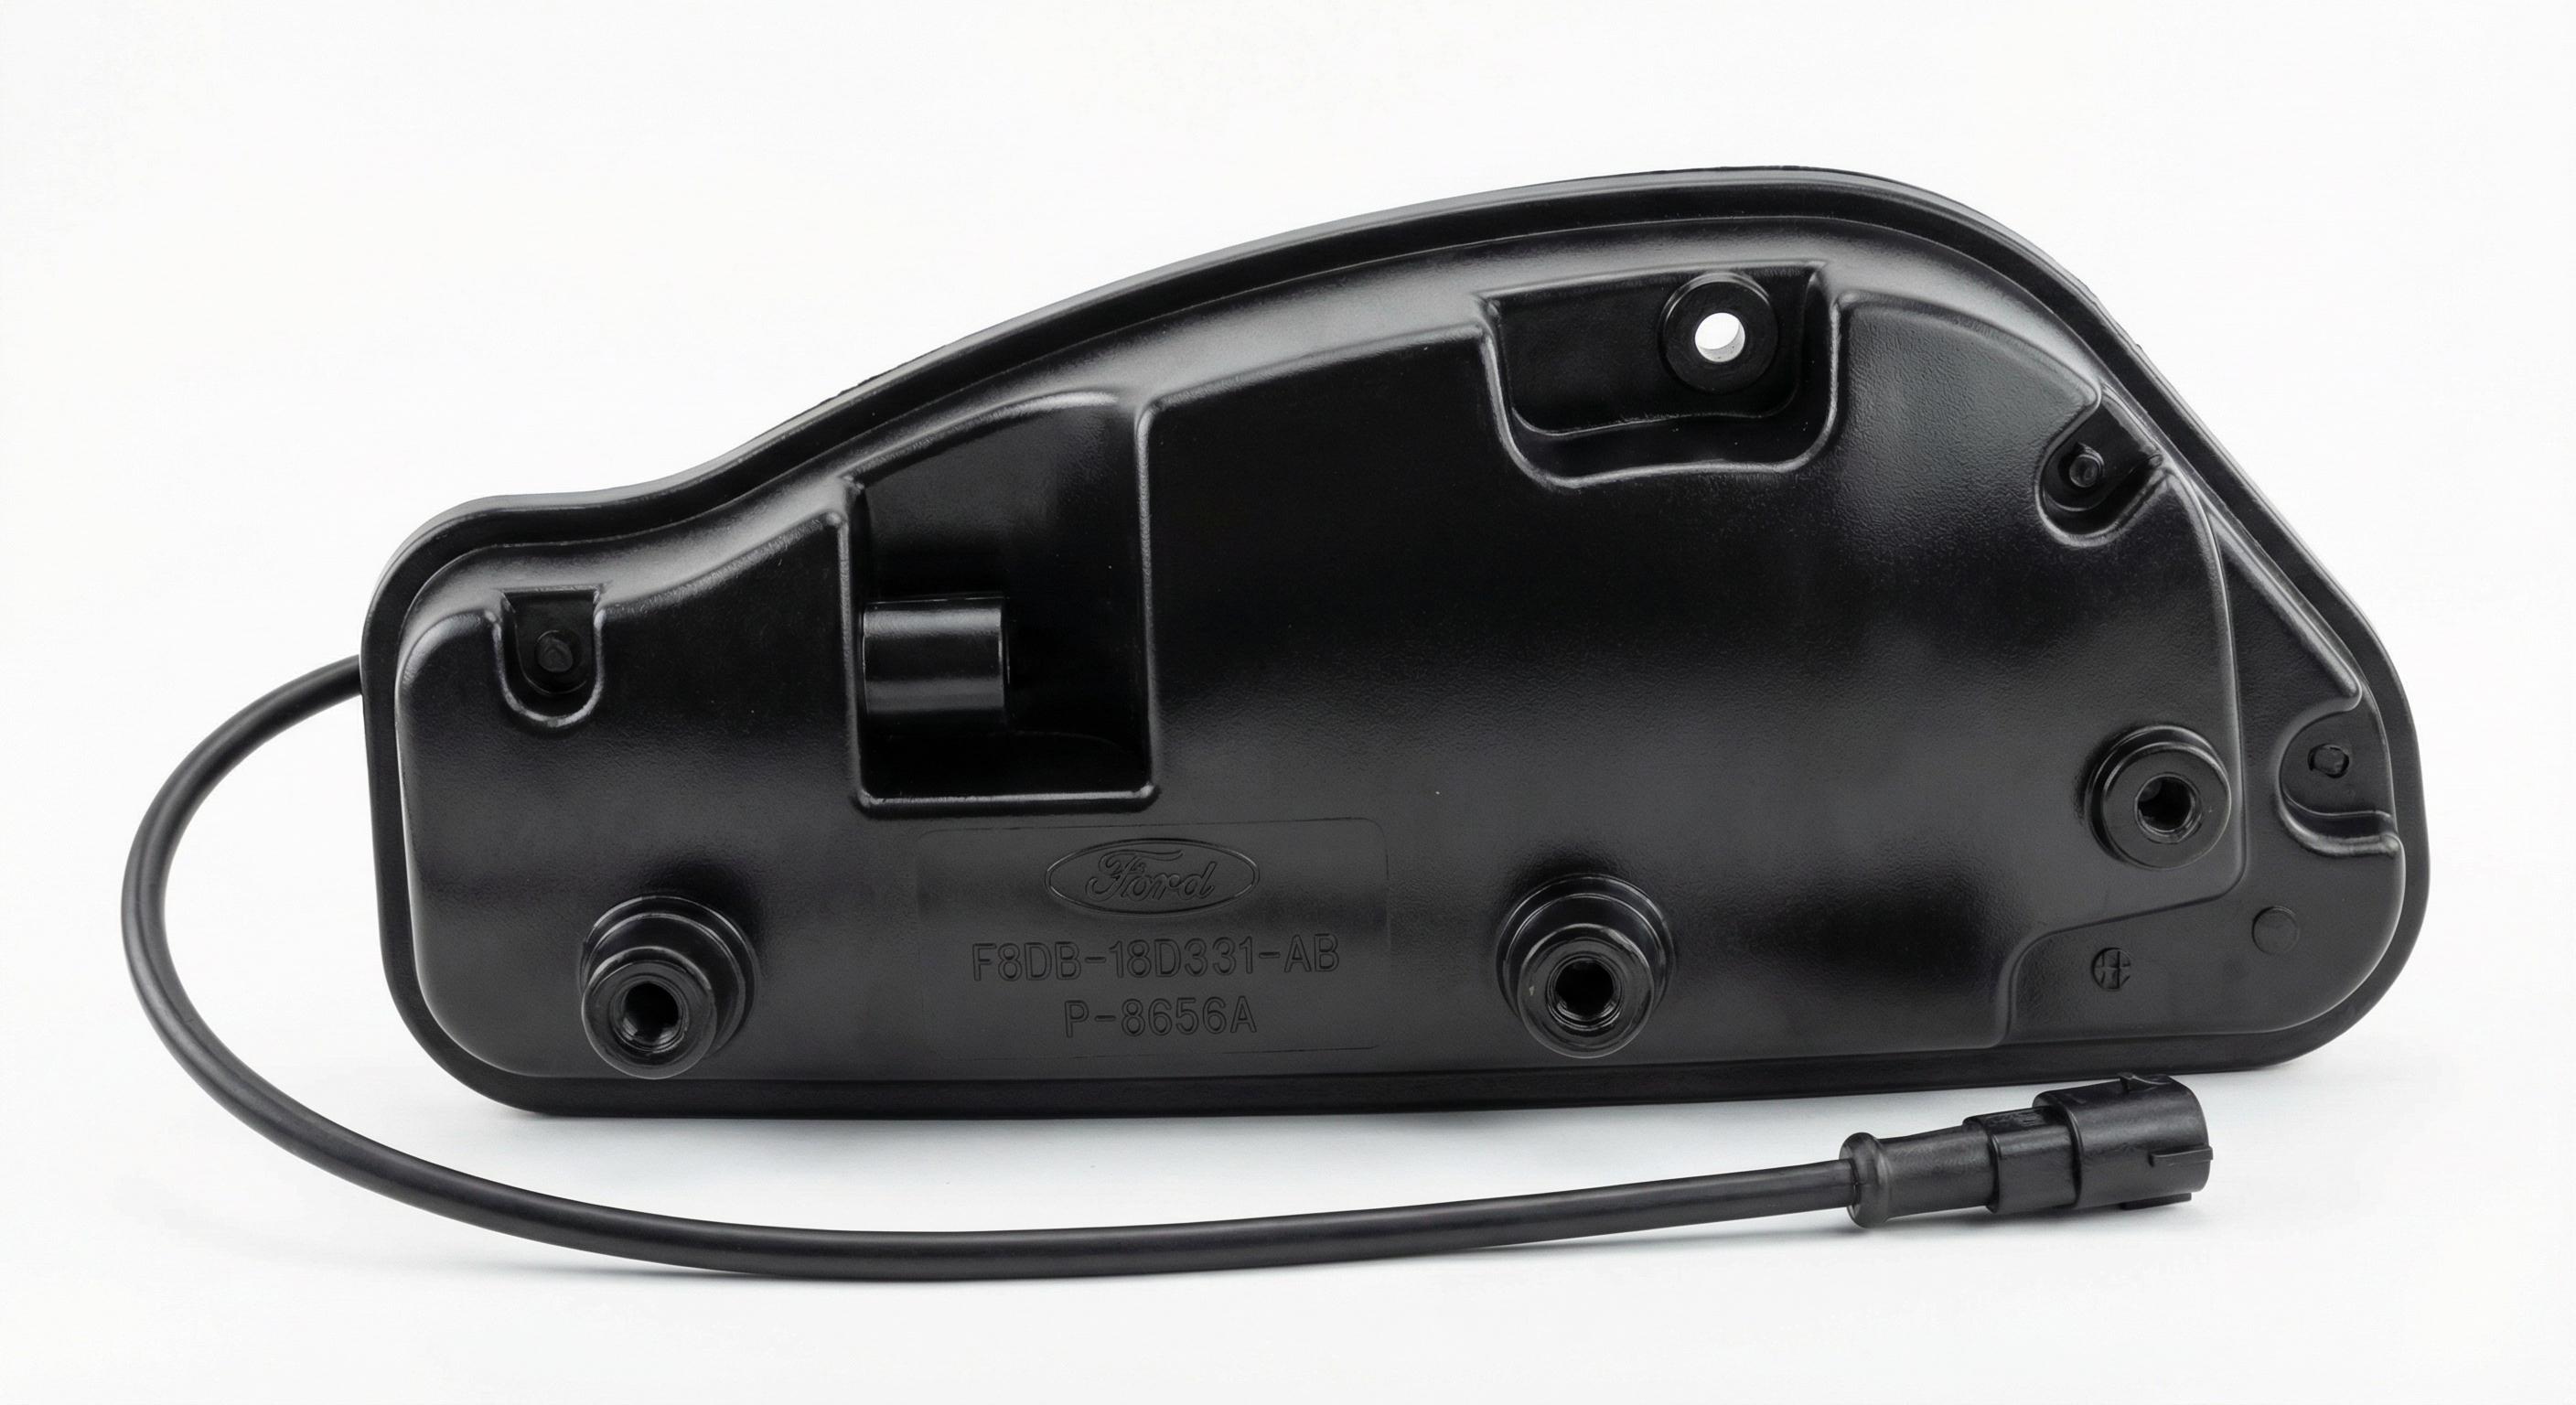
New Aftermarket Parts Available

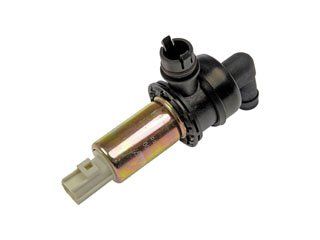
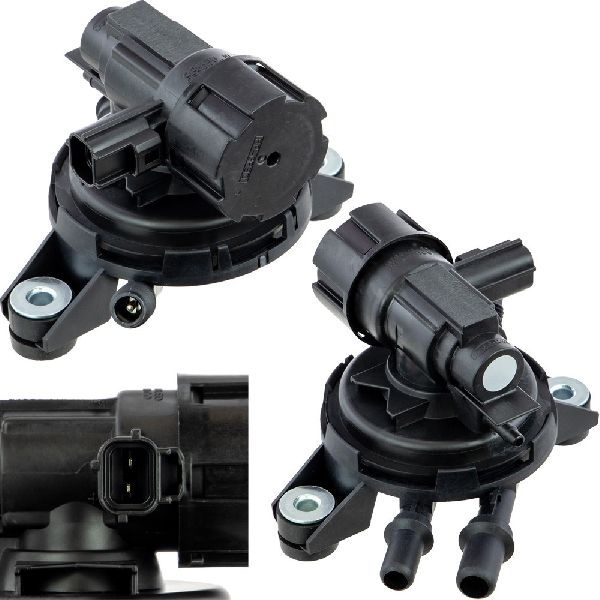

The information in this article is provided for general reference and educational purposes only. Vehicle specifications, procedures, and part compatibility can vary by production date, trim level, and region. Always consult your vehicle's factory service manual and verify part numbers before purchasing or performing repairs. Safety-critical components such as airbags, seat belts, and braking systems should be installed by a qualified professional.
- Ford F-150:
- 🛍️ Shop This Part
- What's Unique About the 1997-2004 Ford F-150
- Symptoms You May Notice
- Most Likely Causes
- Rare But Worth Checking
- Diagnosis Steps
- Parts You'll Likely Need
- Platform-Specific Known Issues
- Mechanic-Grade Diagnostic Values
- Scan Tool Commands That Help
- Wiring & Ground Locations
- Real Owner Repair Stories
- OEM Part Supersession History
- Diagnostic Flowchart
- Used vs. New Parts: Buying Guide for This Vehicle
- Real Owner Stories
- 1997 Ford F-150 5.4L
- 1999 Ford F-150 4.2L V6
- Ford F-150 (year not specified)
- Related OBD-II Codes
- Frequently Asked Questions
- 🎟️ Get 5% Off