

P1429 on 1998-2006 Audi TT 1.8T: Brake Vacuum Pump Circuit Failure Causes and Fixes
P1429 on a Mk1 Audi TT means there is an electrical failure in the auxiliary brake vacuum pump circuit. This will cause a hard brake pedal. The most likely causes are a failed pump, a blown fuse, or a bad relay. Expect to pay $200-$400 for a new pump.
- P1429 is a critical safety code indicating an electrical failure in the power brake system.
- The most likely cause is a failed electric vacuum pump, followed by a blown fuse or bad relay.
- Do not drive the vehicle until this issue is repaired, as braking performance is severely compromised.
- Diagnosis should focus on the electrical circuit, not vacuum leaks, although checking vacuum lines is always a good idea on a 1.8T.
What's Unique About the 1998-2006 Audi TT
The 1.8T is a turbocharged engine, which means it doesn't always produce enough natural vacuum for the brake booster, especially under boost or during cold starts. To solve this, Audi fitted an auxiliary electric vacuum pump, which is particularly common on models with automatic transmissions. This code points specifically to an electrical failure of that supplementary system. While these cars are also famous for cracked plastic vacuum lines causing a hard brake pedal, P1429 confirms the problem is electrical, helping you focus your diagnosis on the pump's circuit rather than chasing vacuum leaks first.
Symptoms You May Notice
- Check Engine Light (Malfunction Indicator Lamp) is on.
- Brake pedal is very hard to press.
- Significantly increased stopping distances.
- Loss of power brake assist.
- The electric pump cannot be heard buzzing when the brake is applied on a cold start.
- Replacing the brake booster. The booster itself is rarely the cause of an electrical P1429 code.
- Searching for a vacuum leak. While cracked vacuum lines are a very common problem on the 1.8T engine and cause a hard brake pedal, they do not cause the electrical code P1429. However, it is wise to inspect these lines anyway, as they may also be faulty.
Most Likely Causes
- Failed Electric Brake Vacuum Pump 🔴 High Probability The electric motor inside the pump can wear out and fail over time, creating an open circuit in its internal windings. This is the most common point of failure for this code.
How to confirm: After confirming the fuse and relay are good, check for 12V power at the pump's electrical connector. If power and ground are present but the pump does not run, it has failed internally. You can also command the pump to run using a bidirectional scan tool like VCDS.
Typical fix: Replace the electric brake vacuum pump. The OEM pump is often a Pierburg unit.
Est. part cost: $200-$400 - Blown Fuse 🟡 Medium Probability A pump that is beginning to fail may draw excess current and blow the fuse. It can also blow due to an intermittent short circuit in the wiring.
How to confirm: The fuse location can vary. On some automatic models, there is a 20A or 30A fuse on the relay panel under the driver's side dash. Also check the main fuse panel on the driver's side of the dashboard (Fuse 43, 10A/15A, can be related to pump relays) and the fuse box on top of the battery. Always consult your owner's manual and vehicle-specific diagrams.
Typical fix: Replace the blown fuse. If the new fuse blows immediately, it indicates a short circuit, most likely within the pump itself.
Est. part cost: $1-$5 - Faulty Brake Vacuum Pump Relay ⚪ Low Probability Relays are electro-mechanical switches that can fail with age and use, either sticking open or closed.
How to confirm: Locate the relay under the driver's side dash. Forum discussions for automatic TTs suggest a relay marked '126' may be involved. On the similar A4 platform, the relay is #373. You can test it by swapping with a known-good relay of the same type or by feeling/listening for a 'click' when an assistant presses the brake pedal.
Typical fix: Replace the faulty relay.
Est. part cost: $15-$40 - Damaged Wiring or Connector ⚪ Low Probability
How to confirm: Visually inspect the wiring harness leading to the vacuum pump for any signs of chafing, breaks, or corrosion, paying close attention to the electrical connector itself. Use a multimeter to check for continuity between the relay socket and the pump connector.
Typical fix: Repair the damaged section of wire or clean/replace the connector.
Est. part cost: $5-$50
Diagnosis Steps
- Read the fault codes with an OBD-II scanner to confirm P1429 is present.
- Locate the fuse panel on the driver's side of the dash and the relay panel underneath it. Check fuses related to the brake system. Note that some automatic models have a specific 20A or 30A fuse for the pump on this panel.
- If the fuses are good, locate the brake vacuum pump relay (potentially marked '126' or similar) under the driver's side dashboard. Test the relay by listening for a click when the brake is pressed or by swapping it with a known good relay.
- If the relay is functional, visually inspect the wiring and the electrical connector at the vacuum pump, which is located in the engine bay. Look for any obvious damage, corrosion, or loose pins.
- Using a multimeter, check for 12V power and a good ground at the pump's connector with the ignition on and the brake pedal pressed (this should trigger the relay).
- If 12V and ground are present at the connector but the pump does not operate, the pump has failed internally and must be replaced.
- While diagnosing, it is highly recommended to also inspect the plastic vacuum line that runs from the intake manifold to the brake booster for any cracks or breaks, as this is a very common failure item on the 1.8T engine that causes a hard pedal, though it won't set this specific code.
Parts You'll Likely Need
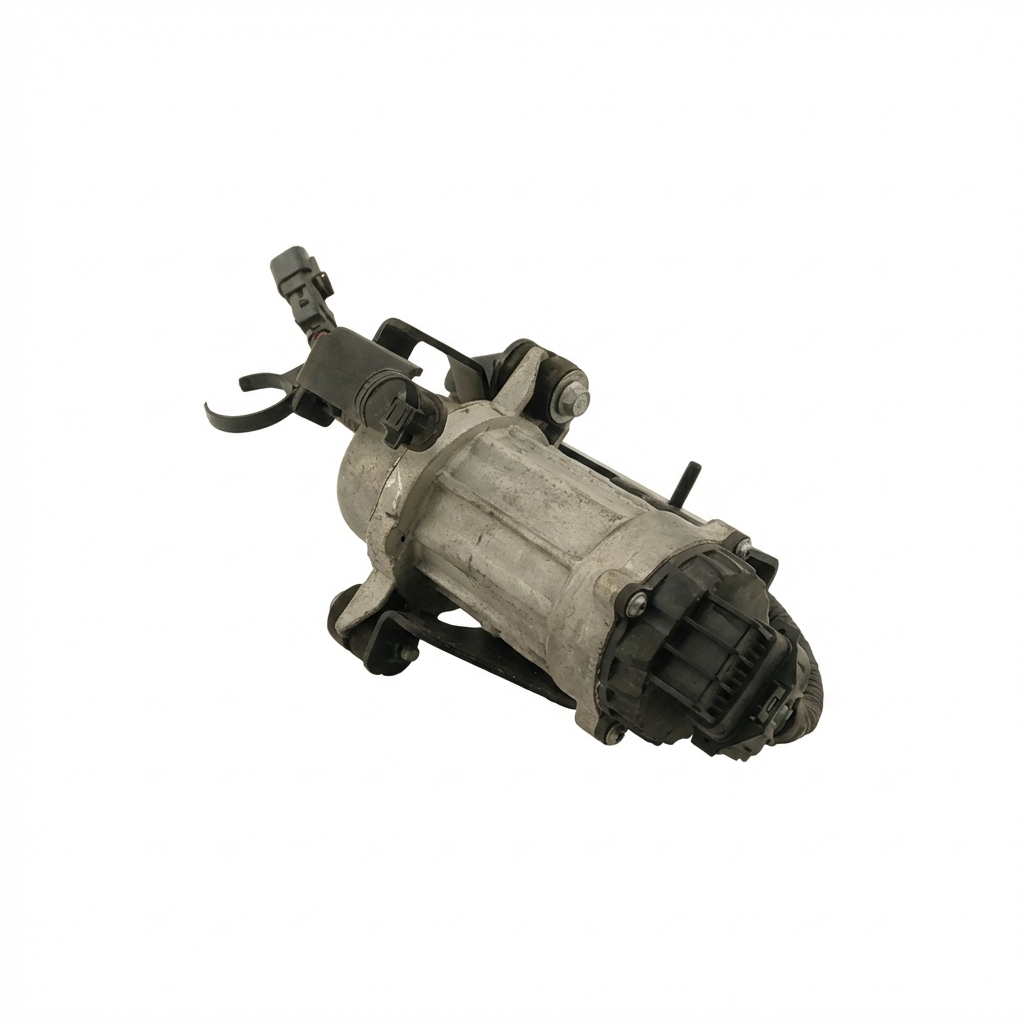
- Electric Brake Vacuum Pump
(OEM #1J0612181B)— This is the most common cause of failure for a P1429 code, as the internal motor windings fail and create an open circuit.
Trusted brands: Pierburg, Hella, Genuine VW/Audi
OEM price range: $300-$450
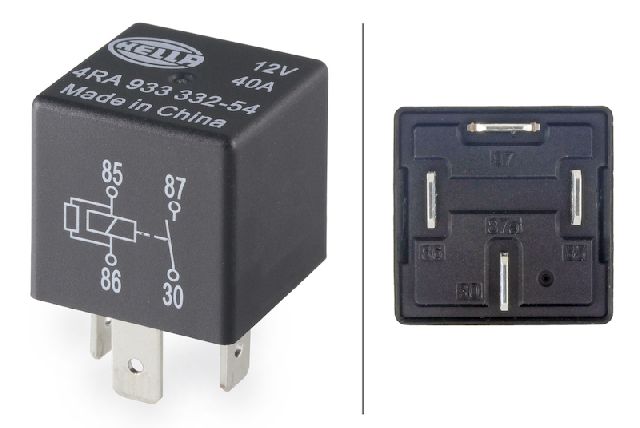
Aftermarket price range: $150-$250 - Brake Vacuum Pump Relay
(OEM #Relay may be marked '126'.)— A less common but simple and inexpensive potential cause of the open circuit before replacing the entire pump.
Trusted brands: Genuine VW/Audi, Bosch
OEM price range: $25-$40
Aftermarket price range: $10-$20
Related Codes That Often Appear With This One
- P0556 — On newer VW/Audi models, P1429 is almost always seen with P0556 (Brake Booster Pressure Sensor Circuit Range/Performance). When the pump fails to run (P1429), the sensor reports an illogical pressure (P0556). While less common on the Mk1 TT, if you see both, P1429 is the root cause.
Platform-Specific Known Issues
- Fuse/Relay Location Confusion: Owners on forums like AudiWorld report significant difficulty in locating the correct fuse and relay for the vacuum pump, as its location is not clearly marked in many diagrams and appears to differ between manual and automatic transmission models. For automatic models, a relay marked '126' and an associated 20A/30A fuse on the sub-panel under the dash are frequently implicated.
Scan Tool Commands That Help
- VCDS (VAG-COM): Output Test (DTM) for Brake Vacuum Pump — After checking fuses and relays, use this command in the '01-Engine' or '03-ABS Brakes' module to directly activate the vacuum pump. If the pump does not run when commanded but has power, the pump motor is confirmed bad. If it does run, the problem lies in the trigger circuit (e.g., brake pedal switch, wiring).
Wiring & Ground Locations
- Main ECU Ground — Under the battery box and beneath the wiper plenum cover.. A poor ECU ground can cause a variety of phantom electrical issues and fault codes, including communication errors that could be misinterpreted. While not a direct cause of an 'open circuit' for the pump, ensuring this ground is clean and tight is a critical step in any electrical diagnosis on this platform.
- Dash Ground Point — Behind the lower dash cover on the driver's side, near the A-pillar.. This is a major interior ground point for many components. Since the pump relay is located under the dash, a poor ground in this area could affect the relay's operation or other related circuits.
- Fuse/Relay Panel S279 — On the relay panel under the driver's side dash, specific to some automatic models.. Bentley manual wiring diagrams label a specific fuse for the 'Hydraulic Pump Relay' as S279. Forum users have found that on some automatic TTs, this corresponds to a 20A or 30A fuse slot on the auxiliary relay panel, which directly powers the vacuum pump circuit.
Real Owner Repair Stories
- AudiWorld Forums user 'fxsts' (2005 Audi TT 1.8T FWD Automatic) — Hard brake pedal, P1429 code.
❌ Tried (didn't work) Checking standard fuse locations which did not match the vehicle's configuration.
✅ What actually fixed it The user identified that on their specific automatic model, the power was supplied through a relay marked '126' on the panel under the driver's side dash. While the thread starter was still diagnosing, the collective conclusion of the thread pointed to this relay and its associated fuse (which was missing on some cars but wired on others) as the key component for automatic models, distinct from manual transmission cars.
OEM Part Supersession History
1J0612181B→1J0612181C, 1J0612181D, 1K0612181F— Standard part evolution and consolidation across VW/Audi platforms.
Heads up: All listed part numbers are generally cross-compatible for this application. However, always verify with the supplier using the vehicle's VIN.
Model Year Variations Within This Range
- 1998-2006: The fuse and relay configuration for the brake vacuum pump circuit differs significantly between automatic and manual transmission models. Automatic models often have a dedicated high-amperage fuse (20A/30A) and a specific relay (e.g., '126') on an auxiliary panel under the driver's dash, which may be absent on manual transmission cars.
Diagnostic Flowchart
Other Known Issues on This Vehicle
Issues unrelated to this code that are worth knowing about as an owner of this generation:
- Instrument Cluster Failure 🔴 High — Extremely common. The central LCD screen suffers from pixel loss, and fuel/temp gauges can become inaccurate or fail completely due to faulty internal motors.
- Timing Belt & Water Pump Failure 🔴 High — Critical maintenance item. The original 105k mile interval proved too long, leading to premature failures and catastrophic engine damage. The accepted interval is now 75,000 miles or 7 years. (Ref: A class-action lawsuit for 2000-2003 models resulted in a temporary warranty extension, which has since expired.)
- Worn Front Control Arm Bushings 🟠 Medium — Common after 60,000-90,000 miles. Worn bushings lead to sloppy steering feel, clunking noises over bumps, and uneven tire wear. (Ref: Early models were recalled to have suspension changes, including different control arms, to improve high-speed stability.)
- Ignition Coil Pack Failure 🟠 Medium — A very common failure item on the 1.8T engine, causing misfires, rough running, and a flashing check engine light.
- Haldex AWD System Service 🟠 Medium — On Quattro models, the Haldex coupling requires fluid and filter changes every 20,000 miles. Neglect leads to failure of the AWD system.
Used vs. New Parts: Buying Guide for This Vehicle
When a used part is the smart pick: A used electric vacuum pump from a junkyard is a reasonable choice if it comes from a low-mileage, accident-damaged vehicle. Relays should be purchased new as they are inexpensive and a common failure point.
Donor-vehicle mileage cap: roughly under 80000 miles for the part to have meaningful remaining life.
What to inspect on the donor part:
- Check for the absence of corrosion on the electrical connector pins.
- Ensure the plastic housing is not cracked or showing signs of heat stress.
- If possible, ask the seller to confirm the donor vehicle's mileage and that it was not a flood vehicle.
- Verify the part number (1J0612181B or a compatible supersession) matches.
Aftermarket brands forum-validated for this vehicle:
- Pierburg (often the original OEM supplier)
- Hella
- Bosch (for relays)
Brands owners have reported issues with on this vehicle:
- Unbranded, 'white-box' pumps from online marketplaces have a high rate of premature failure or incompatibility, even if they appear physically identical.
Related OBD-II Codes
Frequently Asked Questions
I have a very hard brake pedal on my Audi TT, but the P1429 code isn't present. What else should I check?
Where is the fuse for the brake vacuum pump on my automatic 2005 TT? I can't find it in the main fuse box.
The fuse for the vacuum pump keeps blowing as soon as I replace it. What does this mean?
I need to replace the electric brake vacuum pump. Is there a recommended brand?
I'm trying to test the brake vacuum pump relay. What number should I be looking for under the dash?
Is it safe to drive my TT with the P1429 code and a hard brake pedal?
Can I use a tool like VCDS to help diagnose the P1429 code?
Used OEM Parts in Stock
New Aftermarket Parts Available



The information in this article is provided for general reference and educational purposes only. Vehicle specifications, procedures, and part compatibility can vary by production date, trim level, and region. Always consult your vehicle's factory service manual and verify part numbers before purchasing or performing repairs. Safety-critical components such as airbags, seat belts, and braking systems should be installed by a qualified professional.
- Audi TT:
- 🛍️ Shop This Part
- What's Unique About the 1998-2006 Audi TT
- Symptoms You May Notice
- Most Likely Causes
- Diagnosis Steps
- Parts You'll Likely Need
- Related Codes That Often Appear With This One
- Platform-Specific Known Issues
- Scan Tool Commands That Help
- Wiring & Ground Locations
- Real Owner Repair Stories
- OEM Part Supersession History
- Model Year Variations Within This Range
- Diagnostic Flowchart
- Other Known Issues on This Vehicle
- Used vs. New Parts: Buying Guide for This Vehicle
- Related OBD-II Codes
- Frequently Asked Questions
- 🎟️ Get 5% Off