

P0461 on 2005-2010 Pontiac G6: Fuel Gauge Problems and Fixes
This code means your fuel gauge is unreliable. On the 2005-2010 Pontiac G6, the most common causes are a faulty fuel level sensor (part of the fuel pump module) or a fuel vapor line inside the tank physically blocking the sensor's float arm. The fix is often to replace the fuel pump module, which costs around $200-$400 for the part, but always check for the blocked float arm first.
- P0461 on a Pontiac G6 means your fuel gauge is not trustworthy.
- Before buying parts, have the fuel tank opened to check for a known issue where a vapor line blocks the float arm.
- The issue is shared with platform-mates like the Chevy Malibu and Saturn Aura.
- Replacing the entire fuel pump module is the most common repair if the sensor is truly faulty.
What's Unique About the 2005-2010 Pontiac G6
For the Pontiac G6 and its platform mates (like the Chevrolet Malibu and Saturn Aura), this code has a well-documented mechanical cause that isn't just a failed electronic part. A fuel vapor line inside the gas tank can come loose or shift and physically obstruct the movement of the fuel level sensor's float arm. Before assuming the sensor itself has failed, it's critical to inspect for this specific interference, as simply repositioning the line can solve the problem without needing to buy expensive parts.
Symptoms You May Notice
- Inaccurate or wildly fluctuating fuel gauge.
- Fuel gauge stuck on Full or Empty.
- Check Engine Light is on.
- Low fuel warning light may stay on or flash, even with a full tank.
- The "distance to empty" reading on the driver information center is incorrect or shows dashes.
- Replacing the entire fuel pump module without first checking for the simpler mechanical interference from the fuel vapor line inside the tank.
- Replacing the instrument cluster when the issue is with the sensor or wiring.
Most Likely Causes
- Faulty Fuel Level Sensor (Sending Unit) 🔴 High Probability The sensor is a variable resistor with a wiper arm that moves across a resistive strip. Over many years and miles, this strip can wear out, develop dead spots, or get contaminated by fuel additives, causing erratic readings. Sulfur in fuel can also contribute to contamination and failure of the sensor contacts.
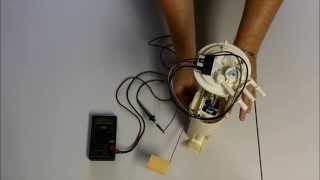
How to confirm: After accessing the fuel pump module, test the sensor's resistance with a multimeter while manually moving the float arm. 🎬 See this video for a detailed walkthrough on testing GM fuel sensors. The resistance should change smoothly from low (full) to high (empty) without any dropouts. The typical range for these GM vehicles is around 40 ohms (full) to 250 ohms (empty). An erratic or out-of-range reading confirms a bad sensor.
Typical fix: The fuel level sensor is integrated into the fuel pump module. The most common and reliable repair is to replace the entire fuel pump module assembly.
Est. part cost: $200 - $400 - Fuel Vapor Line Interfering with Float Arm 🟡 Medium Probability This is a known issue on the G6 platform where a fuel vapor line inside the tank can shift and physically block the fuel level sensor's float from moving through its full range of motion. This prevents the sensor from reporting the correct fuel level, and the PCM flags the lack of change as a performance fault.
How to confirm: This requires accessing the fuel pump module, which usually involves dropping the fuel tank. Visually inspect the float arm's path to see if it is making contact with any hoses or wires inside the tank.
Typical fix: Carefully reposition the interfering fuel vapor line away from the float arm's path and secure it with a new clip or a fuel-safe zip tie if necessary.
Est. part cost: $0 - $5 - Damaged Wiring or Corroded Connector ⚪ Low Probability The main electrical connector on top of the fuel pump module is exposed to the elements under the car, making it susceptible to moisture and corrosion over time. This can add resistance to the circuit and corrupt the sensor's signal. Additionally, the ground strap for the fuel tank can corrode, leading to erratic readings.
How to confirm: Visually inspect the connector on top of the fuel tank for any green or white corrosion, pushed-out pins, or damaged wires. Test for proper voltage and ground at the connector. Also, inspect the chassis ground strap for the fuel tank.
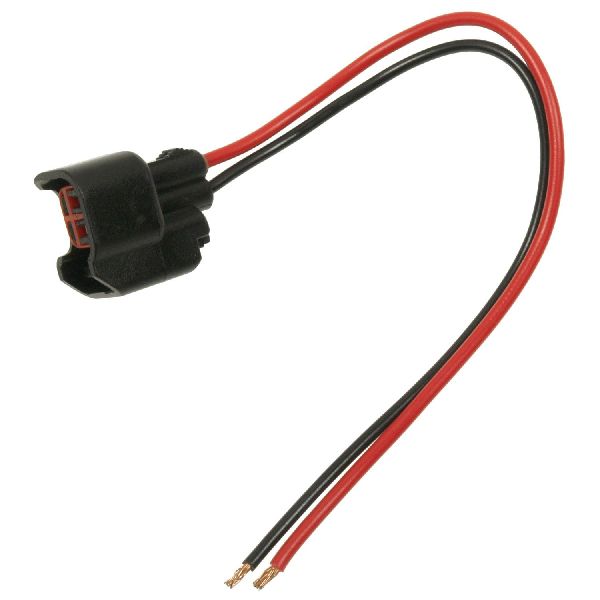
Typical fix: Clean the connector terminals with an electrical contact cleaner. If corrosion is severe, the connector pigtail may need to be replaced. Clean or replace the tank's ground strap if it is corroded.
Est. part cost: $15 - $50
Rare But Worth Checking
- Faulty Instrument Panel Cluster (IPC): This is uncommon. Before suspecting the cluster, use a capable OBD-II scanner to command a 'gauge sweep' test. If the fuel gauge moves correctly during the test, the cluster is likely not the problem. GM has issued bulletins regarding non-warrantable physical damage to clusters, so handle it with care.
- Faulty Powertrain Control Module (PCM): This is extremely rare and should only be considered after all other possibilities (sensor, wiring, mechanical interference) have been definitively ruled out.
Diagnosis Steps
- Read the code with an OBD-II scanner to confirm P0461 is present. Note any other codes like P0463 or P0455.
- Use the scanner to view live data for the 'Fuel Level Sensor' PID. Note the reading. Add or remove a few gallons of gas and see if the reading changes logically. If it's stuck or erratic, proceed.
- Perform an instrument cluster self-test or 'gauge sweep' with a capable scan tool. If the fuel gauge sweeps its full range correctly, the gauge itself is fine.
- Safely raise the vehicle and inspect the electrical connector on top of the fuel pump module. Check for corrosion, damage, or loose wires. Also, locate and inspect the fuel tank's ground strap for corrosion or looseness.
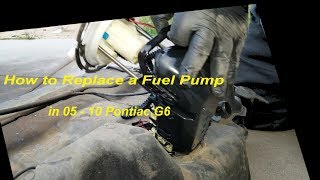
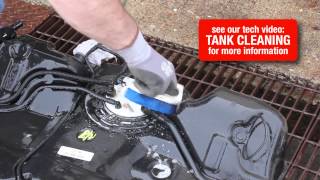
- If the wiring appears okay, the next step is to access the fuel pump module. On the G6, this requires dropping the fuel tank as there is no access panel under the rear seat. 🎬 Watch: Step-by-step guide on how to drop the tank and replace the pump.
- Once the module is removed, first inspect for any fuel vapor lines that may be obstructing the float arm's movement. Reposition and secure it if needed.
- If there is no obstruction, disconnect the fuel level sensor and test its resistance with a multimeter. Slowly move the float arm up and down. The resistance reading should change smoothly without any sudden jumps or dropouts, typically between 40 ohms (Full) and 250 ohms (Empty).
- If the resistance is erratic or out of spec, the sensor has failed. Replace the fuel pump module assembly.
- If the sensor tests good and there was no obstruction, a more in-depth wiring trace between the fuel pump and the PCM is needed to check for a break or short in the harness.
Parts You'll Likely Need
- Fuel Pump and Sender Assembly
(OEM #19179896 (Superseded by 19209948), 13587074)— The fuel level sensor (sender) is integrated into the fuel pump module. Replacing the entire assembly is the most common and durable repair, as it also renews the fuel pump itself. 🎬 Watch: How to install a new fuel pump assembly on this platform. GM has several part numbers that supersede each other.
Trusted brands: ACDelco (OEM), Delphi, Spectra Premium, Carter
OEM price range: $350-$450
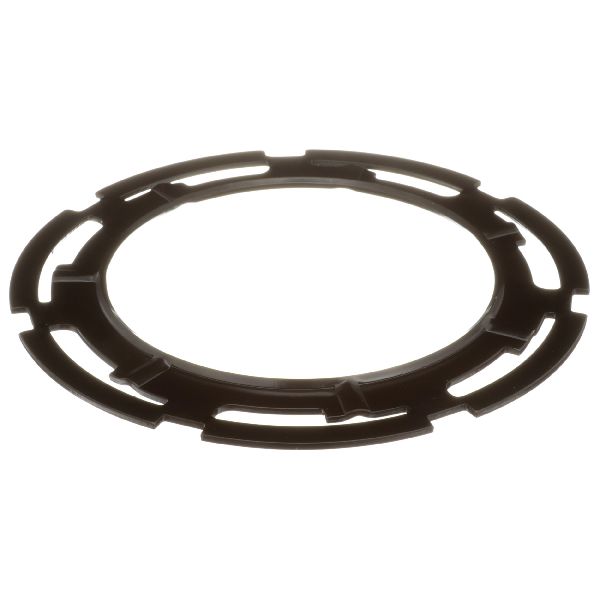
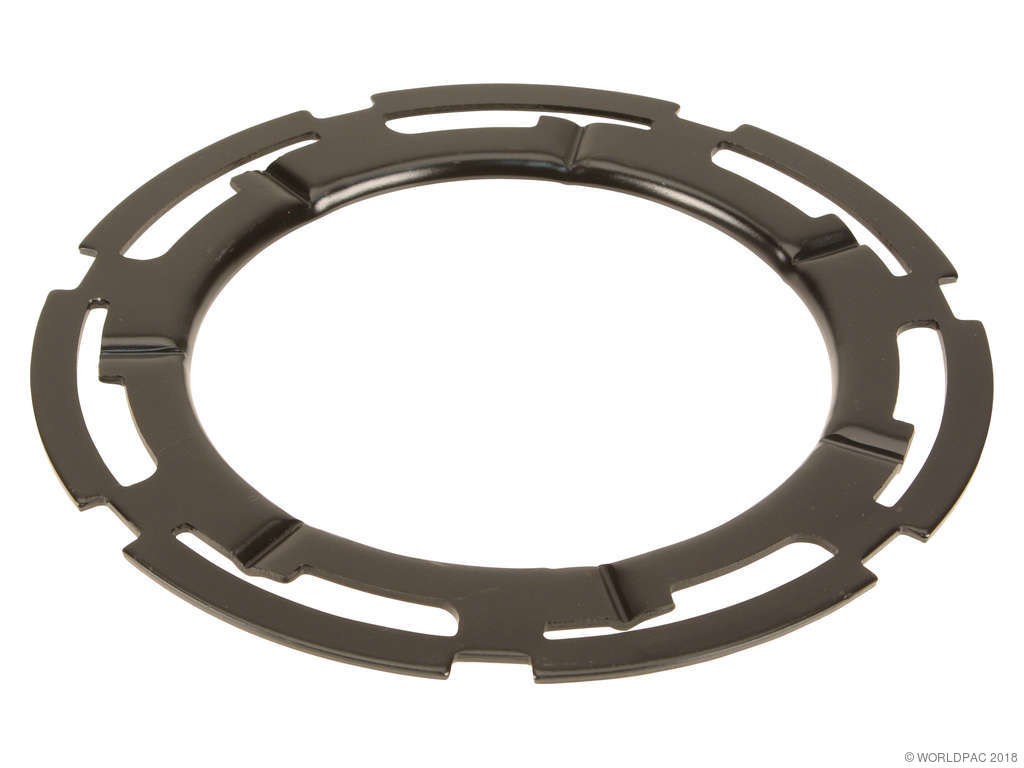
Aftermarket price range: $200-$300 - Fuel Tank Lock Ring and Seal — This is a mandatory replacement part whenever the fuel pump module is removed. Reusing the old seal can lead to fuel leaks and EVAP codes.
Trusted brands: ACDelco, Delphi
OEM price range: $15-$30
Aftermarket price range: $10-$20
Related Codes That Often Appear With This One
- P0455 — An EVAP System Gross Leak code (P0455) can sometimes appear with P0461 if the fuel tank work involves the vapor lines or if the fuel pump module's seal is not reinstalled correctly, creating a leak.
- P0463 — This code for 'Fuel Level Sensor 'A' Circuit High' often accompanies P0461. It indicates a specific electrical fault (high voltage/open circuit) which can be caused by the same root problems, like a failed sensor or wiring issue. A 2008 Chevy Malibu owner reported both codes together.
Platform-Specific Known Issues
- A fuel vapor line inside the fuel tank has been known to shift and physically block the fuel level sensor's float arm, causing it to give an incorrect reading and trigger code P0461.
Mechanic-Grade Diagnostic Values
- Fuel Level Sensor Resistance — expected: Approximately 40 Ohms (Full) to 250 Ohms (Empty).. Failure: Readings are erratic, jump suddenly, or show an open circuit (infinite resistance) when moving the float arm.
- Fuel Level Sensor Signal Voltage at PCM — expected: Typically 0.5V (Full) to 4.5V (Empty). GM systems often invert this, with higher voltage indicating an empty tank.. Failure: Voltage is stuck, intermittent, or outside the expected range.
- Fuel Pump Operating Pressure (for overall system health) — expected: 386-427 kPa (56-62 psi) with the pump commanded ON by a scan tool.. Failure: Pressure below this range could indicate a weak pump, while pressure above could indicate a regulator issue.
- Fuel Level Sensor Signal Wire Voltage (at pump connector) — expected: 5V reference voltage on the Purple wire.. Failure: No voltage or significantly lower voltage indicates a wiring issue between the PCM and the pump.
Scan Tool Commands That Help
- Tech2 / GDS2 or equivalent professional scanner: Instrument Panel Cluster (IPC) > Special Functions > Gauge Sweep — Use this to command the instrument cluster to move all gauges through their full range of motion. If the fuel gauge sweeps correctly, it confirms the gauge motor and its immediate circuitry are functional, pointing the diagnosis toward the sensor, wiring, or PCM.
- Tech2 / GDS2 or equivalent professional scanner: Powertrain Control Module (PCM) > Output Controls > Fuel Pump Relay ON/OFF — This command manually turns the fuel pump on, which is essential for testing fuel pressure without needing to crank the engine. It helps verify the electrical integrity of the pump's power circuit.
Wiring & Ground Locations
- Fuel Pump Connector — On top of the fuel pump module, accessible after dropping the fuel tank.. This is the primary connection point for the fuel level sensor. The Purple wire is the signal wire, and the Black/White wire is the ground. Corrosion or damage here is a direct cause of signal interruption.
- G301 — On the right rear of the passenger compartment, under the right rear seat back.. Wiring diagrams list this as the ground point for the fuel pump and sender assembly. A corroded or loose G301 can cause an unstable ground reference for the fuel level sensor, leading to erratic readings and P0461.
- Fuel Pump Fuse #25 — In the fuse panel located in the trunk on the driver's side.. This 15A fuse protects the fuel pump circuit. While not directly for the sensor signal, electrical issues in the shared harness could be related.
- Fuel Pump Relay — In the corner of the trunk fuse panel, near fuse #25.. Controls power to the fuel pump. A faulty relay can cause intermittent power issues that might affect the entire module, though it's less likely to cause a P0461 code specifically.
Real Owner Repair Stories
- LS1.com forum user (2006 Pontiac G6 3.5L V6) — Crank no start, no power to fuel pump. After replacing a blown fuse, had 12V at the pump connector but the pump would not run.
❌ Tried (didn't work) Replacing the fuel pump with a used unit., Verifying 12V on the Gray wire and good ground at the pump connector.
✅ What actually fixed it The user suspected a faulty connector pigtail, as GM was known to have issues with them melting or having poor internal connections that can show voltage on a multimeter but can't carry enough current to run the pump. The final fix was implied to be replacing the harness pigtail that came with a new pump assembly.
OEM Part Supersession History
19179894→13504685— Part update/revision by GM.
Heads up: This is for the fuel level sensor kit only, not the full assembly.19153328→19180190— Part update/revision by GM.
Heads up: This is for a different fuel level sensor kit, highlighting that multiple versions exist. Always verify by VIN.15289060, 22677570, 25833833→25903895— Consolidation and update of the fuel tank wiring harness part number.
Heads up: This is the harness on the fuel tank module itself. Some aftermarket pumps come with a new pigtail for the vehicle side of the harness, requiring splicing.
Diagnostic Flowchart
Other Known Issues on This Vehicle
Issues unrelated to this code that are worth knowing about as an owner of this generation:
- Electric Power Steering (EPS) Failure 🔴 High — Very common across 2005-2010 models. Can cause sudden loss of power assist, making steering difficult at low speeds. (Ref: Multiple recalls and special coverage programs were issued, including recall #14772 and special coverage 14329. Affects torque sensor and/or entire column.)
- Steering Column Clunking Noise 🟠 Medium — Widespread issue where a clunking or popping noise is heard when turning the wheel, especially at low speeds. Often caused by the intermediate steering shaft. (Ref: GM TSB 06-02-32-007G addresses this, pointing to the intermediate shaft or strut mounts as likely causes, not the steering rack itself.)
- Automatic Transmission (4T45E) Problems 🔴 High — Common in models with the 4-speed 4T45E. Symptoms include harsh shifting, no forward gear, or being stuck in gear. Often caused by failed shift solenoids or a broken internal feed pipe. (Ref: Recall for fractured transmission shift cable tabs on 2008-2010 models.)
- BCM Connector Corrosion / Electrical Issues 🟠 Medium — Poor terminal contact at Body Control Module (BCM) connectors can cause various electrical gremlins, including non-functional brake lights. (Ref: A recall was issued for voltage fluctuations in the Brake Apply Sensor (BAS) circuit due to BCM resistance.)
- Water Leaks into Cabin 🟡 Low — Leaks into the front passenger footwell are common, often due to clogged sunroof drains or poorly sealed body seams in the plenum area, potentially damaging electrical components like the BCM. (Ref: GM TSB 08-08-57-003F provides a procedure for resealing the plenum seam to correct water entry.)
Used vs. New Parts: Buying Guide for This Vehicle
When a used part is the smart pick: A used fuel pump assembly is generally not recommended for this repair. The fuel level sensor is a wear item, and a used part may have significant wear already, leading to a repeat failure in a short time. The labor involved in dropping the fuel tank is significant, making it unwise to risk using a part with an unknown history.
Donor-vehicle mileage cap: roughly under 50000 miles for the part to have meaningful remaining life.
What to inspect on the donor part:
- Verify the part came from a vehicle that was not in a major rear-end collision.
- Inspect the electrical connector for any signs of melting, corrosion, or heat damage.
- If possible, test the resistance of the fuel level sender on the bench before purchase to ensure it sweeps smoothly.
- Ensure the plastic housing is not cracked or brittle.
OEM-only on this vehicle (don't cheap out):
- While not strictly OEM-only, using a complete fuel pump module from a reputable brand is highly recommended over replacing just the sensor or using a low-quality unbranded unit.
Aftermarket brands forum-validated for this vehicle:
- ACDelco (OEM supplier)
- Delphi (Often an OEM supplier, though their aftermarket line may differ from the GM-specified part)
- Spectra Premium
- Carter
Brands owners have reported issues with on this vehicle:
- Unbranded, no-name units from online marketplaces should be avoided. Forum discussions often mention premature failure of very cheap aftermarket pumps, negating any initial cost savings.
Real Owner Stories
Aggregated from forums and TSBs cited above. Mileages and costs reflect what owners reported in those sources.
2005-2010 Pontiac G6
Symptoms: The fuel gauge was not reading correctly and the Check Engine Light was on with codes P0461 and P0455.
What fixed it: A fuel vapor line inside the tank was found to be interfering with the fuel level sensor float. The line was repositioned and secured away from the float arm's path of travel.
Source hint: RepairPal
2008 Chevrolet Malibu
Symptoms: The fuel gauge was malfunctioning and the Check Engine Light was on, with codes P0461 and P0463 stored in the computer.
What fixed it: Diagnosis confirmed a failed fuel level sending unit. The entire fuel pump module assembly was replaced to resolve the issue.
Source hint: YouTube - Chev Malibu `08 pt.1 fuel gauge sending unit diagnose replace codes P0461 P0463
Related OBD-II Codes
Frequently Asked Questions
Is it true that there's no fuel pump access panel under the seat on a 2005-2010 Pontiac G6?
Besides a bad sensor, what is a common G6-specific reason for code P0461?
What resistance values should I see when testing the fuel level sensor on my G6?
Should I replace just the fuel level sensor or the whole fuel pump assembly?
My friend's 2008 Chevy Malibu has the same fuel gauge problem. Are the issues related?
How can I check if the fuel gauge itself is broken or if it's the sensor?
Helpful Videos
Used OEM Parts in Stock

New Aftermarket Parts Available


The information in this article is provided for general reference and educational purposes only. Vehicle specifications, procedures, and part compatibility can vary by production date, trim level, and region. Always consult your vehicle's factory service manual and verify part numbers before purchasing or performing repairs. Safety-critical components such as airbags, seat belts, and braking systems should be installed by a qualified professional.
- Pontiac G6:
- 🎬 Helpful Videos
- 🛍️ Shop This Part
- What's Unique About the 2005-2010 Pontiac G6
- Symptoms You May Notice
- Most Likely Causes
- Rare But Worth Checking
- Diagnosis Steps
- Parts You'll Likely Need
- Related Codes That Often Appear With This One
- Platform-Specific Known Issues
- Mechanic-Grade Diagnostic Values
- Scan Tool Commands That Help
- Wiring & Ground Locations
- Real Owner Repair Stories
- OEM Part Supersession History
- Diagnostic Flowchart
- Other Known Issues on This Vehicle
- Used vs. New Parts: Buying Guide for This Vehicle
- Real Owner Stories
- 2005-2010 Pontiac G6
- 2008 Chevrolet Malibu
- Related OBD-II Codes
- Frequently Asked Questions
- 🎟️ Get 5% Off