

P0107 on 2010-2014 Hyundai Sonata 2.4L: MAP Sensor Causes and Fixes
This code almost always points to a faulty Manifold Absolute Pressure (MAP) sensor or its wiring. A new sensor is the most common fix, typically costing between $40 and $100 for the part. It's a relatively simple DIY replacement located on the intake manifold.
- P0107 on a 2010-2014 Sonata 2.4L almost always points to a problem with the Manifold Absolute Pressure (MAP) sensor.
- The most likely fix is replacing the MAP sensor, which is an inexpensive part and easy to access on top of the intake manifold.
- Before replacing the sensor, always check its electrical connector and nearby wiring for damage, as this is another known point of failure.
- While less common, a significant vacuum leak can also trigger this code, so a quick inspection of vacuum hoses is worthwhile.
What's Unique About the 2010-2014 Hyundai Sonata
The 2.4L Theta II GDI engine in this generation of Sonata is a speed-density system that relies heavily on the MAP sensor for its fuel calculations, as many versions do not use a Mass Airflow (MAF) sensor. This makes the MAP sensor's signal particularly critical for engine operation. While the sensor itself is a common failure point, owners should also be aware of potential wiring issues, as the harness clip can break, allowing the wiring to contact the radiator fan. Additionally, vacuum leaks can be a cause, as noted in an NHTSA complaint where a separated EGR pipe flange caused a P0107 code on a similar platform. [ODI #11143359]
Symptoms You May Notice
- Check Engine Light is on.
- Rough or unstable idle.
- Engine hesitation or stumbling during acceleration.
- Reduced engine power and sluggish response.
- Engine stalling, especially at idle or when coming to a stop.
- Poor fuel economy.
- Difficulty starting the engine.
- Black smoke from the exhaust, indicating a rich fuel mixture.
- Replacing the throttle body when the issue is the MAP sensor mounted on the intake manifold.
- Replacing oxygen sensors, as a bad MAP sensor can cause a rich or lean condition that might seem like an O2 sensor problem.
Most Likely Causes
- Faulty Manifold Absolute Pressure (MAP) Sensor 🔴 High Probability The sensor is a very common failure point due to age and heat cycles in the engine bay. It is the most frequent cause for P0107 and related MAP codes on this platform.
How to confirm: With a scan tool, check the MAP sensor reading with the Key On, Engine Off (KOEO). It should read close to atmospheric pressure (approx. 101 kPa at sea level). At idle, the pressure should drop significantly (high vacuum). If the reading is stuck low (e.g., below 0.25V) and doesn't change, the sensor is likely bad. You can also test the signal wire for voltage; it should be between 1.0V and 4.5V when running, not stuck below 0.25V.
Typical fix: Replace the MAP sensor. It is located on the top of the intake manifold and is held by a single 10mm bolt.
Est. part cost: $40-$100 - Wiring Harness or Connector Issue 🟡 Medium Probability The wiring harness clip that secures the loom can break, allowing the wires to come loose. In some cases, the harness can fall and get damaged by the radiator fan, causing a short or open circuit. Wires can also break internally near the connector from vibration over time.
How to confirm: Visually inspect the MAP sensor connector for a secure fit. Check the wiring for any signs of melting, chafing, or breaks, especially in the area near the radiator fan. Perform a 'wiggle test' on the harness with the engine running to see if it causes the idle to change or the code to appear/disappear.
Typical fix: Repair the damaged section of wire using a butt connector with heat shrink or replace the connector pigtail. Secure the harness away from moving parts.
Est. part cost: $10-$30 - Vacuum Leak ⚪ Low Probability Vacuum hoses can become brittle and crack over time. A significant leak in the intake system from a cracked hose or bad gasket can throw off sensor readings. While a 'low input' code points more to an electrical fault, a large leak can still be a factor. An unmetered air leak from a separated EGR pipe was cited as a cause in one NHTSA complaint on a related vehicle. [ODI #11143359, 10]
How to confirm: With the engine running, listen for hissing sounds around the intake manifold. You can spray a small amount of brake cleaner or use a smoke machine around vacuum lines and gaskets; a change in engine idle or visible smoke indicates a leak.
Typical fix: Replace the cracked or disconnected vacuum hose or faulty gasket.
Est. part cost: $5-$50
Rare But Worth Checking
- Clogged Catalytic Converter: A severely restricted exhaust can cause abnormal pressure readings in the intake manifold. This would typically be accompanied by other codes (like P0420) and a significant loss of power, especially at high RPMs.
- Faulty Engine Control Module (ECM): This is very rare. The ECM should only be considered after the sensor, wiring, and all other potential causes have been definitively ruled out through proper testing.
Diagnosis Steps
- Connect an OBD-II scanner and confirm P0107 is the primary code. Note any other codes present.
- With the Key On, Engine Off (KOEO), view the live data for the MAP sensor. The reading should be close to your local atmospheric pressure (e.g., ~14.7 PSI / 101 kPa at sea level).
- Start the engine. The MAP sensor reading should drop to a low pressure (high vacuum) at idle, typically between 5-10 PSI.
- If the reading is stuck low (e.g., below 0.25V) and doesn't change, turn off the engine.
- Visually inspect the MAP sensor connector and its wiring harness for damage, looseness, or corrosion. Pay close attention to the area near the radiator fan.
- Disconnect the sensor and test the connector's terminals with a multimeter. You should find a 5V reference wire, a ground wire, and a signal wire.
- If the 5V reference is missing, there is a problem with the wiring or the ECM. If the reference and ground are good, the problem is likely the sensor itself.
- If the sensor and wiring appear good, check for a major vacuum leak using a smoke machine or by listening for hissing sounds.
- If all other tests pass, replace the MAP sensor. Ensure the new sensor's O-ring is properly seated to prevent a vacuum leak.
Parts You'll Likely Need
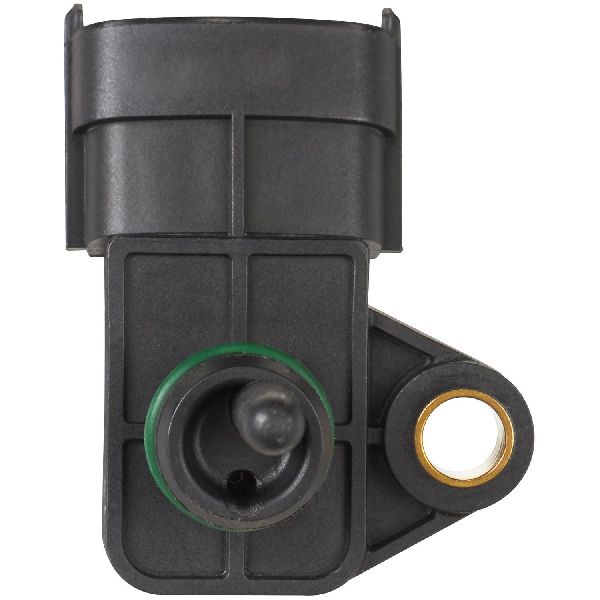
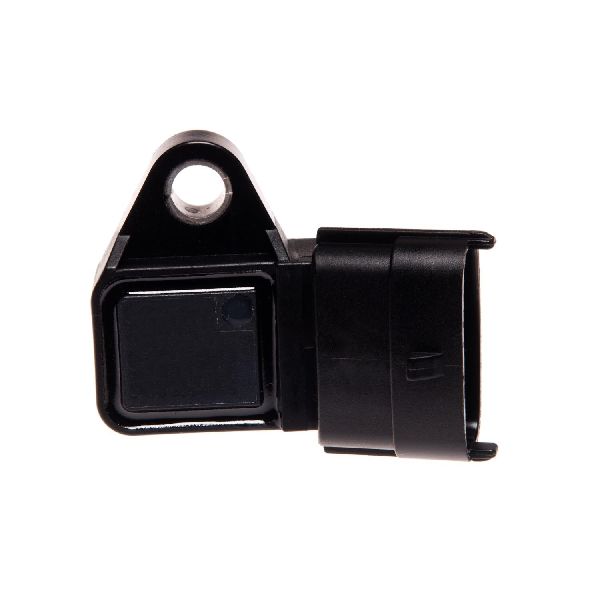
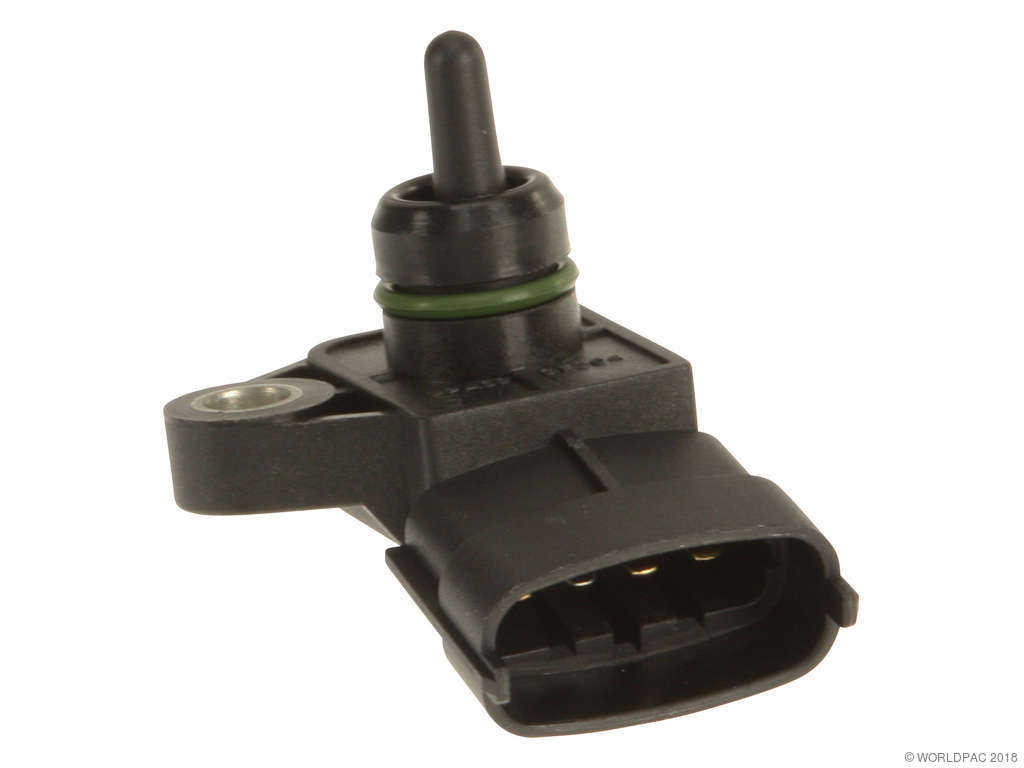
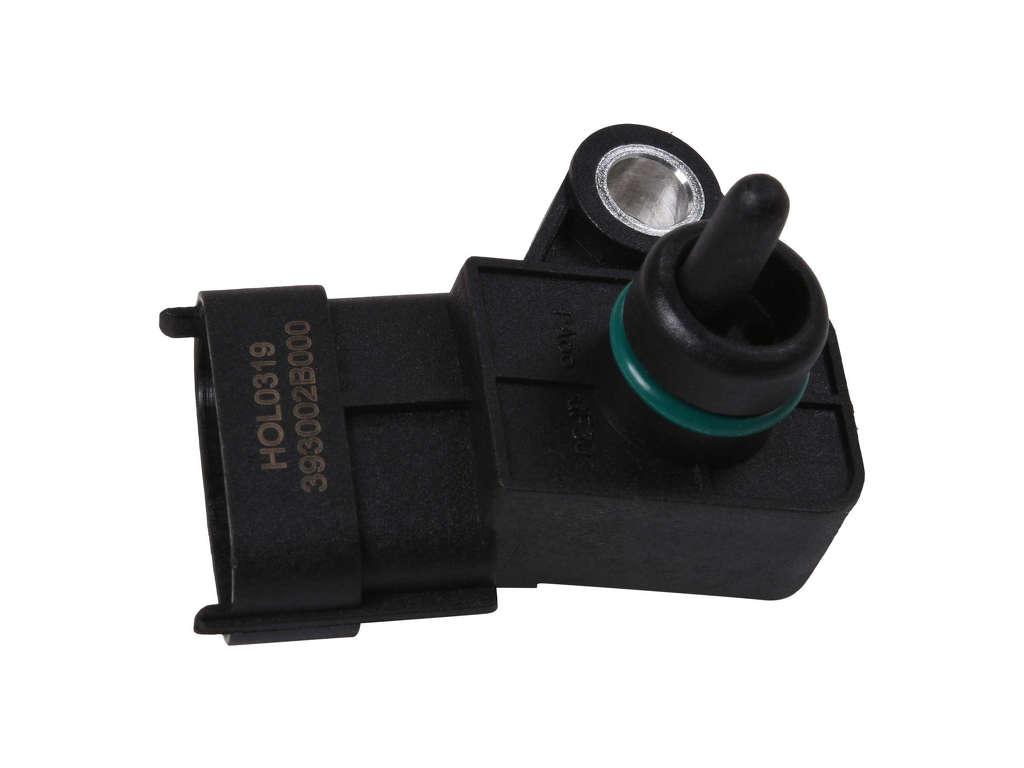
- Manifold Absolute Pressure (MAP) Sensor
(OEM #39300-2G000)— This is the most frequent cause of a P0107 code, as the sensor's internal electronics fail over time. The original part number 39300-2G000 has been superseded by 39300-84400.
Trusted brands: Hyundai (OEM), Bosch, Delphi, Walker Products
OEM price range: $70-$120
Aftermarket price range: $40-$80
Related Codes That Often Appear With This One
- P0105 — This code indicates a general malfunction in the MAP sensor circuit. P0107 is a more specific version of this fault, indicating the signal is low. They often appear together.
- P0106 — This code indicates a MAP sensor performance/range issue, meaning the signal is not changing as expected with engine load. It can appear alongside P0107 if the sensor is failing intermittently or there's a wiring issue.
- P0108 — This is the opposite of P0107, indicating the circuit input is too high. Seeing both might suggest a severe wiring short or intermittent sensor failure.
Platform-Specific Known Issues
- Broken MAP Sensor Wiring Harness Clip: A common point of failure is the plastic clip holding the MAP sensor wiring harness. When it breaks, the harness can droop and make contact with the radiator fan, which quickly damages the wires and causes an open or short circuit, triggering code P0107. Owners often report finding the harness loose before discovering the damaged wires.
Mechanic-Grade Diagnostic Values
- MAP Sensor Signal Voltage at Idle — expected: 1.0V - 1.8V. Failure: A reading below 0.25V for more than 2.5 seconds will trigger P0107.
- MAP Sensor Signal Voltage at Key On, Engine Off (KOEO) — expected: ~4.5V (corresponds to atmospheric pressure). Failure: A reading significantly lower than 4.5V, especially near 0V, indicates a short to ground or failed sensor.
- MAP Sensor Connector 5V Reference — expected: 5.0V. Failure: No voltage or significantly less than 5.0V indicates a wiring problem or an issue with the ECM's 5V reference circuit.
- MAP Sensor Connector Ground Circuit Resistance — expected: < 10 Ohms to chassis ground. Failure: High resistance (above 10 Ohms) or an open circuit (OL) indicates a poor ground connection, which can cause incorrect sensor readings.
Wiring & Ground Locations
- MAP Sensor Connector — On the intake manifold, near the throttle body.. This is the primary point for testing voltage (5V reference, ground, and signal). The connector pins and wires are a common point of failure due to vibration and heat.
OEM Part Supersession History
39300-2G000→39300-84400— Standard part revision and update by the manufacturer.
Heads up: The new part number (39300-84400) is the correct replacement and is fully compatible.
Diagnostic Flowchart
Other Known Issues on This Vehicle
Issues unrelated to this code that are worth knowing about as an owner of this generation:
- Catastrophic Engine Failure (Rod Bearing Wear) 🔴 High — Very common. Subject of a massive class-action lawsuit and multiple recalls (e.g., NHTSA recall 17V-226). Manufacturing debris can block oil passages, leading to connecting rod bearing failure and engine seizure, often with little warning. (Ref: Hyundai Campaign 953 / TSB 19-01-006H; Lifetime Warranty Extension)
- Excessive Oil Consumption 🔴 High — Widespread issue related to piston ring design and cylinder wall scoring on the Theta II GDI engine. Can lead to low oil levels and contribute to premature engine wear and failure.
- Worn Steering Coupler 🟠 Medium — Extremely common. The flexible rubber coupler in the Motor Driven Power Steering (MDPS) column disintegrates over time, causing a prominent clicking or 'clunking' noise when turning the steering wheel. Not a safety issue, but a significant annoyance. (Ref: Hyundai TSB 17-ST-002 / Warranty Extension (TXX7))
- GDI Intake Valve Carbon Buildup 🟠 Medium — Common to all Gasoline Direct Injection (GDI) engines. Since fuel is injected directly into the cylinder, it doesn't wash over the intake valves, allowing carbon deposits to build up over 60,000-100,000 miles. Can cause misfires, rough idle, and reduced performance.
Used vs. New Parts: Buying Guide for This Vehicle
When a used part is the smart pick: A used OEM MAP sensor from a low-mileage donor vehicle can be a cost-effective option, as this is primarily an electronic component, not a mechanical wear item. However, given the relatively low cost of a new aftermarket part, many owners opt for new.
Donor-vehicle mileage cap: roughly under 70000 miles for the part to have meaningful remaining life.
What to inspect on the donor part:
- Check for a clean donor vehicle with no signs of engine fire or flood damage.
- Inspect the sensor's plastic housing for cracks or heat damage.
- Ensure the connector pins are straight and free of corrosion.
- Verify the O-ring is present and not flattened or cracked, though it's best to use a new O-ring regardless.
Aftermarket brands forum-validated for this vehicle:
- Bosch
- Delphi
- Walker Products
Brands owners have reported issues with on this vehicle:
- Unbranded, no-name sensors from online marketplaces should be avoided, as their calibration and longevity can be questionable.
Real Owner Stories
Aggregated from forums and TSBs cited above. Mileages and costs reflect what owners reported in those sources.
2012 Hyundai Sonata 2.4L GDI
Symptoms: After a starter replacement, the check engine light and traction light came on. A scan at Autozone showed a MAP sensor code P0107.
What fixed it: The owner noted the technician had to take parts off to reach the starter, suggesting the sensor or wiring was disturbed during the repair.
Source hint: Reddit r/autorepair
2011-2015 Kia Optima 2.4L GDI
Symptoms: The wiring harness for the MAP sensor came loose and was damaged by the radiator fan.
What fixed it: Repairing the damaged section of the wiring harness or replacing the connector pigtail and securing it away from the fan.
Source hint: YouTube - World Mechanics on Kia Optima
Related OBD-II Codes
Frequently Asked Questions
Where is the MAP sensor located on my 2010-2014 Sonata 2.4L GDI engine?
Is there a specific wiring issue I should look for on my Sonata regarding code P0107?
My Sonata has a clunking noise in the steering; is this related to the MAP sensor code?
Could my P0107 code be related to the major engine recalls for the Theta II engine?
What should the MAP sensor reading be on my scan tool when the engine is off?
Can a vacuum leak cause P0107 on this vehicle?
Helpful Videos

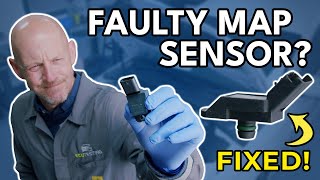
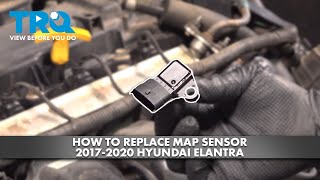
We Have This Part in Stock


The information in this article is provided for general reference and educational purposes only. Vehicle specifications, procedures, and part compatibility can vary by production date, trim level, and region. Always consult your vehicle's factory service manual and verify part numbers before purchasing or performing repairs. Safety-critical components such as airbags, seat belts, and braking systems should be installed by a qualified professional.
- Hyundai Sonata:
- 🎬 Helpful Videos
- 🛍️ Shop This Part
- What's Unique About the 2010-2014 Hyundai Sonata
- Symptoms You May Notice
- Most Likely Causes
- Rare But Worth Checking
- Diagnosis Steps
- Parts You'll Likely Need
- Related Codes That Often Appear With This One
- Platform-Specific Known Issues
- Mechanic-Grade Diagnostic Values
- Wiring & Ground Locations
- OEM Part Supersession History
- Diagnostic Flowchart
- Other Known Issues on This Vehicle
- Used vs. New Parts: Buying Guide for This Vehicle
- Real Owner Stories
- 2012 Hyundai Sonata 2.4L GDI
- 2011-2015 Kia Optima 2.4L GDI
- Related OBD-II Codes
- Frequently Asked Questions
- 🎟️ Get 5% Off