

P0107 on 2007-2013 Chevrolet Silverado 1500: MAP Sensor Circuit Low Causes and Fixes
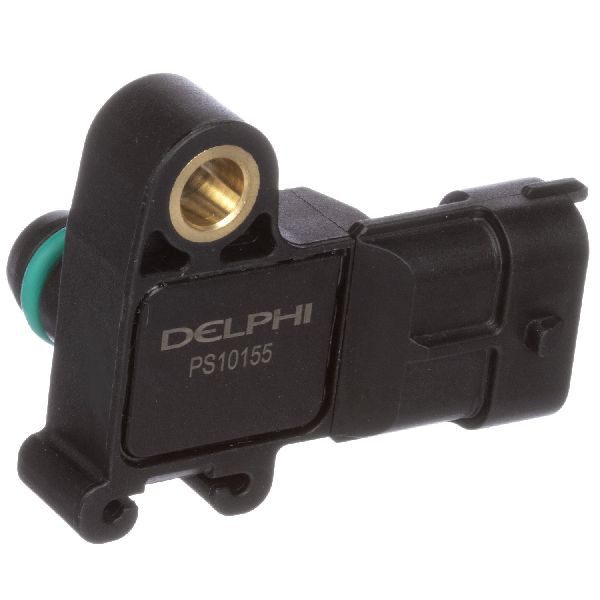
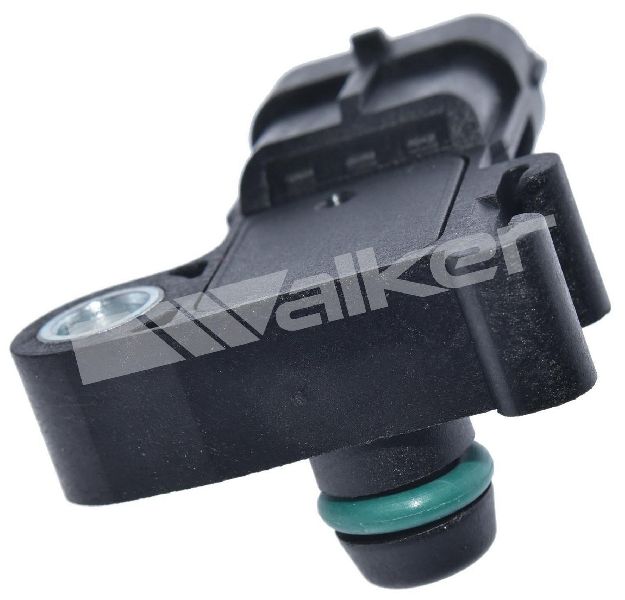
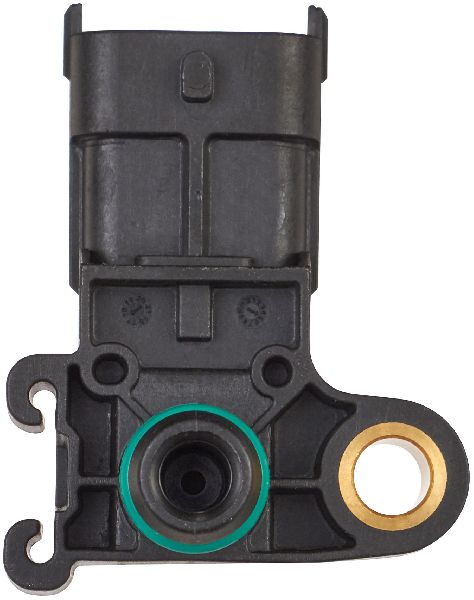
P0107 on a 2007-2013 Silverado most often means the Manifold Absolute Pressure (MAP) sensor has failed. It's an inexpensive part located on the top rear of the intake manifold and is extremely easy to replace with no tools or a single flathead screwdriver, making it a very common DIY fix.
- P0107 on your 2007-2013 Silverado almost always points to a problem with the MAP sensor itself.
- Before buying parts, check the sensor's connector for corrosion or damage and ensure it's seated properly.
- The most likely fix is replacing the MAP sensor, which is a quick, easy, and inexpensive DIY job that often requires no tools.
- Use a quality replacement part from brands like ACDelco or Delphi. The correct OEM part number is likely 12644228, which supersedes older numbers.
- Do not confuse the MAP sensor (at the back of the intake manifold) with the MAF sensor (on the air intake tube); they are different parts that can cause similar symptoms.
What's Unique About the 2007-2013 Chevrolet Silverado 1500

On the GMT900 platform Silverado (2007-2013), the MAP sensor is a well-known common failure point, but the diagnosis is typically straightforward. Unlike later generations (2019+) which are plagued by complex wiring harness chafing issues documented in TSBs, the P0107 code on this specific generation more frequently points directly to the sensor itself. The sensor is conveniently located on top of the intake manifold near the firewall, held by a simple clip, making it much easier to access and replace in minutes compared to other vehicles where it might be buried.
Symptoms You May Notice
- Check Engine Light is on
- Rough or unstable idle
- Engine stalling, especially when coming to a stop or after a hot restart
- Poor, sluggish, or hesitant acceleration
- Increased fuel consumption
- Black smoke from the exhaust due to an overly rich fuel mixture
- Hard starting or long crank times
- Engine may enter 'limp home' mode with reduced power
- Replacing the Mass Airflow (MAF) sensor. While both sensors measure air intake, they are distinct components. The P0107 code specifically points to the MAP sensor circuit. These engines use both sensors for fuel calculations.
Most Likely Causes

- Faulty Manifold Absolute Pressure (MAP) Sensor 🔴 High Probability The sensor is a very common failure item due to age and constant heat cycles in the engine bay. The internal electronics or diaphragm fail, causing the signal voltage to drop below the 0.5V threshold.
How to confirm: With a scan tool, observe the MAP sensor data with the Key On, Engine Off (KOEO). It should read close to barometric pressure (approx. 4.0-5.0V). At a warm idle, the reading should drop significantly to 1.0-2.1V. If the reading is stuck low (e.g., below 0.5V) and does not change with engine RPM, the sensor has failed.
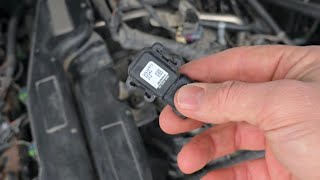
Typical fix: Replace the MAP sensor. It is located on the top of the intake manifold toward the firewall and is held in by a small retaining clip. No tools are required for removal. 🎬 Watch: This quick walkthrough shows how to swap the sensor. Lightly oil the new sensor's O-ring before installation.
Est. part cost: $25-$60 - Wiring Harness or Connector Issue 🟡 Medium Probability Engine bay heat and vibration can make the plastic connector and wires brittle over time. This can lead to a poor connection at the sensor, broken terminal pins, or an internal break in the wire near the connector.
How to confirm: Visually inspect the wiring and connector for damage, corrosion, or loose pins. Wiggle the harness while monitoring live data on a scan tool to see if the reading fluctuates, indicating a short. 🎬 See how to test and replace a faulty MAP sensor. Use a multimeter to test the connector (with sensor unplugged, key on): Pin C (Gray wire) should have 4.8-5.2V (5V reference), Pin A (Orange/Black wire) should have less than 5 ohms to ground, and Pin B (Light Green wire) is the signal.
Typical fix: Repair the damaged section of the wiring harness or replace the connector pigtail. Ensure connections are sealed from moisture.
Est. part cost: $10-$30 - Significant Vacuum Leak ⚪ Low Probability Intake manifold gaskets and vacuum hoses (especially the PCV hose) can degrade and leak over time, which is a common issue on many high-mileage V8s.
How to confirm: A large vacuum leak would affect manifold pressure, but it's less likely to cause a 'circuit low' code than an electrical fault. A smoke test is the most effective way to find a vacuum leak. You may also hear a hissing sound around the intake manifold at idle.
Typical fix: Replace the leaking gasket or hose.
Est. part cost: $15-$150
Rare But Worth Checking
- Faulty Engine Control Module (ECM): This is very rare. The ECM should only be considered after all other possibilities, including the sensor and all related wiring, have been thoroughly tested and ruled out using a factory service manual procedure.
- Clogged Catalytic Converter: A severely clogged catalytic converter can cause a lack of vacuum in the intake manifold, which can, in some rare cases, contribute to a P0107 or related pressure code. This would typically be accompanied by other codes (like P0420) and a severe lack of engine power.
Diagnosis Steps

- Read the trouble codes with an OBD-II scanner. Confirm P0107 is present and note any other codes.
- Using the scanner's live data function, monitor the MAP sensor voltage or pressure reading. With the Key On, Engine Off (KOEO), the voltage should be high (approx. 4.0-5.0V).
- Start the engine. At idle, the voltage should drop to a low pressure/high vacuum reading (around 1.0-2.1V).
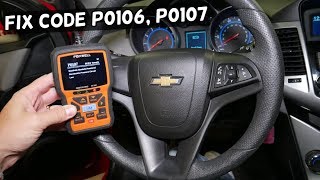
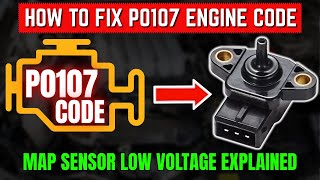
- If the reading is stuck low (below 0.5V) at all times, proceed with inspection. 🎬 Watch: A mechanic explains the P0107 low voltage code.
- Turn the engine off. Locate the MAP sensor on top of the intake manifold, near the back towards the firewall.
- Visually inspect the sensor's electrical connector and nearby wiring for any signs of damage, corrosion, or loose connections. Wiggle the harness to check for intermittent faults.
- Disconnect the sensor. With the ignition on, use a multimeter to check the connector: Pin C should have a 4.8-5.2 volt reference, and Pin A should have a good ground (under 5 ohms).
- If power and ground are good, the issue is almost certainly the sensor itself. If they are missing, there is a wiring problem or, rarely, an ECM fault.
- If the sensor is the suspected cause, replacement is the next step. It is held in by a clip and sealed with an O-ring. Lightly oil the new O-ring before installation.
- After replacement, clear the code with the scanner and perform a test drive to ensure the problem is resolved. The code may also clear on its own after 40 warm-up cycles without a fault.
Parts You'll Likely Need
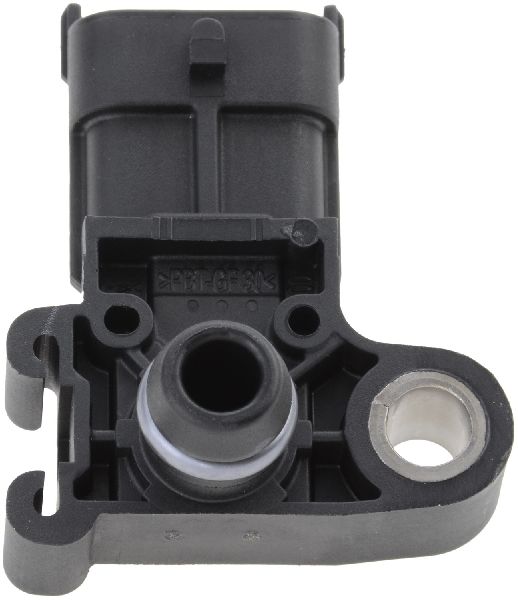
- Manifold Absolute Pressure (MAP) Sensor
(OEM #12644228 (supersedes 12623671))— This is the most common failure component for a P0107 code on this vehicle. The original part number 12623671 is often superseded by 12644228 or 12711681 in parts catalogs.
Trusted brands: ACDelco (GM Original Equipment), Delphi, Bosch
OEM price range: $40-$60
Aftermarket price range: $25-$45
Related Codes That Often Appear With This One
- P0106 (MAP/Barometric Pressure Circuit Range/Performance)
- P0108 (MAP/Barometric Pressure Circuit High)
- P0300 (Random/Multiple Cylinder Misfire Detected) as a result of the incorrect air/fuel mixture.
Technical Service Bulletins (TSBs) & Recalls
- PIP4409F - While written for the Hummer H3, this TSB discusses P0107 caused by broken wires in the MAP sensor harness, a relevant possibility for any GM vehicle of this era.
- Bulletin #PIT5677 - Notes that P0107 can be found in combination with other DTCs when the engine runs rough, exhibits reduced engine power, or has an erratic speedometer.
- Bulletin #PIT5713A - Describes instances where the MIL is displayed with P0107 alongside various communication codes (U-codes) and IPC warning messages.
- Bulletin #PIT5677E - A manufacturer service bulletin that lists P0107 as a potential code found when checking for various electrical system malfunctions.
Mechanic-Grade Diagnostic Values
- MAP Sensor 5V Reference Circuit — expected: 4.8-5.2 Volts DC with key on, engine off. Failure: Voltage below 4.8V or above 5.2V points to a wiring or ECM issue, not the sensor.
- MAP Sensor Ground (Low Reference) Circuit Resistance — expected: Less than 5.0 Ohms to a known good ground. Failure: Resistance over 5.0 Ohms indicates an open or high resistance in the ground circuit.
- MAP Sensor Signal Voltage (Key On, Engine Off) — expected: 4.0-5.0 Volts (corresponds to atmospheric pressure). Failure: A reading below 4.0V, or especially below 0.5V, indicates a circuit or sensor fault.
- MAP Sensor Signal Voltage (Engine at Warm Idle) — expected: 1.0-2.1 Volts (corresponds to high manifold vacuum). Failure: Voltage does not drop from the KOEO reading, or is stuck low (below 0.5V).
- Long Term Fuel Trim — expected: Between -10% and +10%. Failure: A P0107 fault can cause the ECM to see a false high load, leading to a rich condition and forcing fuel trims to become excessively negative.
Scan Tool Commands That Help
- Scan Tool & Jumper Wire: 5V Reference to Signal Jumper Test — If the MAP sensor signal is stuck low on the scan tool, this test definitively checks the wiring harness and ECM. Disconnect the sensor, jump the 5V reference wire to the signal wire at the connector. The scan tool's MAP voltage reading should jump to 5.0V. If it does, the wiring and ECM are good, confirming the sensor is bad. If it does not, there is an open or short in the signal or reference wire.
Wiring & Ground Locations

- G103 — On the front of the right (passenger side) cylinder head.. This is a primary engine ground point. A poor connection here can cause erratic behavior in multiple sensors, including creating a floating ground for the ECM, which supplies the ground reference for the MAP sensor.
- G104 — On the front of the left (driver side) cylinder head.. This is another critical engine ground. Like G103, corrosion or a loose connection here can lead to various electrical issues and sensor faults that are difficult to trace.
- ECM (Engine Control Module) — Located at the left front of the engine compartment, near the fan shroud.. This is the location of the computer that receives the MAP sensor signal and provides its power and ground. All wiring tests for the MAP circuit ultimately lead back to this module's connectors.
Real Owner Repair Stories
- Tahoe Yukon Forum user (2007 Chevrolet Tahoe 5.3L) — Engine would lurch and stumble, particularly after a hot restart (e.g., stopping for gas). The P0107 code was present.
❌ Tried (didn't work) The user did not report trying other fixes first.
✅ What actually fixed it Replacing the Manifold Absolute Pressure (MAP) sensor resolved all symptoms and the trouble code.
OEM Part Supersession History
12623671→12644228— Standard part update/revision by GM.12644228→12711681— Further part revision. Both numbers are often listed as compatible or interchangeable for this application.
Heads up: While generally compatible, always verify the correct part number for your specific VIN with a GM dealer or reliable parts catalog.
Model Year Variations Within This Range
- 2007-2013: No significant variations are commonly documented for the MAP sensor, its circuit, or the causes of P0107 within the 2007-2013 GMT900 platform equipped with the 5.3L LMG engine. The location, part, and diagnostic procedure are consistent across these model years.
Diagnostic Flowchart
Real Owner Stories
Aggregated from forums and TSBs cited above. Mileages and costs reflect what owners reported in those sources.
2007 Tahoe 5.3
Symptoms: Check Engine Light with P0107, lurching or stumbling when accelerating after a hot restart, and eventually the engine shutting off in the worst possible places.
What fixed it: The issue was not definitively resolved in the thread. The owner replaced the MAP sensor twice, and a trusted shop replaced the spark plugs and wires, but the problem returned.
Source hint: Tahoe Yukon Forum
2005 Chevrolet 5.3L V8
Symptoms: Triggered a P0107 code, leading to initial confusion between diagnosing the MAF (Mass Air Flow) and MAP (Manifold Absolute Pressure) sensors.
What fixed it: A GM Tech provided the exact location and replacement instructions for the MAP sensor, confirming it plugs directly into the intake manifold.
Source hint: Chevrolet Message Forum - 'P0107 code'
2000 Chevrolet Silverado 5.3L (Supercharged)
Symptoms: Triggered a P0107 code after aftermarket modifications.
What fixed it: The code was triggered by the installation of a supercharger affecting manifold pressure, illustrating that forced induction modifications can trigger this code in applications that are otherwise stock.
Source hint: Diablosport Forums - 'CODE P0107 map sensor'
Related OBD-II Codes
Frequently Asked Questions
Where is the MAP sensor located on my 2007-2013 Silverado 5.3L?
Does TSB PIP4409F apply to my 2007-2013 Silverado 1500?
What should the MAP sensor voltage read on my 5.3L V8 when testing it?
How do I test the MAP sensor wiring harness on my Silverado?
Can a vacuum leak cause the P0107 code on the LMG engine?
Why is my Silverado blowing black smoke with the P0107 code?
Helpful Videos

We Have This Part in Stock


The information in this article is provided for general reference and educational purposes only. Vehicle specifications, procedures, and part compatibility can vary by production date, trim level, and region. Always consult your vehicle's factory service manual and verify part numbers before purchasing or performing repairs. Safety-critical components such as airbags, seat belts, and braking systems should be installed by a qualified professional.
- Chevrolet Silverado 1500:
- 🎬 Helpful Videos
- 🛍️ Shop This Part
- What's Unique About the 2007-2013 Chevrolet Silverado 1500
- Symptoms You May Notice
- Most Likely Causes
- Rare But Worth Checking
- Diagnosis Steps
- Parts You'll Likely Need
- Related Codes That Often Appear With This One
- Technical Service Bulletins (TSBs) & Recalls
- Mechanic-Grade Diagnostic Values
- Scan Tool Commands That Help
- Wiring & Ground Locations
- Real Owner Repair Stories
- OEM Part Supersession History
- Model Year Variations Within This Range
- Diagnostic Flowchart
- Real Owner Stories
- 2007 Tahoe 5.3
- 2005 Chevrolet 5.3L V8
- 2000 Chevrolet Silverado 5.3L (Supercharged)
- Related OBD-II Codes
- Frequently Asked Questions
- 🎟️ Get 5% Off