

P0037 on 2011-2017 Honda Odyssey: HO2S Heater Circuit Low Causes and Fixes
On a 2011-2017 Honda Odyssey, code P0037 almost always means the rear downstream oxygen sensor (Bank 1, Sensor 2) has failed. The internal heater element burns out. Replacing the sensor is the most common fix. Expect to pay $70-$120 for a quality aftermarket sensor (Denso/NGK) or $140-$210 for an OEM part. It's a straightforward DIY job for many, though access is tight.
- P0037 points specifically to the heater circuit in the oxygen sensor located after the catalytic converter on the rear (firewall side) of the engine.
- The most likely fix is replacing the sensor itself. A failed internal heater is the most common cause, confirmed by an infinite resistance reading.
- Before buying a new sensor, perform a quick visual inspection of the wiring for obvious damage and check the 'A/F HEATER' fuse in the under-hood fuse box.
- For DIY replacement, you will need a special 22mm (7/8") oxygen sensor socket. Be prepared for a tight workspace.
- Ensure you purchase the correct sensor: Bank 1, Sensor 2 (Rear, Downstream). The OEM part is 36542-RV0-A01, and a direct-fit Denso equivalent is 234-4461.
What's Unique About the 2011-2017 Honda Odyssey
The Honda J-series V6 engine is known for its reliability, and this code is typically not indicative of a major engine problem. The most common failure is simply the oxygen sensor's heating element wearing out over time. Unlike some vehicles where wiring is a frequent culprit, on the Odyssey, the sensor itself is the highest probability failure point. The location of Bank 1 Sensor 2, tucked behind the engine and above the subframe, can make access a bit tight but it is manageable for a DIY repair. Some owners report difficulty reaching it from above or below without the right combination of extensions and a specialized O2 sensor socket.
Symptoms You May Notice
- Check Engine Light is on
- Failing a state emissions inspection
- Slightly reduced fuel economy (may not be noticeable)
- Hesitation, rough idle, or puffs of black smoke during cold starts 🎬 Watch: P0037 code causes, symptoms, and repair costs explained (less common).
- Replacing the wrong oxygen sensor (e.g., replacing the front/upstream sensor or the sensor on the wrong bank). Always confirm Bank 1 is the rear bank (firewall side) and Sensor 2 is the downstream sensor (after the catalytic converter).
- Replacing the sensor when the actual problem is a corroded connector or a damaged wire further up the harness.
Most Likely Causes
- Failed Bank 1, Sensor 2 Oxygen Sensor 🔴 High Probability The internal heater element within the oxygen sensor is a common wear item and eventually burns out from thousands of heat cycles. It's the most frequent point of failure for this code on most vehicles, including the Odyssey.
How to confirm: Disconnect the sensor and measure the resistance across the two heater circuit wires (usually the two wires of the same color, often black or white). An infinite resistance reading (open circuit) confirms the heater has failed. A good heater should have a low resistance, typically between 2 and 40 ohms 🎬 See this guide on how to test sensor heater circuits depending on the specific sensor and temperature.
Typical fix: Replace the Bank 1, Sensor 2 (rear, downstream) oxygen sensor.
Est. part cost: $70-$210 - Damaged Wiring or Connector 🟡 Medium Probability The wiring harness is located under the vehicle and can be damaged by road debris, speed bumps, or contact with hot exhaust components if a retaining clip fails. Connectors can also accumulate moisture and corrode, leading to a poor connection and low voltage reading.
How to confirm: Visually inspect the entire length of the sensor's wiring harness from the sensor to the main connector for any signs of melting, chafing, or breaks. Check the connector pins for green or white corrosion, or backed-out pins. A voltage check on the harness side should show ~12V with the key on.
Typical fix: Repair the damaged section of wire or clean/replace the connector. Applying dielectric grease to the connector can prevent future moisture intrusion. If damage is severe, a new sensor with its integrated harness is required.
Est. part cost: $5-$20 for repair materials, or the cost of a new sensor. - Blown Fuse ⚪ Low Probability
How to confirm: Check the fuse boxes. The 2011-2017 Odyssey has multiple fuse boxes: one under the driver's dash, one under the passenger's dash, and two in the engine bay. The relevant fuse is often labeled 'A/F HEATER' or 'LAF'. In many Hondas, this is a 15A fuse in one of the under-hood boxes. Pull the fuse and visually inspect if it is blown.
Typical fix: Replace the blown fuse with a new one of the same amperage. If the fuse blows again immediately, it indicates a short circuit in the wiring that must be found and repaired.
Est. part cost: $1-$5
Rare But Worth Checking
- Faulty Powertrain Control Module (PCM): This is extremely rare. The PCM's internal driver for the heater circuit can fail, but this should only be considered after exhaustively ruling out the sensor, wiring, and fuses.
Diagnosis Steps
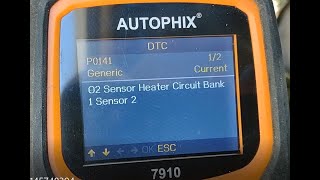
- Read the code with an OBD-II scanner to confirm P0037 is the only code present.
- Visually inspect the Bank 1, Sensor 2 oxygen sensor, which is located on the rear catalytic converter (closer to the firewall). Check its wiring harness for any signs of melting, fraying, or physical damage, especially where it might contact the exhaust or chassis.
- Inspect the fuse boxes. The 2011-2017 Odyssey has multiple fuse boxes. Check the primary and secondary boxes under the hood for a fuse related to the oxygen sensor heaters (often labeled 'A/F HEATER' or similar, typically 15A). Replace if blown.
- If the wiring and fuse are okay, test the sensor's heater circuit. Disconnect the sensor's electrical connector. Identify the two wires for the heater circuit (typically the two wires that are the same color, e.g., both black).
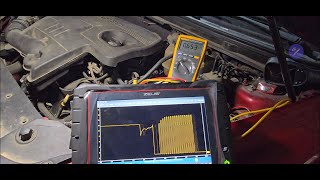
- Use a multimeter set to Ohms (Ω) to measure the resistance between the two heater pins on the sensor side of the connector. A reading of 'OL' or infinite resistance means the heater is burned out and the sensor must be replaced. A good sensor will typically read between 2 and 40 ohms.
- To confirm power is reaching the sensor, turn the ignition to 'ON' (engine off). Use a multimeter set to DC Volts to check for battery voltage (~12V) at one of the two heater circuit pins on the vehicle's harness side of the connector. The other pin is the ground control from the PCM.
- If there is no voltage, there is a wiring issue between the fuse box and the sensor. If voltage is present and the sensor's heater circuit tested open (infinite resistance), the sensor is confirmed to be faulty.
Parts You'll Likely Need
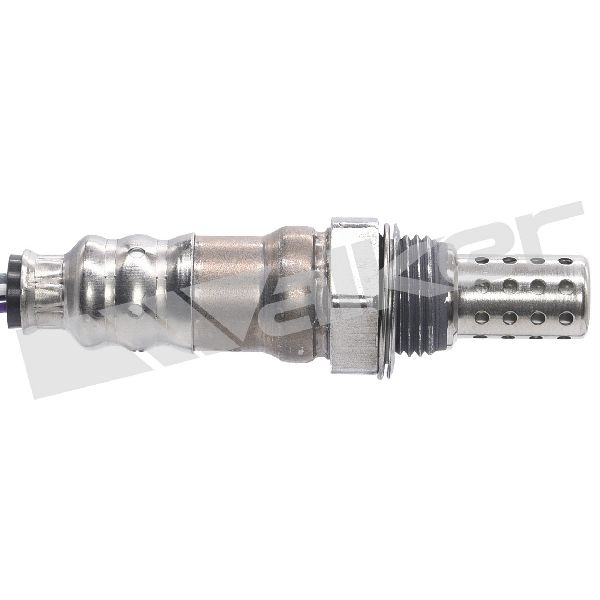
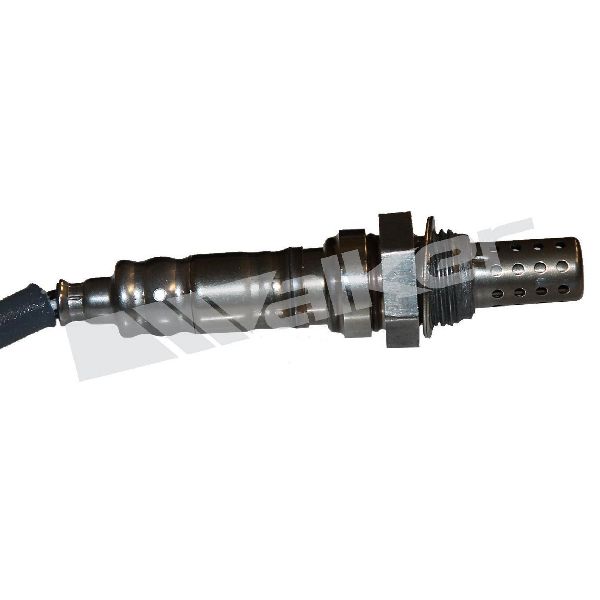
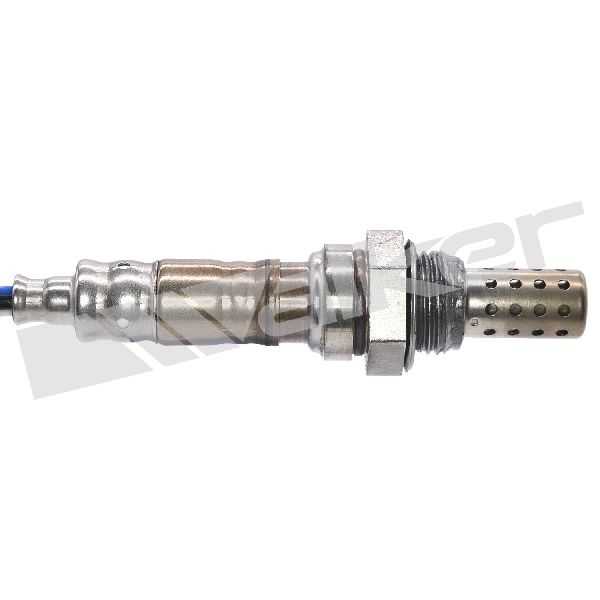
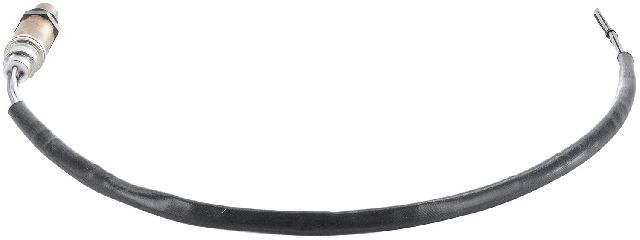
- Rear Downstream Oxygen Sensor (Bank 1, Sensor 2)
(OEM #36542-RV0-A01)— This is the component identified by the P0037 code. Its internal heater is the most common failure point.
Trusted brands: Denso (OEM supplier, part #234-4461 is a common aftermarket equivalent), NGK/NTK, Bosch
OEM price range: $140-$210
Aftermarket price range: $70-$120 - Oxygen Sensor Socket — A special 22mm (or 7/8") socket with a cutout for the wire is often necessary for removal and installation, especially in tight spaces.
Trusted brands: Lisle, OEMTOOLS, GearWrench
Aftermarket price range: $10-$25
Technical Service Bulletins (TSBs) & Recalls
- While no TSB directly addresses the P0037 code, Honda TSB 09-010 for 2008-2012 Accords (and other models) addresses a VTC actuator rattle on the related J-series engine, showing Honda does issue bulletins for known engine component issues. No such bulletin for this specific sensor failure appears to be public.
Platform-Specific Known Issues
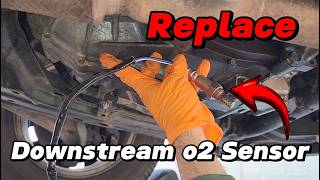
- Tight Access for Replacement: Many owners report that accessing the Bank 1, Sensor 2 is challenging. It is located on the rear catalytic converter, tucked between the engine and the firewall. Some DIYers have success from the top using long extensions, while others prefer to access it from underneath the vehicle. 🎬 Watch: DIY walkthrough for removing the Bank 1 Sensor 2 Penetrating oil on the old sensor's threads is highly recommended before attempting removal.
Mechanic-Grade Diagnostic Values
- O2 Sensor Heater Circuit Resistance — expected: 10-40 Ω at ambient temperature. Some sources cite ranges like 4.5-8.0 Ω or as low as 2.8 Ω, but the 10-40 range is a common Honda specification.. Failure: A reading of infinite resistance (OL) indicates a burned-out, open heater circuit. A reading well outside the expected range can also indicate a faulty sensor.
- Heater Circuit Power Supply Voltage — expected: ~12V (Battery Voltage) with Key On, Engine Off.. Failure: A reading significantly below 12V or 0V indicates a problem with the wiring, fuse, or power source for the heater circuit.
Wiring & Ground Locations
- Heater Circuit Wires — Within the 4-wire connector for the Bank 1 Sensor 2 oxygen sensor.. On many Honda sensors, the two wires for the heater circuit are the same color (often both black or both white). These are the two pins on the sensor side of the connector that must be probed to measure the heater's resistance.
- Engine/Chassis Ground — Any unpainted metal bolt or stud on the engine block or chassis can be used as a ground point for testing. The owner's manual may specify a dedicated grounding point for jump-starting, often a lug near a headlight, which is also a reliable ground for testing.. When testing for voltage at the sensor harness, a reliable ground connection for the multimeter is essential for an accurate reading.
OEM Part Supersession History
36542-RV0-A01→N/A— This part number appears to be stable for the specified model years.
Heads up: The aftermarket equivalent from Denso (an OEM supplier) is commonly cited as 234-4461.
Diagnostic Flowchart
Used vs. New Parts: Buying Guide for This Vehicle
When a used part is the smart pick: A used part is almost never a smart choice for this repair. Oxygen sensors are wear items with a finite lifespan, typically around 100,000 miles. Installing a used sensor is risky as its remaining life is unknown, and it may fail shortly after installation, requiring you to do the labor twice.
Donor-vehicle mileage cap: roughly under 30000 miles for the part to have meaningful remaining life.
What to inspect on the donor part:
- If buying used is unavoidable, source from a vehicle with the lowest possible mileage.
- Inspect the sensor tip for heavy carbon deposits, oil fouling, or white ash, which indicate engine problems on the donor car.
- Ensure the wiring harness and connector are intact with no cuts, melting, or corrosion.
Aftermarket brands forum-validated for this vehicle:
- Denso (often the original OEM supplier for Honda, part #234-4461 is a direct fit equivalent)
- NGK / NTK (another major OEM supplier for Japanese vehicles)
Brands owners have reported issues with on this vehicle:
- Unnamed or generic 'white-box' brands. Forum discussions often show that while cheaper, these sensors can have incorrect heater resistance values, leading to persistent codes even after replacement. It is better to pay for a quality brand to avoid repeat work.
Real Owner Stories
Aggregated from forums and TSBs cited above. Mileages and costs reflect what owners reported in those sources.
2012 Honda Odyssey
Symptoms: Check Engine Light with code P0037.
What fixed it: Replaced the Bank 1, Sensor 2 oxygen sensor with a Denso 234-4461 part and cleared the code. The owner noted the most difficult part was removing the electrical connector in its tight location.
Source hint: odyclub.com - Thread 'Code P0037'
2011 Honda Odyssey
Symptoms: Check Engine Light with both P0037 and P0057 codes appearing simultaneously.
What fixed it: The fix was replacing both downstream (Bank 1, Sensor 2 and Bank 2, Sensor 2) O2 sensors.
Source hint: odyclub.com - Thread 'P0037 and P0057 O2 sensor heater circuit low'
Honda Accord with J35 V6 Engine
Symptoms: Diagnosing a P0037 code.
What fixed it: The owner confirmed the sensor was faulty by testing the circuit. They found 12V at the harness connector and measured infinite resistance on the sensor's heater pins, which validated the need for sensor replacement.
Source hint: driveaccord.net - Although for an Accord, a user in the thread 'P0037 Bank 1 Sensor 2' provides a detailed account of testing the circuit, confirming 12V at the harness and infinite resistance on the old sensor, validating the diagnostic procedure. This is directly applicable to the Odyssey's J35 engine.
Related OBD-II Codes
Frequently Asked Questions
Where is the Bank 1, Sensor 2 oxygen sensor located on my 2011-2017 Odyssey?
What brand of replacement oxygen sensor is recommended for the Honda Odyssey?
Could a blown fuse be the reason for my P0037 code?
How can I test the old oxygen sensor to confirm it's bad?
I'm getting both P0037 and P0057 codes at the same time. What does that mean?
Are there any tips for making the sensor replacement easier?
Is it a good idea to buy a used oxygen sensor to save money?
Helpful Videos
We Have This Part in Stock

The information in this article is provided for general reference and educational purposes only. Vehicle specifications, procedures, and part compatibility can vary by production date, trim level, and region. Always consult your vehicle's factory service manual and verify part numbers before purchasing or performing repairs. Safety-critical components such as airbags, seat belts, and braking systems should be installed by a qualified professional.
- Honda Odyssey:
- 🎬 Helpful Videos
- 🛍️ Shop This Part
- What's Unique About the 2011-2017 Honda Odyssey
- Symptoms You May Notice
- Most Likely Causes
- Rare But Worth Checking
- Diagnosis Steps
- Parts You'll Likely Need
- Technical Service Bulletins (TSBs) & Recalls
- Platform-Specific Known Issues
- Mechanic-Grade Diagnostic Values
- Wiring & Ground Locations
- OEM Part Supersession History
- Diagnostic Flowchart
- Used vs. New Parts: Buying Guide for This Vehicle
- Real Owner Stories
- 2012 Honda Odyssey
- 2011 Honda Odyssey
- Honda Accord with J35 V6 Engine
- Related OBD-II Codes
- Frequently Asked Questions
- 🎟️ Get 5% Off