

P0037 on 2004-2024 Ford F-150: O2 Sensor Heater Circuit Low Causes and Fixes
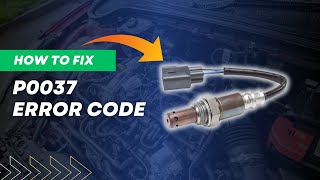
P0037 on a Ford F-150 almost always means the Bank 1, Sensor 2 oxygen sensor has failed. This is the downstream sensor on the passenger side. The fix is usually replacing the sensor itself, which costs about $50-$120 for an aftermarket part and is a straightforward DIY job for many owners. Before replacing, check the associated fuse and wiring for damage.
- P0037 points to a failure in the heater circuit for the passenger-side, downstream (post-catalytic converter) O2 sensor.
- The most likely culprit is the oxygen sensor itself, which has a burned-out internal heater.
- Before buying a new sensor, always check the corresponding fuse (e.g., F77 or F93 in the engine bay) and visually inspect the sensor's wiring for melting or damage, as these are cheaper and easier fixes.
- This is a DIY-friendly repair for most home mechanics with basic tools. An O2 sensor socket is recommended.
- Ignoring this code will cause an automatic emissions test failure and may lead to reduced fuel economy.
What's Unique About the 2004-2024 Ford F-150
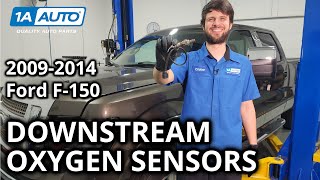
For the Ford F-150, this code is a very common and straightforward issue. Due to the truck's construction, the downstream O2 sensors and their wiring are exposed to significant heat, moisture, and physical debris under the vehicle, making them a frequent failure point. While the code's meaning is consistent across all engines (e.g., 5.4L, 5.0L, 3.5L EcoBoost), the exact part number for the sensor and the fuse location for the heater circuit will vary depending on the model year and engine. For example, on many 2009-2014 F-150s, the O2 sensor heater fuse is in the engine compartment fuse box, often in position F77, while on 2015-2017 models, 🎬 See this replacement walkthrough for 2009-2014 F-150 models. it may be fuse F93.
Generation note: This guide covers the 11th (2004-2008), 12th (2009-2014), 13th (2015-2020), and 14th (2021-2024) generations of the Ford F-150. The fundamental cause and diagnosis of P0037 are the same across all generations. However, the specific oxygen sensor part number, wiring harness connector style, and the location of the controlling fuse will differ. Always verify the part and fuse location for your specific model year and engine. For example, a 2011-2014 5.0L F-150 often uses Motorcraft part DY-1158 for this sensor, while some 2015-2017 models use DY-1325.
Symptoms You May Notice
- Check Engine Light is on
- Failing a vehicle emissions test
- Slightly decreased fuel economy in some cases, though many owners report no noticeable change
- Rough or uneven idle in some instances
- Replacing the wrong oxygen sensor (e.g., replacing the upstream Sensor 1 or a sensor on Bank 2, the driver's side).
- Replacing the catalytic converter. This code is for the sensor's heater circuit, not the efficiency of the converter itself.
- Replacing the sensor without first checking the fuse and wiring. A new sensor will not fix a blown fuse or a melted wire.
Most Likely Causes
- Failed Oxygen Sensor (Bank 1, Sensor 2) 🔴 High Probability The internal heater element within the O2 sensor is a common failure item due to thousands of heat cycles. Its location under the truck exposes it to water, salt, and road debris, accelerating wear and corrosion.
How to confirm: After confirming the fuse is good, test the resistance of the heater circuit at the sensor's connector. The two same-colored wires (often white or black) are for the heater. A good heater circuit will have a low resistance, typically between 2 and 10 Ohms. An open circuit (infinite resistance or 'OL' on a multimeter) confirms the heater element has burned out.
Typical fix: Replace the Bank 1, Sensor 2 oxygen sensor. An O2 sensor socket is highly recommended for removal.
Est. part cost: $50-$120 - Damaged Wiring or Connector 🟡 Medium Probability The wiring harness leading to the downstream O2 sensor is routed under the vehicle and can be damaged by road debris, snagged during off-roading, or melted by proximity to the hot exhaust pipe. This is a very common issue.
How to confirm: Visually inspect the entire wiring harness from the sensor connector back towards the main loom. Look for frayed wires, melted insulation, or signs of green corrosion inside the connector itself. Pay close attention to where the harness may be zip-tied or clipped, as these can be stress points.
Typical fix: Repair the damaged section of wire or replace the connector pigtail. Ensure the repaired harness is secured away from the hot exhaust.
Est. part cost: $15-$40 - Blown Fuse ⚪ Low Probability A short circuit in the wiring or a faulty sensor can sometimes cause the fuse for the O2 heater circuit to blow.
How to confirm: Locate the fuse for the O2 sensor heaters in your owner's manual (often labeled 'HO2S'). For many 2009-2014 F-150s, this is fuse #77 in the under-hood fuse box. For 2015-2017 models, check fuse #93. Pull the fuse and visually inspect it or test for continuity with a multimeter.
Typical fix: Replace the blown fuse. If it blows again immediately, a short circuit exists in the wiring or the sensor itself that must be found and repaired before replacing the fuse again.
Est. part cost: $1-$5
Rare But Worth Checking
- Faulty Powertrain Control Module (PCM): This is extremely rare. Before condemning the PCM, all other possibilities (sensor, wiring, fuse) must be exhaustively ruled out. A faulty PCM driver circuit can fail to supply the correct voltage to the heater. This should only be considered after multiple new sensors and verified wiring fail to resolve the code.
Diagnosis Steps
- Read the Code: Confirm P0037 is the active code using an OBD-II scanner.
- Check the Fuse: Locate the fuse for the O2 sensor heaters in your F-150's owner's manual (e.g., Fuse 77 for 2009-2014, Fuse 93 for 2015-2017). Visually inspect the fuse and replace if blown. If it blows again, investigate for a short circuit.
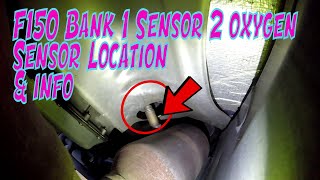
- Visual Inspection: Safely raise the vehicle and locate the Bank 1, Sensor 2 oxygen sensor. It will be on the passenger side, screwed into the exhaust pipe after the catalytic converter. 🎬 Watch: Locate your Bank 1 Sensor 2 oxygen sensor here. Inspect the sensor, its connector, and the wiring harness for any obvious signs of damage, such as melting, chafing, or corrosion.
- Test the Heater Circuit at the Sensor: Disconnect the sensor. Using a multimeter set to Ohms (Ω), measure the resistance between the two same-colored wires on the sensor side of the connector. A good heater circuit will typically have a low resistance (usually 2-10 Ohms). An infinite reading (OL) means the heater is burned out and the sensor must be replaced.
- Test for Power and Ground at the Harness: With the sensor still disconnected and the ignition key in the 'On' position (engine off), use a multimeter to check for 12V power at the harness-side connector on one of the heater circuit pins. Then, check for a good ground on the other heater circuit pin. If either power or ground is missing, the problem is in the vehicle's wiring or fuse box, not the sensor.
- Replace the Sensor: If the fuse is good, the wiring appears intact, power and ground are present at the harness, and the sensor's heater circuit shows infinite resistance, the sensor itself is faulty and needs to be replaced. Using a special O2 sensor socket will make removal much easier.
Parts You'll Likely Need
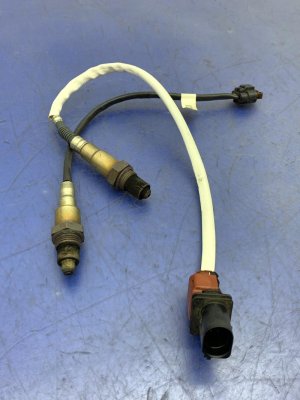
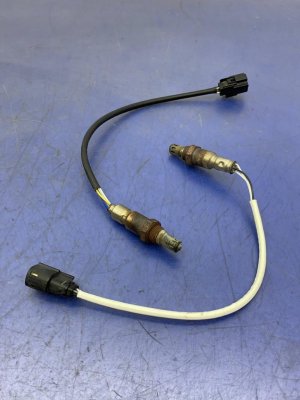
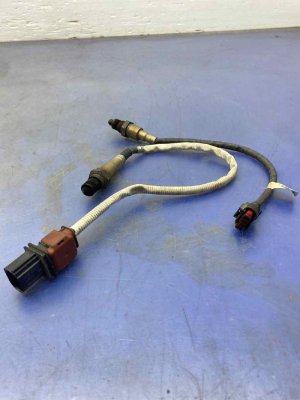
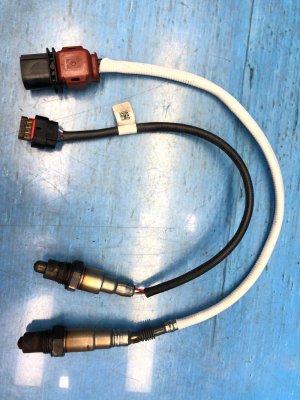
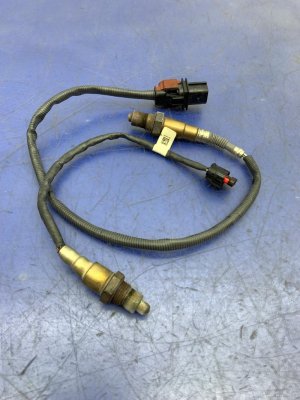
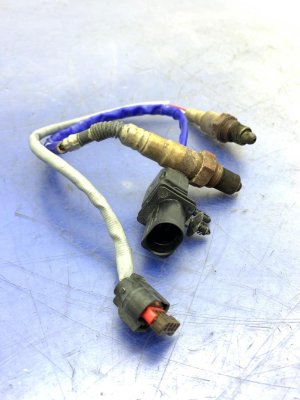
- Oxygen Sensor (Bank 1, Sensor 2)
(OEM #Varies by year/engine. Examples: DY-1158 (2011-2014 5.0L), DY-1325 (2015-2017 2.7L/3.5L/5.0L), DY-1503 (2018-2020 2.7L/3.5L/5.0L). Always verify with VIN.)— The internal heater element in the original sensor is the most common point of failure for this code.
Trusted brands: Motorcraft, Bosch, Denso, NTK
OEM price range: $90-$180
Aftermarket price range: $50-$120
Related Codes That Often Appear With This One
- P0057 — This is the equivalent code for Bank 2, Sensor 2 (driver's side, downstream). If both downstream sensor heaters fail around the same time due to age or if a shared fuse blows, you may see both codes together.
- P0136 — This code indicates a circuit malfunction for the same sensor (Bank 1, Sensor 2), but relates to the sensing circuit, not the heater. A damaged wiring harness or a completely failed sensor could trigger both codes.
- P0141 — This is a generic code for 'O2 Sensor Heater Circuit Malfunction (Bank 1, Sensor 2)'. P0037 is more specific, indicating a 'low' circuit condition, but they point to the same component and are often used interchangeably by different scanner manufacturers.
Platform-Specific Known Issues
- Owner Experience: Melted Wiring Harness: Multiple owners on forums like f150forum.com have reported that after replacing the sensor, the P0037 code remained. Further inspection revealed the wiring harness had sagged and made contact with the hot exhaust pipe, melting the insulation and causing a short. The repair involved splicing in new wire and securing the harness away from the exhaust. This is a critical inspection step before buying parts.
- Fuse Location Varies Greatly: The fuse protecting the heater circuits can be in different locations depending on the generation. For 12th Gen (2009-2014) trucks, it is commonly Fuse #77 in the Battery Junction Box (under the hood). For 13th Gen (2015-2020) trucks, it is often Fuse #93 in the same location. Always consult the owner's manual for your specific year as these can change.
Mechanic-Grade Diagnostic Values
- O2 Sensor Heater Element Resistance — expected: 2 to 10 Ohms. Failure: An infinite reading (Open Loop or 'OL') or zero Ohms (short circuit).
- Heater Circuit Power Supply Voltage at Harness Connector — expected: 12V (Battery Voltage). Failure: 0V or significantly less than battery voltage, indicating a blown fuse or wiring issue upstream.
- Heater Circuit Ground — expected: Near 0V and good continuity to chassis ground.. Failure: Voltage present on the ground wire or high resistance to ground, indicating a bad ground connection.
Scan Tool Commands That Help
- Ford IDS (Integrated Diagnostic System) or equivalent professional scan tool (e.g., FORScan): HO2S Heater On/Off Bidirectional Test — This command allows a technician to manually turn the O2 sensor heater circuit on and off directly from the scan tool. It's used to confirm if the PCM driver, wiring, and heater element are all capable of functioning. If the command works, but the code persists during normal operation, it points to an intermittent wiring issue or a problem with the PCM's automated control logic.
Wiring & Ground Locations
- HO2S Heater Wires — At the sensor connector.. On many Ford 4-wire sensors, the two same-colored wires (often both white) are for the heater circuit. The other two (e.g., black and grey) are for the sensor signal and signal ground. Correctly identifying the heater wires is essential for resistance and voltage testing.
- C142 (example) — This is the connector number for the Bank 1 Sensor 2 (HO2S12) on some later model F-150s (e.g., 2019).. Knowing the specific connector number (found in service manuals and wiring diagrams) is critical for looking up pinouts. For example, on a 2019 F-150, power for the heater may come in on a Green (GN) wire at Pin-2 of this connector.
- PCM Signal Ground — The ground for the O2 sensor signal (often a grey wire) is typically a dedicated ground provided directly by the Powertrain Control Module (PCM), not a chassis ground.. While P0037 is a heater circuit code, understanding the full wiring is key. A mistake during testing could damage the PCM. The heater circuit ground, however, is often a more conventional ground path.
Real Owner Repair Stories
- f150forum.com (2013 F-150 5.0L) — Check Engine Light with code P0037.
❌ Tried (didn't work) Replacing the Bank 1, Sensor 2 oxygen sensor.
✅ What actually fixed it The owner discovered the wiring harness for the sensor had sagged and was resting on the exhaust pipe, which melted the insulation and caused a short. The final fix was to repair the melted wires and use a zip tie to secure the harness away from the hot exhaust.
Model Year Variations Within This Range
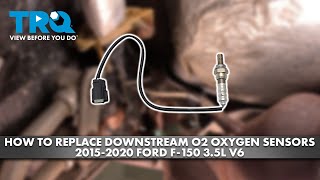
- 2015-2020: For the 13th generation F-150, the downstream O2 sensor connectors are located high up on the transmission bell housing, making them difficult to access without lowering the transmission crossmember slightly. This is different from some earlier generations where the connectors were more exposed along the frame rails.
- 2011+: Starting around 2011, many F-150 engines began using 5-wire or 6-pin wideband oxygen sensors for the upstream (Sensor 1) positions for more precise fuel control. However, the downstream (Sensor 2) position, which is relevant to P0037, typically remained a conventional 4-wire sensor. It's crucial not to confuse the parts, as they are not interchangeable.
Diagnostic Flowchart
Real Owner Stories
Aggregated from forums and TSBs cited above. Mileages and costs reflect what owners reported in those sources.
2013 Ford F-150 5.0L
Symptoms: Triggered a P0037 code with the Check Engine Light on.
What fixed it: Advised by the community to check fuse 77 (20A) in the engine bay fuse box and thoroughly inspect the wiring harness for melting against the exhaust before replacing the sensor.
Source hint: f150forum.com thread https://www.f150forum.com/f38/help-p0037-code-495468/
Ford F-150
Symptoms: The P0037 code remained active even after replacing the Bank 1 Sensor 2 oxygen sensor with a new part.
What fixed it: Further inspection revealed the wiring harness had sagged and made contact with the hot exhaust pipe, melting the insulation and causing a short. Spliced in new wire and secured the harness away from the exhaust.
Source hint: f150forum.com (cited in Vehicle-Specific Issues)
Related OBD-II Codes
Frequently Asked Questions
Where is the O2 sensor heater fuse located on my F-150?
I replaced the Bank 1 Sensor 2 oxygen sensor on my F-150, but the P0037 code came back. What else could it be?
Which specific oxygen sensor needs to be replaced for code P0037 on the F-150?
How can I test if the O2 sensor itself is bad before buying a new one?
Will a P0037 code cause my F-150 to run poorly?
Helpful Videos
We Have This Part in Stock

The information in this article is provided for general reference and educational purposes only. Vehicle specifications, procedures, and part compatibility can vary by production date, trim level, and region. Always consult your vehicle's factory service manual and verify part numbers before purchasing or performing repairs. Safety-critical components such as airbags, seat belts, and braking systems should be installed by a qualified professional.
- Ford F-150:
- 🎬 Helpful Videos
- 🛍️ Shop This Part
- What's Unique About the 2004-2024 Ford F-150
- Symptoms You May Notice
- Most Likely Causes
- Rare But Worth Checking
- Diagnosis Steps
- Parts You'll Likely Need
- Related Codes That Often Appear With This One
- Platform-Specific Known Issues
- Mechanic-Grade Diagnostic Values
- Scan Tool Commands That Help
- Wiring & Ground Locations
- Real Owner Repair Stories
- Model Year Variations Within This Range
- Diagnostic Flowchart
- Real Owner Stories
- 2013 Ford F-150 5.0L
- Ford F-150
- Related OBD-II Codes
- Frequently Asked Questions
- 🎟️ Get 5% Off