

P0030 on 2009-2016 Audi A4 2.0T: Heater Circuit Failure Causes and Fixes
This code almost always means the front oxygen sensor (Bank 1, Sensor 1) has failed. The internal heater element burns out, triggering the fault. Replacing the sensor, typically a Bosch brand part which is the OEM supplier, is the standard fix. Before replacing, a quick check of the related fuse is recommended.
- P0030 on a 2009-2016 Audi A4 almost always means you need a new front oxygen sensor.
- The most likely cause is a burned-out internal heater element in the sensor itself.
- Before buying a new sensor, it's wise to spend two minutes checking the corresponding fuse.
- This is a DIY-friendly repair; the sensor is accessible from the top of the engine bay.
- Use a quality replacement part from a brand like Bosch, which is the original equipment manufacturer.
What's Unique About the 2009-2016 Audi A4
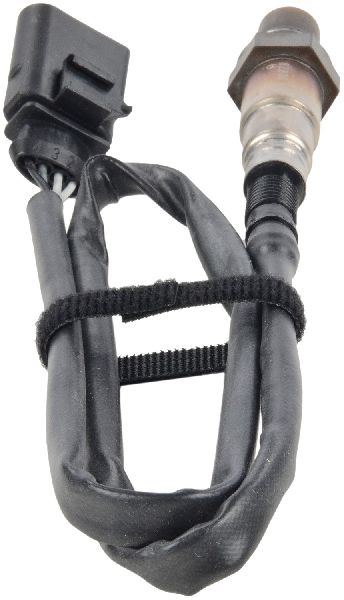
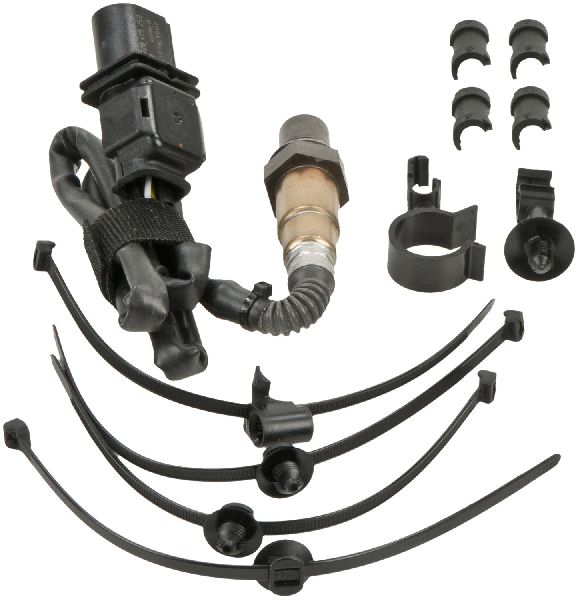
For the B8/B8.5 generation Audi A4 with the CAEB 2.0T engine, the P0030 code is a straightforward and common issue. There are no platform-specific oddities; the cause is almost universally a failed heater element within the original oxygen sensor. Owners should be aware that some replacement sensors may come with a longer cable than the original part, which is normal. The excess cable should be looped and secured with zip ties as per the part instructions.
Generation note: The 2009-2016 model years cover the Audi A4 B8 generation (2009-2012) and its facelift, the B8.5 (2013-2016). For the P0030 code and its related front oxygen sensor, there are no significant differences in diagnosis or repair between these two iterations. The CAEB engine was used extensively across these years. The main differences between B8 and B8.5 are cosmetic (headlights, grille, bumper) and a switch from hydraulic to electromagnetic steering; these do not affect the P0030 fault.
Symptoms You May Notice
- Check Engine Light is on
- Slightly increased fuel consumption
- Failure to pass an emissions test
- Delayed entry into closed-loop fuel control, observable with a scan tool
- Replacing the wrong oxygen sensor. This code specifically points to Bank 1, Sensor 1, which is the upstream sensor before the catalytic converter. The 2.0T engine only has one bank.
Most Likely Causes
- Failed Oxygen Sensor Heater Element 🔴 High Probability The heater element is a wear-and-tear component that operates under extreme temperatures and eventually burns out, creating an open circuit. This is the most common failure leading to P0030.
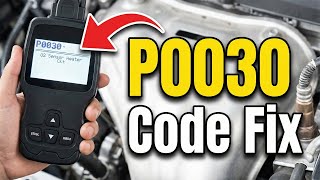
How to confirm: Using a multimeter, measure the resistance across the two heater pins on the sensor's connector (typically the two wires of the same color). A reading of 'OL' (Over Limit) or infinite resistance indicates a broken heater element. 🎬 See how to diagnose and fix the P0030 heater circuit. A good sensor will have a specific, low resistance value, often between 2 and 30 ohms.
Typical fix: Replace the Bank 1, Sensor 1 oxygen sensor.
Est. part cost: $130-$200 - Blown Fuse 🟡 Medium Probability
How to confirm: Locate the fuse box (often in the driver's side dashboard end panel) and identify the fuse for the oxygen sensor heaters, sometimes labeled 'A/F heater' or similar. Visually inspect the fuse or test it for continuity with a multimeter.
Typical fix: Replace the blown fuse. If the new fuse blows immediately, it indicates a short circuit in the wiring that needs to be traced.
Est. part cost: $1-$5 - Damaged Wiring or Connector ⚪ Low Probability The wiring harness is located in the hot engine bay and can become brittle or damaged over time from heat, vibration, or contact with the exhaust manifold.
How to confirm: Visually inspect the wiring harness and connector for the front O2 sensor. Look for any signs of melting, chafing, corrosion in the pins, or breaks. Check for 12V power at the harness-side connector with the key on, engine off.
Typical fix: Repair the damaged section of wiring or replace the connector pigtail.
Est. part cost: $15-$50
Rare But Worth Checking
- Faulty Engine Control Module (ECM): This is extremely rare. The ECM should only be considered after all other possibilities, including the sensor, fuse, and wiring, have been thoroughly tested and ruled out.
Diagnosis Steps
- Verify the P0030 code is present using an OBD-II scanner.
- Check for any other related codes that may provide more clues.
- Locate the fuse for the oxygen sensor heater circuit in the vehicle's fuse box (driver's side dash panel) and confirm it is not blown.
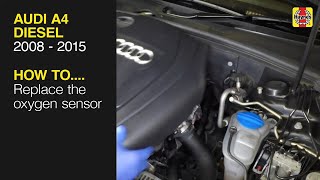
- Visually inspect the wiring and connector for the front oxygen sensor (Bank 1, Sensor 1) for any obvious damage, such as melting, corrosion, or breaks. The sensor is located on the catalytic converter, accessible from the top of the engine bay. 🎬 Watch: Step-by-step guide to replacing the B8.5 oxygen sensor.
- If the wiring looks good, disconnect the sensor.
- With the ignition on (engine off), use a multimeter to check for 12V power at the heater circuit pin on the harness-side connector.
- Using the multimeter, measure the resistance between the two heater pins on the sensor itself (usually the two matching colored wires). An infinite resistance (open circuit) confirms the sensor's heater has failed and the sensor needs replacement. A typical cold resistance is between 2-30 Ohms.
- If power is present at the harness and the sensor's resistance is within spec, there may be an issue with the ground side of the circuit or, rarely, the ECM itself.
Parts You'll Likely Need
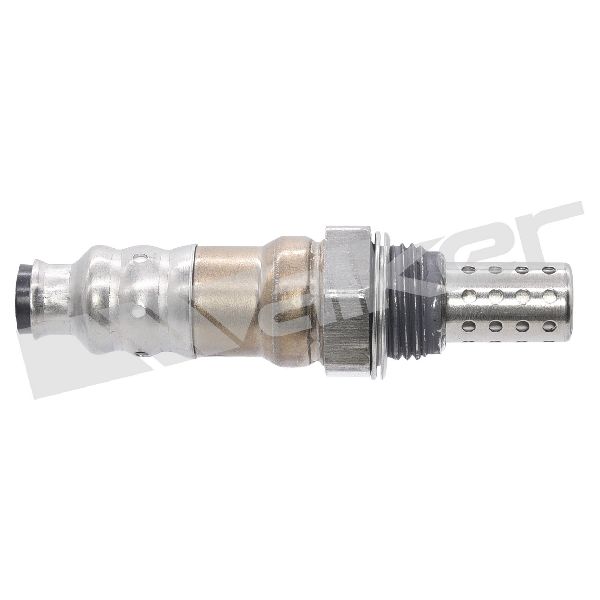
- Front Oxygen Sensor (Bank 1, Sensor 1)
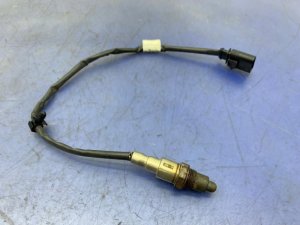
(OEM #06J906262AA)— This is the primary failure point for code P0030. The internal heater element fails, requiring the replacement of the entire sensor assembly.
Trusted brands: Bosch, Genuine Audi/Volkswagen
OEM price range: $250-$435
Aftermarket price range: $130-$180 - Oxygen Sensor Socket — A special 22mm slotted socket is often required to remove and install the oxygen sensor without damaging the wiring.
Trusted brands: Lisle, OEMTOOLS
Aftermarket price range: $10-$30
Related Codes That Often Appear With This One
- P0130 — This code ('O2 Sensor Circuit Malfunction Bank 1 Sensor 1') can appear alongside P0030 because a failed heater can prevent the sensor from producing a valid signal.
- P2243 — This code ('O2 Sensor Reference Voltage Circuit/Open Bank 1 Sensor 1') also points to an electrical fault with the same sensor and is often triggered by the same root cause.
Platform-Specific Known Issues
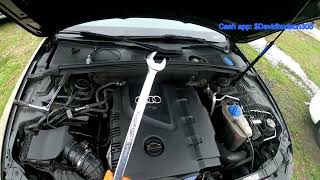
- Owner Experience: Simple DIY Replacement: An owner on AudiWorld forums with a 1.8T (similar layout) confirmed the ease of replacement, noting the sensor is visible right after the turbo, screwed into the catalytic converter, and requires a 22mm wrench. 🎬 Watch: A walkthrough of both upstream and downstream sensor locations. The electrical connector is on the firewall, also easy to access.
Mechanic-Grade Diagnostic Values
- O2 Sensor Heater Element Resistance (cold) — expected: Approx. 2-30 Ohms. Some sources cite a tighter range of 2-5 Ohms or ~9.0 Ohms at 20°C.. Failure: A reading of 'OL' (Over Limit) or infinite resistance indicates an open circuit (failed heater). A reading significantly outside the expected range also indicates a fault.
- Voltage at O2 Sensor Harness Connector (Heater Power Pin) — expected: Approximately 12V (battery voltage) with the ignition on, engine off.. Failure: No voltage suggests a blown fuse, a break in the power wire from the relay/fuse box, or a faulty power source.
- VCDS Live Data - O2 Sensor Heater Resistance — expected: The ECU calculates and displays a resistance value. A cold sensor might show a low value (e.g., ~15 Ohms) that increases as it heats up (e.g., to ~48 Ohms).. Failure: An extremely high or out-of-range value (e.g., 235 Ohms) reported by the ECU can indicate a failed heater element, even if the value changes with temperature.
Scan Tool Commands That Help
- VCDS (VAG-COM): Basic Settings - Group 034 (Oxygen sensor aging test) — This test can be run to have the ECU actively check the performance of the pre-cat O2 sensor. The results will display as 'Test ON/Test OFF' followed by 'B1-S1 OK' or 'B1-S1 not OK'. This can help confirm if the ECU sees a functional issue beyond just the heater circuit.
- VCDS (VAG-COM): Measuring Blocks / Advanced Measuring Values - Groups 030-033 — To observe live data from the oxygen sensors. Group 032 shows the operating status of the heater circuits. Group 033 shows the live voltage from the pre-cat sensor, which should switch rapidly once the sensor is at operating temperature. A lazy or non-responsive sensor after warm-up (even if the heater is working) indicates a failed sensor.
Wiring & Ground Locations
- G12 (Ground Connection) — Located at the center of the firewall in the engine bay.. This is a primary ground point that serves the Engine Control Module (ECM). A corroded or loose connection here can cause a variety of engine management faults, including incorrect sensor readings or control circuit errors.
- G105 (Engine Block to Firewall Ground) — A ground strap connecting the engine block to the firewall.. This is a critical engine ground. High resistance due to corrosion or looseness can lead to intermittent electrical issues and sensor faults as the engine's electrical components seek a stable ground path.
- B1S1 Connector Pins — On the 6-pin connector for the front oxygen sensor, located on the firewall.. For testing, power is typically supplied to the heater circuit, and the ECM provides the ground to complete the circuit. Knowing the pinout is essential for accurately testing for 12V power and measuring sensor resistance without damaging the components. While specific pin numbers can vary, the two heater wires are almost always the same color.
Real Owner Repair Stories
- AudiWorld Forums (2012 Audi A4 Quattro) — Check engine light on, code for downstream O2 sensor reported by a mechanic.
❌ Tried (didn't work) The owner was advised to replace the downstream O2 sensor.
✅ What actually fixed it The owner took it to an Audi specialist who scanned it again. The actual fault was a faulty Temperature Pressure Sensor, which was replaced with a Bosch part, solving the problem. This highlights that the initial code can sometimes be misleading or part of a larger issue.
OEM Part Supersession History
06F906262AC, 06J906262M→06J906262AA— Standard part evolution and consolidation by the manufacturer for various 1.8T and 2.0T engines across the VW/Audi group.
Heads up: While all listed part numbers are for the front oxygen sensor, it is critical to use the latest revision (06J906262AA) or a direct, high-quality aftermarket equivalent like the Bosch 17351 to ensure correct performance and longevity.
Model Year Variations Within This Range
- 2013-2016 (B8.5): The B8.5 facelift models switched from hydraulic to electromechanical power steering. This has no impact on the P0030 code or its diagnosis, as the engine and emissions systems are fundamentally the same as the earlier B8 models with the CAEB engine.
Diagnostic Flowchart
Other Known Issues on This Vehicle
Issues unrelated to this code that are worth knowing about as an owner of this generation:
- Excessive Oil Consumption 🔴 High — Very common, especially in 2009-2011 models with the CAEB engine. Often appears as needing to add oil every 800-1200 miles. (Ref: A class-action lawsuit led to a settlement and repair protocol (TSB 2027731/5) involving a 'Stage 1' fix (PCV valve, crank seal, software) and a 'Stage 2' fix (piston/ring replacement).)
- Timing Chain Tensioner Failure 🔴 High — Common across 2008-2013 models. The original tensioner can fail without warning, often at startup, causing the chain to jump time and leading to catastrophic engine damage. Recommended preventative replacement around 80k-100k miles. (Ref: A class-action lawsuit provided some warranty extension, but this has likely expired for most vehicles. No official recall was issued.)
- PCV Valve / Oil Separator Failure 🟠 Medium — Common failure item. Can cause a whistling noise, rough idle, lean codes (P2187), misfires, and increased oil consumption. (Ref: Updated PCV valve part numbers (e.g., 06H103495AE/J/AK) were released as part of the oil consumption fix.)
- Intake Manifold Carbon Buildup 🟠 Medium — As a direct-injection engine, fuel doesn't wash over the intake valves, leading to carbon accumulation over 60k-100k miles. Symptoms include cold start misfires, hesitation, and reduced performance.
- Water Pump Failure 🟠 Medium — The water pump, with its plastic housing, is prone to leaking coolant. Failure can occur anywhere from 50k-100k miles. Oil leaks onto the pump can accelerate its failure.
Used vs. New Parts: Buying Guide for This Vehicle
When a used part is the smart pick: It is strongly recommended to avoid used oxygen sensors. They are a wear-and-tear component with a finite lifespan. The cost savings are minimal compared to the risk of premature failure and the labor to replace it again.
OEM-only on this vehicle (don't cheap out):
- While not strictly 'OEM-only', using the OEM supplier (Bosch) or a reputable equivalent (NTK, Denso) is highly advised. Cheap, unbranded sensors are notorious for failing quickly or providing inaccurate readings, leading to persistent issues.
Aftermarket brands forum-validated for this vehicle:
- Bosch (OEM supplier)
- NTK
- Denso
Brands owners have reported issues with on this vehicle:
- Generic, unbranded, or 'universal' sensors that require splicing wires. These often fail to meet the precise specifications required by the Audi ECU.
Real Owner Stories
Aggregated from forums and TSBs cited above. Mileages and costs reflect what owners reported in those sources.
2009 Audi A4 2.0T quattro Avant (CAEB)
Symptoms: Check engine light with codes P0030, P0130, P2243, and P0299 appearing several thousand miles after having pistons replaced for oil consumption.
What fixed it: Replaced the front/pre-cat Bank 1 Sensor 1 O2 sensor with part number 1K0998262L.
Source hint: AudiWorld thread: 'O2 sensor for '09 2.0T, service guide & audi parts don't match car'
Audi A4 1.8T (similar layout)
Symptoms: Fault code P0030 (HO2 Bank 1 Sen 1 Heater Circuit).
What fixed it: DIY replacement of the sensor located right after the turbo, screwed into the catalytic converter, using a 22mm wrench.
Source hint: AudiWorld Forums: 'fault code p0030 ho2 bank 1 sen 1 heater circuit exaplain please'
Related OBD-II Codes
Frequently Asked Questions
Where is the Bank 1 Sensor 1 oxygen sensor located on my 2.0T CAEB engine?
Which fuse should I check for the O2 sensor heater circuit on my Audi A4?
Is there a specific replacement part number recommended for the 2009 Audi A4 2.0T O2 sensor?
Could my P0030 code be related to the Audi oil consumption settlement?
What is the correct resistance for a healthy O2 sensor heater on this vehicle?
Helpful Videos

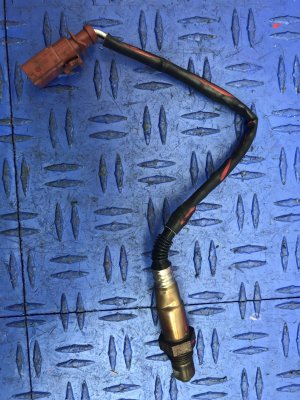
Used OEM Parts in Stock

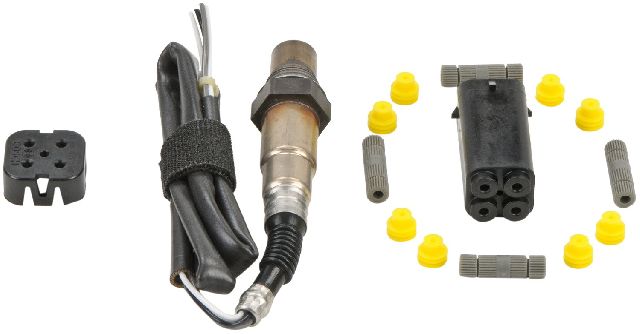
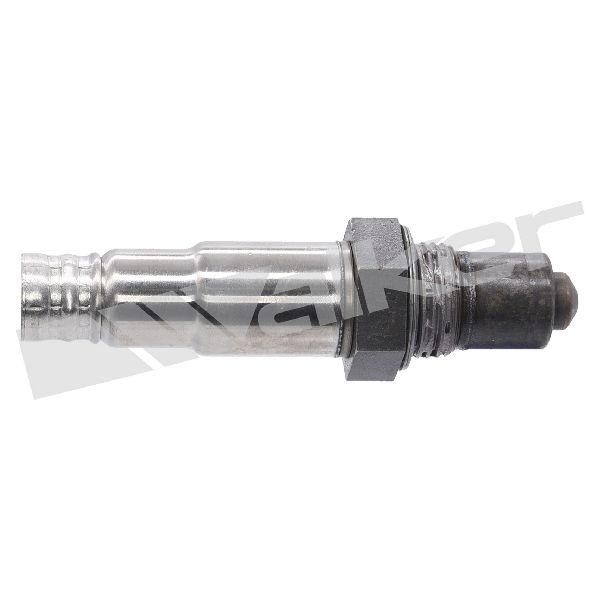
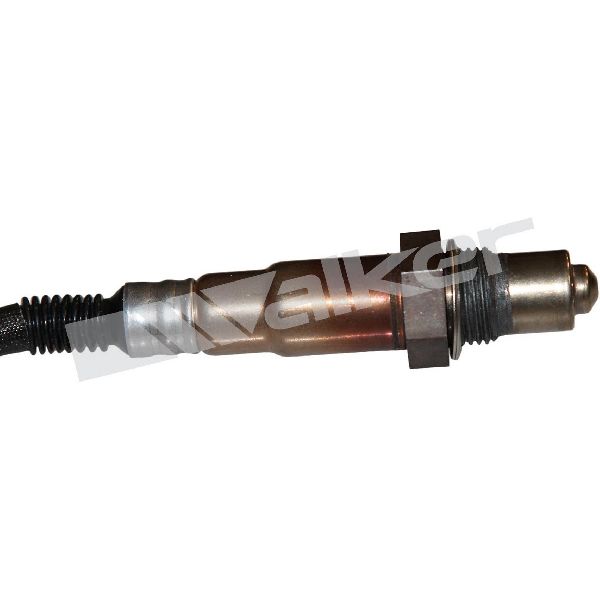
New Aftermarket Parts Available

The information in this article is provided for general reference and educational purposes only. Vehicle specifications, procedures, and part compatibility can vary by production date, trim level, and region. Always consult your vehicle's factory service manual and verify part numbers before purchasing or performing repairs. Safety-critical components such as airbags, seat belts, and braking systems should be installed by a qualified professional.
- Audi A4:
- 🎬 Helpful Videos
- 🛍️ Shop This Part
- What's Unique About the 2009-2016 Audi A4
- Symptoms You May Notice
- Most Likely Causes
- Rare But Worth Checking
- Diagnosis Steps
- Parts You'll Likely Need
- Related Codes That Often Appear With This One
- Platform-Specific Known Issues
- Mechanic-Grade Diagnostic Values
- Scan Tool Commands That Help
- Wiring & Ground Locations
- Real Owner Repair Stories
- OEM Part Supersession History
- Model Year Variations Within This Range
- Diagnostic Flowchart
- Other Known Issues on This Vehicle
- Used vs. New Parts: Buying Guide for This Vehicle
- Real Owner Stories
- 2009 Audi A4 2.0T quattro Avant (CAEB)
- Audi A4 1.8T (similar layout)
- Related OBD-II Codes
- Frequently Asked Questions
- 🎟️ Get 5% Off