

U0100 on 2009-2013 Toyota Corolla: Lost Communication With ECM/PCM Causes and Fixes
The U0100 code on a 2009-2013 Toyota Corolla means the Engine Control Module (ECM) has lost communication with other modules. The most common causes are a weak battery, failing alternator, corroded terminals, or a bad ground connection. Start by checking the battery and charging system, and cleaning all connections before suspecting a more complex wiring or module issue.
- U0100 is a critical code indicating a communication breakdown with the main engine computer, which can cause stalling or a no-start condition.
- Before suspecting expensive components, always start by testing the battery and cleaning all battery terminals and main ground connections. This resolves the issue in many cases.
- Multiple warning lights (Check Engine, ABS, Power Steering) appearing at the same time strongly suggest a network communication problem like U0100.
- If the battery and basic connections are good, the problem is likely in the CAN bus wiring or the ECM itself, which typically requires professional diagnosis.
What's Unique About the 2009-2013 Toyota Corolla

For the 10th generation Corolla (E140), the U0100 code often points to fundamental electrical issues rather than a systemic failure of the ECM itself. Owners report that symptoms like an erratic speedometer, dimming lights, a humming noise from the engine bay, and stalling are frequently traced back to a failing battery or alternator, or poor ground connections. Before diving into complex CAN bus diagnostics, a thorough check of the entire charging and grounding system is the most effective first step on this particular vehicle.
Symptoms You May Notice
- Check Engine Light is on
- Vehicle will not start or cranks but does not start
- Vehicle stalls while driving
- Multiple warning lights on the dashboard (ABS, Brakes, Power Steering, Battery Light)
- Transmission may not shift correctly or may be stuck in one gear (limp mode)
- Speedometer and other gauges may work erratically or not at all
- Engine idles poorly or bogs down under electrical load (e.g., using power windows)
- Dimming headlights and interior lights
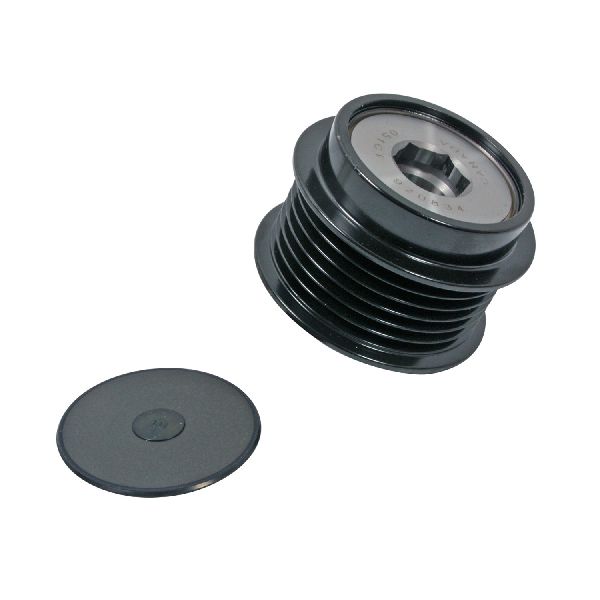
- Humming or whining sound from the engine bay, indicative of a failing alternator
- Replacing the transmission or ABS module when the fault lies in the shared CAN bus wiring or a power/ground issue.
- Replacing individual sensors when multiple communication codes are present, which usually indicates a network-wide problem.
- Condemning the ECM before thoroughly testing the battery, alternator, and all main power/ground connections.
Most Likely Causes

- Weak or Faulty Battery 🔴 High Probability Low system voltage is a primary cause of network communication errors across all modern vehicles. Modules can drop off the CAN bus if voltage is insufficient.
How to confirm: Test the battery voltage with a multimeter with the engine off. A healthy, fully charged battery should read approximately 12.6 volts. If it's below 12.2 volts, it needs charging and load testing. Many auto parts stores offer free battery testing.
Typical fix: Recharge or replace the battery.
Est. part cost: $120-$250 - Failing Alternator 🔴 High Probability A failing alternator can cause voltage to drop while driving, leading to module communication loss. It can also introduce electrical noise (AC ripple) that disrupts the CAN bus signals.
How to confirm: With the engine running, test the voltage at the battery terminals. A healthy alternator should produce between 13.7 and 14.7 volts. If the voltage is below this range or near battery voltage (12.x V), the alternator is likely failing. A whining noise from the alternator pulley is also a common symptom.
Typical fix: Replace the alternator. 🎬 See this step-by-step guide for replacing a Corolla alternator.
Est. part cost: $200-$450 - Corroded or Loose Battery Terminals/Grounds 🔴 High Probability Corrosion or loose connections create high resistance, interrupting the power supply to the ECM and other modules. The main chassis ground points can corrode over time.
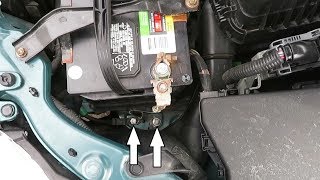
How to confirm: Visually inspect the battery terminals, the main negative cable connection to the chassis (often on the strut tower or inner fender), and the engine block ground straps for corrosion, looseness, or damage. A voltage drop test across the ground connections can confirm high resistance.
Typical fix: Clean the terminals and ground points with a wire brush and ensure all connections are tight. Replace corroded terminals or ground straps if necessary.
Est. part cost: $5-$50 - Damaged Wiring or Connectors 🟡 Medium Probability The CAN bus wiring harness, a twisted pair of wires, can be susceptible to damage from vibrations, heat, or physical impact. The ECM is located in the engine bay on the driver's side, and its connectors can be exposed to the elements. Manufacturer service bulletin TSB Bulletin #T-SB-0072-19 notes that communication codes like U0100 can be caused by corrosion or water in the ECM connector.
How to confirm: Visually inspect the wiring harness leading to the ECM for any signs of fraying, melting, or corrosion. A professional would use a multimeter to check for 60 ohms of resistance across the CAN High (Pin 6) and CAN Low (Pin 14) at the OBD-II port (with the battery disconnected).
Typical fix: Repair the damaged section of the wiring harness or replace the affected connector.
Est. part cost: $10-$200 - Faulty Engine Control Module (ECM) ⚪ Low Probability While less common, internal failure of the ECM can cause it to stop communicating on the network. This is often a last resort after all other possibilities are exhausted.
How to confirm: This is a last resort after all power, ground, and wiring issues have been ruled out. Diagnosis requires a professional scan tool to attempt direct communication with the ECM. If the ECM is powered and grounded correctly but does not communicate, it has likely failed.
Typical fix: Replace the ECM. This requires programming the new unit to the vehicle's VIN and immobilizer system.
Est. part cost: $400-$1000+
Rare But Worth Checking
- Faulty Alternator: An alternator that is failing can produce incorrect voltage (either too high or too low) or electrical noise (AC ripple), which can disrupt CAN bus communications.
- Poorly Installed Aftermarket Electronics: Improperly tapped wires for remote starters, alarms, or stereos can interfere with the CAN network and cause communication faults. These devices can introduce noise or draw excessive power.
- Faulty Instrument Cluster (Combination Meter): The instrument cluster is a module (node) on the CAN bus. In some cases, an internal failure of the cluster can disrupt the entire network, causing a U0100 code even though the ECM is functional. This can manifest as erratic gauges followed by a no-start condition.
Diagnosis Steps

- Check Battery and Charging System Health: Ensure the battery has a full charge (approx. 12.6V engine off) and clean any corrosion from the terminals. Start the engine and verify the alternator is charging (13.7V-14.7V at the battery).
- Inspect Fuses: Check all fuses related to the ECM, typically labeled 'ECU-B', 'EFI', or 'IGN' in the fuse boxes located in the engine bay and behind the glove box.
- Inspect Grounds: Visually inspect and clean the main battery-to-chassis ground (often near the battery on the fender/strut tower) and the engine-to-chassis ground strap. 🎬 Watch: How to identify and fix a bad chassis ground. Ensure they are clean, tight, and free of corrosion.
- Scan for All Codes: Use a quality OBD-II scanner to read codes from all available modules (Engine, Transmission, ABS, etc.). Multiple 'U' codes point to a network-wide issue.
- Inspect ECM Wiring: The ECM is located in the engine bay on the driver's side, near the firewall. Visually inspect its wiring harness and connectors for any obvious damage, corrosion, or loose pins.
- Check CAN Bus Resistance: (Advanced) With the battery disconnected, use a multimeter to measure the resistance between Pin 6 (CAN-H) and Pin 14 (CAN-L) on the OBD-II port. A reading of approximately 60 ohms indicates the main network wiring and terminating resistors are likely intact. A reading of 120 ohms suggests an open circuit or one of the terminating modules (often the ECM or instrument cluster) is disconnected.
- Check CAN Bus Voltage: (Advanced) With the battery connected and ignition ON, check the voltage at the OBD-II port. Pin 6 (CAN-H) to ground should be approx. 2.6V and Pin 14 (CAN-L) to ground should be approx. 2.4V. Deviations can indicate a short to power or ground.
- Professional Diagnosis: If the steps above do not reveal the issue, professional diagnosis is needed to isolate the faulty module or intermittent wiring fault, possibly using an oscilloscope.
Parts You'll Likely Need
- Car Battery — A weak or failing battery is the most frequent trigger for communication codes like U0100 due to low system voltage.
Trusted brands: Toyota TrueStart, Interstate, DieHard
OEM price range: $150-$250
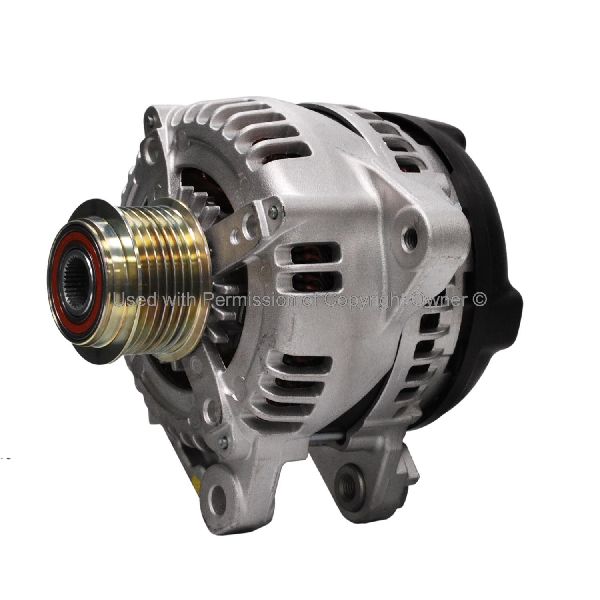
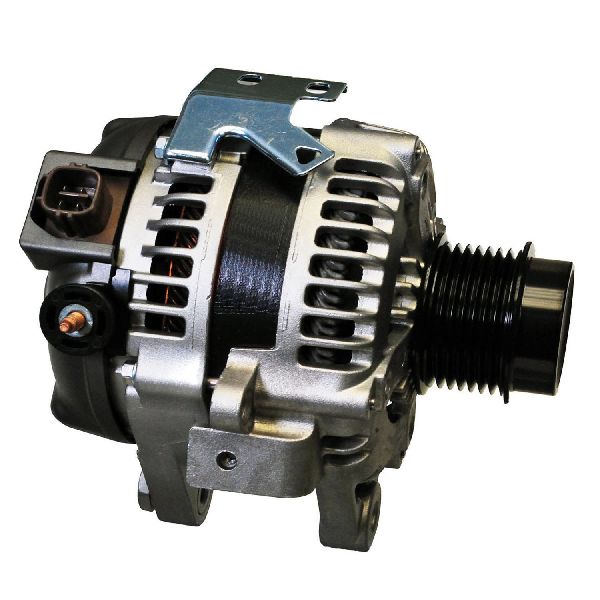
Aftermarket price range: $120-$200 - Alternator
(OEM #27060-37041 (example, verify by VIN))— A failing alternator is a very common cause on this platform, leading to voltage drops or electrical noise that disrupts the CAN bus.
Trusted brands: Denso (OEM), CarQuest, Bosch
OEM price range: $350-$550
Aftermarket price range: $200-$450
Related Codes That Often Appear With This One
- U0101 — Lost Communication with TCM. This often appears with U0100 because the TCM is one of the primary modules that needs to talk to the ECM.
- U0129 — Lost Communication With Brake System Control Module. Like the TCM, the ABS/VSC module is on the same CAN bus and will log a code if it can't hear from the ECM.
- U0155 — Lost Communication With Instrument Panel Cluster (IPC) Control Module. This can point to the instrument cluster itself being the source of the network failure.
Platform-Specific Known Issues
- A Technical Service Bulletin (TSB) exists for some newer Toyota models (TSB Bulletin #23TC02 and #23TC02a) where a U0100 code can be stored erroneously in the brake ECU due to specific programming and requires a software update to fix. While not directly applicable to the 2009-2013 model year, it shows that software glitches can sometimes be a cause.
- The ECM is located on the driver's side of the engine bay, making its connectors somewhat vulnerable to corrosion or damage from fluid spills or heat over time.
Mechanic-Grade Diagnostic Values
- CAN Bus Network Resistance — expected: ~60 Ω. Failure: A reading of ~120 Ω indicates an open circuit or a disconnected terminating module (like the ECM or Instrument Cluster). A reading near 0 Ω indicates a short between the CAN High and CAN Low wires.
- CAN High (Pin 6 at DLC) to Ground (Pin 4) Voltage — expected: ~2.6V (Key On, Engine Off, stable bus). Failure: Significant deviation, or voltage matching battery/ground, indicates a short on the CAN High line.
- CAN Low (Pin 14 at DLC) to Ground (Pin 4) Voltage — expected: ~2.4V (Key On, Engine Off, stable bus). Failure: Significant deviation, or voltage matching battery/ground, indicates a short on the CAN Low line.
- Main Chassis/Engine Ground Resistance — expected: < 0.5 Ω. Failure: Higher resistance indicates a corroded or loose ground connection, which is a primary cause of communication faults.
Scan Tool Commands That Help
- Toyota Techstream: Health Check — This is the primary diagnostic function for a U0100 code. It polls all control modules on the CAN bus and displays a list of which ones are communicating and which are not. A module that fails to appear on the list is the likely source of the communication loss or is being prevented from communicating by a wiring fault.
- Toyota Techstream: Active Test — After identifying a non-communicating module, you can use Active Tests on other related modules. For example, if the ECM is offline, you can't test it directly. However, you can try to command functions in the Body Control Module. If those work, it helps confirm the fault is isolated to the ECM or its direct wiring, not the entire network.
- Toyota Techstream: Communication Bus Check — This utility provides a visual map of the CAN bus network, showing the gateway ECU and all connected sub-buses. It will highlight which buses or modules are not responding, helping to trace if the fault is on a main bus or a branch line.
Wiring & Ground Locations

- A1 / A2 — Left front of the engine compartment, near the strut tower and battery.. This is a primary chassis ground point. Corrosion or looseness here can interrupt power to multiple modules, including the ECM, causing network failure.
- B3 / B4 — On top of the engine (valve cover area).. These are critical engine harness grounds. A poor connection here can cause erratic sensor readings and disrupt ECM operation.
- Transmission Ground Strap — A large cable bolted to the top of the transmission case, connecting to the chassis.. This is the main ground path for the starter motor and transmission. High resistance here can cause significant electrical noise and voltage drops during cranking, leading to a no-start and communication codes.
- CAN Bus Harness under Driver's Seat — Wiring harness running along the floor under the carpet near the driver's seat.. The metal seat adjustment bar can rub against this harness, chafing the CAN bus wires and causing an intermittent short circuit that brings down the entire network. This is a known but rarely checked failure point.
Real Owner Repair Stories
- YouTube video by 'SuperMarioDiagnostics' (2010 Toyota Corolla) — Intermittent no-start, multiple warning lights, tachometer and coolant temp gauges not working, U0100 code present.
❌ Tried (didn't work) Disconnecting the PCM (ECM), Disconnecting the ABS module
✅ What actually fixed it The technician discovered that moving the driver's seat back and forth would cause the CAN bus signal to either appear normal or become corrupted. The metal crossbar of the seat adjustment mechanism had chafed through the wiring harness under the carpet, causing the CAN High and CAN Low wires to short together intermittently. Repairing the damaged wires resolved all issues. - YouTube video by 'Schrodingers Box' (2010 Toyota Corolla) — No-crank, no-start condition. Clicking sound when trying to start. Headlights would not turn on, only a buzzing from the fuse box.
❌ Tried (didn't work) Testing the battery (was good), Bench testing the starter (worked perfectly), Testing the starter relay (worked perfectly)
✅ What actually fixed it A voltage drop test revealed a bad chassis ground. The ground bolt on the fender near the battery was rusty and had high resistance. Cleaning the rust from the bolt, the cable lug, and the chassis contact point to restore a solid ground connection fixed the no-start and all electrical issues. - NHTSA ODI #11376111 — An owner reported experiencing issues with the accelerator and found codes U0001 and U0100 stored on their code reader.
- NHTSA ODI #10967916 — A vehicle failed a smog check due to an OBDII failure with fault codes U0100 (Lost Communication with ECM/PCM "A") and U0111.
"I Checked Everything" — The Actual Cause
- A common diagnostic path for U0100 involves checking all engine bay wiring and grounds. However, a confirmed repair on a 2010 Corolla found the root cause to be the CAN bus wiring harness being chafed by the driver's seat adjustment bar under the carpet. A visual inspection of the engine bay and standard tests would completely miss this fault, which only appeared when the seat was moved.
OEM Part Supersession History
27060-37040→27060-37041— Standard part revision/update.
Model Year Variations Within This Range
- 2009-2010: Corollas were built in two different plants: NUMMI in California (VIN starts with '5') and TMC in Canada (VIN starts with '2'). The electrical wiring diagrams are different for each. Using a 'TMC Made' diagram to diagnose a 'NUMMI Made' vehicle (or vice-versa) can lead to incorrect diagnosis. The NUMMI plant closed in March 2010, so this primarily affects 2009 and early 2010 models.
Diagnostic Flowchart
Real Owner Stories
Aggregated from forums and TSBs cited above. Mileages and costs reflect what owners reported in those sources.
2009 Toyota Corolla
Symptoms: Vehicle exhibited code U0100 along with U0129, erratic gauges, poor idle, and multiple warning lights on the dashboard.
What fixed it: Troubleshooting involved checking grounds, fuses, and investigating the combination meter (instrument cluster) as a potential culprit in the CAN network failure.
Source hint: reddit.com/r/COROLLA
2009 Toyota Corolla
Symptoms: Experienced a crank-no-start condition accompanied by the U0100 code.
What fixed it: Diagnosed as an issue stemming from low battery voltage setting spurious codes; noted that a jump start does not always immediately solve the problem.
Source hint: reddit.com/r/MechanicAdvice - Toyota corolla 2009 crank no start. Code U0100...
2010 Toyota Corolla
Symptoms: Classic alternator failure symptoms including a humming noise, power loss, stiff steering, and eventual stall, leading to communication codes like U0100 as system voltage dropped.
What fixed it: Identified the failing alternator as the root cause of the voltage drop and subsequent communication loss.
Source hint: reddit.com/r/CarRepair - Corolla 2010 battery/alternator issue
Related OBD-II Codes
Frequently Asked Questions
Does TSB 23TC02 apply to my 2009-2013 Corolla for the U0100 code?
Where is the ECM located on my 2009-2013 Corolla, and why does it matter for a U0100 code?
My 2009 Corolla has a U0100 code and won't start. Could a bad battery cause this even if I tried jump-starting it?
What fuses should I check on my Corolla if I get a U0100 code?
I hear a whining noise from my engine and have a U0100 code. Are they related?
Are there other Toyota models that share this exact U0100 issue?
Helpful Videos

Used OEM Parts in Stock
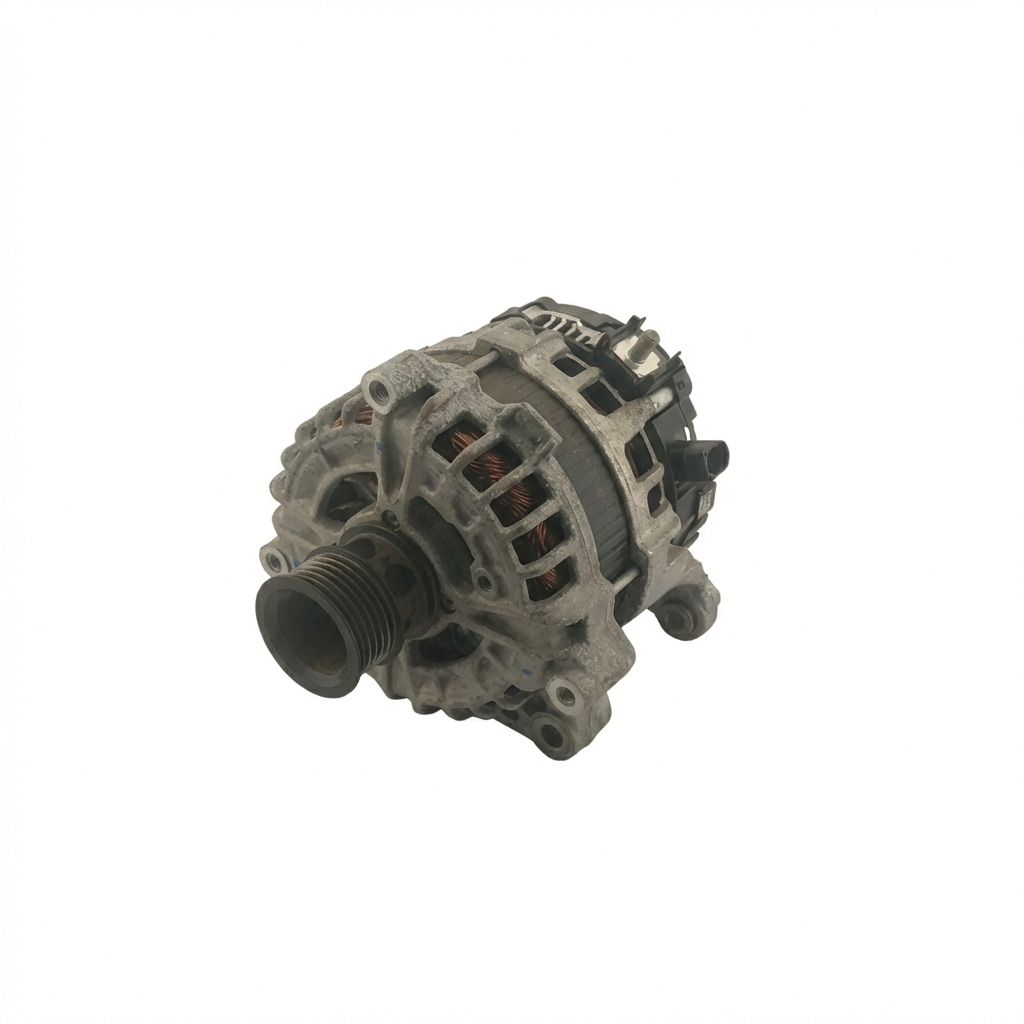


New Aftermarket Parts Available


The information in this article is provided for general reference and educational purposes only. Vehicle specifications, procedures, and part compatibility can vary by production date, trim level, and region. Always consult your vehicle's factory service manual and verify part numbers before purchasing or performing repairs. Safety-critical components such as airbags, seat belts, and braking systems should be installed by a qualified professional.
- Toyota Corolla:
- 🎬 Helpful Videos
- 🛍️ Shop This Part
- What's Unique About the 2009-2013 Toyota Corolla
- Symptoms You May Notice
- Most Likely Causes
- Rare But Worth Checking
- Diagnosis Steps
- Parts You'll Likely Need
- Related Codes That Often Appear With This One
- Platform-Specific Known Issues
- Mechanic-Grade Diagnostic Values
- Scan Tool Commands That Help
- Wiring & Ground Locations
- Real Owner Repair Stories
- "I Checked Everything" — The Actual Cause
- OEM Part Supersession History
- Model Year Variations Within This Range
- Diagnostic Flowchart
- Real Owner Stories
- 2009 Toyota Corolla
- 2009 Toyota Corolla
- 2010 Toyota Corolla
- Related OBD-II Codes
- Frequently Asked Questions
- 🎟️ Get 5% Off