

P2507 on 2006-2010 Hummer H3: ECM/PCM Power Input Signal Low Causes and Fixes
This code means the engine computer (ECM/PCM) is receiving low voltage. On the H3, this is most often caused by faulty OEM battery terminal connectors or a weak battery. Replacing the terminals with a quality aftermarket set is a common and highly recommended fix.
- P2507 on a Hummer H3 almost always points to a problem with the electrical power supply, not the engine computer itself.
- The most likely cause is the notoriously unreliable OEM battery terminal connectors. Inspecting and likely replacing them is the first step.
- Always test the battery and alternator thoroughly before considering more complex diagnoses.
- Do not drive the vehicle, as the engine could stall at any time, creating a serious safety hazard.
What's Unique About the 2006-2010 Hummer H3
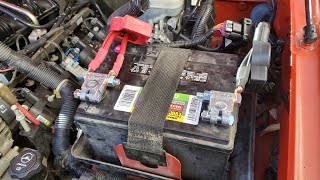
The Hummer H3 is notoriously prone to electrical issues stemming from its original equipment (OEM) battery terminals. These terminals are made of a soft, easily deformable metal that prevents a secure, lasting connection on the battery post. This unstable connection causes voltage fluctuations that trigger the P2507 code, along with a host of other seemingly unrelated electrical problems. Many H3 owners and forum members consider upgrading the battery terminals to a robust aftermarket set (like military-style clamps) a mandatory preventative repair, not a matter of 'if' but 'when' they will fail.
Symptoms You May Notice
- Check Engine Light is on
- Engine may stall intermittently or shut off completely while driving
- No-start or slow-crank condition
- Reduced engine power or entering 'limp mode'
- Battery or charging system warning light may be illuminated
- Erratic behavior from other electrical systems or gauges (e.g., gauges sweeping, multiple warning lights like ABS failure appearing at once)
- Flashing security light (related to Passlock system, often triggered by voltage issues) 🎬 See how to fix a common no-start condition on your Hummer.
- Replacing the ECM/PCM without first verifying battery health, terminal connections, and alternator output. This is an expensive and often unnecessary repair.
- Replacing the throttle body or other sensors when the root cause is unstable system voltage from bad battery terminals.
Most Likely Causes
- Defective or Corroded Battery Terminals 🔴 High Probability The OEM terminals are a known weak point made of soft metal that deforms, preventing a secure connection. Even the updated 2008+ design is considered faulty. This is the first thing any H3 owner should check for electrical issues.
How to confirm: Visually inspect the terminals for corrosion or a white, powdery substance. Attempt to wiggle the terminals on the battery posts; any movement, no matter how slight, indicates a poor connection that needs to be addressed.
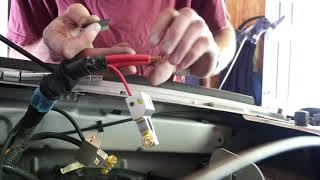
Typical fix: Replace the OEM battery terminals with a high-quality, robust aftermarket set. Military-style lead terminals or brands like Stinger are highly recommended by the owner community. This involves cutting off the old terminals and securing the wires in the new ones. 🎬 Watch: Step-by-step guide to replacing your H3 battery connectors.
Est. part cost: $20-$50 - Weak or Failing Battery 🔴 High Probability
How to confirm: Test the battery voltage with a multimeter. A healthy battery should read at least 12.4V with the engine off. Get a free load test at an auto parts store to confirm its health under load, as a battery can show good voltage but fail under load.
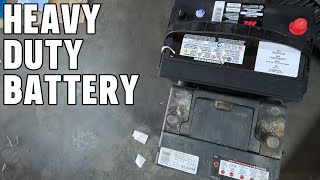
Typical fix: Replace the battery if it fails the load test or cannot hold a charge. The H3 can use either a Group 75 or Group 86 battery. 🎬 Watch: A quick walkthrough on how to replace your battery.
Est. part cost: $150-$250 - Failing Alternator 🟡 Medium Probability
How to confirm: With the engine running, measure the voltage across the battery terminals. A healthy alternator should produce between 13.5V and 14.5V. If the voltage is low or not increasing from the resting voltage, the alternator is likely faulty.
Typical fix: Replace the alternator.
Est. part cost: $200-$400 - Corroded Fuse Block or Relays ⚪ Low Probability The under-hood fuse block can be susceptible to moisture, sometimes from leaking sunroof drains, leading to corrosion on relay pins and fuse contacts, which increases resistance and causes voltage drop.
How to confirm: Inspect the under-hood fuse block. Pull the main ECM/PCM power relay (Run/Crank Relay 78) and check its terminals for green or white corrosion. Check relevant fuses for corrosion or signs of heat.
Typical fix: Clean the corroded terminals with an electrical contact cleaner. If a relay is corroded internally, it must be replaced.
Est. part cost: $15-$50 - Poor Ground Connection ⚪ Low Probability
How to confirm: Inspect the main ground straps. Key locations include G103 (on the cowl, grounds the BCM/IPC), G105 (inner fender behind battery), and the main engine block to chassis ground near the engine mount. Ensure they are clean, tight, and free of corrosion. Use a multimeter to check for resistance between the negative battery terminal and the chassis/engine block; it should be less than 0.1 ohms.
Typical fix: Remove, clean all contact surfaces with a wire brush, and securely re-attach the ground connections.
Est. part cost: $0-$10
Rare But Worth Checking
- Damaged Wiring Harness: The wiring harness providing power to the ECM could be chafed or broken, causing an intermittent short or open circuit. This usually requires a more in-depth visual inspection and voltage drop testing to locate.
- Faulty ECM/PCM: While possible, the ECM itself is rarely the cause of the problem. All other potential causes, especially power and ground circuits, should be exhaustively ruled out before considering ECM replacement.
Diagnosis Steps
- Read all fault codes from all modules using a capable OBD-II scanner.
- Visually inspect and physically test the battery terminals. Attempt to twist them on the battery posts. Any movement means they are bad and are the most likely cause.
- Measure battery voltage with the engine off. It should be 12.4V or higher. If low, charge and re-test.
- Perform a battery load test to confirm its health.
- Start the engine and measure alternator output voltage at the battery terminals. It should be between 13.5V and 14.5V.
- Inspect and clean the main chassis and engine ground connections, particularly G103 and G105.
- Locate the ECM/PCM power relay (Run/Crank Relay 78) and fuses in the under-hood fuse block. Inspect for any signs of corrosion or damage.
- If all the above checks out, perform a voltage drop test on the ECM's power and ground circuits to find any hidden resistance in the wiring.
- Only after confirming all power and ground circuits are perfect should you consider a faulty ECM as the cause.
Parts You'll Likely Need
- Battery Terminal Connectors — The OEM terminals are a known weak point on the H3 platform and a primary cause of intermittent voltage issues that trigger P2507.
Trusted brands: Fastronix Military Spec Terminals, Stinger Terminals, Standard brass or lead marine-grade terminals
OEM price range: N/A
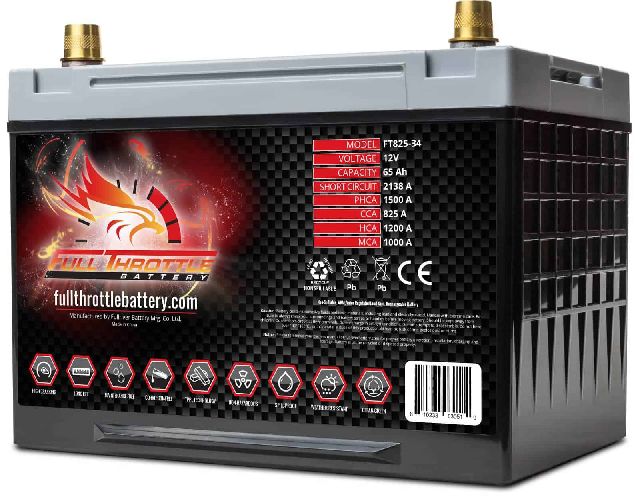
Aftermarket price range: $20-$50 - Battery — An old or weak battery is a common cause for low system voltage. The correct size is Group 75 or 86.
Trusted brands: ACDelco, Interstate, DieHard, X2Power (from Batteries Plus)
OEM price range: $200-$300
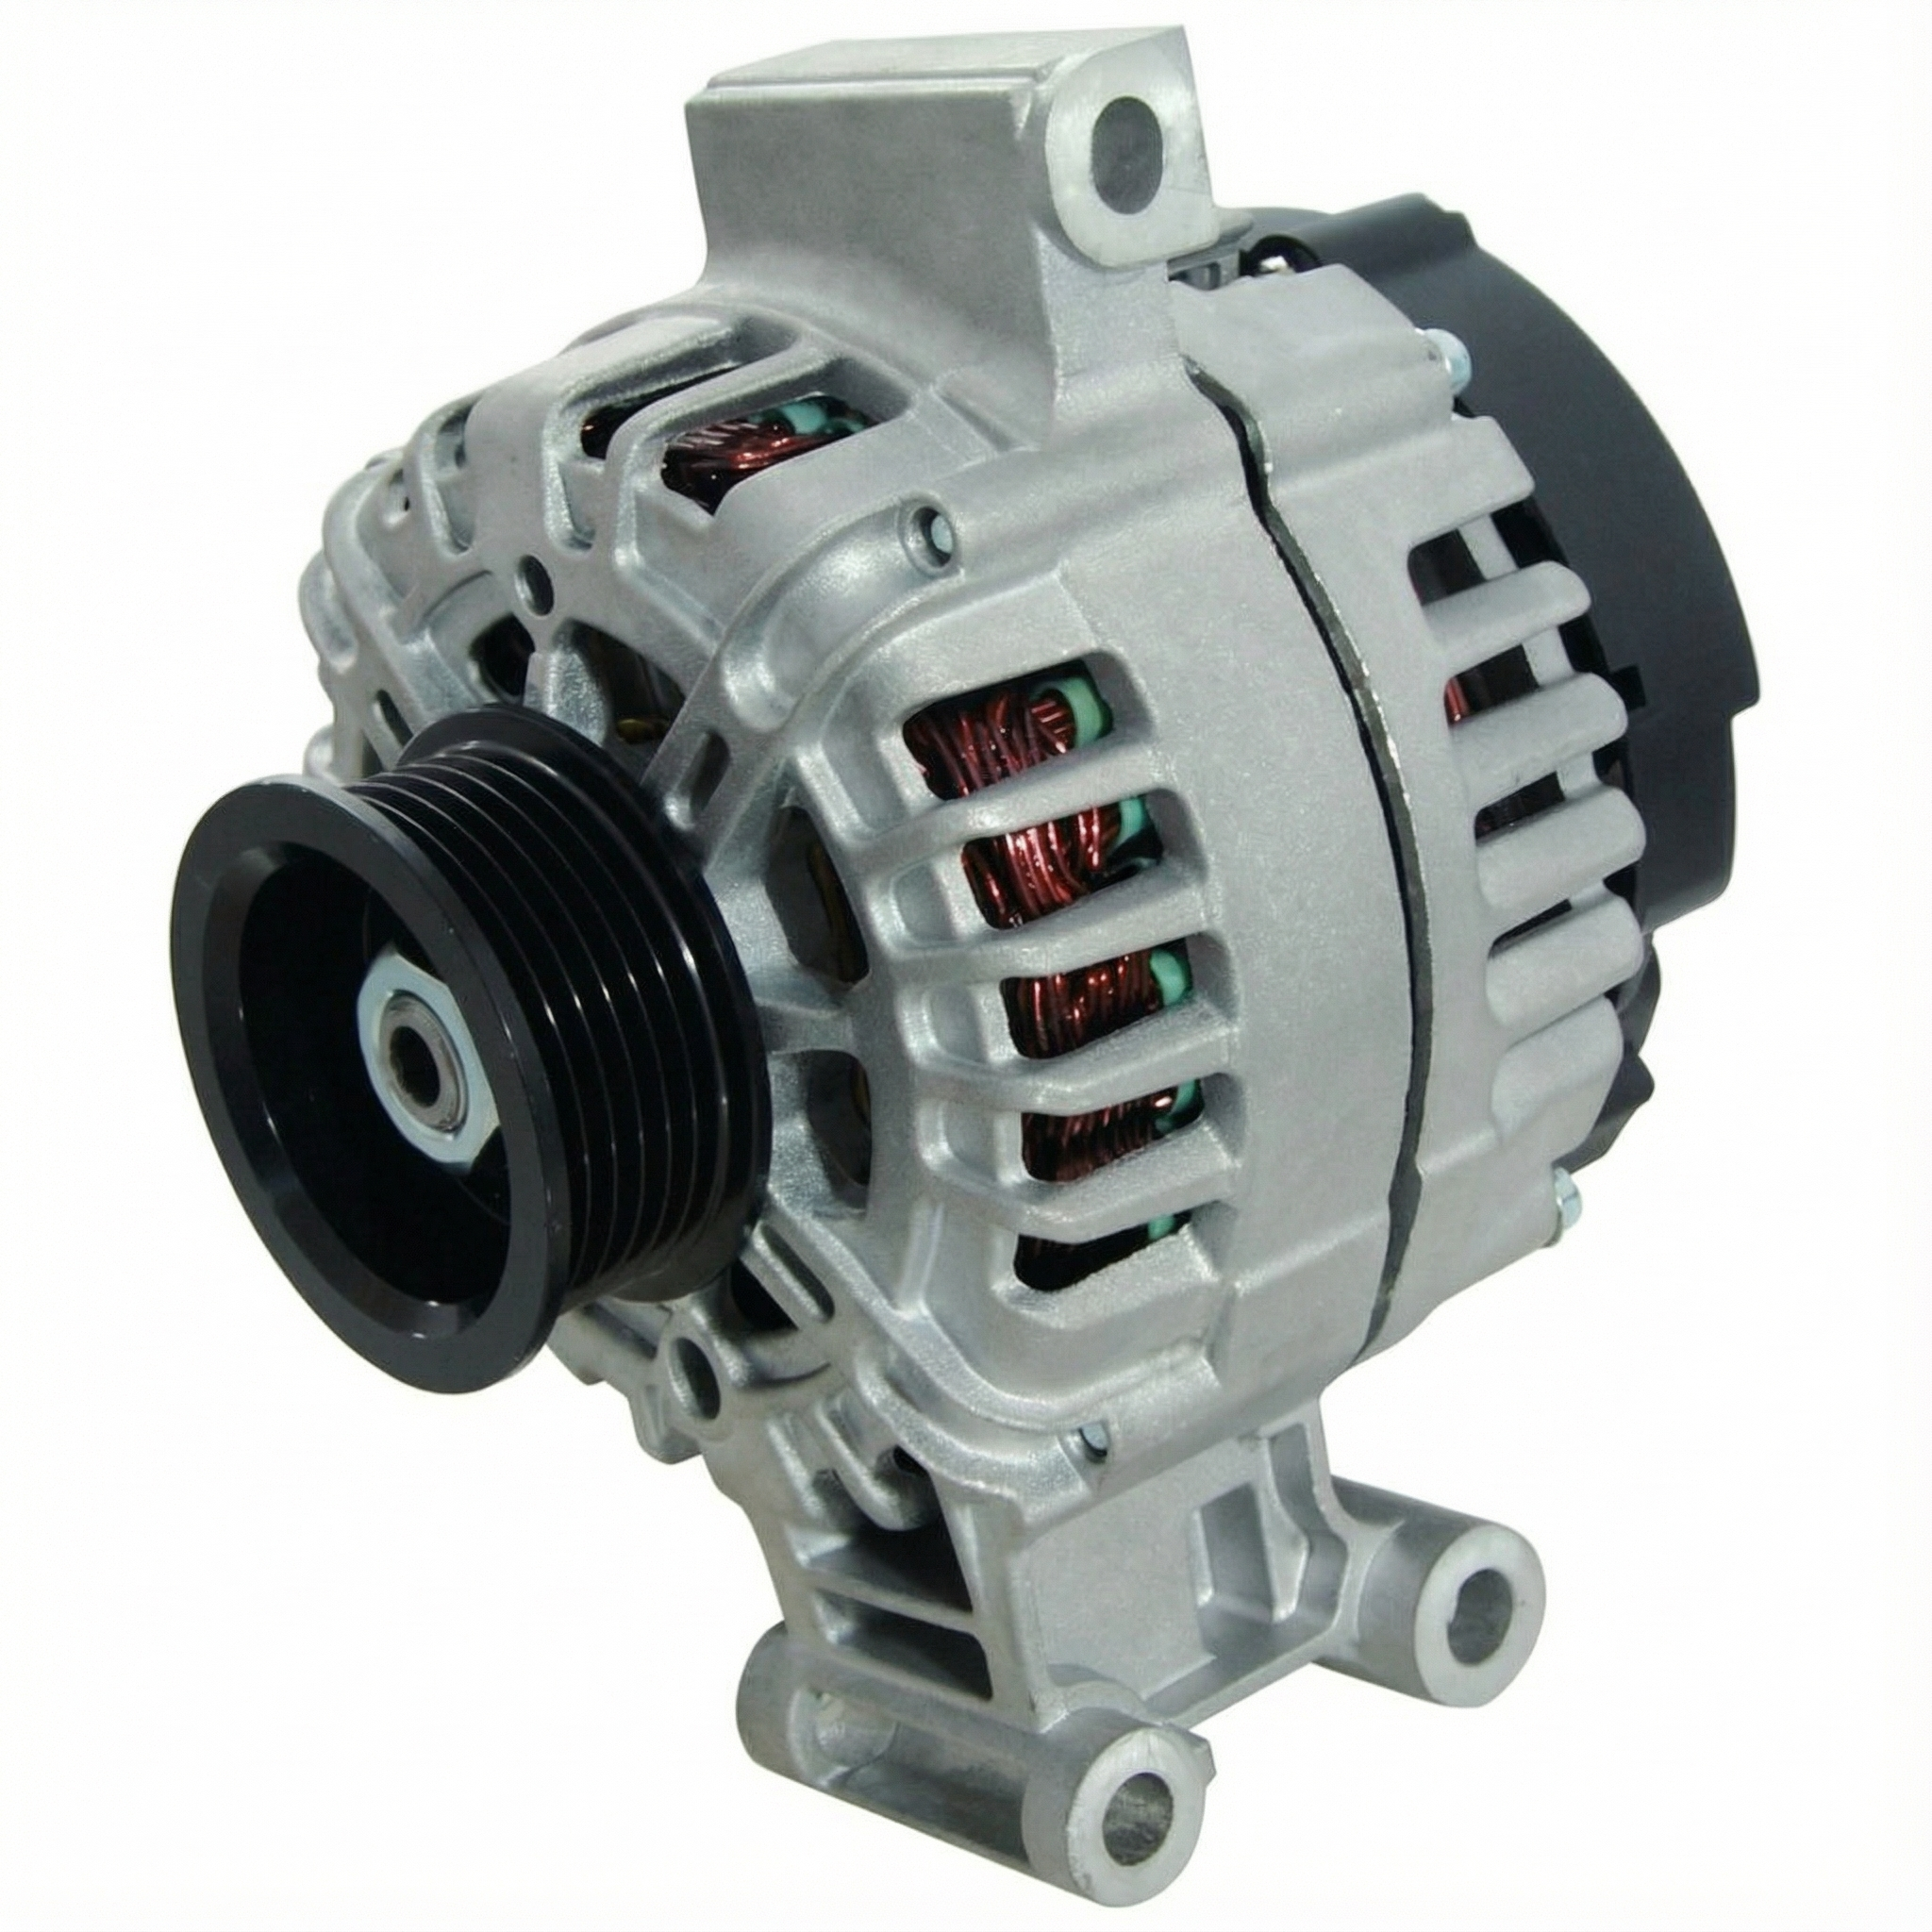
Aftermarket price range: $150-$250 - Alternator — A failing alternator will not properly charge the battery, leading to low system voltage while the engine is running.
Trusted brands: ACDelco, Denso, Bosch
OEM price range: $350-$500
Aftermarket price range: $200-$400
Related Codes That Often Appear With This One
- U-codes (e.g., U1016, U1026, U1064) — These are communication loss codes. When the ECM/PCM has unstable power, it can lose communication with other modules on the vehicle's data network, triggering these codes.
- P1682 — This code indicates a discrepancy between the two ignition voltage circuits the PCM monitors. It often appears alongside P2507 due to the underlying unstable power supply issue.
Technical Service Bulletins (TSBs) & Recalls
- TSB #020603008: Addresses low voltage display, dim lights at idle, and discharged battery conditions across many GM vehicles, relevant to the symptoms of P2507.
- TSB #07-06-03-001B: Addresses a dead battery condition caused by a software anomaly in the Remote Control Door Lock Receiver (RCDLR) that creates a parasitic draw. Reprogramming the module is the fix.
Platform-Specific Known Issues
- The factory battery terminals are a significant and well-documented point of failure, causing numerous electrical gremlins, including the P2507 code. Owners forums universally recommend replacing them as a first step for any electrical issue.
- A parasitic drain from the Remote Control Door Lock Receiver (RCDLR) can slowly drain the battery, contributing to a low voltage state. TSB #07-06-03-001B addresses this with a software update.
Mechanic-Grade Diagnostic Values
- ECM/PCM Power Input Voltage (DTC Trigger) — expected: Above 9.0V. Failure: Voltage falling below 9.0V for 1.2 seconds will set the P2507 code.
- Voltage Drop Test: ECM Power Feed — expected: < 0.5V. Failure: A reading greater than 0.5V between the ECM connector C1, Pin 20 (Orange wire) and the positive battery terminal indicates high resistance in the power supply circuit.
- Voltage Drop Test: Alternator Ground — expected: < 0.5V. Failure: A reading greater than 0.5V between the alternator housing and the negative battery terminal (with engine running under load) indicates a poor ground connection for the alternator.
- Voltage Drop Test: Alternator Power — expected: < 0.5V. Failure: A reading greater than 0.5V between the alternator's main output terminal and the positive battery terminal (with engine running under load) indicates high resistance in the charging wire.
Scan Tool Commands That Help
- Tech2 / Professional Scan Tool: Live Data PID: 'Battery Voltage Signal' — Use this to monitor the exact voltage the ECM is seeing in real-time. Wiggling harnesses or tapping on relays while watching this value can help pinpoint intermittent connection problems.
- Tech2 / Professional Scan Tool: Bidirectional Control: 'GEN-L Terminal' — This command allows you to manually toggle the generator turn-on signal (L-terminal) ON and OFF to verify the integrity of the control circuit between the ECM and the alternator, helping to isolate a faulty wire from a faulty component.
Wiring & Ground Locations
- ECM C1, Pin 20 — On the large C1 connector at the Powertrain Control Module (PCM), located at the left front side of the engine compartment.. This pin, with an Orange wire, is the main battery positive voltage feed for the ECM. It is the primary circuit to test for voltage and voltage drop when diagnosing P2507.
- ECM C1, Pin 19 — On the large C1 connector at the Powertrain Control Module (PCM).. This pin, with a Pink wire, receives 'Ignition 1 Voltage' from the Run/Crank relay. An unstable signal here can also contribute to power input faults.
- G105 / G106 — G105 is on the left inner front wheel well, behind the battery. G106 is on the right inner front wheel well, also behind the battery area.. These are major chassis ground points for components in the engine bay. G105 is a ground for the ECM, and G106 is often the main battery-to-chassis ground. Corrosion here creates high resistance for the entire electrical system.
- G102 / G103 / G110 — All are located on the left side of the engine block. G103 is forward of G102. G110 is forward of G103.. These are the primary ground points for the engine itself and the ECM. A loose or corroded connection here can cause a voltage differential between the engine and chassis, leading to various electrical faults including P2507.
- Underhood Fuse Block Connectors — Underneath the main fuse block, above the left front wheel well.. The large multi-pin connectors that plug into the bottom of the fuse block are a known point of failure. Corrosion or bent pins here can interrupt power to the ECM relay and fuses, directly causing P2507.
Real Owner Repair Stories
- Hummer Forums user 'kevino' (2006 Hummer H3) — Cranks but will not start.
❌ Tried (didn't work) Initially unable to diagnose the problem.
✅ What actually fixed it The issue was a corroded pin terminal for the Stop Lamp Relay (#66) inside the underhood fuse box. The corrosion was so severe the pin broke off inside the block, requiring careful extraction and cleaning of the fuse block socket to restore the connection. - Hummer Forums user 'Hummer H3' (2007 Hummer H3) — Vehicle sat for 5 years. Battery drained and caused heavy corrosion around fuse panel. After cleaning and new battery, had a crank-no-start condition.
❌ Tried (didn't work) Resetting Passlock, Replacing fuel pump, ignition coils, spark plugs, starter, and camshaft sensors.
✅ What actually fixed it The diagnosis was ongoing, but the final step identified was zero voltage at the fuel pump. The root cause was narrowed down to the power supply circuit, likely an issue within the previously corroded fuse panel or a faulty PCM, demonstrating how a simple battery issue can cascade into a complex electrical fault mimicking P2507 symptoms.
"I Checked Everything" — The Actual Cause
- A technician may find that the battery tests healthy, the alternator output is correct, and the battery terminals appear clean and tight upon initial inspection. However, the actual cause is internal failure of the multi-layered underhood fuse block. Water intrusion can cause corrosion between the circuit board layers inside the block, creating high resistance that is not visible from the outside. The fix requires either a difficult disassembly and cleaning of the fuse block or complete replacement.
OEM Part Supersession History
12597521→N/A (Specific to 2006)— Model year specific ECM for 2006 Hummer H3.
Heads up: Not directly interchangeable with later model years without reprogramming or potential hardware conflicts.12607096, 12620192→N/A (Specific to 2007-2008)— Model year specific ECM for 2007-2008 Hummer H3.
Heads up: Different hardware and software for the updated 3.7L engine.12622175, 12625453, 12628911, etc.→1263605 (and others)— Multiple revisions and updates for the 2009-2010 model year ECMs.
Heads up: These later model ECMs are not backward compatible with earlier years. Any replacement, new or used, requires VIN programming to function.
Model Year Variations Within This Range
- 2006 only: The 2006 H3 was equipped with a 3.5L L52 I5 engine and a specific ECM (e.g., PN 12597521).
- 2007-2010: Starting in 2007, the engine was upgraded to a 3.7L LLR I5, which uses a different ECM. The wiring harness and some sensor inputs may vary slightly from the 2006 model.
- 2008-2010: The 5.3L V8 engine became an option on Alpha models, which uses a completely different ECM and engine wiring harness compared to the I5 models.
Diagnostic Flowchart
Other Known Issues on This Vehicle
Issues unrelated to this code that are worth knowing about as an owner of this generation:
- Cracked Radiator 🔴 High — Very common, especially on 2008 models, but affects all years. Often occurs between 50,000 and 80,000 miles. The plastic end tanks are known to crack, causing coolant leaks.
- GM Passlock Anti-Theft System Failure 🟠 Medium — A widespread and highly frustrating issue where the vehicle fails to start for a mandatory 10-minute waiting period due to a sensor failure in the ignition lock cylinder.
- Clogged/Leaking Sunroof Drains 🔴 High — Extremely common. The drain tube ends get clogged with debris, causing water to back up and leak into the cabin, often dripping from the A-pillar or OnStar microphone, potentially damaging interior electronics.
- Worn/Failed Front Differential Bushings 🟠 Medium — A common failure point, especially the main crossmember bushing, causing a 'clunking' noise when shifting or under torque.
Used vs. New Parts: Buying Guide for This Vehicle
When a used part is the smart pick: Used parts like an alternator or a complete underhood fuse block can be a good value, especially from a low-mileage, non-corroded donor vehicle. Given the high failure rate of the OEM battery terminals, a used set is never recommended.
Donor-vehicle mileage cap: roughly under 80000 miles for the part to have meaningful remaining life.
What to inspect on the donor part:
- For a used fuse block, remove the cover and inspect every fuse/relay socket for signs of green or white corrosion.
- Flip the fuse block over and check the large electrical connectors on the bottom for bent, pushed-out, or corroded pins.
- For a used alternator, spin the pulley by hand to ensure the bearings are smooth and quiet.
- Visually inspect the donor vehicle for signs of flood or heavy water damage, especially in the engine bay.
OEM-only on this vehicle (don't cheap out):
- ECM/PCM: While used modules are available, they are effectively useless without being professionally reprogrammed to your vehicle's VIN and security system (Passlock). It is safer to buy a remanufactured, pre-programmed unit from a reputable supplier than a raw junkyard part.
Aftermarket brands forum-validated for this vehicle:
- Battery Terminals: Fastronix (Military Style), Stinger, or any quality lead/brass marine-style terminal.
- Battery: ACDelco, Interstate, DieHard.
- Alternator: ACDelco (Remanufactured), Denso.
Brands owners have reported issues with on this vehicle:
- Avoid any aftermarket battery terminal that mimics the flawed OEM clamp design.
- Be cautious with no-name, deeply discounted 'new' alternators or ECMs from online marketplaces, as their quality and longevity can be highly questionable.
Real Owner Stories
Aggregated from forums and TSBs cited above. Mileages and costs reflect what owners reported in those sources.
2007 Hummer H3
Symptoms: The check engine light was on, and the truck had very erratic electrical behavior. The gauges would suddenly sweep back and forth, and multiple warning lights, including the ABS failure light, would illuminate all at once.
What fixed it: The problem was a poor connection at the battery. The original factory battery terminals were cut off and replaced with a set of high-quality, military-style lead terminals, which permanently solved the voltage drop and cleared the codes.
Cost: $20-$50 (parts only)
Source hint: Hummer 4x4 Offroad (hummer4x4offroad.com): Thread 'Battery / Battery Terminals...?'
Related OBD-II Codes
Frequently Asked Questions
I replaced my H3's battery but still get the P2507 code and other electrical glitches. What should I check next?
My H3 battery keeps dying slowly, which seems to be causing the P2507 code. Is there a known issue for this?
Along with the P2507 code, my security light is flashing and the truck won't start. Are these problems related?
Where are the most important ground connections to check on my H3 for a P2507 code?
My friend's Chevy Colorado has the exact same electrical problems. Is that a coincidence?
I suspect a bad relay is causing my voltage issue. Which relay powers the ECM on an H3?
Helpful Videos

Used OEM Parts in Stock


New Aftermarket Parts Available

The information in this article is provided for general reference and educational purposes only. Vehicle specifications, procedures, and part compatibility can vary by production date, trim level, and region. Always consult your vehicle's factory service manual and verify part numbers before purchasing or performing repairs. Safety-critical components such as airbags, seat belts, and braking systems should be installed by a qualified professional.
- Hummer H3:
- 🎬 Helpful Videos
- 🛍️ Shop This Part
- What's Unique About the 2006-2010 Hummer H3
- Symptoms You May Notice
- Most Likely Causes
- Rare But Worth Checking
- Diagnosis Steps
- Parts You'll Likely Need
- Related Codes That Often Appear With This One
- Technical Service Bulletins (TSBs) & Recalls
- Platform-Specific Known Issues
- Mechanic-Grade Diagnostic Values
- Scan Tool Commands That Help
- Wiring & Ground Locations
- Real Owner Repair Stories
- "I Checked Everything" — The Actual Cause
- OEM Part Supersession History
- Model Year Variations Within This Range
- Diagnostic Flowchart
- Other Known Issues on This Vehicle
- Used vs. New Parts: Buying Guide for This Vehicle
- Real Owner Stories
- 2007 Hummer H3
- Related OBD-II Codes
- Frequently Asked Questions
- 🎟️ Get 5% Off