

P1530 on 2003-2008 Isuzu Ascender: A/C Clutch Circuit Fault Causes and Fixes
On a 2003-2008 Isuzu Ascender, code P1530 almost always means there's an electrical issue with the A/C compressor clutch. The most common fix is replacing the A/C clutch relay in the underhood fuse box, which is a very inexpensive and easy DIY repair. Before any other step, swap the A/C relay (#44) with the identical horn relay (#40) to confirm.
- P1530 on your Ascender means your A/C isn't working due to an electrical fault.
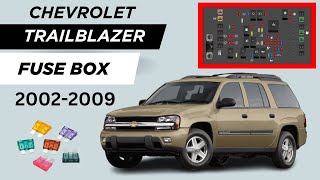
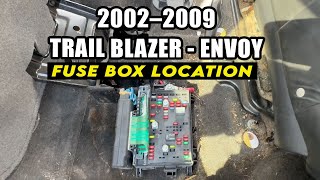
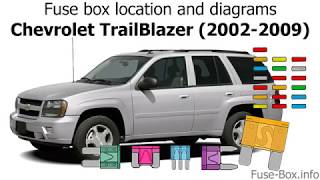
- Before considering expensive repairs, always check the A/C relay (#44) and A/C fuse (#30) in the underhood fuse box first.
- Swapping the A/C relay with the horn relay is a free and effective 5-minute diagnostic test.
- Driving with this code is safe and will not harm the engine; only your comfort on a hot day.
What's Unique About the 2003-2008 Isuzu Ascender
The Isuzu Ascender is a rebadged General Motors (GM) vehicle built on the GMT360 platform. For this specific platform, P1530 is consistently tied to the A/C clutch circuit, whereas on other GM models or different manufacturers, it can mean something entirely different, like an ignition timing issue or a communication fault. Owners often find the fix is surprisingly simple, frequently pointing to a faulty relay rather than an expensive compressor failure. This is a well-documented issue on forums dedicated to the GMT360 platform.
Symptoms You May Notice
- Air conditioning (A/C) does not blow cold air, or blows humid air.
- A/C compressor clutch does not engage (no 'click' sound from the engine bay when A/C is turned on).
- Check Engine Light is illuminated.
- A/C may work intermittently, especially after the vehicle has been sitting for a while, but then fail to re-engage.
- Replacing the entire A/C compressor when only the inexpensive relay was faulty.
- Replacing the A/C control head/climate control module inside the vehicle, which is typically not the cause for this specific electrical circuit code.
- Adding refrigerant to a system that is already full, assuming low charge is the problem without checking the electrical circuit first.
- Replacing the A/C compressor clutch coil when the actual issue is an excessive air gap that can be fixed by removing a shim.
Most Likely Causes
- Faulty A/C Clutch Relay 🔴 High Probability Relays are electromechanical switches that wear out over time from the repeated cycles of turning the A/C compressor on and off. It's a very common failure point on the GMT360 platform and many other GM vehicles of the era.
How to confirm: Locate the A/C relay (#44) in the underhood fuse box. Swap it with an identical relay from a non-critical system, like the horn relay (#40). If the A/C clutch now engages and the horn stops working, the relay is bad. This is a definitive, 5-minute test.
Typical fix: Replace the faulty relay with a new one. The original OEM part number is GM 19116057, which has been superseded by GM 13500114.
Est. part cost: $10-$25 - Blown A/C Fuse 🟡 Medium Probability An electrical short in the compressor clutch coil or its wiring can cause the fuse to blow as a protective measure. This is less common than a relay failure but is a critical check.
How to confirm: Inspect fuse #30 ('A/C Fuse', 10A) in the underhood fuse box. If the metal strip inside is broken, the fuse is blown.
Typical fix: Replace the fuse. If it blows again immediately upon commanding the A/C on, there is an underlying short circuit in the clutch coil or wiring that must be diagnosed.
Est. part cost: $1-$5 - Failed A/C Compressor Clutch Coil 🟡 Medium Probability The electromagnetic coil that engages the clutch is mounted on the front of the engine, exposed to significant heat and vibration, and can fail electrically over time by developing an open or short circuit.
How to confirm: Disconnect the electrical connector at the A/C compressor. Use a multimeter to measure the resistance across the two pins of the clutch coil. A good coil should have a resistance between 2 and 5 ohms (often 3-4 ohms is ideal). An infinite reading (OL) means an open circuit, and a reading near zero means a short circuit. Both indicate a failed coil.
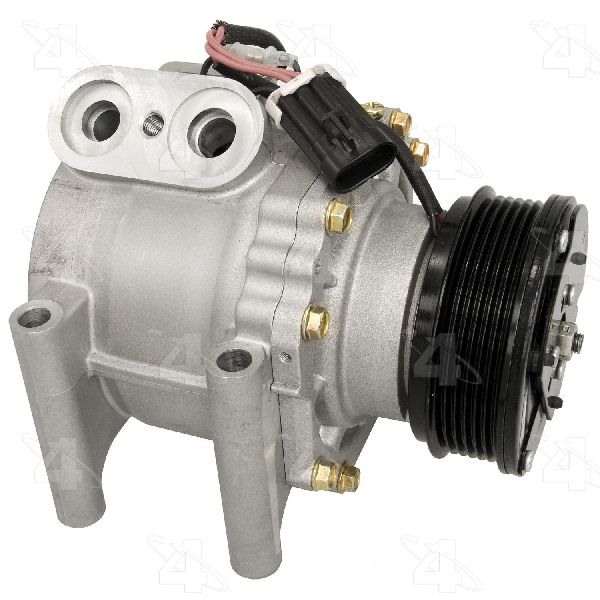
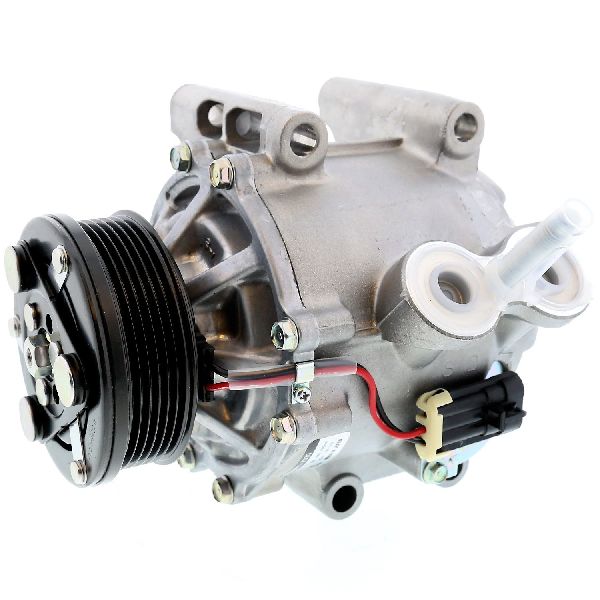
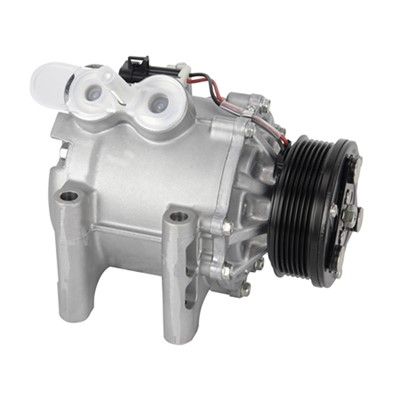
Typical fix: Replace the A/C compressor clutch assembly or the entire A/C compressor. In many cases, the clutch can be replaced without discharging the A/C system.
Est. part cost: $75-$150 for a clutch kit, $200-$400 for a full compressor assembly - Low Refrigerant Charge ⚪ Low Probability All automotive A/C systems can develop slow leaks over time from seals, hoses, or the condenser. While this won't directly cause P1530, it's a common reason for the A/C to not work. The PCM will not command the clutch to engage if the pressure is too low.
How to confirm: A low-pressure switch prevents the PCM from engaging the clutch if the refrigerant level is too low to be safe for the compressor. A technician can check the system pressure with a manifold gauge set. If static pressure is very low (below ~45 psi), there is likely a leak. This condition usually prevents the P1530 from setting because the PCM never even tries to send the signal.
Typical fix: The system must be evacuated, the leak must be found and repaired, and then the system must be recharged with the correct amount of R134a refrigerant.
Est. part cost: $150-$500+ depending on the location of the leak
Rare But Worth Checking
- Wiring Harness Damage: The wiring leading to the A/C compressor, specifically the light green wire, can become damaged from heat, chafing against other components, or corrosion, leading to an open or short circuit. Check the harness near the compressor and where it routes around the engine.
- Faulty Powertrain Control Module (PCM): This is extremely rare. The internal driver circuit in the PCM that controls the A/C relay could fail. All other more likely causes, including wiring, should be exhaustively ruled out before condemning the PCM.
- Faulty A/C Pressure Switch: A faulty low-pressure or high-pressure switch could send an incorrect signal to the PCM, preventing it from attempting to engage the clutch. This is sometimes mistaken for a clutch circuit issue.
- Excessive A/C Clutch Air Gap: Over time, the clutch face wears, increasing the air gap between the clutch plate and the pulley. If the gap becomes too wide (e.g., over ~0.030 inches), the electromagnet can't overcome it, especially when hot. This leads to intermittent operation (works cold, fails hot) that can be misdiagnosed as a failing coil.
Diagnosis Steps
- Verify the Check Engine Light is on and code P1530 is present using an OBD-II scanner.
- Turn the engine on and switch the A/C to its coldest setting. Listen for a 'click' from the engine bay, which indicates the A/C compressor clutch is engaging.
- If no click is heard, locate the underhood fuse box on the driver's side of the engine compartment.
- Check the 10A fuse at position #30, labeled 'A/C Fuse'. Replace if blown.
- Locate the A/C relay at position #44. Swap this relay with an identical one, such as the horn relay (#40). Test if the A/C now works and the horn does not. If so, the relay is bad and needs replacement. This is the most common fix.
- If the relay swap does not work, you can use a small jumper wire to bridge terminals 30 and 87 in the fuse box where the A/C relay was. This bypasses the control side and sends power directly to the compressor. If the clutch engages, the compressor and wiring are likely good, and the problem is on the control side (PCM, pressure switches). If it does not engage, the problem is downstream (wiring, clutch coil).
- If the fuse and relay are good, inspect the wiring going to the A/C compressor for any visible damage, corrosion, or loose connections. The main ground for the compressor is its physical attachment to the engine block; ensure engine ground straps (like G105 and G107) are clean and tight.
- If wiring appears okay, disconnect the connector at the compressor. Use a multimeter to check for 12V (should be within 1 volt of battery voltage) at the connector (usually a light green wire) when the A/C is commanded on (engine running, relay installed). If voltage is present but the clutch doesn't engage, the clutch coil or air gap is the likely issue.
- Measure the resistance of the A/C clutch coil itself. Disconnect the connector and measure across the two pins on the compressor side. A reading outside the 2-5 ohm range indicates a failed coil.
- If symptoms are intermittent (A/C fails when hot), check the A/C clutch air gap with a feeler gauge. The gap should be roughly 0.020-0.030 inches. If it's excessive, the clutch plate may need to be removed and a shim taken out to reduce the gap.
- If no voltage is getting to the compressor, and the relay/fuse are good, the issue may lie with the PCM, pressure switches, or the request signal from the HVAC control head, but these are less common for P1530.
Parts You'll Likely Need
- A/C Compressor Clutch Relay
(OEM #GM 19116057 / Isuzu 8191188860)— This is the most common failure point for a P1530 code on this platform. It's an inexpensive and simple part to replace.
Trusted brands: ACDelco, Standard Motor Products, WVE
OEM price range: $15-$30
Aftermarket price range: $10-$20 - A/C Compressor Clutch Assembly — If the relay is good, the electromagnetic coil that engages the clutch is the next most likely part to have failed electrically.
Trusted brands: ACDelco, GPD, Four Seasons
OEM price range: $150-$250
Aftermarket price range: $75-$150
Mechanic-Grade Diagnostic Values
- A/C Compressor Clutch Coil Resistance — expected: 2.0 to 5.0 Ohms (at room temperature). Failure: A reading of 0.00 Ohms indicates a shorted coil. A reading of OL (infinity) indicates an open coil. Both require replacement.
- A/C Compressor Clutch Air Gap — expected: ~0.020 - 0.030 inches (0.5mm - 0.76mm). Failure: A gap wider than spec, especially when hot, can prevent the electromagnet from engaging the clutch, causing intermittent A/C. This is a common cause of failure when electrical tests pass.
- Voltage at A/C Compressor Connector (harness side) — expected: Within 1.0 volt of battery/charging system voltage when A/C is commanded on.. Failure: A voltage drop greater than 1.0 volt indicates excessive resistance in the power feed circuit (fuse box, wiring, connectors). No voltage indicates a problem upstream (relay, fuse, PCM, pressure switch).
Scan Tool Commands That Help
- GM Tech2: A/C Clutch Command — After checking the fuse, use this bidirectional control to command the A/C clutch relay on and off directly from the scan tool. This quickly isolates the problem to either the control side (PCM, switches, HVAC head) or the load side (relay, wiring, clutch coil). The path is typically: Powertrain > Special Functions > Engine Output Controls > A/C Clutch.
Wiring & Ground Locations
- A/C Compressor Connector — Two-wire connector directly on the A/C compressor body at the front of the engine.. This is the final point for testing voltage and resistance. The light green wire is typically the 12V+ feed from the A/C relay, and the black wire is the ground.
- G103 — On the left side of the radiator support in the front of the underhood compartment.. This is a major chassis ground point for many components in the front of the vehicle. While the A/C clutch grounds through the engine block, poor grounds in this area can cause myriad electrical issues.
- G107 — On the lower left side of the engine block.. This is a primary engine-to-chassis ground. A loose or corroded G107 can cause poor ground paths for engine-mounted accessories like the A/C compressor, leading to intermittent operation or electrical noise.
Real Owner Repair Stories
- GMTNation Forum User (2002 GMC Envoy SLT, 180,000+ miles) — A/C works great on first start, but after driving on a hot day, it will not re-engage on a restart.
❌ Tried (didn't work) The user confirmed with a multimeter that the compressor was receiving correct voltage (~13.4V) when it was failing to engage, ruling out the relay, fuses, and control side of the circuit.
✅ What actually fixed it The issue was diagnosed as a heat-related failure of the clutch coil or an excessive air gap. The user measured the air gap at 0.032 inches, slightly out of the typical 0.020-0.030 inch spec. The final fix is to either replace the clutch/coil or remove a shim to reduce the air gap. - Reddit user in r/MechanicAdvice (2003 Chevy Trailblazer) — A/C clutch spins freely but will not engage. Voltage is present at the relay.
❌ Tried (didn't work) Confirmed relay was working and voltage was present at the fuse box.
✅ What actually fixed it The problem was identified as the clutch air gap being too wide. When jumping the relay with the engine off, the user could see the clutch plate pull in but not far enough to engage. The fix was to remove a shim from under the clutch plate to bring the gap back into specification.
"I Checked Everything" — The Actual Cause
- While not a smoke test issue, a similar pattern exists for P1530: A technician may find the fuse is good, the relay clicks, and the clutch coil resistance reads within the correct 2-5 ohm range. Despite all electrical checks passing, the clutch still won't engage, especially when hot. The actual cause is often mechanical: the air gap between the clutch plate and pulley has worn to be too large. The electromagnet in the coil, especially when its strength is reduced by heat, can no longer generate enough force to pull the plate across the excessive gap.
OEM Part Supersession History
GM 19116057→GM 13500114— Standard part consolidation and replacement by a newer, multi-use relay design.
Diagnostic Flowchart
Other Known Issues on This Vehicle
Issues unrelated to this code that are worth knowing about as an owner of this generation:
- Instrument Cluster Failure 🟠 Medium — Very common. Gauges (especially speedometer, tachometer, fuel) may become erratic, stick, or stop working entirely. The entire cluster can also lose power intermittently. (Ref: Though a known issue, no specific recall was issued for the Ascender. The problem is typically caused by faulty stepper motors or bad solder joints on the cluster's circuit board.)
- Service 4WD Light / 4WD System Malfunction 🟠 Medium — Common. The 'Service 4WD' light illuminates, and the system may fail to engage or disengage from 4WD. Common culprits include the front axle actuator, the transfer case encoder motor, or the 4WD selector switch.
- Failed Engine Cooling Fan Clutch 🔴 High — Common. The electronically controlled viscous fan clutch fails, often getting stuck in the 'engaged' state. This results in a loud 'roaring' sound from the engine bay that rises and falls with engine RPM, and can decrease fuel economy and power.
- Faulty Fuel Level Sensor 🟡 Low — Very common. The fuel gauge becomes inaccurate or reads empty at all times, even with a full tank. This requires replacing the fuel level sending unit, which is part of the fuel pump module inside the gas tank.
- Cracked Exhaust Manifold 🟠 Medium — Common on the 4.2L I6 engine. The manifold develops a crack, causing an exhaust leak that presents as a ticking noise, especially when the engine is cold. It can also trigger lean-related Check Engine Light codes.
- Failed Ignition Switch 🔴 High — A known failure point that can cause a no-start condition or various bizarre electrical issues throughout the vehicle, as it interrupts power to multiple systems.
Used vs. New Parts: Buying Guide for This Vehicle
When a used part is the smart pick: For the most common fix, the A/C relay, a used part from a junkyard is a perfectly acceptable and very low-cost option. Since it's a simple swap, the risk is minimal. You can often pull one from the fuse box of a donor vehicle for a few dollars.
Donor-vehicle mileage cap: roughly under 150000 miles for the part to have meaningful remaining life.
What to inspect on the donor part:
- For a relay, ensure the plastic housing isn't cracked or showing signs of heat damage.
- For a used A/C compressor/clutch assembly, visually inspect the clutch plate for excessive rust or scoring.
- Manually spin the clutch pulley to ensure the bearing feels smooth and doesn't grind.
- If possible, measure the clutch air gap on the donor part before buying.
Aftermarket brands forum-validated for this vehicle:
- Relay: ACDelco (OEM), Standard Motor Products (SMP), WVE
- A/C Compressor/Clutch: ACDelco (OEM), GPD, Four Seasons, UAC
Brands owners have reported issues with on this vehicle:
- Avoid no-name, unbranded 'white box' relays and compressor assemblies from online marketplaces, as quality control can be poor.
Real Owner Stories
Aggregated from forums and TSBs cited above. Mileages and costs reflect what owners reported in those sources.
Chevrolet TrailBlazer
Symptoms: My A/C in my trailblazer randomly stops blowing cool...
What fixed it: The problem was resolved by replacing a faulty A/C low-pressure switch.
Source hint: Car Talk Community - "My A/C in my trailblazer randomly stops blowing cool..."
Related OBD-II Codes
Frequently Asked Questions
Where is the A/C relay located on my 2003-2008 Isuzu Ascender?
What is the fastest way to check if the A/C relay is the problem?
What is the correct part number for a replacement A/C relay?
My Ascender's A/C works intermittently and tends to stop blowing cold when the engine is hot. What could cause this?
How can I test the A/C compressor clutch coil myself?
I replaced the 10A A/C fuse in position #30, but it blew again immediately. What's next?
Does this P1530 A/C problem affect other GM SUVs from the same era?
Helpful Videos
Used OEM Parts in Stock

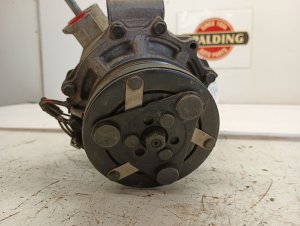
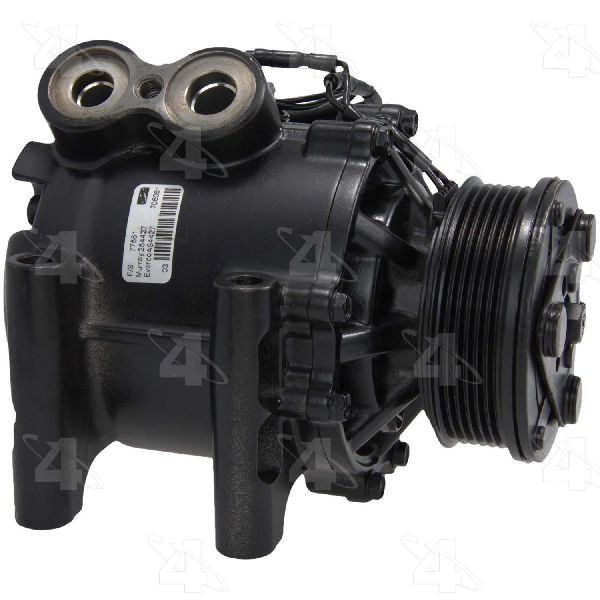
New Aftermarket Parts Available


The information in this article is provided for general reference and educational purposes only. Vehicle specifications, procedures, and part compatibility can vary by production date, trim level, and region. Always consult your vehicle's factory service manual and verify part numbers before purchasing or performing repairs. Safety-critical components such as airbags, seat belts, and braking systems should be installed by a qualified professional.
- Isuzu Ascender:
- 🎬 Helpful Videos
- 🛍️ Shop This Part
- What's Unique About the 2003-2008 Isuzu Ascender
- Symptoms You May Notice
- Most Likely Causes
- Rare But Worth Checking
- Diagnosis Steps
- Parts You'll Likely Need
- Mechanic-Grade Diagnostic Values
- Scan Tool Commands That Help
- Wiring & Ground Locations
- Real Owner Repair Stories
- "I Checked Everything" — The Actual Cause
- OEM Part Supersession History
- Diagnostic Flowchart
- Other Known Issues on This Vehicle
- Used vs. New Parts: Buying Guide for This Vehicle
- Real Owner Stories
- Chevrolet TrailBlazer
- Related OBD-II Codes
- Frequently Asked Questions
- 🎟️ Get 5% Off