

P0440 on 2000-2006 Toyota Tundra: EVAP System Malfunction Causes and Fixes
On a first-generation Toyota Tundra, code P0440 is most often caused by a loose or worn-out gas cap. If a new OEM gas cap doesn't solve it, the next most likely causes are cracked EVAP hoses, a faulty charcoal canister, or a dry-rotted fuel filler neck hose. A smoke test is the best way to find the leak before replacing expensive parts.
- Always start with the simplest fix: check and/or replace the gas cap with an OEM part.
- If the gas cap doesn't fix it, visually inspect all rubber EVAP hoses for cracks, especially the large fuel filler neck hose.
- Before replacing the expensive charcoal canister, a professional smoke test is the most cost-effective way to pinpoint the exact source of the leak.
- This code does not affect vehicle safety or drivability, but it will cause an automatic failure on an emissions test.
What's Unique About the 2000-2006 Toyota Tundra
For the first-generation (2000-2006) Tundra, the EVAP system components are known to fail from simple aging. Rubber hoses become brittle and crack, and valves stick over time. While the gas cap is the most frequent culprit, a dry-rotted fuel filler neck hose is a specific and common failure point on these trucks that is often overlooked. Additionally, the charcoal canister and its associated vent valve, located above the spare tire, are common sources of the leak as these trucks exceed 15-20 years of age. Owners report that repeated overfilling of the fuel tank can saturate the canister with liquid fuel, causing it to fail prematurely.
Symptoms You May Notice
- Check Engine Light is on.
- A faint smell of fuel, especially around the rear of the truck or near the gas cap.
- A 'whoosh' sound of air escaping or entering when opening the gas cap.
- Difficulty starting the truck immediately after refueling (in rare cases).
- Replacing the expensive charcoal canister when the actual problem is a simple cracked hose, a bad gas cap, or the fuel filler neck hose. A smoke test is strongly recommended before replacing expensive components to pinpoint the exact leak location.
Most Likely Causes
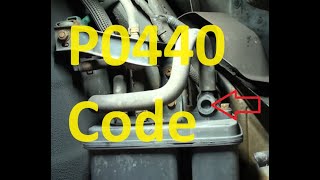
- Loose or Worn-Out Gas Cap 🔴 High Probability The rubber O-ring on the gas cap degrades, flattens, and cracks over 15-20+ years, preventing a proper seal. This is the most common cause of P0440 on any vehicle of this age. 🎬 See this video for a full diagnosis and repair of P0440 codes.
How to confirm: First, ensure the cap is tight (clicked several times). Inspect the rubber seal for cracks, stiffness, or damage. If the seal looks worn, replacement is the best confirmation. A loose-feeling cap after tightening is a sure sign it needs replacement.
Typical fix: Replace the gas cap. It is highly recommended to use an OEM (Original Equipment Manufacturer) cap from Toyota, as many owners in forums report that aftermarket caps fail to seal properly and do not resolve the code.
Est. part cost: $25-$45 - Cracked or Disconnected EVAP Hoses 🟡 Medium Probability After 15+ years, the numerous rubber vacuum and vapor hoses throughout the system become brittle from heat cycles and age, leading to cracks and leaks. Connection points and rubber elbows are especially vulnerable.
How to confirm: Visually inspect all accessible EVAP hoses, starting in the engine bay near the purge valve and checking along the frame rails toward the charcoal canister. Look for obvious cracks, splits, or loose connections. A smoke test is the definitive way to find a hard-to-see leak.
Typical fix: Replace the cracked section of hose. Hoses may be pre-formed from the dealer or can be replaced with appropriate bulk vacuum hose.
Est. part cost: $10-$50 - Failed Charcoal Canister or Vent Valve 🟡 Medium Probability The vent valve (or Canister Closed Valve VSV), which is often integrated into the charcoal canister assembly on these trucks, can get stuck open or closed. The plastic canister itself can also develop cracks over time from age and exposure under the truck. Repeatedly overfilling the fuel tank can also saturate the canister with liquid fuel, causing it to fail.
How to confirm: The canister and valve are located above the rear axle/spare tire. A smoke test is the most effective diagnostic method and will show smoke exiting the vent valve if it's stuck open or from cracks in the canister body. The valve can also be tested with a capable scan tool that can command it to open and close, or by applying direct 12V power to see if it clicks.
Typical fix: Replace the charcoal canister assembly, which typically includes the vent valve. On some models, the valve may be available separately, but it is often more practical to replace the entire unit.
Est. part cost: $300-$500 - Cracked Fuel Filler Neck Hose 🟡 Medium Probability The large rubber hose connecting the metal filler neck to the gas tank is a well-documented failure point on first-gen Tundras. It dry-rots and develops cracks over time, creating a large EVAP leak that consistently triggers a P0440 code.
How to confirm: Visually inspect the large diameter rubber hose located behind the fuel door assembly, leading down to the tank. This may require removing the plastic inner fender liner for a clear view. Look for deep, obvious cracks in the rubber. A smoke test will quickly reveal a leak from this hose.
Typical fix: Replace the filler neck hose. This is a relatively simple replacement requiring the removal of two worm-drive clamps. 🎬 Watch: This easy walkthrough shows how to replace the filler neck hose. Many owners have documented this specific repair in forums.
Est. part cost: $40-$80 - Failed Purge Valve / VSV (Vapor Switching Valve) ⚪ Low Probability This solenoid, located in the engine bay, can fail electrically or get stuck open or closed, creating a leak path in the EVAP system.
How to confirm: With the engine off, remove the valve and try to blow through it; it should be closed and not allow air to pass. With the engine running or by applying 12V power and ground to its terminals, the valve should click and open. A faulty valve will be stuck in one position.
Typical fix: Replace the purge valve. It is typically mounted on the engine intake manifold with two hoses and an electrical connector, making for an easy replacement.
Est. part cost: $50-$120
Rare But Worth Checking
- Cracked Fuel Tank Vent Valve: One owner found a crack in the vent valve located directly on top of the fuel tank, which required dropping the tank to access and replace. This is different from the vent valve on the canister.
- Faulty Fuel Tank Pressure Sensor: Though less common, the fuel tank pressure sensor can fail and send incorrect readings to the ECU, causing it to believe there is a leak when there isn't one. This sensor is often located on the fuel pump assembly inside the tank.
Diagnosis Steps
- Check the Gas Cap: This is the first and easiest step. Ensure it is tight and clicks multiple times. Inspect the rubber seal for cracks, deformities, or hardness. If in doubt, replace it with a genuine OEM Toyota cap. Clear the codes and drive for a few days to see if the light returns.
- Visual Inspection: Perform a thorough visual inspection of all EVAP hoses in the engine bay and under the truck. Pay close attention to rubber elbows and connection points for cracks, especially the lines running to and from the purge valve (engine bay) and charcoal canister (rear of truck).
- Inspect the Fuel Filler Neck Hose: Remove the driver's side rear wheel and inner fender liner to get a clear view of the large rubber hose connecting the filler neck to the gas tank. This is a very common failure point; look for deep cracks.
- Test the Purge Valve (VSV): Locate the purge valve in the engine bay. Test its function by checking if it's closed when the engine is off (no air should pass through). Apply 12V power to see if it clicks open.
- Perform a Smoke Test: If the above steps do not reveal the issue, a smoke test is the most effective next step. This involves feeding low-pressure smoke into the EVAP system's service port to quickly and accurately identify the source of the leak. Smoke will visibly exit from any crack or failed seal. 🎬 Watch: How to find an EVAP leak using a smoke test.
- Test the Vent Valve/Solenoid: During a smoke test, if smoke exits the vent on the charcoal canister, the vent valve is likely stuck open. You can also use a capable scan tool to command the valve to close and see if it holds pressure.
- Replace the Faulty Component: Based on the smoke test results or component testing, replace the part that is leaking or has failed. This could be a simple hose, the gas cap, the filler neck, or the entire charcoal canister assembly.
Parts You'll Likely Need
- Fuel Tank Cap
(OEM #77300-0C010 (superseded by 77300-06040))— This is the most frequent and cheapest fix for P0440 due to the natural degradation of its rubber seal over time. Using an OEM cap is highly recommended.
Trusted brands: Toyota (OEM)
OEM price range: $25-$45
Aftermarket price range: $15-$30 - Charcoal Canister Assembly
(OEM #77740-0C030 (V8 models, check VIN for exact fitment))— A common failure point, this assembly often includes the vent valve solenoid, which is a primary culprit for EVAP codes. The canister plastic can also crack with age.
Trusted brands: Toyota (OEM), Standard Ignition
OEM price range: $400-$600
Aftermarket price range: $250-$450 - Fuel Filler Neck Hose — This large rubber hose is notorious for dry-rotting and cracking on first-gen Tundras, creating a significant leak that triggers P0440. It's a common fix after the gas cap has been ruled out.
Trusted brands: Toyota (OEM), Gates
OEM price range: $40-$80
Aftermarket price range: $30-$60 - EVAP Purge Valve / Solenoid (VSV)
(OEM #90910-12259 (verify with VIN))— Located in the engine bay, this valve controls the flow of vapors to the engine. It can fail electrically or become stuck, though it's less common than canister or hose failures for this code.
Trusted brands: Toyota (OEM), Denso, Dorman
OEM price range: $50-$120
Aftermarket price range: $30-$80
Related Codes That Often Appear With This One
- P0441 — P0441 indicates incorrect purge flow. This code often appears with P0440 because a stuck-open or stuck-closed purge or vent valve, which causes a P0440 leak, will also disrupt the proper flow of vapors during the purge cycle.
- P0446 — P0446 specifically points to a fault in the vent control circuit or valve. Since the vent valve is a primary cause of the general system fault P0440, it's common to see both codes together, especially if the valve is electrically faulty or stuck.
- P0442 — P0442 indicates a small EVAP leak, whereas P0440 is a more general system malfunction. Sometimes a small, developing leak from a cracked hose or failing seal may initially trigger P0442 before becoming a larger issue that flags P0440.
Technical Service Bulletins (TSBs) & Recalls
- EG046-03 (Revised Oct 2003): While not for the Tundra specifically, this TSB for other Toyota models of the era details troubleshooting for P0440, P0441, and P0446 caused by a failed Canister Closed Valve (vent valve), indicating a common issue with this component design across the Toyota lineup.
- EG015-04 (April 2004): This TSB provides detailed diagnostic flowcharts for EVAP codes P0441, P0442, and P0446 on various Toyota models, focusing on testing the vent valve (VSV), checking for leaks, and inspecting the canister. The procedures are directly applicable to diagnosing a P0440 on a Tundra.
Platform-Specific Known Issues
- The main rubber hose for the fuel filler neck is known to dry-rot and crack, causing a P0440 code. This is a very common fix discussed in owner forums.
- The charcoal canister is mounted above the spare tire, exposing it to dirt and moisture, which can accelerate failure of the canister and its vent valve.
Mechanic-Grade Diagnostic Values
- EVAP Purge or Vent VSV (Vacuum Switching Valve) Coil Resistance — expected: Approximately 30-36 Ohms at room temperature (around 68°F/20°C).. Failure: A reading of infinity (open circuit), 0 ohms (short circuit), or a value significantly outside the 30-36 Ohm range indicates a faulty coil. Resistance will increase as the component gets hotter.
- Fuel Tank Pressure Sensor Voltage — expected: The ECM supplies a 5V reference to the sensor. The output signal voltage changes based on pressure. A typical reading with the gas cap off (atmospheric pressure) would be around 2.5-3.5V, but this varies by specific sensor calibration.. Failure: Voltage that is stuck high (near 5V) or low (near 0V) regardless of pressure changes, or readings that are erratic, suggest a failed sensor or wiring issue.
Hidden / Shadow Codes Worth Checking
- Mode $06 Data: Mode $06 does not show 'shadow codes' in the typical sense, but provides the raw results of the ECU's self-tests for the EVAP system. A technician can see if the system is failing the leak test before a DTC is officially set. It will show test IDs (TID) and component IDs (CID) with their measured values versus the allowable min/max thresholds. (see via A professional scan tool or an advanced consumer OBD-II scanner that supports Mode $06 data display.)
Scan Tool Commands That Help
- Toyota Techstream: Evaporative System Check Utility — This is a bidirectional control that allows a technician to force the EVAP system to run its self-test on command, without waiting for the 5-hour 'cold soak' period. The utility walks through steps to close the vent valve, operate the purge valve, and monitor pressure decay, helping to confirm a leak exists or verify a repair has fixed it.
- Toyota Techstream: Active Test for VSVs — Within Techstream, a technician can individually command the Purge VSV and Vent VSV to open and close. This is used to confirm if the solenoids are responding to the ECU's commands and are not mechanically stuck. For example, you can command the vent valve closed and then introduce smoke to see if it holds pressure.
Wiring & Ground Locations
- EVAP Purge VSV Connector — In the engine bay, typically on the intake manifold on the 4.7L V8.. This 2-pin connector provides power and ground to the purge solenoid. A corroded or loose connection will prevent the valve from operating, potentially causing a P0440 or related codes. One pin should have 12V with the key on, and the other is the ground control from the ECU.
- Charcoal Canister Assembly Connector — Under the truck bed, above the spare tire. It's a multi-pin connector for the vent valve and, on later models, the leak detection pump.. This connector is exposed to the elements and is a common point of corrosion or damage. A bad connection here can disable the vent valve or pressure sensor, leading to P0440 and other EVAP codes.
- Ground Point E1 — In the engine room, on the left side of the engine compartment, as part of the engine harness ground.. While not exclusively for the EVAP system, poor engine-to-chassis grounds can cause a variety of erratic electronic issues, including incorrect sensor readings or solenoid malfunctions. Verifying this ground is clean and tight is a good step in chasing electrical gremlins.
Real Owner Repair Stories
- YouTube user 'John Nguyen' (Older Toyota (model not specified, but demonstrates a common Toyota issue)) — Persistent P0440 check engine light.
❌ Tried (didn't work) Replaced gas cap, Inspected hoses in the engine bay, Replaced various electronic EVAP components from a salvage yard
✅ What actually fixed it After dropping the fuel tank, a hairline crack was discovered on the fuel tank vent valve, located on the top of the fuel pump assembly. The crack was barely visible until pressure was applied with a screwdriver. Replacing this valve resolved the leak and the P0440 code. - TundraSolutions.com forum user 'Festerw' (2004 Toyota Tundra DC) — P0440 code.
❌ Tried (didn't work) A new gas cap did not solve the issue for another user in the same thread.
✅ What actually fixed it The large rubber fuel filler neck hose was dry-rotted. The user replaced it in about 20 minutes by accessing it from underneath the truck, removing the two worm-drive clamps, and swapping the hose.
"I Checked Everything" — The Actual Cause
- In one documented case, after replacing multiple parts and presumably passing a smoke test (or not finding a leak), the final cause was a very fine hairline crack on the plastic fuel tank vent valve, located on top of the fuel tank itself. This type of leak can be difficult to spot with a smoke test unless the tank is dropped and the component is manipulated, as the crack may only open under specific pressure or temperature conditions.
OEM Part Supersession History
77300-0C010→77300-06040— Standard part update/consolidation by Toyota.
Heads up: The new part number is a direct, compatible replacement for the original.77740-0C021→77740-0C050— Part update for later model years within the generation, possibly due to design changes in the EVAP system.
Heads up: Part number 77740-0C021 is listed for 2000-2002 models, while 77740-0C050 is for 2003-2006. These may not be interchangeable due to system design changes.
Model Year Variations Within This Range
- 2000-2002 (V6 models primarily): On some early models, particularly those with the 3.4L V6 engine, the charcoal canister was located in the engine bay near the battery, making it much easier to access than on later V8 models.
- 2003-2006 (V8 models primarily): The charcoal canister was moved to the rear of the vehicle, under the bed and above the spare tire. Additionally, the EVAP system became more complex around 2004-2005, with some models incorporating a leak detection pump into the canister assembly, whereas earlier systems used engine vacuum for testing. It is critical to visually inspect the existing canister before ordering a replacement.
Diagnostic Flowchart
Other Known Issues on This Vehicle
Issues unrelated to this code that are worth knowing about as an owner of this generation:
- Frame Rust/Corrosion 🔴 High — Very common, especially in 'salt belt' states. Led to a massive recall and warranty extension program where Toyota inspected and either treated or replaced entire frames. (Ref: NHTSA Action Number: EA09004; Toyota Limited Service Campaign (LSC) A0F for 2000-2003 models and LSC D0D for 2004-2006 models.)
- Lower Ball Joint Failure 🔴 High — A significant safety issue where the front lower ball joint can separate from the steering knuckle, causing a loss of steering control. Affects the entire generation. (Ref: Toyota Safety Recall SSC 70B for 2004-2006 models. Earlier models (2000-2003) share the same design flaw but were not included in this specific recall, though failures are still reported.)
- Interference Engine Timing Belt 🔴 High — The 4.7L 2UZ-FE V8 is an interference engine. The timing belt has a recommended replacement interval of 90,000 miles or ~9 years. If the belt snaps, catastrophic engine damage will occur.
- Secondary Air Injection Pump Failure 🟠 Medium — Common on 2005-2006 models with the VVT-i 4.7L engine. The air pumps or switching valves fail, causing a loud vacuum cleaner noise on cold starts and putting the truck into 'limp mode'. Repairs can be very expensive. (Ref: Toyota extended the warranty for this issue on 2007+ models, but not officially for the 2005-2006 Tundras, despite them having the same problem.)
Used vs. New Parts: Buying Guide for This Vehicle
When a used part is the smart pick: For this repair, used parts are generally not recommended for the core components that cause the failure. Rubber hoses, gas cap seals, and the charcoal canister itself fail due to age, heat, and exposure. A used part from a donor vehicle of the same age will likely have the same wear and a very limited remaining lifespan. The only exception might be for hard plastic brackets or connectors if the original breaks during disassembly.
Donor-vehicle mileage cap: roughly under 100000 miles for the part to have meaningful remaining life.
What to inspect on the donor part:
- For a charcoal canister, check for any visible cracks in the plastic housing.
- Ensure all hose nipples and connector ports are intact and not broken off.
- Avoid any canister that feels heavy or sloshes, as this indicates it is saturated with fuel or water.
- For hoses, look for pliability. If the rubber is hard, stiff, or already has visible surface cracks, it is not a good donor part.
OEM-only on this vehicle (don't cheap out):
- Fuel Tank Cap: Forum consensus strongly indicates that aftermarket gas caps often fail to seal correctly on this specific vehicle, causing the P0440 code to persist. An OEM Toyota cap is the most reliable choice.
Aftermarket brands forum-validated for this vehicle:
- Denso (for VSV/Solenoids - often the OEM supplier)
- Standard Motor Products (SMP) (for valves and sensors)
- Gates (for rubber hoses)
Brands owners have reported issues with on this vehicle:
- Generic, unbranded, or 'white box' gas caps are frequently reported to cause persistent issues.
Real Owner Stories
Aggregated from forums and TSBs cited above. Mileages and costs reflect what owners reported in those sources.
2000-2006 Toyota Tundra
Symptoms: Check Engine Light with code P0440; discussion in a poll regarding the most likely quick fix.
What fixed it: Replacement of the fuel filler neck hose or a new OEM gas cap.
Source hint: Tundras.com: A thread titled 'P0440 Quick advice - Poll'
2000-2006 Toyota Tundra
Symptoms: EVAP system issues; owner performed a DIY diagnostic by removing the canister to check for water saturation.
What fixed it: Removing the canister and pressure testing it on a bench to identify leaks or saturation before replacement.
Source hint: Tundras.com: In a thread about EVAP canister fixes
Related OBD-II Codes
Frequently Asked Questions
I've heard the fuel filler neck hose is a common issue on first-gen Tundras. How do I check it?
Should I use an aftermarket gas cap to fix my P0440 code?
Where is the charcoal canister located on my 2000-2006 Tundra?
Does TSB EG015-04 apply to my Tundra's EVAP issues?
Can overfilling my gas tank cause the P0440 code on this truck?
Is there a specific valve in the engine bay I should check for a P0440?
Helpful Videos
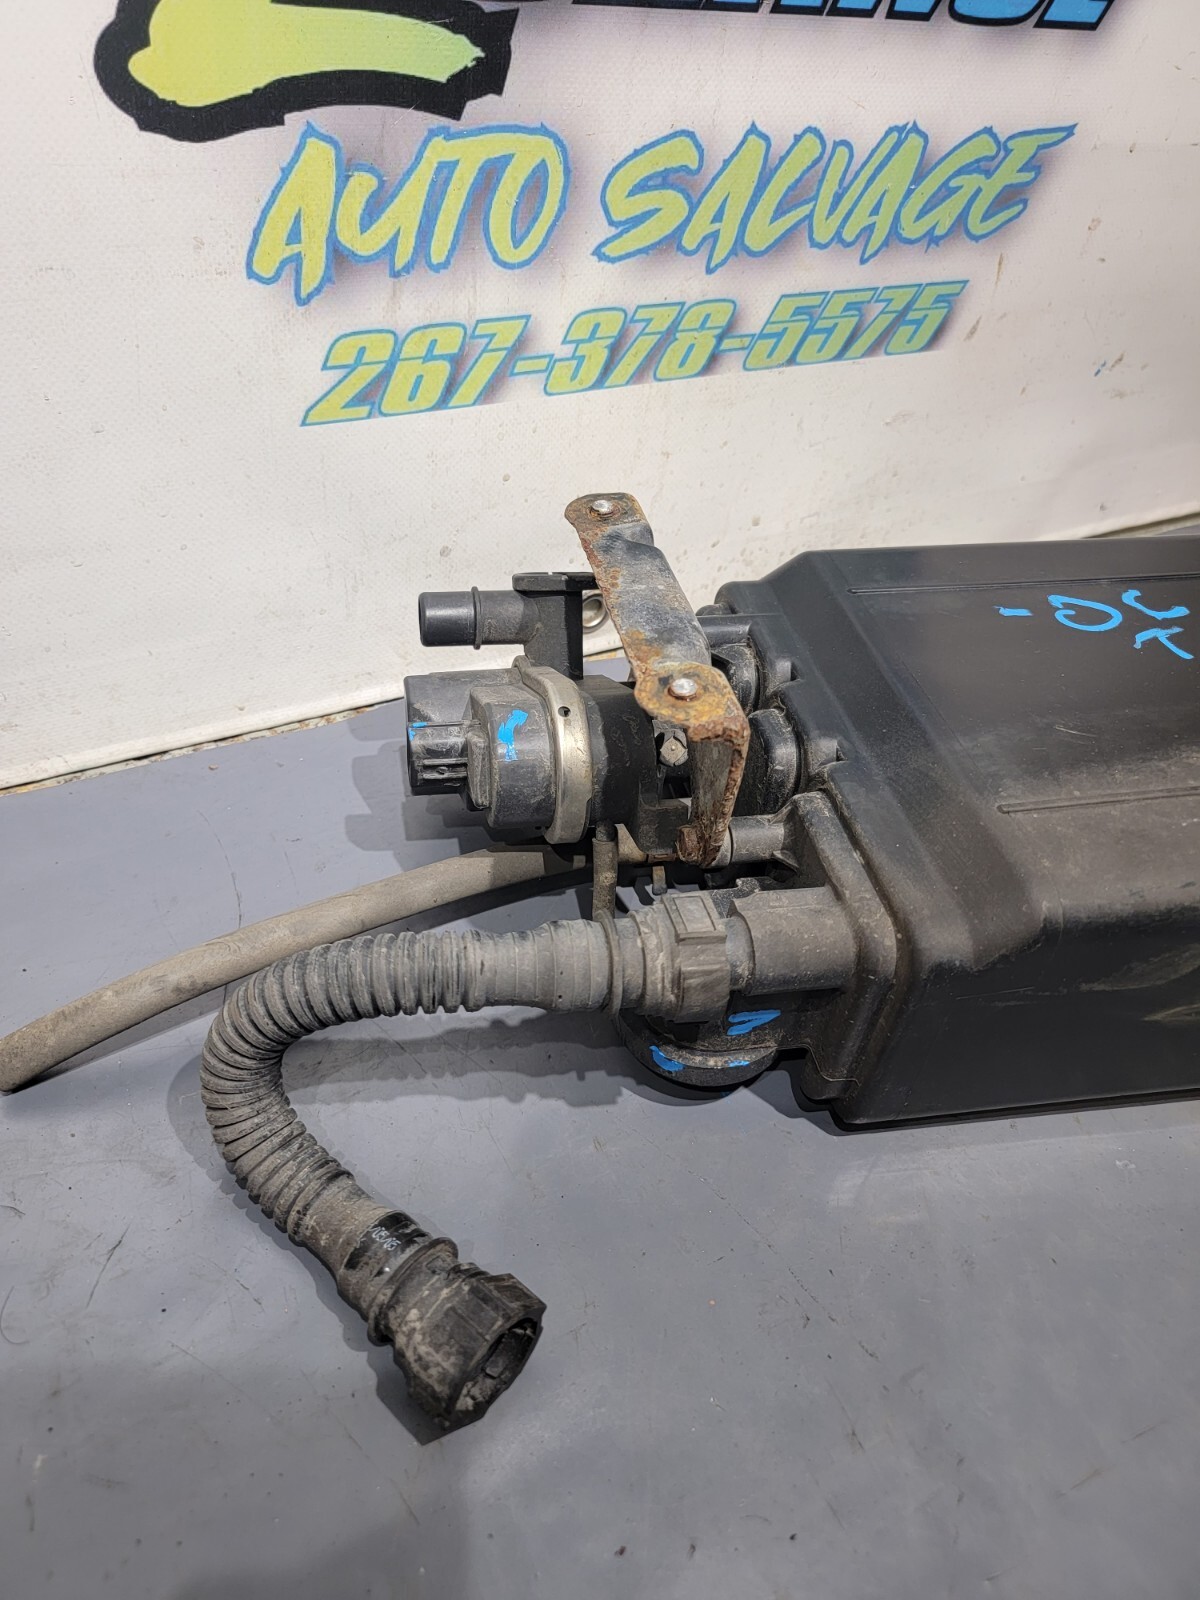
Used OEM Parts in Stock
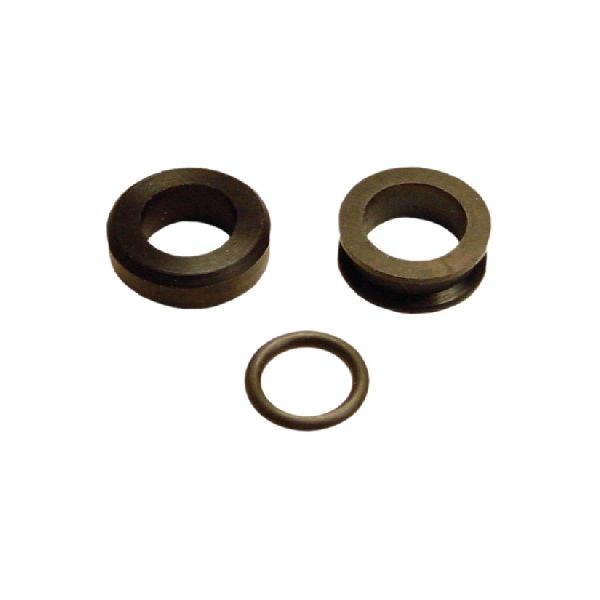
New Aftermarket Parts Available


The information in this article is provided for general reference and educational purposes only. Vehicle specifications, procedures, and part compatibility can vary by production date, trim level, and region. Always consult your vehicle's factory service manual and verify part numbers before purchasing or performing repairs. Safety-critical components such as airbags, seat belts, and braking systems should be installed by a qualified professional.
- Toyota Tundra:
- 🎬 Helpful Videos
- 🛍️ Shop This Part
- What's Unique About the 2000-2006 Toyota Tundra
- Symptoms You May Notice
- Most Likely Causes
- Rare But Worth Checking
- Diagnosis Steps
- Parts You'll Likely Need
- Related Codes That Often Appear With This One
- Technical Service Bulletins (TSBs) & Recalls
- Platform-Specific Known Issues
- Mechanic-Grade Diagnostic Values
- Hidden / Shadow Codes Worth Checking
- Scan Tool Commands That Help
- Wiring & Ground Locations
- Real Owner Repair Stories
- "I Checked Everything" — The Actual Cause
- OEM Part Supersession History
- Model Year Variations Within This Range
- Diagnostic Flowchart
- Other Known Issues on This Vehicle
- Used vs. New Parts: Buying Guide for This Vehicle
- Real Owner Stories
- 2000-2006 Toyota Tundra
- 2000-2006 Toyota Tundra
- Related OBD-II Codes
- Frequently Asked Questions
- 🎟️ Get 5% Off