

P0137 on 1992-2011 Mercury Grand Marquis 4.6L V8: Causes and Fixes for O2 Sensor Low Voltage
On a 4.6L Grand Marquis, code P0137 almost always points to a failed downstream oxygen sensor on the passenger side (Bank 1, Sensor 2). This sensor's job is to monitor catalytic converter efficiency. Expect to pay $40-$80 for an aftermarket sensor (NTK and Denso are highly recommended OEM-equivalent brands) or $90-$150 for an OEM Motorcraft part. It's a straightforward DIY replacement for those comfortable working under the car, though the sensor can be seized, requiring a special 22mm (or 7/8")
- P0137 points to the passenger side, post-catalytic converter O2 sensor.
- The most likely fix is replacing the O2 sensor itself, which is a common wear item. NTK or Denso are well-regarded aftermarket options.
- Before replacing the sensor, always perform a quick visual inspection of the wiring for melting or damage and listen for any exhaust leaks.
- This is a DIY-friendly repair, but the sensor can be seized in the exhaust pipe, requiring a special 22mm (7/8") O2 sensor socket and penetrating oil for removal.
- Driving with this code is not immediately dangerous, but it will cause an emissions failure and should be addressed to prevent potential long-term damage to the catalytic converter.
What's Unique About the 1992-2011 Mercury Grand Marquis
The 4.6L V8 and Panther platform (shared with the Crown Victoria and Lincoln Town Car) are known for their durability and straightforward design. For the P0137 code, there are no widespread, unique design flaws. The causes are typical for any vehicle of this era. The most common failure is simply the O2 sensor wearing out due to age and mileage. The robust, body-on-frame construction provides ample room to access the exhaust components, making diagnosis and repair relatively simple compared to more modern, compact vehicles. The wiring for the downstream sensor is often routed along the transmission crossmember, where it can be susceptible to heat damage or snagging on road debris.
Generation note: This guide covers the second (1992-1997) and third (1998-2011) generations of the Mercury Grand Marquis. While there were significant styling and chassis updates between these generations, the function and diagnosis for a P0137 code on the 4.6L V8 remain fundamentally the same. The OBD-II system became standard in 1996, so pre-1996 models will have a different diagnostic connector location. Specific part numbers for the O2 sensor may vary by year, so always verify with your vehicle's VIN.
Symptoms You May Notice
- Check Engine Light is on.
- Vehicle will fail an emissions test.
- Slightly decreased fuel economy.
- In rare cases, a rough or unstable idle.
- Noticeable odor of exhaust fumes if an exhaust leak is the root cause.
- Replacing the oxygen sensor without first checking for exhaust leaks or wiring damage. An exhaust leak before the sensor can mimic the symptoms of a failed sensor, causing the new part not to fix the code.
- Replacing the wrong sensor. P0137 is specifically for Bank 1 (passenger side) and Sensor 2 (downstream/post-catalytic converter).
Most Likely Causes
- Failed Downstream Oxygen Sensor (Bank 1, Sensor 2) 🔴 High Probability Oxygen sensors are a normal wear-and-tear item with a finite lifespan, typically failing from age, heat cycles, and exposure to exhaust gases. Over time, they can become coated with carbon or other contaminants, leading to incorrect readings.
How to confirm: Use an OBD-II scanner with live data to monitor the B1S2 voltage. If the voltage is stuck below 0.2V and does not fluctuate on a fully warmed-up engine, the sensor is likely bad. A healthy downstream sensor should show a relatively stable voltage between 0.4V and 0.6V.
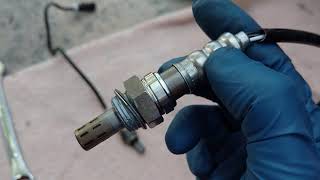
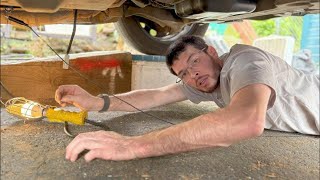
Typical fix: Replace the Bank 1, Sensor 2 oxygen sensor. It is located on the passenger side of the vehicle, screwed into the exhaust pipe just after the catalytic converter. Use a 22mm or 7/8" O2 sensor socket for rem 🎬 Watch: Step-by-step oxygen sensor replacement on a Panther platform vehicle.oval.
Est. part cost: $40-$150 - Damaged Wiring or Connector 🟡 Medium Probability The sensor and its wiring are located under the vehicle, exposed to road debris, moisture, and extreme exhaust heat. The harness is often routed near the transmission and can be damaged, melted on the exhaust, or the connector pins can corrode.
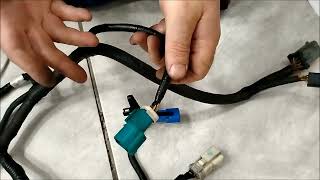
How to confirm: Visually inspect the entire wiring harness from the O2 sensor to where it connects to the main loom on the transmission bellhousing/crossmember. 🎬 See this quick guide on inspecting 4.6L O2 sensor wiring. Check for melted plastic, chafed wires, or corrosion on the connector pins. Use a multimeter to test for continuity, shorts to ground, and proper voltage at the connector. The heater circuit may have its own fuse to check.
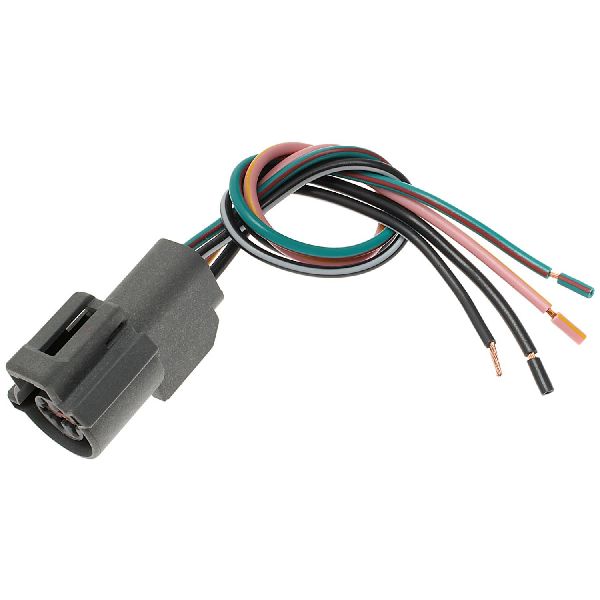
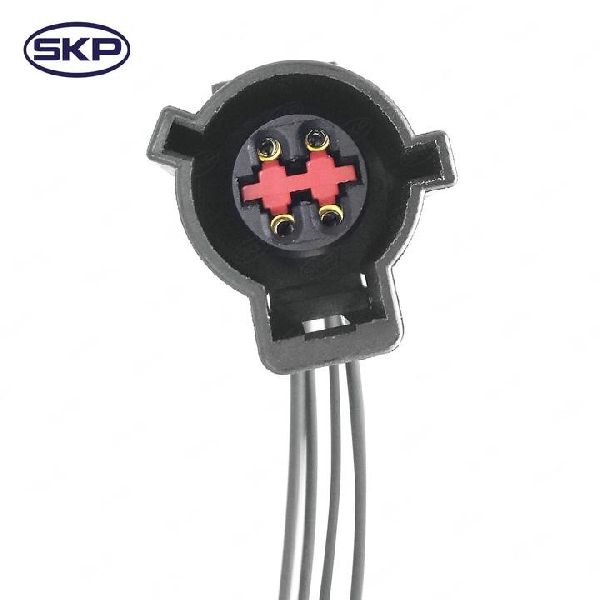
Typical fix: Repair the damaged section of the wiring harness or replace the connector pigtail. Clean corroded pins with electrical contact cleaner.
Est. part cost: $10-$30 - Exhaust Leak ⚪ Low Probability Rust can cause leaks at exhaust manifold gaskets, flange connections, or cracks in the pipes, especially on older vehicles from corrosion-prone regions. A leak before the sensor allows fresh oxygen to enter the exhaust, which the sensor reads as a lean (low voltage) condition.
How to confirm: Listen for an audible ticking or hissing sound from the exhaust system, which may be louder when the engine is cold. A common method is to have an assistant temporarily block the tailpipe with a rag while you inspect for leaks between the engine and the sensor. Look for black soot marks around flanges and weld seams.
Typical fix: Replace the leaking gasket or repair/replace the damaged section of the exhaust pipe. Exhaust putty can be used for small pinhole leaks as a temporary fix.
Est. part cost: $20-$200
Rare But Worth Checking
- Faulty Powertrain Control Module (PCM): This is extremely rare and should only be considered after all other possibilities (sensor, wiring, exhaust leaks) have been definitively ruled out. Some specialized vendors suggest this is more common than believed, but it remains a last resort after thorough diagnostics.
- Lean Running Condition: An engine running excessively lean due to issues like a vacuum leak or low fuel pressure can cause a P0137. However, this will almost always be accompanied by other codes, such as P0171 or P0174.
Diagnosis Steps
- Connect an OBD-II scanner and confirm P0137 is the active code. Note any other codes present.
- With the engine running and warm, use the scanner's live data feature to observe the voltage for 'O2S12' (Bank 1, Sensor 2). A healthy downstream sensor should show a relatively stable voltage, typically between 0.4V and 0.8V. If it is stuck below 0.2V, the sensor or its circuit is faulty.
- Perform a thorough visual inspection. Get under the vehicle and inspect the Bank 1, Sensor 2 (passenger side, downstream) O2 sensor, its connector, and wiring harness for any obvious damage, melting, corrosion, or contact with the exhaust pipe.
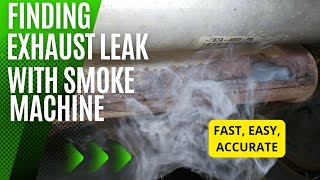
- Inspect the exhaust system for leaks between the engine and the downstream O2 sensor. Listen for hissing/ticking noises and look for black soot trails at gaskets and pipe flanges. 🎬 Watch: Pro tips for finding exhaust leaks that trigger codes.
- If the voltage is stuck low and the visual inspection is clear, disconnect the sensor. Use a multimeter to check for 12V power and a good ground on the heater circuit pins of the vehicle-side connector. Check the signal wire for a short to ground.
- If the wiring checks out, the sensor itself is the most likely culprit. They can be difficult to remove if rusted in place. Soaking the threads with penetrating oil (like PB Blaster) while the exhaust is warm can help.
- If a new sensor and confirmed good wiring do not resolve the code, investigate the possibility of a lean running condition (if other codes are present) or, in very rare cases, a faulty PCM.
Parts You'll Likely Need
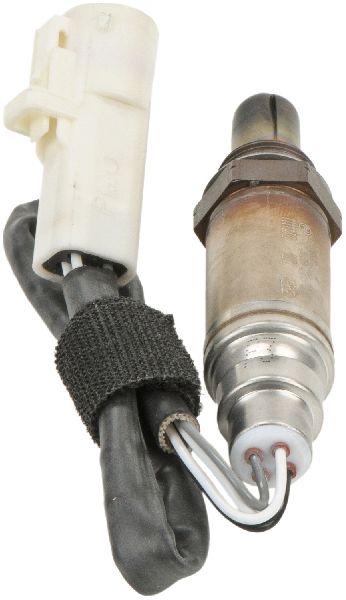
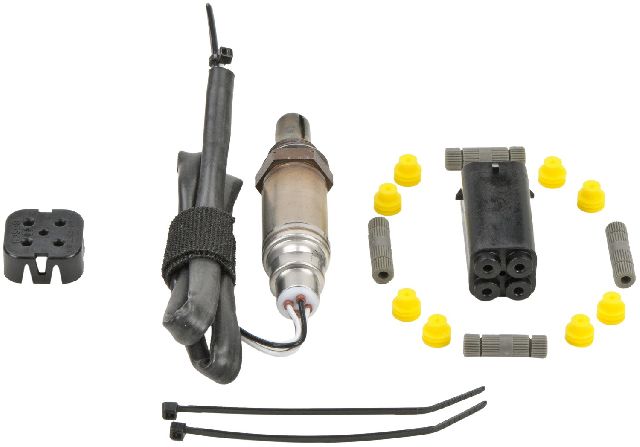
- Oxygen Sensor (Bank 1, Sensor 2)
(OEM #GU2Z-9G444-A (Verify by VIN, may supersede older numbers))— This is the most common failure point for code P0137. The sensor is a wear item that degrades over time.
Trusted brands: Motorcraft (OEM), NTK/NGK (Often the original OEM supplier), Denso, Bosch
OEM price range: $90-$150
Aftermarket price range: $40-$80 - Oxygen Sensor Socket — A special tool is required to remove and install the sensor without damaging its wire. A 7/8" or 22mm slotted socket is needed. Some mechanics use a flex-head wrench for better access.
Trusted brands: OEMTOOLS, Lisle
Aftermarket price range: $10-$30
Related Codes That Often Appear With This One
- P0157 — This is the same low voltage code but for Bank 2, Sensor 2 (driver's side). Seeing both codes together could suggest a common issue like a shared wiring problem, similar sensor age causing them to fail around the same time, or a major exhaust leak affecting both banks.
- P0131 — This code is for low voltage on the *upstream* sensor on the same bank (Bank 1, Sensor 1). If seen together, it could point to a larger issue like a significant exhaust leak, a fuel delivery problem affecting that entire bank, or a wiring issue common to that harness branch.
- P0171 — This code indicates 'System Too Lean (Bank 1)'. An issue causing a lean condition, like a vacuum leak or fuel delivery problem, can also cause the downstream O2 sensor to read low voltage, triggering P0137. If you see P0171, you should investigate the lean condition first.
Technical Service Bulletins (TSBs) & Recalls
- No specific Technical Service Bulletins (TSBs) were found to be widely associated with code P0137 on this platform, as the causes are typically related to general wear and tear rather than a specific design defect.
Platform-Specific Known Issues
- Owner Experience: Seized Sensor Removal: Owners on forums frequently report that the downstream O2 sensors can be extremely difficult to remove due to rust. Successful strategies include applying penetrating oil liberally and letting it soak, warming the exhaust pipe up by running the engine, and then using a long breaker bar with the O2 sensor socket for leverage. In some cases, a small butane torch is used
Mechanic-Grade Diagnostic Values
- O2 Sensor Heater Circuit Resistance — expected: 3 to 30 Ohms. Failure: An open circuit (OL on multimeter) or a value outside the specified range indicates a faulty heater element within the sensor.
- Downstream O2 Sensor (B1S2) Voltage, Engine Warm at Idle — expected: Relatively stable voltage around 0.45V - 0.6V.. Failure: Voltage that remains below 0.4V for more than 20 seconds will trigger the P0137 code.
Hidden / Shadow Codes Worth Checking
- Mode 6, Test ID $81: This is not a trouble code, but a non-continuous monitor test result accessible with advanced scan tools. It relates to the HO2S monitor and can provide data on sensor amplitude and response rate before a fault fully matures into a P-code. A failing value here can be an early warning for a degrading sensor. (see via An OBD-II scan tool capable of displaying Mode $06 data.)
Wiring & Ground Locations
- G101 — Located on the front of the right-side (passenger) fender apron in the engine bay.. This is a primary chassis ground point. While the O2 sensor has a dedicated signal return wire, that circuit ultimately relies on clean main ground points like G101. Corrosion here can cause floating grounds and erratic voltage readings for multiple sensors, including the O2 sensors.
- B1S2 Harness Connector Wires — On the vehicle-side harness connector for the passenger-side downstream O2 sensor.. Knowing the wire colors is critical for testing. Based on common Ford 4.6L schematics, typical colors are: Heater Power (often Red), Heater Ground/Control (e.g., Yellow/Light Blue), Signal Wire (e.g., Red/Black), and Signal Return/Ground (Gray/Red). These must be tested for power, ground, and continuity back to the PCM.
- Harness over Transmission Bellhousing — The main wiring harness branch that drapes over the top of the transmission bellhousing to service the downstream O2 sensors and transmission components.. This is a very common chafe point. Heat from the exhaust and engine, combined with engine/transmission vibration, can cause the loom to melt or wires to rub through, causing a short to ground on the signal wire, which directly causes a P0137.
Real Owner Repair Stories
- Ford F150 Forum (2001 Ford F-150 4.6L 4x4) — Check engine light with codes P0156 and P0161 (the Bank 2 equivalent of P0137).
❌ Tried (didn't work) Initial visual inspection.
✅ What actually fixed it After tracing the harness, the owner found broken wires for the O2 sensor and Vehicle Speed Sensor (VSS) in the loom located above the transmission. Repairing the broken wires resolved the codes. - StangNet Forums (SN95 Mustang (1999-2004 era)) — O2 sensor heated circuit malfunction DTC.
❌ Tried (didn't work) Initial diagnosis pointed towards a bad sensor.
✅ What actually fixed it The owner inspected the harness and found one of the O2 sensor wires had its insulation completely cooked off near the top of the bellhousing, causing it to short out. The final fix was to properly repair the damaged wire.
Model Year Variations Within This Range
- 1992-1995: These earlier models are OBD-I and are equipped with only two oxygen sensors, both located upstream of the catalytic converters. They do not have downstream sensors ('Sensor 2'). Therefore, a P0137 code is not applicable to these model years.
- 1996-2011: These are OBD-II compliant models and feature four oxygen sensors: two upstream (for fuel control) and two downstream (for catalyst monitoring). Code P0137 specifically refers to the downstream sensor on Bank 1 (passenger side) and is only valid for this year range.
Diagnostic Flowchart
Real Owner Stories
Aggregated from forums and TSBs cited above. Mileages and costs reflect what owners reported in those sources.
2004 Mercury Grand Marquis 4.6L V8
Symptoms: Both downstream sensors failed simultaneously, triggering codes P0137 and P0157.
What fixed it: Replaced both downstream oxygen sensors with Bosch parts.
Source hint: crownvic.net: A thread titled 'P0137 and P0157'
Mercury Grand Marquis 4.6L V8
Symptoms: Triggered code P0137. Upon inspection, found the sensor's wiring harness had fallen from its clip and melted against the hot exhaust pipe.
What fixed it: Spliced in a new pigtail connector, which resolved the code without needing a new sensor.
Source hint: grandmarq.net: In a discussion about P0137
Related OBD-II Codes
Frequently Asked Questions
Are there any specific TSBs or recalls for code P0137 on my 1992-2011 Grand Marquis?
Where exactly is the Bank 1, Sensor 2 oxygen sensor located on the 4.6L V8?
I'm trying to replace the O2 sensor on my Grand Marquis, but it's completely stuck. What should I do?
Can a melted wiring harness cause a P0137 on my Grand Marquis?
Will an exhaust leak trigger this code on my Panther platform car?
What brand of oxygen sensor do other Grand Marquis owners recommend for a P0137 code?
Helpful Videos
We Have This Part in Stock


The information in this article is provided for general reference and educational purposes only. Vehicle specifications, procedures, and part compatibility can vary by production date, trim level, and region. Always consult your vehicle's factory service manual and verify part numbers before purchasing or performing repairs. Safety-critical components such as airbags, seat belts, and braking systems should be installed by a qualified professional.
- Mercury Grand Marquis:
- 🎬 Helpful Videos
- 🛍️ Shop This Part
- What's Unique About the 1992-2011 Mercury Grand Marquis
- Symptoms You May Notice
- Most Likely Causes
- Rare But Worth Checking
- Diagnosis Steps
- Parts You'll Likely Need
- Related Codes That Often Appear With This One
- Technical Service Bulletins (TSBs) & Recalls
- Platform-Specific Known Issues
- Mechanic-Grade Diagnostic Values
- Hidden / Shadow Codes Worth Checking
- Wiring & Ground Locations
- Real Owner Repair Stories
- Model Year Variations Within This Range
- Diagnostic Flowchart
- Real Owner Stories
- 2004 Mercury Grand Marquis 4.6L V8
- Mercury Grand Marquis 4.6L V8
- Related OBD-II Codes
- Frequently Asked Questions
- 🎟️ Get 5% Off