

P0137 on 2011-2014 Ford F-150 3.5L EcoBoost: Low Voltage O2 Sensor Causes and Fixes
P0137 on a 2011-2014 F-150 3.5L EcoBoost most often indicates a failed downstream oxygen sensor (Bank 1, Sensor 2). Other common causes include exhaust leaks and damaged wiring. Replacing the sensor is a common DIY fix costing around $50-$100 for the part.
- P0137 means the passenger side, downstream O2 sensor is sending a continuous low voltage signal.
- The most likely fix is replacing the Bank 1, Sensor 2 oxygen sensor (OEM Part # BL3Z-9G444-A).
- Before replacing the sensor, always perform a quick visual inspection for obvious exhaust leaks or damaged wiring, as these can also cause the code.
- This is a DIY-friendly repair for many owners with basic tools and an O2 sensor socket.
- Ignoring this code will cause an automatic emissions test failure and can harm your catalytic converter over time.
What's Unique About the 2011-2014 Ford F-150

For the 2011-2014 F-150 with the 3.5L EcoBoost, the P0137 code is fairly straightforward and doesn't typically point to the more complex engine issues some early EcoBoosts were known for, like timing chain stretch or intercooler condensation. While exhaust leaks are a possible cause on any truck, the most common culprit is simply a worn-out oxygen sensor. The passenger side (Bank 1) downstream sensor is relatively accessible from underneath the truck, making it a manageable DIY repair for many owners. The wiring for these sensors is a known point of failure and should be inspected carefully for melting or chafing.
Symptoms You May Notice
- Check Engine Light is on.
- Reduced fuel economy.
- Failed emissions test.
- Rough or unstable idle.
- Noticeable exhaust or fuel odor.
- Replacing the catalytic converter when the actual problem is a cheap-to-fix exhaust leak or a faulty O2 sensor.
- Replacing the wrong oxygen sensor (e.g., replacing the upstream Sensor 1 or the sensor on the driver's side, Bank 2).
- Replacing the sensor without first checking the wiring harness for damage, which is a known issue.
Most Likely Causes

- Faulty Bank 1, Sensor 2 Oxygen Sensor 🔴 High Probability Oxygen sensors are wear items with a finite lifespan, typically failing due to age (over 100k miles), heat cycles, and contamination from fuel or oil. On a truck of this age, simple failure is the most common reason.
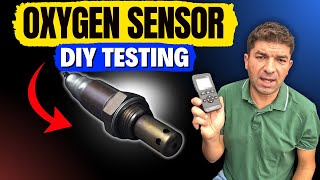
How to confirm: After visually inspecting for wiring damage and exhaust leaks, the most definitive test is to monitor the sensor's live voltage data with an OBD-II scanner. A healthy downstream sensor should show a relatively stable voltage, typically between 0.4V and 0.8V when the engine is warm. If the voltage is stuck low (e.g., below 0.2V) and doesn't respond, the sensor has likely failed.
Typical fix: Replace the Bank 1, Sensor 2 oxygen sensor. This is located on the passenger side, after the catalytic converter. 🎬 Watch: Step-by-step guide to replacing your downstream O2 sensors. An O2 sensor socket (22mm or 7/8") is recommended for removal.
Est. part cost: $50-$150 - Exhaust Leak 🟡 Medium Probability Exhaust manifold gaskets, flange connections, and flex pipes can develop leaks over time from corrosion and vibration. These leaks are noted as a common issue on F-150s. A leak before the sensor allows outside oxygen into the exhaust stream, causing an artificially low voltage reading.
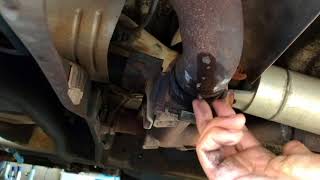
How to confirm: Perform a visual inspection of the exhaust system from the engine manifold back to the sensor. Look for black soot trails, listen for ticking or hissing noises (especially when the engine is cold), or use a smoke machine to pinpoint the leak. 🎬 See how to find and identify common F-150 exhaust leaks. You can also carefully feel for escaping air with your hand when the exhaust is cold.
Typical fix: Repair the source of the leak. This may involve replacing a gasket, tightening bolts, or welding a crack in the pipe. In some cases, exhaust repair putty can be used for small leaks.
Est. part cost: $20-$200 - Damaged Wiring or Connector ⚪ Low Probability The sensor wiring runs underneath the truck and is exposed to road debris, moisture, and high heat from the exhaust. This can cause wires to fray, break, melt on the exhaust pipe, or corrode at the connector pins, leading to a short or open circuit.
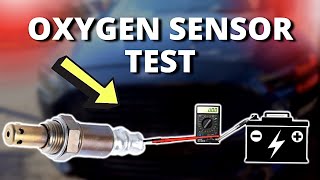
How to confirm: Visually inspect the entire wiring harness from the O2 sensor to where it connects to the main loom. Check for melted plastic, chafed wires, or green/white corrosion inside the connector pins. A multimeter can be used to check for continuity and proper voltage at the connector.
Typical fix: Repair the damaged section of wire or replace the connector pigtail. Ensure the repaired wiring is secured away from heat sources.
Est. part cost: $15-$50
Rare But Worth Checking
- Failing Catalytic Converter: While a failing converter more commonly sets a P0420 (Catalyst Efficiency) code, a completely clogged or internally damaged converter could potentially cause abnormal readings on the downstream sensor, leading to P0137 in rare cases.
- PCM Malfunction: This is extremely rare. The Powertrain Control Module itself could be faulty, but this should only be considered after all other possibilities have been exhaustively ruled out.
- Lean Engine Condition: If the engine is running excessively lean (too much air, not enough fuel) due to other issues like a vacuum leak or low fuel pressure, it can sometimes trigger a P0137. However, this is usually accompanied by other codes like P0171 or P0174.
Diagnosis Steps

- Read the code: Use an OBD-II scanner to confirm P0137 is the active code and check for any other related codes, like P0141 or P0171. Review freeze-frame data to see engine conditions when the code was set.
- Inspect for Exhaust Leaks: With the engine cold, start it and listen for any ticking or hissing sounds from the passenger side exhaust manifold and downpipe. Visually inspect for soot marks around flanges and welds. A smoke machine is the most effective tool for finding small leaks.
- Inspect Wiring: Thoroughly inspect the oxygen sensor's wiring harness and connector for any signs of damage, melting, or corrosion. Ensure the connector is securely plugged in. Pay close attention to where the harness might contact the frame or exhaust components.
- Analyze Live Data: Use an OBD-II scanner with live data capability. Observe the voltage for 'O2S12' (Bank 1, Sensor 2). With the engine fully warmed up, a healthy downstream sensor should have a fairly steady voltage, typically between 0.4V and 0.8V. If it's stuck below 0.2V, the sensor is either faulty, there's a significant exhaust leak, or a wiring problem exists.
- Test the Sensor (Optional): If you have a multimeter, you can disconnect the sensor and test the resistance of its internal heater circuit (check service manual for specs, but typically 4-20 ohms). An open circuit confirms sensor failure.
- Replace the Sensor: If the wiring and exhaust system are intact and the sensor's voltage is stuck low, replace the Bank 1, Sensor 2 oxygen sensor. Apply anti-seize compound to the threads of the new sensor before installation. Torque to specification (approx. 35 ft-lbs).
- Clear Code and Test Drive: After replacement, clear the code with the scanner and perform a drive cycle to ensure the Check Engine Light does not return.
Parts You'll Likely Need

- Oxygen Sensor (Bank 1, Sensor 2)
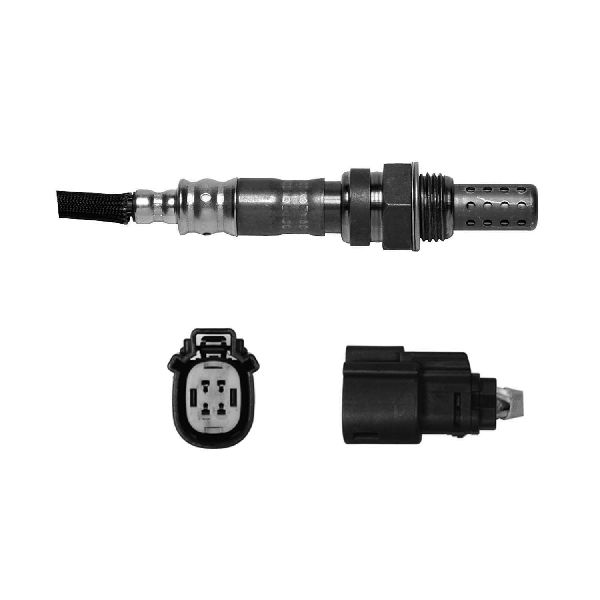
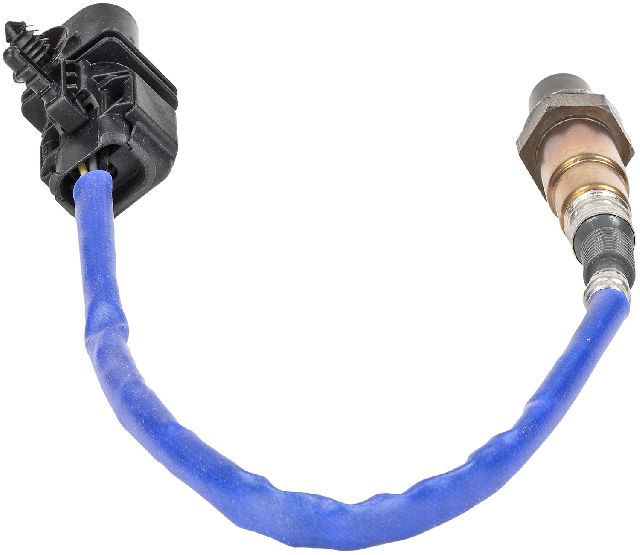
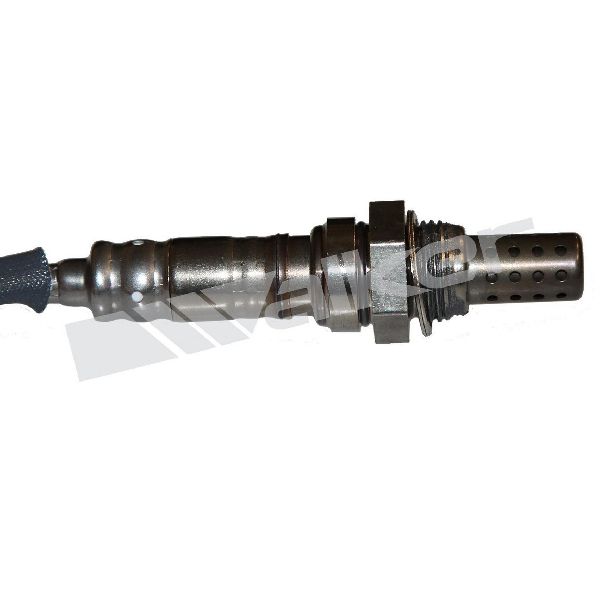
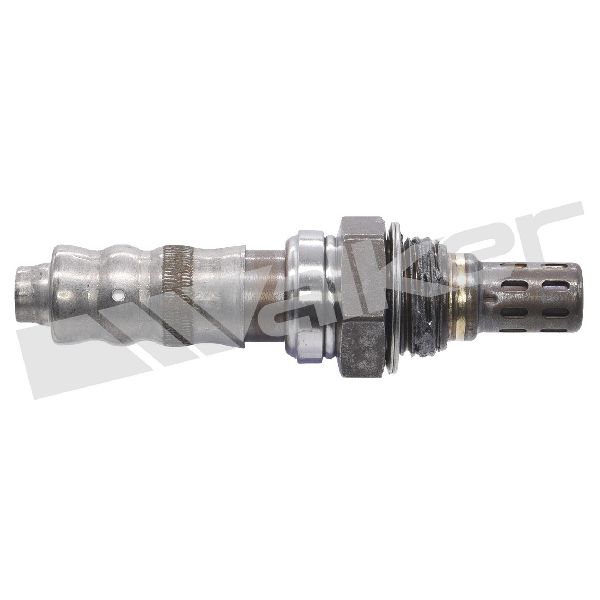
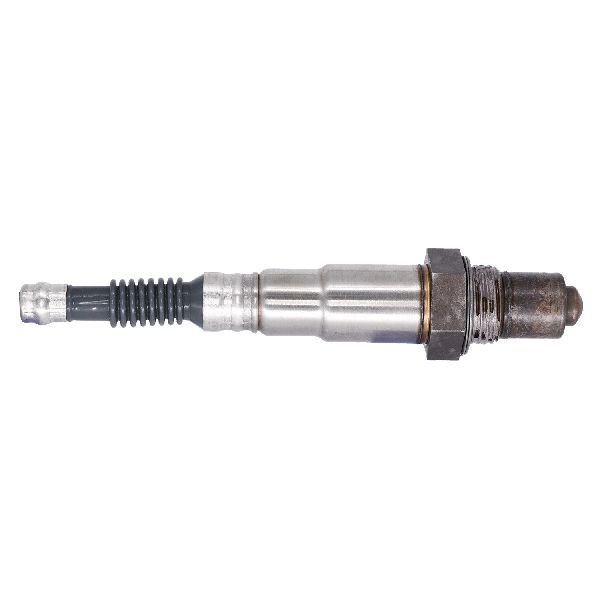
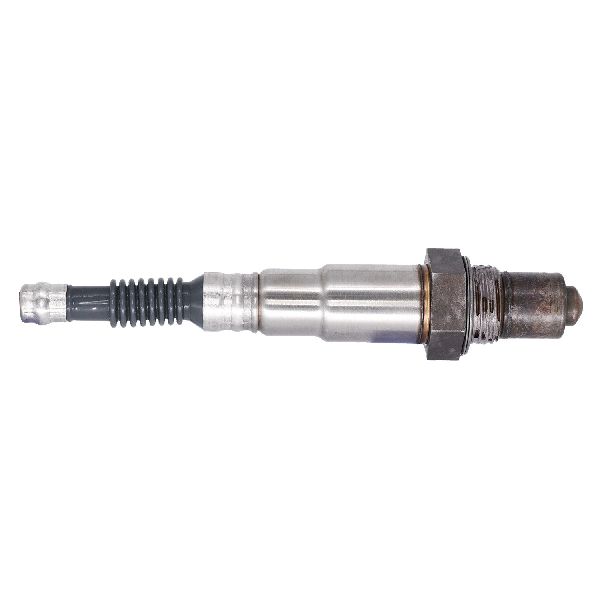
(OEM #BL3Z-9G444-A)— This is the downstream (post-catalytic converter) oxygen sensor for the passenger side. It is the most common part to fail and cause a P0137 code.
Trusted brands: Motorcraft, Bosch, Denso, NTK
OEM price range: $90-$145
Aftermarket price range: $50-$100
Related Codes That Often Appear With This One
- P0136 — P0136 is a general circuit malfunction code for the same sensor (Bank 1, Sensor 2). P0137 is more specific, indicating a 'low voltage' condition, and they can sometimes appear together.
- P0141 — This code indicates a malfunction in the heater circuit of the same oxygen sensor (Bank 1, Sensor 2). Since the heater is part of the sensor assembly, a P0141 along with a P0137 strongly points to a failed sensor.
- P0157 — This is the identical code (O2 Sensor Circuit Low Voltage) but for Bank 2, Sensor 2 (driver's side). Seeing both P0137 and P0157 might suggest a common systemic issue rather than two simultaneous sensor failures.
Technical Service Bulletins (TSBs) & Recalls
- TSB 15-0073: While for the 2015 model year, it addresses MIL illumination with DTCs including P0137 on 3.5L EcoBoost engines, suggesting potential known issues in the sensor systems that may have roots in the 2011-2014 generation. The TSB points towards a wiring issue requiring the replacement of all four O2 sensors.
Platform-Specific Known Issues
- A Ford Technical Service Bulletin (TSB 15-0073, not 15-0072) was issued for the 2015 F-150 with the 3.5L EcoBoost for multiple O2 sensor codes, including P0137. The fix involved replacing all four O2 sensors and was related to a potential wiring issue. While this TSB is for the next generation, it highlights that Ford is aware of sensor and wiring system vulnerabilities on the EcoBoost platform.
Mechanic-Grade Diagnostic Values
- Downstream O2 Sensor (B1S2) Voltage — expected: Relatively steady 0.6V - 0.9V on a warm engine with a healthy catalytic converter.. Failure: Voltage is consistently stuck below 0.2V and does not respond to changes in engine RPM.
- O2 Sensor Heater Circuit Resistance — expected: Between 3 and 30 Ohms when measured across the two heater pins (often same-colored wires) on the sensor connector with a multimeter.. Failure: An open circuit (infinite resistance) or a direct short (near zero resistance) indicates the internal heater element has failed, necessitating sensor replacement.
- O2 Sensor Signal Wire Voltage (Forced Test) — expected: When back-probing the signal wire and introducing propane into the intake, the voltage should rise towards 1.0V. When creating a vacuum leak, it should drop towards 0.1V.. Failure: If the voltage does not respond to a forced rich/lean condition, it confirms a problem with the sensor or its wiring, as the sensor is not reporting the change.
Hidden / Shadow Codes Worth Checking
- Mode $06, TID $81: Represents the test results for 'O2 Sensor Monitor Bank 1 - Sensor 2 (Catalyst Monitor)'. This test checks the sensor's switching time and response. (see via Use a scan tool capable of displaying Mode $06 data. A failing value here, even without a hard code, can indicate a lazy sensor that is about to fail.)
- Mode $06, TID $82: Represents the test results for 'O2 Sensor Heater Monitor Bank 1 - Sensor 2'. This checks the performance of the sensor's internal heater circuit. (see via Use a scan tool capable of displaying Mode $06 data. A failure here often precedes or accompanies heater circuit codes like P0141.)
Scan Tool Commands That Help
- Ford IDS (Integrated Diagnostic System): Datalogger > Powertrain > O2S12 PID — This is the primary function for viewing the live voltage data from the Bank 1 Sensor 2. It's used to confirm if the voltage is stuck low, which is the main condition for P0137.
- Ford IDS (Integrated Diagnostic System): Powertrain > Power Balance Test — If a lean condition is suspected (e.g., if P0171 is also present), the Power Balance test can help identify if a specific cylinder is misfiring or underperforming due to a fuel injector or ignition issue, which could cause the excess oxygen that triggers P0137.
- Ford IDS or FORScan: Retrieve Continuous Memory DTCs & Freeze Frame Data — This provides more detailed information than a generic scanner, showing the exact engine conditions (RPM, load, temperature) when the P0137 code was stored. This data is critical for recreating the fault during diagnosis.
Wiring & Ground Locations

- G104 — Located in the engine compartment, on the passenger side, near the top of the shock/strut tower.. This is a primary engine and PCM ground point. A corroded or loose connection at G104 can create a floating ground reference for multiple sensors, including the oxygen sensors, potentially causing incorrect low voltage readings and triggering P0137.
- B1S2 Connector Pins — The 4-pin connector for the downstream passenger side O2 sensor.. Pin assignments are critical for testing. While wire colors can vary, typically you will find: two wires for the heater circuit (often the same color), one signal wire, and one ground wire. Testing for voltage, ground, and continuity must be done at the correct pins to isolate a wiring fault from a sensor fault.
- Harness routing over transmission — The main wiring harness that includes the O2 sensor circuits often runs over the top of the transmission bellhousing.. This area is a known chafe point. The harness can rub against the transmission or heat shields, especially if not secured properly after previous service. A short-to-ground or an open in the O2 sensor signal or ground wire here can directly cause a P0137.
Real Owner Repair Stories
- f150forum.com user report (2013 Ford F-150 3.5L EcoBoost) — Check Engine Light with multiple O2 sensor codes, including low voltage codes similar to P0137.
❌ Tried (didn't work) Replacing multiple oxygen sensors.
✅ What actually fixed it The owner discovered a damaged section of the wiring harness near the transmission. The harness had been rubbing against a sharp edge, causing several wires to become frayed and shorted. Repairing the damaged wires and properly securing the harness away from the chafe point resolved all the codes.
"I Checked Everything" — The Actual Cause
- In cases where a smoke test shows no exhaust leaks, but P0137 persists, the cause is often a pinhole leak or crack that only opens up under specific thermal conditions (when the exhaust is hot). Another possibility is a faulty sensor that has become 'lazy' and reads low intermittently, or a wiring issue that causes a voltage drop under load or vibration, which would not be found by a static smoke test.
OEM Part Supersession History
BL3Z-9G444-A→No direct supersession found, this remains a valid part number.— N/A
Heads up: The service part number from Motorcraft is DY-1161, which corresponds to BL3Z-9G444-A. While other brands (Bosch, Denso) offer compatible parts, some forum users report a preference for the OEM Motorcraft sensor to avoid potential compatibility issues.
Model Year Variations Within This Range
- 2011-2012 vs 2013-2014: The 2011-2012 models used smaller turbos and a Hitachi direct injection fuel system. In 2013, Ford updated to larger turbos with an electronic blow-off valve and a Bosch fuel system. While not a direct cause of P0137, a struggling fuel system on either version could contribute to lean conditions that might influence O2 sensor readings, making fuel pressure checks (low and high side) a relevant part of a deep diagnosis.
- 2011-2014: Ford released over 60 PCM software updates for this generation of F-150. An early-build truck that has never been updated at a dealership may be running on buggy software that has since been fixed. Issues with sensor logic and fault setting criteria were common targets for these updates.
Diagnostic Flowchart
Real Owner Stories
Aggregated from forums and TSBs cited above. Mileages and costs reflect what owners reported in those sources.
2014 Ford F-150 EcoBoost — 69000 miles
Symptoms: Check engine light came on with code P0137 for Bank 1, Sensor 2 low voltage.
What fixed it: The mechanic initially replaced the catalytic converter and downstream O2 sensor, but the light returned. The owner then replaced spark plugs and cleaned the MAF and MAP sensors.
Source hint: Reddit r/f150
2015 Ford F-150 3.5L EcoBoost
Symptoms: MIL illumination with multiple O2 sensor codes, including P0137.
What fixed it: Replacing all four O2 sensors to resolve a known wiring issue.
Source hint: f150forum.com: 2015 - Present Model Year, Ford F-150 TSB/ Recall Listing (TSB 15-0073)
Related OBD-II Codes
Frequently Asked Questions
Does TSB 15-0073 apply to my 2011-2014 F-150 3.5L EcoBoost?
What is the exact location of the sensor causing P0137 on my 3.5L EcoBoost?
What tools do I need to replace the Bank 1 Sensor 2 oxygen sensor on my F-150?
Are exhaust leaks a common reason for P0137 on the 2011-2014 F-150?
What voltage should a healthy downstream O2 sensor show on my F-150 scanner?
Can a wiring problem cause P0137 on my truck?
Helpful Videos
We Have This Part in Stock

The information in this article is provided for general reference and educational purposes only. Vehicle specifications, procedures, and part compatibility can vary by production date, trim level, and region. Always consult your vehicle's factory service manual and verify part numbers before purchasing or performing repairs. Safety-critical components such as airbags, seat belts, and braking systems should be installed by a qualified professional.
- Ford F-150:
- 🎬 Helpful Videos
- 🛍️ Shop This Part
- What's Unique About the 2011-2014 Ford F-150
- Symptoms You May Notice
- Most Likely Causes
- Rare But Worth Checking
- Diagnosis Steps
- Parts You'll Likely Need
- Related Codes That Often Appear With This One
- Technical Service Bulletins (TSBs) & Recalls
- Platform-Specific Known Issues
- Mechanic-Grade Diagnostic Values
- Hidden / Shadow Codes Worth Checking
- Scan Tool Commands That Help
- Wiring & Ground Locations
- Real Owner Repair Stories
- "I Checked Everything" — The Actual Cause
- OEM Part Supersession History
- Model Year Variations Within This Range
- Diagnostic Flowchart
- Real Owner Stories
- 2014 Ford F-150 EcoBoost — 69000 miles
- 2015 Ford F-150 3.5L EcoBoost
- Related OBD-II Codes
- Frequently Asked Questions
- 🎟️ Get 5% Off