

P0135 on 2001-2006 Mazda Tribute 3.0L V6: O2 Sensor Heater Fixes & Fuse Check
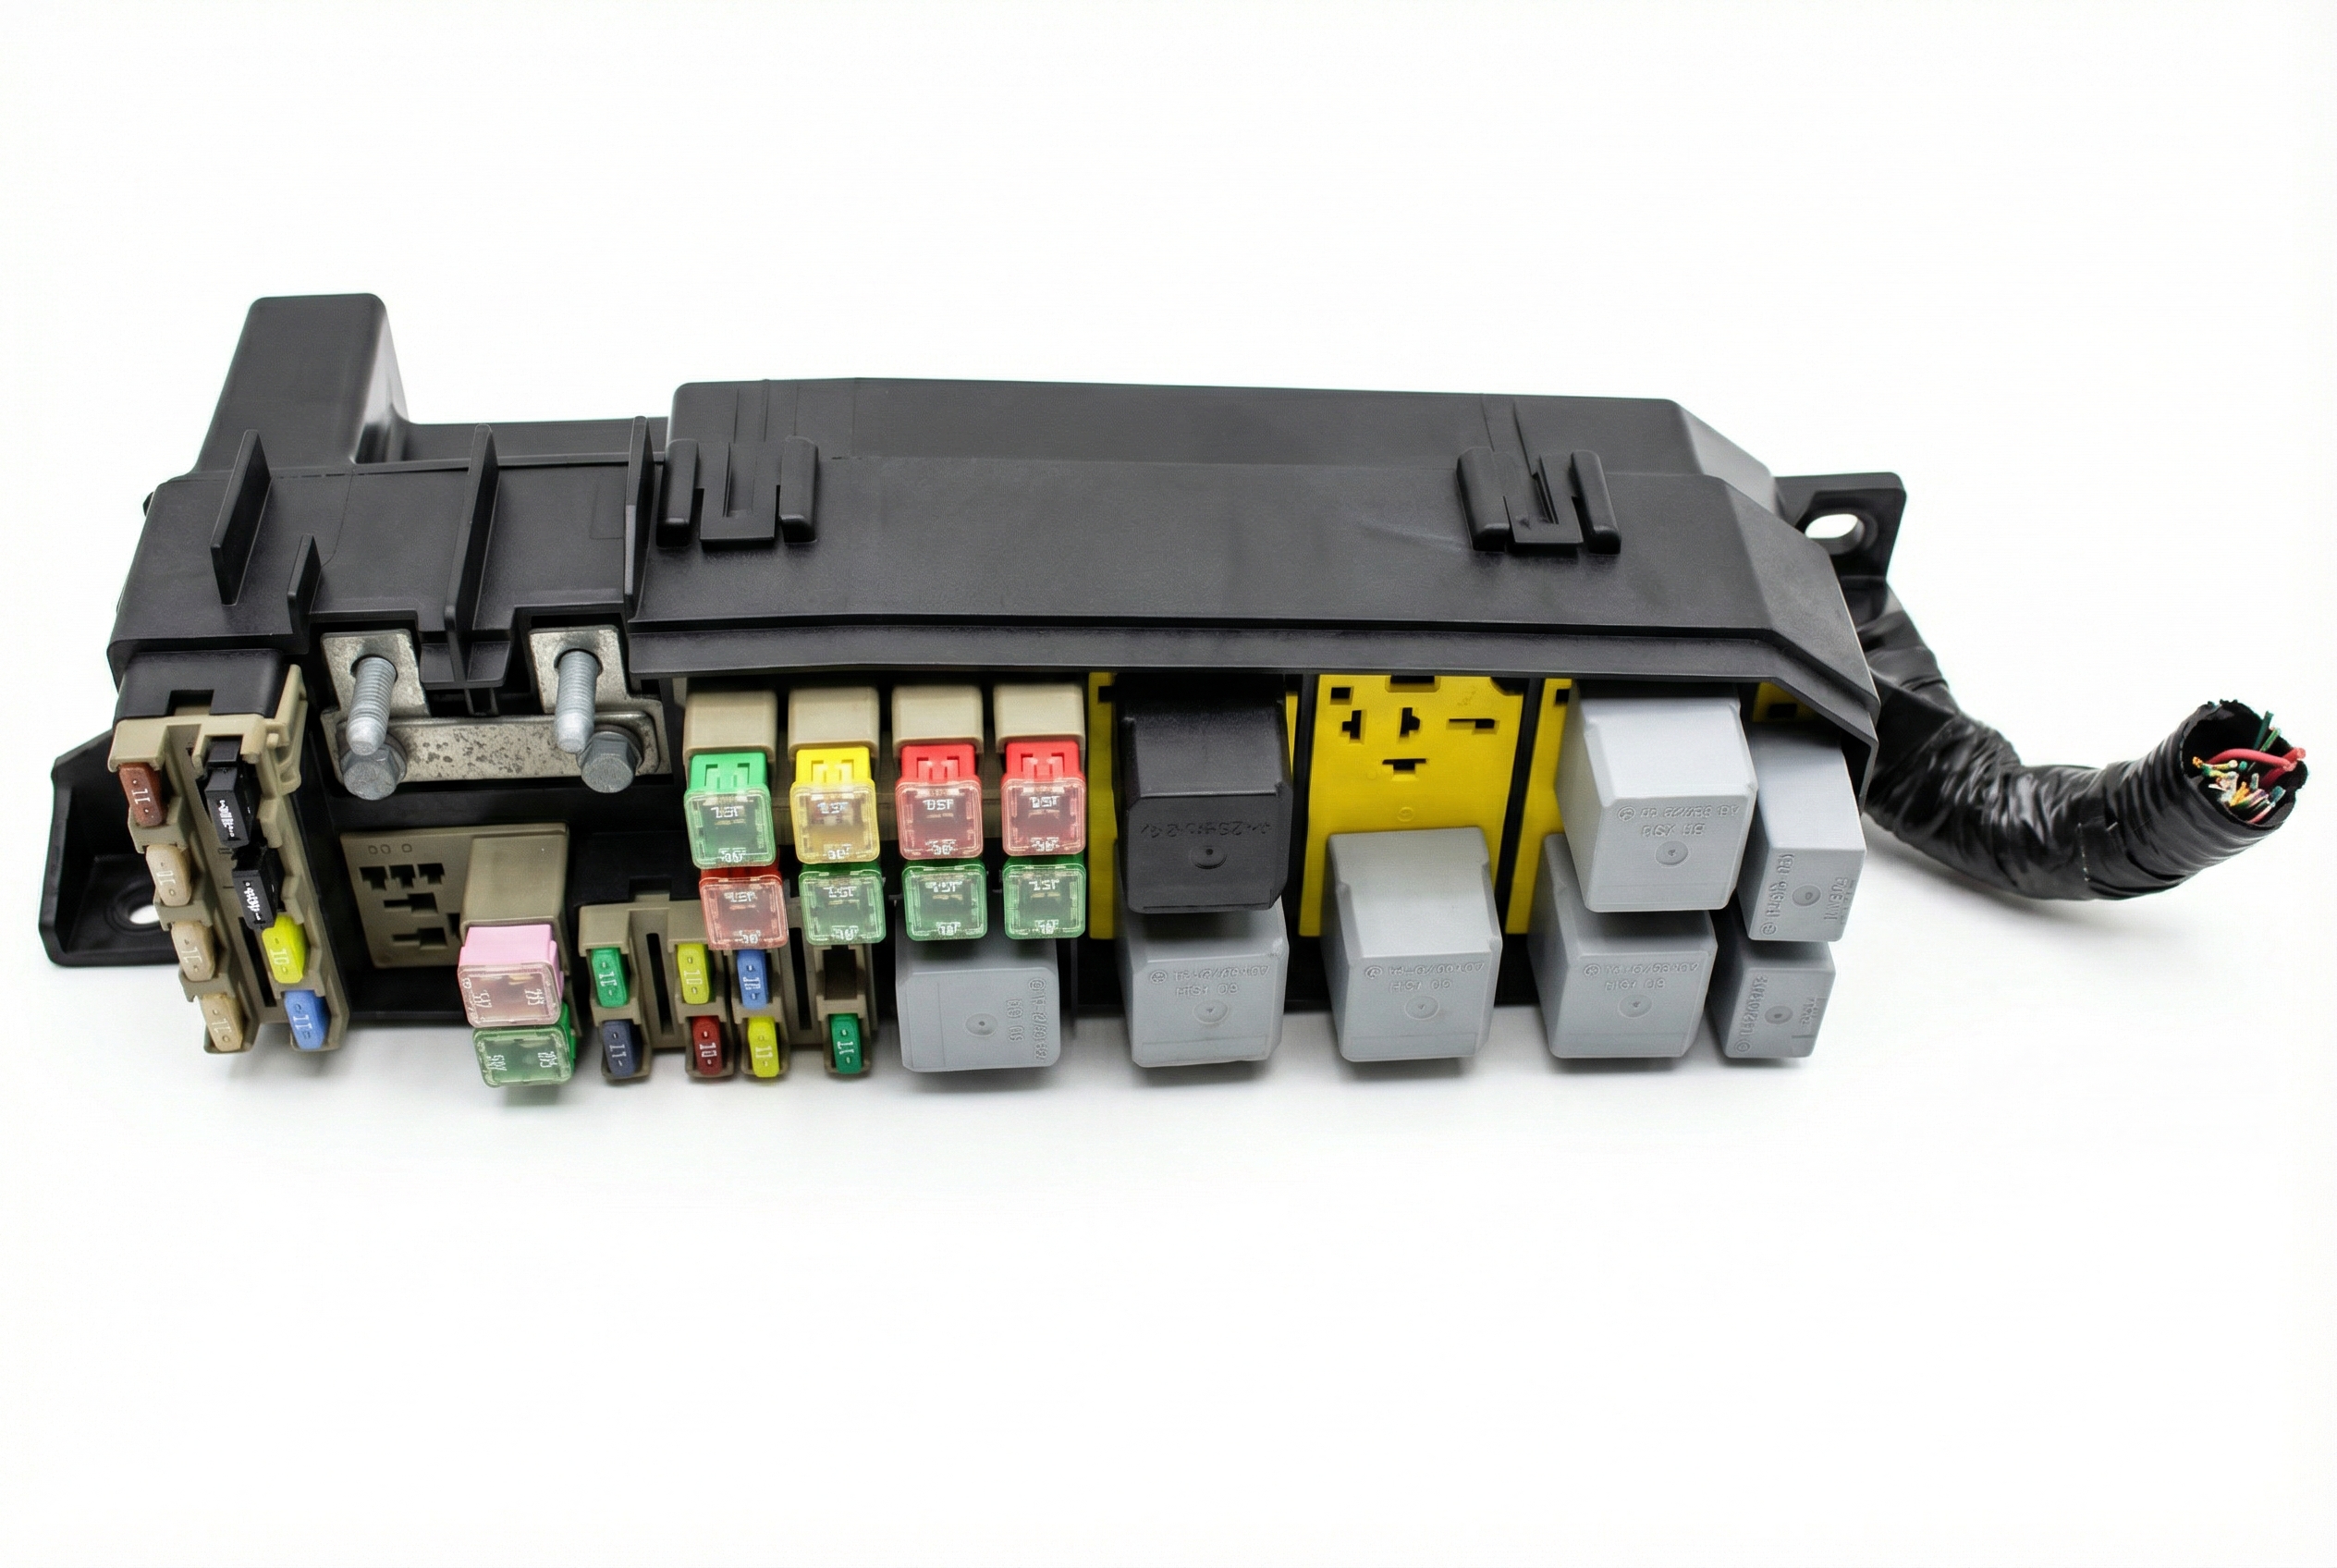
On the 3.0L V6 Tribute, P0135 almost always points to a blown 15A fuse in the under-hood fuse box that powers the O2 sensor heaters. Before buying any parts, check this fuse. If it's blown, inspect the O2 sensor wiring for shorts, a very common issue on this platform. If the fuse is good and P0135 is the only code, the Bank 1, Sensor 1 O2 sensor itself has likely failed.
- Before buying any parts for a P0135 code, check for other codes. If you have multiple O2 heater codes, the problem is almost certainly a blown 15A fuse in the engine bay.
- The most common cause of the fuse blowing is a damaged O2 sensor wire melting against the exhaust or engine block.
- Bank 1 on the 3.0L V6 is the cylinder bank against the firewall (the rear bank). Sensor 1 is the upstream sensor, before the catalytic converter.
- If the fuse is good and P0135 is the only code, the internal heater in the rear upstream O2 sensor has likely failed and the sensor needs to be replaced.
What's Unique About the 2001-2006 Mazda Tribute
The Mazda Tribute shares its platform and drivetrain with the Ford Escape and Mercury Mariner, making them mechanically identical. On this 3.0L V6 platform, it is extremely common for a single blown fuse to cause the P0135 code, often accompanied by codes for all other O2 sensor heaters (P0141, P0155, P0161) and EVAP components (P0443). This is frequently caused by an O2 sensor's wiring harness melting and shorting to the exhaust or engine block. Always checking the shared fuse first can save you from unnecessarily replacing multiple expensive sensors.
Symptoms You May Notice
- Check Engine Light is on.
- Reduced fuel economy.
- Failure to pass an emissions test.
- In some cases, a rough idle on a cold start.
- Hesitation or misfires during acceleration.
- Immediately replacing the Bank 1, Sensor 1 O2 sensor without checking the shared heater fuse first. If multiple heater codes are present (P0135, P0141, P0155, etc.), the problem is almost certainly the fuse or a wiring short, not four simultaneously failed sensors.
Most Likely Causes
- Blown O2 Sensor Heater Fuse 🔴 High Probability The heater circuits for all four O2 sensors, the EVAP purge valve, and sometimes other components are often on a single shared fuse. A short in any one of these components' wiring can blow the fuse, deactivating all of them and triggering multiple codes simultaneously.
How to confirm: Locate the fuse box in the engine compartment. For 2001-2004 models, inspect the 15A fuse in position #5, often labeled 'HEGO' (Heated Exhaust Gas Oxygen). For 2005-2006 models, the fuse box layout changed; it is a 15A fuse in position #5, labeled 'HEGO sensors'.
Typical fix: Find and repair the short circuit in the wiring harness that caused the fuse to blow, then replace the fuse. Do not simply replace the fuse without finding the short, as it will likely blow again immediately.
Est. part cost: $1-$5 - Damaged O2 Sensor Wiring or Connector 🟡 Medium Probability The O2 sensor wiring, particularly for the rear bank (Bank 1) and downstream sensors, is routed near hot exhaust components, the engine block, and driveshafts. Over time, plastic clips can break, allowing the harness to sag and make contact, melting the insulation and causing a short to ground. This is the most frequent reason for the shared fuse to blow.
How to confirm: If the heater fuse is blown, perform a detailed visual inspection of the wiring harnesses for all four O2 sensors. Look for melted plastic, chafed insulation, or bare wires touching metal components. A common failure point is the harness for the downstream sensor on Bank 2 (P0161) shorting out, but a short anywhere in the shared circuit will cause the fuse to blow.
Typical fix: Repair the damaged section of the wiring harness using heat-shrink butt connectors and electrical tape. Secure the harness away from hot or moving parts with new zip ties to prevent a recurrence. Pigtail connectors are also available if the connector itself is damaged.
Est. part cost: $5-$20 - Failed Bank 1, Sensor 1 Oxygen Sensor 🟡 Medium Probability
How to confirm: If the fuse is good and only code P0135 is present, the sensor itself is the likely culprit. Disconnect the sensor and use a multimeter to measure the resistance between the two heater circuit pins (usually the two same-colored wires, often white). An infinite reading (open/OL) or zero reading (short) confirms the heater element has failed. A good heater should have a low resistance, typically between 3 and 30 Ohms, with many Ford-style sensors reading around 4-6 Ohms when cold.
Typical fix: Replace the Bank 1, Sensor 1 oxygen sensor. This sensor is located on the exhaust manifold of the rear cylinder bank (closest to the firewall). Access can be difficult.
Est. part cost: $40-$120
Rare But Worth Checking
- Powertrain Control Module (PCM) Fault: This is extremely rare. The PCM controls the ground for the heater circuit. A failed driver circuit inside the PCM can cause this code, but all other possibilities like fuses, wiring, and the sensor itself must be definitively ruled out first.
Diagnosis Steps
- Scan for additional codes. The presence of P0141, P0155, P0161, or P0443 strongly suggests a blown shared fuse.
- Open the engine compartment fuse box. Locate and inspect the 15A fuse for the O2 sensor heaters (For 2001-2004, this is labeled HEGO in position F5; for 2005-2006, it is in position F5 labeled 'HEGO sensors').
- If the fuse is blown, proceed to step 4. If the fuse is good, skip to step 6.
- (Fuse is Blown) This indicates a short circuit. Do not just replace the fuse. Carefully inspect the wiring harnesses for all four oxygen sensors. Check for any areas where the wires may be melted or chafed against the exhaust manifolds, engine block, or driveshafts. The downstream sensor harnesses are common culprits.
- Repair any damaged wiring found using appropriate connectors and heat shrink. Secure the harness with zip ties away from heat sources. Replace the blown fuse. Clear codes and re-test.
- (Fuse is Good) Focus on the Bank 1, Sensor 1 oxygen sensor. It is the upstream sensor on the rear cylinder bank, near the firewall.
- Disconnect the sensor's electrical connector. Visually inspect the connector for corrosion or damage.
- Set a multimeter to measure resistance (Ohms). Test the resistance across the two heater pins on the sensor side of the connector (typically the two wires of the same color, e.g., both white). A reading of OL (over-limit/infinite) or near 0 Ohms indicates a failed sensor heater. A good sensor will read a low resistance, generally between 3-30 Ohms.
- If the sensor's heater tests bad, replace the Bank 1, Sensor 1 oxygen sensor. Using penetrating oil and a specialized O2 sensor socket is highly recommended.
Parts You'll Likely Need
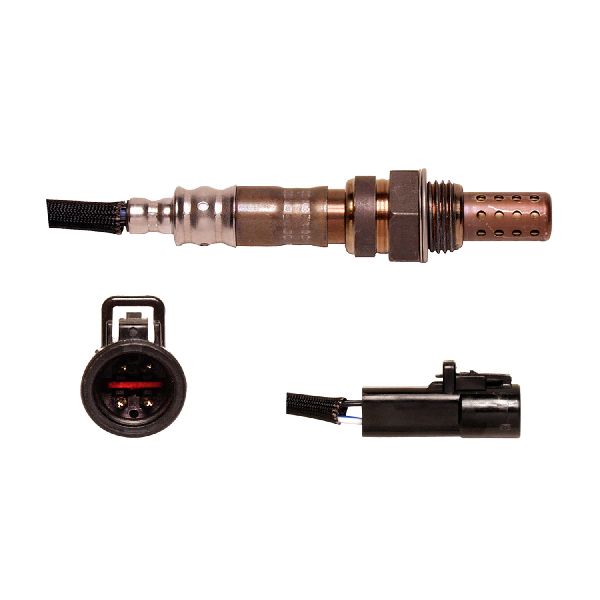
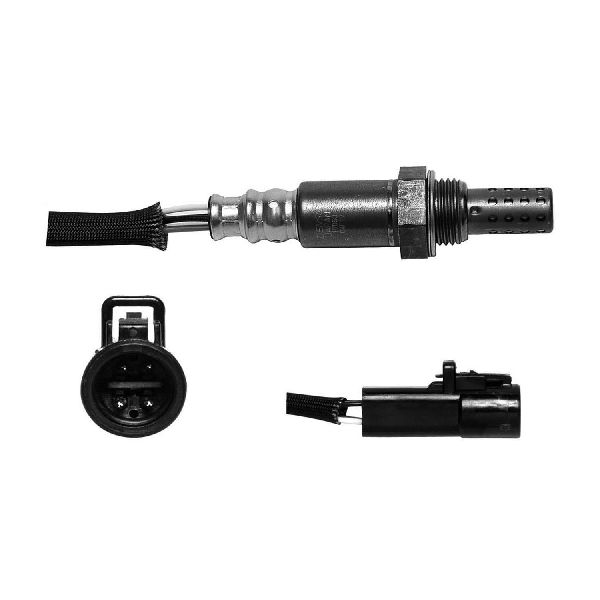
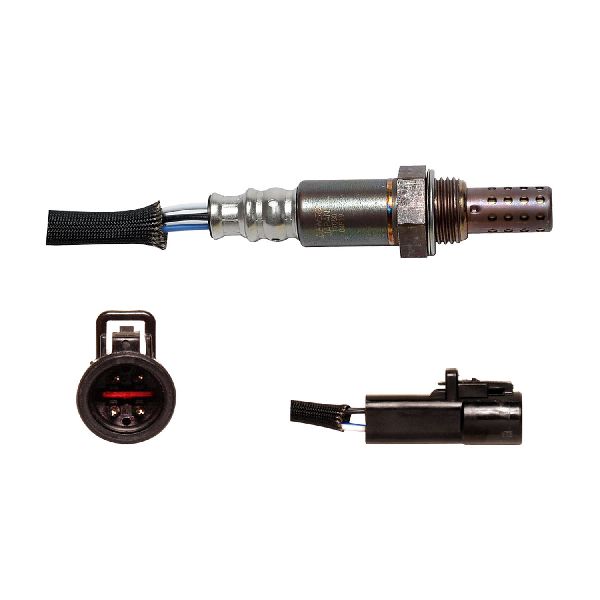
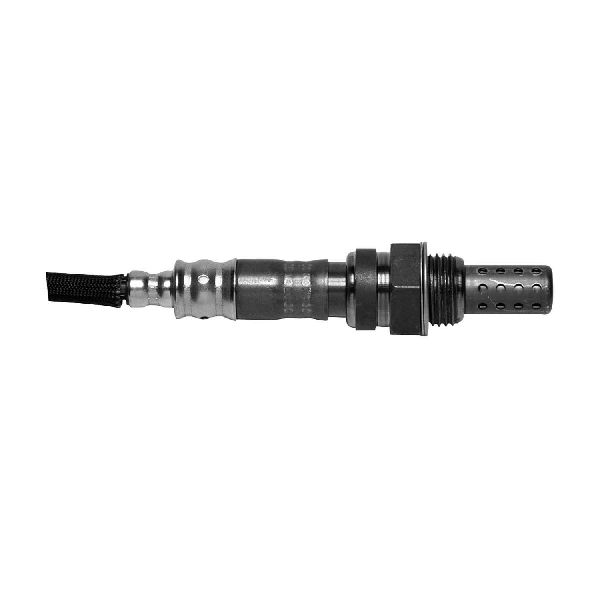
- Bank 1 Sensor 1 Oxygen Sensor (Upstream Rear)
(OEM #AJ0418861B)— This is the specific sensor identified by code P0135. Its internal heater element is a common failure point after years of heat cycles.
Trusted brands: Denso (e.g., 234-4607), NGK/NTK (e.g., 22500), Bosch (e.g., 15719)
OEM price range: $150-$250
Aftermarket price range: $40-$120 - 15A Mini Automotive Fuse — This fuse is the most common failure point, especially when multiple heater codes are present. It often blows due to a short in the O2 sensor wiring.
Trusted brands: Bussmann, Littlefuse
OEM price range: $1-$5
Aftermarket price range: $1-$5
Related Codes That Often Appear With This One
- P0141 — Heater circuit fault for Bank 1, Sensor 2. Shares the same power fuse.
- P0155 — Heater circuit fault for Bank 2, Sensor 1. Shares the same power fuse.
- P0161 — Heater circuit fault for Bank 2, Sensor 2. Shares the same power fuse.
- P0443 — EVAP Purge Control Valve Circuit fault. This component often shares the same power fuse as the O2 sensor heaters on this platform.
Mechanic-Grade Diagnostic Values
- O2 Sensor Heater Element Resistance — expected: 4-6 Ohms (cold). Failure: OL (Open Loop/infinite resistance) or near 0 Ohms (short circuit).
- Voltage at Heater Circuit Power Wire (harness side) — expected: Battery Voltage (approx. 12V) with Key On, Engine Off.. Failure: 0V indicates a problem upstream (blown fuse, bad relay, or wiring fault).
- Voltage at Heater Circuit Ground Control Wire (harness side, backprobed) — expected: Should show battery voltage when disconnected or before the PCM commands it on. The PCM will pull this wire to ground (0V) to activate the heater, often in a pulsed duty cycle.. Failure: Stuck at 0V or battery voltage with no change when the engine is started suggests a PCM driver fault or a wiring issue to the PCM.
Wiring & Ground Locations
- G102 / G105 / G108 — G102: Right front of engine compartment. G105: Left front of engine compartment. G108: Left rear of engine compartment, near the firewall.. These are primary engine and chassis ground points. A corroded or loose ground at these locations can cause a host of electrical issues, including erratic sensor behavior and incorrect voltage readings that could mimic a P0135 fault.
- PCM Connector C175b (2001-2004) — Located at the Powertrain Control Module, on the firewall.. This connector carries the signals for the oxygen sensors. Specifically for P0135, the heater control (ground) wire from the PCM to the Bank 1, Sensor 1 O2 sensor passes through here. A corroded pin or damaged wire at this connector can interrupt the circuit.
- HEGO Fuse Power Wire — Runs from the Battery Junction Box (under-hood fuse box) to the O2 sensor harness connectors.. This is the 12V power supply for the heater element. A short anywhere along this wire for any of the four O2 sensors will blow the shared fuse, causing P0135 and other related codes.
Real Owner Repair Stories
- Ford Truck Enthusiasts Forum user (2000 Ford Excursion V10 (Similar Ford platform with shared circuit design)) — Check Engine Light with codes P0135 and P0155 (both upstream heater circuits).
❌ Tried (didn't work) Initially assumed both sensors had failed simultaneously.
✅ What actually fixed it The user was advised to check the fuse for the heater circuit first. The confirmed cause was a single blown fuse (Fuse #19 in the battery junction box for that vehicle) that powered both sensor heaters.
OEM Part Supersession History
AJ04-18-861B→N/A - This remains a valid OEM part number.— N/A
Heads up: This part number is listed for the 2000-2011 Mazda Tribute, indicating broad compatibility across the generation.
Model Year Variations Within This Range
- 2001-2004 vs 2005-2006: The under-hood fuse box (Battery Junction Box) layout and some fuse assignments changed. For P0135, the fuse location remains position #5, but the box's overall design was updated for the 2005 model year refresh. The interior fuse panel also moved from the driver's side kick panel (2001-2004) to the passenger side of the center console (2005-2006).
Diagnostic Flowchart
Used vs. New Parts: Buying Guide for This Vehicle
When a used part is the smart pick: For this repair, using a used part is generally not recommended, with one exception: a wiring harness pigtail. If the connector body is damaged and a new pigtail is unavailable or too expensive, a clean, non-corroded connector cut from a junkyard harness is a viable option.
Donor-vehicle mileage cap: roughly under 120000 miles for the part to have meaningful remaining life.
What to inspect on the donor part:
- For a wiring pigtail, inspect for any signs of melting, brittleness, or corrosion on the pins.
- Ensure the locking tab on the connector is intact and functional.
- Check that the wires have sufficient length for splicing and are not cracked or frayed.
Aftermarket brands forum-validated for this vehicle:
- Denso
- NGK / NTK
- Bosch (for O2 sensors)
Brands owners have reported issues with on this vehicle:
- No-name, unbranded 'universal' oxygen sensors that require splicing wires. These often have incorrect heater resistance values which can prevent the code from being resolved or cause it to return prematurely.
Real Owner Stories
Aggregated from forums and TSBs cited above. Mileages and costs reflect what owners reported in those sources.
2004 Mazda Tribute
Symptoms: Check engine light with codes P0135, P0155, P0161, and P0141 returned immediately after having all four O2 sensors professionally replaced.
What fixed it: The final fix was not reported in the thread, but the owner was advised by a mechanic that the next step was to replace the PCM, after new sensors failed to resolve the codes.
Source hint: Reddit r/MechanicAdvice
2005 Ford Escape 3.0L
Symptoms: Owner experienced a check engine light with six codes simultaneously: P0135, P0141, P0155, P0161, P0443, and P0403.
What fixed it: The cause was a wiring harness for the Bank 1, Sensor 2 O2 sensor that had melted against the exhaust. The fix was to repair the damaged wires and replace the blown fuse.
Source hint: Escape-City.com Forums
2004 Ford Escape 3.0L
Symptoms: Multiple O2 heater codes (P0135, P0155, P0161) and an EVAP code (P0443) appeared after the owner drove through mud.
What fixed it: The confirmed fix was replacing a single blown fuse that powered all the related components.
Source hint: Reddit r/Cartalk
Related OBD-II Codes
Frequently Asked Questions
I have codes P0135, P0141, P0155, and P0161 all at once on my Tribute. Did all four O2 sensors fail simultaneously?
Where is the O2 sensor heater fuse located on my 2001-2006 Mazda Tribute?
Which oxygen sensor is Bank 1, Sensor 1 on the 3.0L V6 engine?
Why is this vehicle so prone to O2 sensor wiring damage?
My mechanic replaced all the O2 sensors but the codes came right back. What should I check next?
What is the correct resistance for the heater element on a good O2 sensor for my Tribute?
Is information about a Ford Escape or Mercury Mariner relevant to my Mazda Tribute?
Used OEM Parts in Stock
New Aftermarket Parts Available


The information in this article is provided for general reference and educational purposes only. Vehicle specifications, procedures, and part compatibility can vary by production date, trim level, and region. Always consult your vehicle's factory service manual and verify part numbers before purchasing or performing repairs. Safety-critical components such as airbags, seat belts, and braking systems should be installed by a qualified professional.
- Mazda Tribute:
- 🛍️ Shop This Part
- What's Unique About the 2001-2006 Mazda Tribute
- Symptoms You May Notice
- Most Likely Causes
- Rare But Worth Checking
- Diagnosis Steps
- Parts You'll Likely Need
- Related Codes That Often Appear With This One
- Mechanic-Grade Diagnostic Values
- Wiring & Ground Locations
- Real Owner Repair Stories
- OEM Part Supersession History
- Model Year Variations Within This Range
- Diagnostic Flowchart
- Used vs. New Parts: Buying Guide for This Vehicle
- Real Owner Stories
- 2004 Mazda Tribute
- 2005 Ford Escape 3.0L
- 2004 Ford Escape 3.0L
- Related OBD-II Codes
- Frequently Asked Questions
- 🎟️ Get 5% Off