

P0036 on 2006-2010 Pontiac G6 2.4L: O2 Sensor Heater Circuit Causes and Fixes
This code almost always means the downstream oxygen sensor (Bank 1, Sensor 2) has a failed internal heater. The most common fix is to replace the sensor itself. Before replacing, check the O2 sensor fuse, which may be labeled 'EMISSIONS' or 'Post O2'. Expect to pay $30-$60 for an aftermarket sensor and $70-$120 for an OEM part.
- P0036 almost always points to a failed heater inside the downstream O2 sensor.
- Before replacing the sensor, always check the O2 sensor fuse first, as it's a simple and inexpensive potential fix.
- This is a DIY-friendly repair. A 22mm or 7/8" oxygen sensor socket will make the job much easier.
- Do not mistake this for a catalytic converter problem; a converter issue would set a different code (P0420).
- Driving with this code is safe in the short term, but you will fail an emissions test and your remote start will likely be disabled. Get it fixed to ensure the engine runs cleanly.
What's Unique About the 2006-2010 Pontiac G6
The Pontiac G6 with the 2.4L LE5 Ecotec engine shares its powertrain with many other GM vehicles like the Chevrolet Cobalt, HHR, and Saturn Aura. This means parts are widely available and affordable. For this specific code, the issue is almost always a straightforward failure of the downstream O2 sensor's heater element. The sensor is located under the car, making it susceptible to corrosion and physical damage, but also relatively easy to access for replacement compared to sensors tucked against the firewall on V6 models.
Symptoms You May Notice
- Check Engine Light is on
- Failure to pass an emissions inspection
- Remote start may not work
- Replacing the catalytic converter. A P0036 code is related to the sensor's heater circuit, not the efficiency of the converter. A bad converter would typically trigger a P0420 code.
- Replacing the upstream (Sensor 1) oxygen sensor. This code specifically points to the downstream (Sensor 2) sensor located after the catalytic converter.
Most Likely Causes
- Failed Downstream O2 Sensor (Bank 1, Sensor 2) 🔴 High Probability The internal heater element within the oxygen sensor is a common failure point due to age and constant heat cycles. It's the most frequent reason for this code across all GM platforms with the 2.4L engine.
How to confirm: Disconnect the sensor and measure the resistance across the two heater circuit wires (usually the two wires of the same color, often black or white). An infinite resistance reading (open circuit/OL) confirms the heater has failed. A healthy heater should have a low resistance, typically between 3 and 25 ohms depending on the specific part.
Typical fix: Replace the downstream oxygen sensor. Apply anti-seize compound to the threads of the new sensor before installation. A specialized 22mm (7/8") O2 sensor socket with a slit for the wire is highly recommended.
Est. part cost: $30-$100 - Blown Fuse for the O2 Sensor Heater Circuit 🟡 Medium Probability A short circuit in the sensor's heater element or its wiring can cause the corresponding fuse to blow as a protective measure. This is a common secondary failure when the sensor shorts out internally.
How to confirm: Inspect the fuse for the O2 sensor circuit. On the G6, this is often a 10A or 15A fuse labeled 'EMISSIONS' or similar in the trunk or underhood fuse box. Check your owner's manual for the exact location and designation, as the G6 has three fuse boxes: under the hood, in the passenger footwell, and in the trunk.
Typical fix: Replace the blown fuse. If the new fuse blows immediately, it indicates a persistent short circuit in the wiring or the sensor itself that must be diagnosed. Do not install a higher amperage fuse.
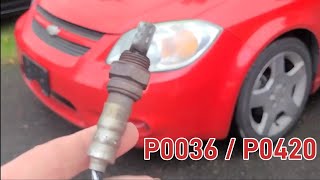
Est. part cost: $1-$5 - Damaged Wiring or Connector ⚪ Low Probability The wiring for the downstream O2 sensor runs underneath the vehicle, where it is exposed to road debris, moisture, and hot exhaust components. On platform mates like the Chevy Cobalt, melted wires are a known cause for this code. 🎬 Watch: How to replace the sensor on a Cobalt platform mate. The harness can sag and make contact with the exhaust pipe, melting the insulation and causing a short.
How to confirm: Visually inspect the entire wiring harness from the O2 sensor to its connection point. Look for melted insulation, frayed wires, or corrosion on the connector pins. Pay close attention to areas where the harness is routed near the exhaust pipe.
Typical fix: Repair the damaged section of wiring using solder and heat-shrink tubing or replace the pigtail connector. Secure the repaired harness away from any heat sources with zip ties.
Est. part cost: $5-$50
Rare But Worth Checking
- Faulty Engine Control Module (ECM): This is extremely rare. The ECM should only be considered after all other possibilities, including the sensor, fuse, and wiring, have been thoroughly tested and ruled out.
Diagnosis Steps
- Read the trouble code with an OBD-II scanner to confirm P0036 is present.
- Visually inspect the downstream O2 sensor's wiring harness and connector for obvious signs of damage, such as melting, chafing, or corrosion. Ensure it is secured away from the exhaust pipe.
- Check the fuse for the O2 sensor heater circuit. This may be in the trunk or underhood fuse box. Replace if blown.
- If the fuse is good, disconnect the O2 sensor.
- Use a multimeter set to Ohms to test the resistance of the heater circuit on the sensor side of the connector (across the two same-colored wires). A reading of infinite ohms (OL) or zero ohms 🎬 See this troubleshooting guide for testing the heater circuit with a multimeter. indicates a failed heater element, and the sensor must be replaced. A good sensor will typically read between 3-25 ohms.
- With the key on and engine off, use a multimeter to check for 12-volt power and a good ground at the vehicle-side harness connector for the heater circuit. One pin should have battery voltage, and the other should have continuity to ground.
- If power or ground is missing, trace the wiring back to the fuse box or ECM to find the open or short circuit.
- If all tests pass but the code returns, the issue may be an intermittent wiring fault or, in very rare cases, a faulty ECM.
Parts You'll Likely Need
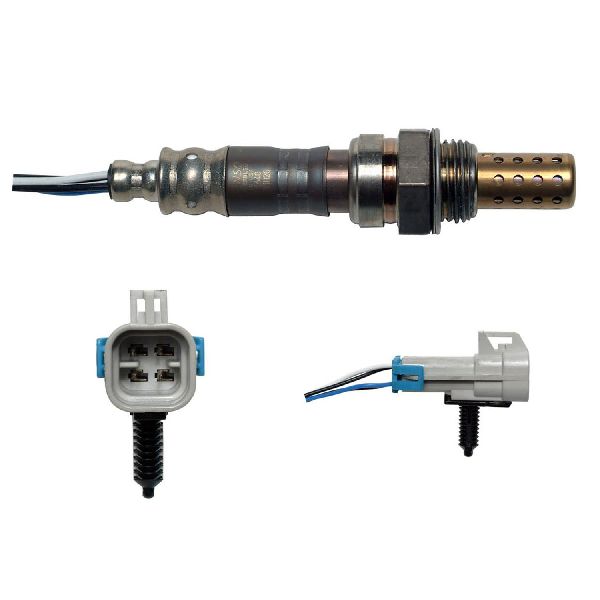
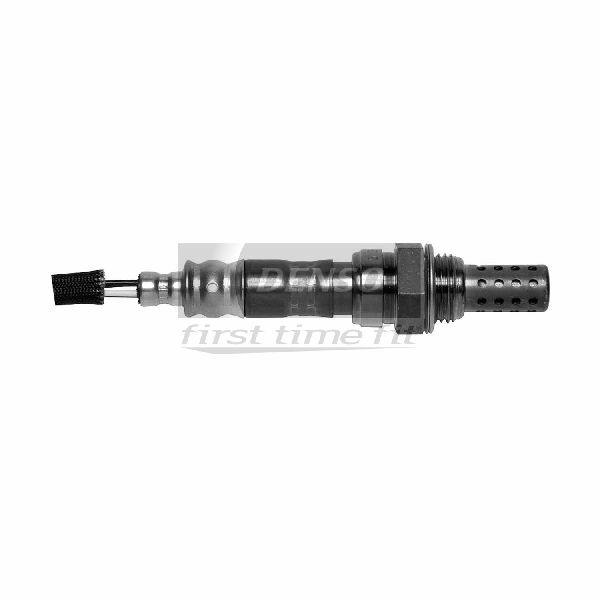
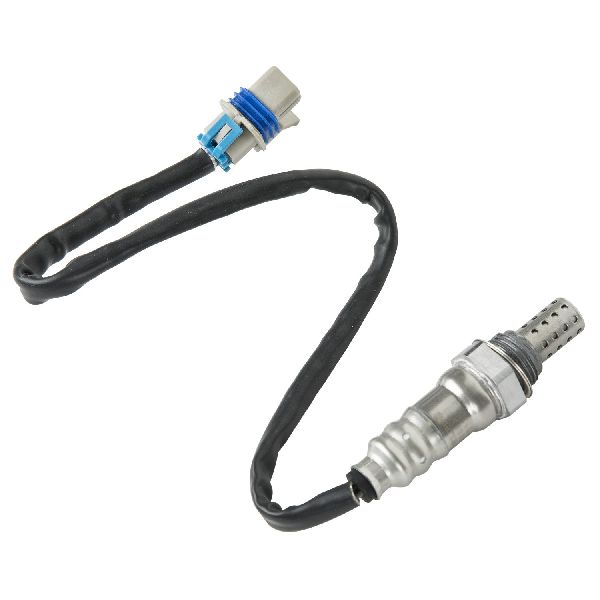
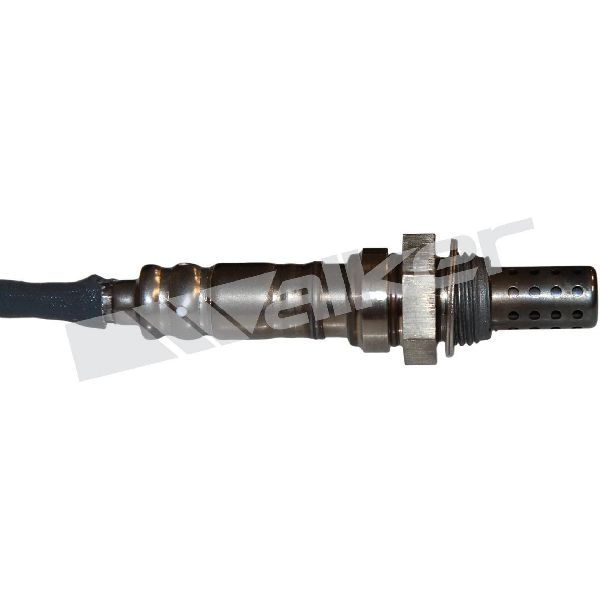
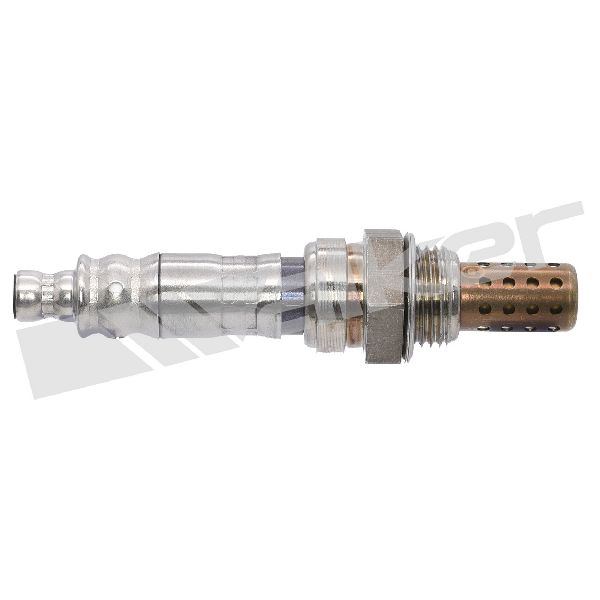
- Downstream Oxygen Sensor (Bank 1, Sensor 2)
(OEM #12609457)— This is the most common cause of a P0036 code, as the internal heater element fails over time.
Trusted brands: ACDelco (GM Genuine), Denso, Bosch, NTK
OEM price range: $70-$120
Aftermarket price range: $30-$60
Related Codes That Often Appear With This One
- P0141 — This code also indicates a malfunction in the Bank 1 Sensor 2 heater circuit. P0036 and P0141 are very similar and often point to the exact same failure of the downstream O2 sensor's heater element.
- P0054 — This code relates to the heater resistance for the same sensor (Bank 1 Sensor 2) and is often triggered by the same failed sensor or wiring issue. A user with a 2008 Chevy Cobalt reported getting P0036 and P0054 together.
Platform-Specific Known Issues
- Remote Start Disabled: A common feature on GM vehicles of this era, including the Pontiac G6, is the automatic disabling of the remote start system whenever a Check Engine Light is active. Resolving the P0036 code will restore this functionality.
Mechanic-Grade Diagnostic Values
- Downstream O2 Sensor Heater Element Resistance — expected: 3 to 25 Ohms. A commonly cited value for a healthy sensor is around 6 Ohms.. Failure: A reading of infinite resistance (OL - Open Loop) or zero Ohms (short circuit) indicates a failed heater element.
- Downstream O2 Sensor (B1S2) Voltage (Live Data) — expected: On a fully warmed-up engine at idle, the downstream sensor voltage should be relatively stable, typically holding steady around 0.4V-0.7V.. Failure: Wildly fluctuating voltage similar to the upstream sensor, or a voltage stuck at 0V or 1V, can indicate other issues, though P0036 is specific to the heater circuit.
- Heater Circuit Power Supply at Connector — expected: Approximately 12V (battery voltage) with key on, engine off. This is typically a Pink wire on the harness side of the connector.. Failure: No voltage indicates a blown fuse or a break in the power wire from the fuse block.
- Heater Circuit Ground at Connector — expected: The ground for the heater is typically controlled by the ECM via a Pulse Width Modulated (PWM) signal. A simple continuity-to-ground test may not be conclusive. A professional scan tool can monitor the ECM's commanded duty cycle for the heater.. Failure: If 12V power is present but the heater does not operate (and the sensor's resistance is good), the fault may lie in the ECM's ground-side driver or the wiring to it.
Scan Tool Commands That Help
- GM Tech 2 / GDS2 or equivalent professional scanner: Live Data Graphing for O2 Sensors / Output Control — Use this to monitor the B1S2 voltage and the commanded duty cycle for the heater circuit. While a direct on/off command may not be available, observing the duty cycle percentage commanded by the ECM can confirm if the ECM is attempting to control the heater. This is crucial for diagnosing a potential ECM fault.
Wiring & Ground Locations
- G105 — On the left rear side of the engine compartment, located on an engine/transmission stud, often below the upper coolant hose.. This is a critical ground point shared by the Engine Control Module (ECM) and Transmission Control Module (TCM). A corroded or loose G105 ground can cause a wide range of intermittent electrical issues, including fault codes like P0036, by preventing the ECM from properly controlling the heater circuit ground.
- Downstream O2 Sensor Connector (Harness Side) — Underneath the vehicle, connected to the Bank 1 Sensor 2 O2 sensor.. Pin testing is done here. The heater circuit consists of two wires. The power supply is typically a Pink wire providing 12V. The other wire, often Tan or another color, is the ground control wire leading back to the ECM.
- Downstream O2 Sensor Connector (Sensor Side) — The pigtail on the O2 sensor itself.. The two wires for the heater circuit are typically the same color (e.g., two black wires or two white wires). Resistance is measured across these two pins to test the integrity of the internal heater element.
Real Owner Repair Stories
- YouTube video on a Chevrolet Cobalt SS (platform mate) (Chevrolet Cobalt SS with 2.4L engine) — Check Engine Light with code P0036.
❌ Tried (didn't work) Initial diagnosis pointed towards a bad sensor.
✅ What actually fixed it The wiring harness for the downstream O2 sensor had sagged and made contact with the hot exhaust pipe. This melted the insulation on the wires, causing them to short against each other. The fix was to repair the damaged wires with solder and heat shrink and properly secure the harness away from the exhaust.
OEM Part Supersession History
12609457→12609457 (current)— N/A
Heads up: This part number appears to be stable for the entire 2006-2010 Pontiac G6 2.4L application. The corresponding ACDelco service part is 213-4229. No major supersessions or incompatibility issues are commonly noted.
Diagnostic Flowchart
Other Known Issues on This Vehicle
Issues unrelated to this code that are worth knowing about as an owner of this generation:
- Sudden Loss of Electric Power Steering (EPS) 🔴 High — Very common across multiple model years, leading to several recalls. Can occur at any mileage. (Ref: Recalls 14V153, 14772, 14116.)
- Failed Timing Chain Guides / Tensioner 🔴 High — Common issue on the 2.4L LE5 engine, often signaled by a rattling noise on cold startups. Can occur from 75,000 miles onward.
- Faulty Camshaft Position Actuator Solenoids (VVT) 🟠 Medium — Very common failure, often caused by infrequent oil changes. Leads to rough running, poor fuel economy, and codes like P0011 or P0014.
- Fractured Transmission Shift Cable 🔴 High — Common enough to warrant a recall. The cable end tab can break, causing a mismatch between the shifter position and the actual gear, leading to rollaway risk. (Ref: Recall 12V460000)
- Faulty Body Control Module (BCM) Connection 🟠 Medium — A recall was issued for increased resistance in a BCM connection that could cause brake lights to malfunction or other electrical issues. (Ref: Recall 13036)
Used vs. New Parts: Buying Guide for This Vehicle
When a used part is the smart pick: A used oxygen sensor is NOT recommended as it is a wear-and-tear item with a limited service life. However, obtaining a used wiring harness pigtail from a salvage yard is a cost-effective and perfectly acceptable solution if the original connector is cracked, melted, or corroded.
Donor-vehicle mileage cap: roughly under 150000 miles for the part to have meaningful remaining life.
What to inspect on the donor part:
- For a pigtail connector: ensure the plastic is not brittle or cracked.
- Check that the locking tab is intact and functional.
- Inspect the pins to ensure they are straight and free of green or white corrosion.
- Ensure at least 4-6 inches of wire is attached to make splicing easier.
OEM-only on this vehicle (don't cheap out):
- No parts for this specific P0036 repair are considered 'OEM-only', but using reputable aftermarket brands for the sensor is strongly advised over generic parts.
Aftermarket brands forum-validated for this vehicle:
- Denso
- Bosch
- NTK / NGK
- ACDelco (often the OEM supplier)
Brands owners have reported issues with on this vehicle:
- Generic, unbranded sensors from online marketplaces are frequently reported on forums to be dead-on-arrival or fail within a few months.
Real Owner Stories
Aggregated from forums and TSBs cited above. Mileages and costs reflect what owners reported in those sources.
2008 Chevrolet Cobalt 2.4L LE5
Symptoms: The owner reported receiving codes P0036 and P0054 simultaneously.
What fixed it: Replacement of the O2 sensor, as both codes often appear together due to a single failed O2 sensor heater.
Source hint: Chevrolet Forum - 2008 Cobalt fault codes
2006-2011 Chevrolet HHR 2.4L LE5
Symptoms: Check engine light went on; described as an 'O2 sensor heater condition'.
What fixed it: Diagnosis pointed to the downstream O2 sensor heater circuit.
Source hint: Chevy HHR Network - check engine light went on...
Chevrolet Cobalt SS
Symptoms: P0036 and P0420 codes present.
What fixed it: Repairing melted wires on the O2 sensor harness that were touching each other and causing a short.
Source hint: YouTube - P0036 / P0420 oxygen sensor diagnose and repair for Chevy Cobalt SS
Related OBD-II Codes
Frequently Asked Questions
Why won't my remote start work on my Pontiac G6 since the check engine light came on for P0036?
Where are the fuse boxes located on the Pontiac G6 to check the O2 sensor heater fuse?
I have a P0036 on my 2.4L LE5 engine; is this a common issue for this specific motor?
Could my P0036 code be related to the Electric Power Steering (EPS) recall on my G6?
Is there a specific tool I need to replace the downstream O2 sensor on my G6?
Could a rattling noise on cold start be related to my P0036 code?
Helpful Videos
We Have This Part in Stock


The information in this article is provided for general reference and educational purposes only. Vehicle specifications, procedures, and part compatibility can vary by production date, trim level, and region. Always consult your vehicle's factory service manual and verify part numbers before purchasing or performing repairs. Safety-critical components such as airbags, seat belts, and braking systems should be installed by a qualified professional.
- Pontiac G6:
- 🎬 Helpful Videos
- 🛍️ Shop This Part
- What's Unique About the 2006-2010 Pontiac G6
- Symptoms You May Notice
- Most Likely Causes
- Rare But Worth Checking
- Diagnosis Steps
- Parts You'll Likely Need
- Related Codes That Often Appear With This One
- Platform-Specific Known Issues
- Mechanic-Grade Diagnostic Values
- Scan Tool Commands That Help
- Wiring & Ground Locations
- Real Owner Repair Stories
- OEM Part Supersession History
- Diagnostic Flowchart
- Other Known Issues on This Vehicle
- Used vs. New Parts: Buying Guide for This Vehicle
- Real Owner Stories
- 2008 Chevrolet Cobalt 2.4L LE5
- 2006-2011 Chevrolet HHR 2.4L LE5
- Chevrolet Cobalt SS
- Related OBD-II Codes
- Frequently Asked Questions
- 🎟️ Get 5% Off