

P0031 on 2007-2009 Kia Sorento 3.3L V6: O2 Sensor Heater Circuit Fixes
On the 2007-2009 Sorento 3.3L V6, P0031 almost always means the heater inside the Bank 1 Sensor 1 oxygen sensor has failed. This is the upstream sensor on the passenger-side cylinder bank (the rear bank, closer to the firewall). The most common fix is replacing the sensor. Before buying parts, check the 15A 'SENSOR 1' fuse in the engine bay fuse box. The sensor is difficult to access, making this a challenging DIY repair.
- P0031 points to the heater in the upstream oxygen sensor on the PASSENGER (right) side of the engine, which is the rear bank near the firewall.
- Before buying any parts, check the 15A 'SENSOR 1' fuse in the engine bay fuse box.
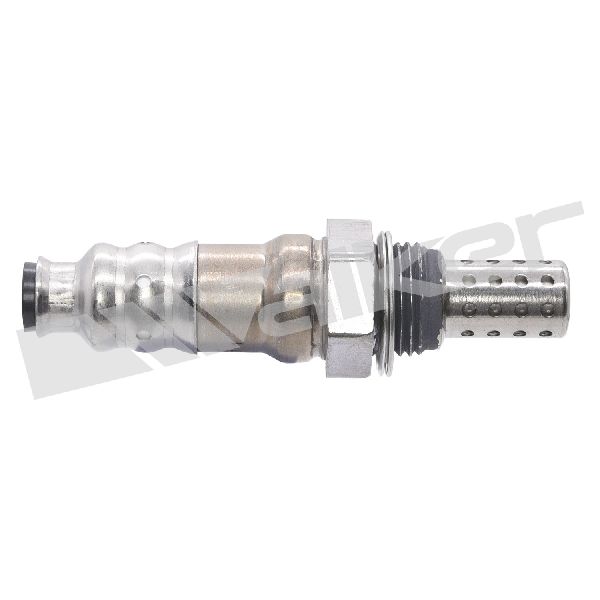
- The most likely fix is replacing the Bank 1, Sensor 1 oxygen sensor, OEM part number 39210-3C900.
- Due to the sensor's extremely difficult location, this repair is challenging for a DIYer. Ensure you have a proper O2 sensor socket, extensions, and be prepared for a tight workspace.
What's Unique About the 2007-2009 Kia Sorento
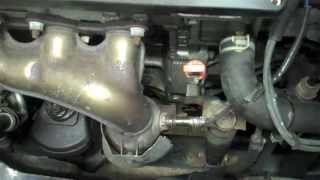
For this first-generation (BL) Kia Sorento with the 3.3L V6 Lambda engine, the key challenge is correctly identifying and accessing the correct sensor. The engine has a longitudinal (RWD-style) layout. Bank 1 is the cylinder bank on the passenger side of the vehicle, which is the bank closer to the firewall (rear). Sensor 1 is the upstream sensor, located on the exhaust manifold before the catalytic converter. Its position is extremely tight, tucked behind the engine, making it notoriously difficult to reach from either above or below. Misdiagnosing and replacing the more accessible Bank 2 sensor (driver's side) is a common and costly mistake.
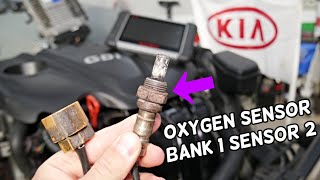
🎬 Watch: How to find and identify O2 sensor locationsSymptoms You May Notice
- Check Engine Light illuminated
- Decreased fuel economy
- Rough idle, especially on cold starts
- Vehicle may hesitate or run poorly until the engine warms up completely
- Failing an emissions test
- Replacing the wrong oxygen sensor (e.g., Bank 2 Sensor 1 on the driver's side, or the downstream Sensor 2).
- Replacing the oxygen sensor without first checking for a blown fuse, leading to the new sensor also not working and the code returning immediately.
- Replacing the sensor when the actual fault is melted wiring making contact with the exhaust.
Most Likely Causes
- Failed Bank 1, Sensor 1 Oxygen Sensor 🔴 High Probability The internal heater element in oxygen sensors is a common failure point due to constant, rapid thermal cycling from cold to over 600°F. It's often the first part of the sensor to wear out and fail.
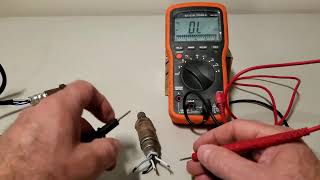
How to confirm: After confirming the fuse is good, test the resistance of the heater circuit at the sensor's electrical connector using a multimeter. 🎬 Watch: How to test if an O2 sensor heater element is bad The two wires for the heater are typically the same color. An open circuit (infinite resistance, 'OL') or a short (near-zero resistance) confirms the sensor has failed. A good sensor typically reads between 2.5-4.0 ohms when cold.
Typical fix: Replace the Bank 1, Sensor 1 (upstream, passenger side, firewall side) oxygen sensor. An O2 sensor socket is highly recommended.
Est. part cost: $60-$120 - Blown Heater Circuit Fuse 🟡 Medium Probability A short circuit in the sensor's heater element or its wiring can cause the protective fuse to blow. This is a common secondary failure when the sensor shorts out.
How to confirm: Check the fuse box in the engine bay for a fuse labeled 'SENSOR 1' or similar. It is typically a 15A fuse. Visually inspect the fuse or use a multimeter to check for continuity. This should be the first diagnostic step before ordering parts.
Typical fix: Replace the blown fuse. If the new fuse blows immediately, it confirms a persistent short circuit in the wiring or the sensor itself that must be found and repaired.
Est. part cost: $1-$5 - Damaged Wiring or Connector ⚪ Low Probability The sensor wiring is routed near hot exhaust components. Over time, retaining clips can break, allowing the harness to sag and make contact with the exhaust manifold, causing it to melt, fray, and short circuit.
How to confirm: Visually inspect the entire length of the oxygen sensor's wiring harness and connector for signs of melting, chafing, corrosion, or broken pins. Pay close attention to where the harness is routed near the exhaust.
Typical fix: Repair the damaged section of wiring or replace the pigtail connector.
Est. part cost: $15-$40
Rare But Worth Checking
- Faulty Powertrain Control Module (PCM): This is extremely rare. The PCM should only be considered after all other possibilities, including the sensor, fuse, and wiring, have been definitively ruled out. PCM failure typically causes multiple other codes and more severe drivability issues.
Diagnosis Steps
- Scan for any other stored trouble codes to get a full picture of the issue.
- Locate the engine bay fuse box, typically near the battery. Inspect the fuse for the O2 sensor heaters, often labeled 'SENSOR 1' (15A). Replace if blown.
- If the fuse is good, locate the Bank 1, Sensor 1 oxygen sensor. It is the upstream sensor on the passenger-side cylinder bank, near the firewall.
- Carefully inspect the sensor's wiring and connector for any visible damage, such as melting, chafing, or corrosion. Ensure it is secured away from the hot exhaust manifold.
- Disconnect the sensor. Use a multimeter to measure the resistance between the two heater pins on the sensor side (usually same-colored wires). A reading of infinite resistance (open) or near zero (short) indicates a bad sensor. A good sensor typically reads between 2.5-4.0 ohms.
- With the key on and engine off, use a multimeter to check for 12V power on the corresponding pin of the vehicle's harness connector. Also, check for a good ground on the ground pin. If either is missing, the problem is in the vehicle's wiring or the PCM, not the sensor.
- If the sensor fails the resistance test and the harness has power and ground, replace the Bank 1, Sensor 1 oxygen sensor. Applying penetrating oil to the threads beforehand is recommended.
Parts You'll Likely Need
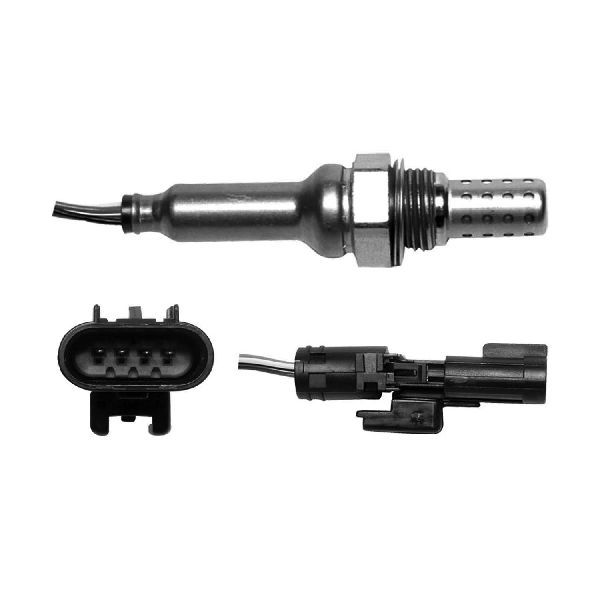
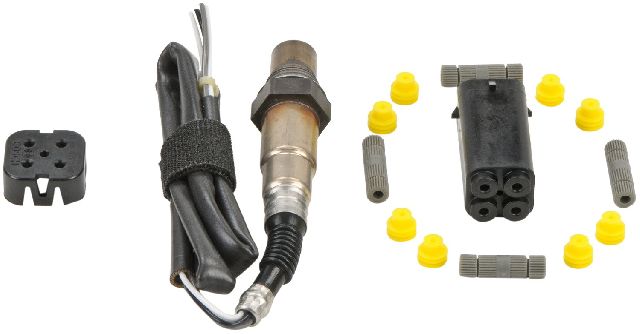
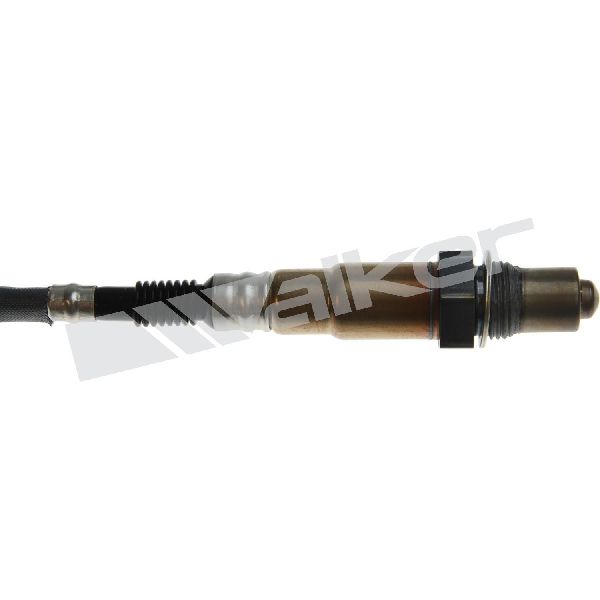
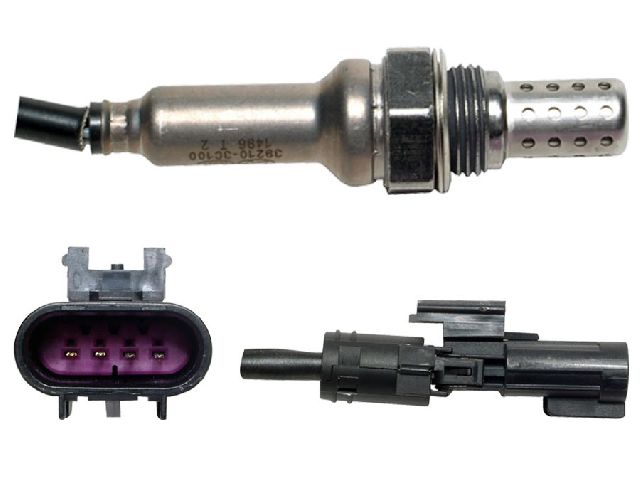
- Oxygen Sensor (Bank 1, Sensor 1)
(OEM #39210-3C900)— The internal heater element fails from age and heat cycles, which is the direct cause of the P0031 code.
Trusted brands: Kia (Genuine OEM), NTK (NGK), Denso, Bosch
OEM price range: $130-$200
Aftermarket price range: $60-$120
Related Codes That Often Appear With This One
- P0030 — This is a general fault code for the same heater circuit. P0031 is a more specific code indicating a 'low' or shorted circuit condition.
- P0032 — This is the opposite code for a 'high' or open circuit condition in the same heater. A failing sensor can sometimes trigger either code intermittently as the internal element breaks down.
- P0037 — This code is for the heater circuit low on Bank 1, Sensor 2 (downstream). Both sensors on Bank 1 can be powered by the same fuse, so a short in one sensor could potentially affect the other, or they may fail around the same time due to age.
Platform-Specific Known Issues
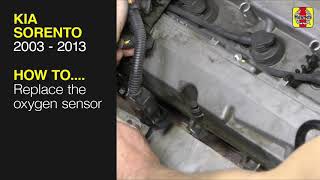
- Access to the Bank 1 (passenger side, rear) upstream O2 sensor is notably difficult and may require working from both above and below the vehicle. Some mechanics may remove other components for better access, increasing labor time. 🎬 See this step-by-step Kia Sorento O2 sensor replacement walkthrough
- A user on YouTube performing a related repair on a 3.3L V6 noted the location of the 'back upstream' sensor and its single electrical clip, highlighting its tight placement.
- Due to the difficulty, some owners choose to have a shop perform this specific sensor replacement even if they do other DIY work.
Mechanic-Grade Diagnostic Values
- Bank 1 Sensor 1 O2 Sensor Heater Element Resistance — expected: 2.5 to 4.0 Ω at 20°C (68°F). Some sources allow a wider range up to 15 Ω.. Failure: A reading of 'OL' (infinite resistance) indicates an open circuit. A reading near 0 Ω indicates a short circuit.
- Heater Circuit Power at Harness Connector (Key On, Engine Off) — expected: Battery Voltage (~12V) on the power supply pin.. Failure: 0V indicates a problem upstream, such as a blown fuse or a break in the power wire.
- O2 Sensor Signal Voltage (Engine Running, Warmed Up) — expected: Fluctuating constantly between 0.1 and 0.9 volts.. Failure: A static voltage or a voltage that does not fluctuate indicates a faulty sensor.
Scan Tool Commands That Help
- Kia GDS (Global Diagnostic System): Data Analysis / Live Data Monitoring — To monitor the real-time status and voltage/current of the O2 sensor heater circuit as the ECM commands it on and off. This can help differentiate between a constantly shorted sensor and an intermittent wiring fault.
- Kia GDS (Global Diagnostic System): Actuation Test — To manually command the O2 sensor heater circuit on and off, verifying the integrity of the wiring, relay (if applicable), and the PCM's ability to control the circuit.
- Kia GDS (Global Diagnostic System): DTC Analysis / Fault Code Diagnosis Guide — To retrieve manufacturer-specific fault codes and access integrated workshop manuals and wiring diagrams that provide step-by-step diagnostic procedures for the specific code.
Wiring & Ground Locations
- Engine Bay Fuse Box — Located in the engine compartment, near the battery.. This box contains the 'SENSOR 1' (15A) fuse that provides power to the O2 sensor heater circuit. A blown fuse here is a common cause for P0031.
- B1S1 Connector — On the wiring harness connecting to the Bank 1 Sensor 1 O2 sensor, tucked between the firewall and the passenger side of the engine.. This is the primary test point for checking voltage from the harness and resistance on the sensor. A schematic shows this connector links the sensor's heater element to the Engine Control Relay and the ECU.
- Main Engine Ground — Typically a large gauge wire from the negative battery terminal to the chassis and from the chassis to the engine block/transmission case.. A poor or corroded main engine ground can cause erratic voltage and sensor readings throughout the engine management system, potentially triggering false codes. While not a direct cause, it should be checked if electrical issues persist.
Real Owner Repair Stories
- Samarins.com automotive repair article (similar diagnostic process) (Toyota vehicle with identical P0135 code (same failure, different code name)) — Check Engine Light on.
❌ Tried (didn't work) Checked fuse and relay, both were good.
✅ What actually fixed it The technician tested the resistance of the original sensor's heater circuit and measured 235,000 Ohms, far outside the specification of 2.5 to 4.0 Ohms. A new sensor measured 2.6 Ohms. Replacing the failed sensor fixed the issue.
OEM Part Supersession History
39210-3C900→39210-3CCB0— Part number has been updated by Hyundai/Kia for newer models but may still be backward compatible. 39210-3C900 is listed for the 2007-2009 Sorento, while 39210-3CCB0 is listed for 2011+ models with the 3.3L GDI engine.
Heads up: While the sensors may be physically similar, the change from MPI to GDI engines could mean different heater resistance or signal characteristics. It is critical to order the part number specified for the 2007-2009 Sorento (39210-3C900) to ensure compatibility.
Model Year Variations Within This Range
- 2007-2009: The 3.3L V6 engine was introduced in 2008 for the base and LX trims, while the 2007 model primarily used a 3.8L V6. The 2009 model year was largely a carryover from 2008 with no significant mechanical changes affecting this code.
Diagnostic Flowchart
Other Known Issues on This Vehicle
Issues unrelated to this code that are worth knowing about as an owner of this generation:
- Leaking Oil Pressure Switch 🟠 Medium — Common issue where the switch, located under the intake manifold, leaks oil. Often misdiagnosed as a more severe leak. Can lead to alternator failure if oil drips onto it. (Ref: Kia issued a warranty extension (not a recall) for this part on some models to 15 years/150,000 miles.)
- ABS Module Electrical Short 🔴 High — A recall was issued because moisture can enter the ABS module, potentially causing an electrical short even when the car is off, increasing fire risk. (Ref: NHTSA Recall SC098)
- Faulty Passenger Airbag Sensor 🟠 Medium — A recall was issued for the Occupant Classification System (OCS) which may fail to detect an adult in the front passenger seat, preventing the airbag from deploying in a crash. (Ref: NHTSA Recall, specific campaign number may vary by VIN.)
- Failing Crankshaft Position Sensor 🔴 High — A common failure point on the Lambda V6 engine that can cause intermittent stalling, hesitation, or a no-start condition, often with code P0335.
- Leaking Valve Cover Gaskets 🟡 Low — Gaskets can become brittle with age and mileage, causing oil to leak onto the engine, particularly around the alternator.
Used vs. New Parts: Buying Guide for This Vehicle
When a used part is the smart pick: For this repair, buying a used oxygen sensor is strongly discouraged. O2 sensors are wear-and-tear items with a finite lifespan. The internal heater element that causes P0031 is the most common failure point due to age and heat cycles. A used sensor has an unknown amount of life left and may fail shortly after installation.
Donor-vehicle mileage cap: roughly under 20000 miles for the part to have meaningful remaining life.
What to inspect on the donor part:
- If buying used is unavoidable, source from a very low-mileage vehicle.
- Inspect the wiring and connector for any signs of melting, fraying, or corrosion.
- Test the heater circuit resistance with a multimeter before purchase; it should be within the 2.5-4.0 ohm specification.
OEM-only on this vehicle (don't cheap out):
- While not strictly 'OEM-only', using a genuine Kia/Hyundai sensor or a reputable OEM-supplier brand is highly recommended.
Aftermarket brands forum-validated for this vehicle:
- NTK (often the original equipment manufacturer)
- Denso
- Bosch
Brands owners have reported issues with on this vehicle:
- Generic, unbranded 'white-box' sensors from online auction sites are frequently reported by owners and mechanics to have incorrect resistance values, leading to immediate or premature failure.
Real Owner Stories
Aggregated from forums and TSBs cited above. Mileages and costs reflect what owners reported in those sources.
2007-2009 Kia Sorento 3.3L V6
Symptoms: Owners lament the difficult access on the firewall side of the V6 engine when dealing with P0031/P0032 codes.
What fixed it: Replacement of the sensor itself, though owners noted the need for specialized O2 sensor sockets and significant patience due to the tight placement.
Source hint: Kia-Forums.com
2007-2009 Kia Sorento 3.3L V6
Symptoms: The 'back upstream' sensor is difficult to reach, featuring a single electrical clip in a very tight location.
What fixed it: Replacement of the Bank 1 Sensor 1 oxygen sensor, sometimes requiring the vehicle to be accessed from both above and below.
Source hint: YouTube - Video by 'Automotive Insight'
2007-2009 Kia Sorento 3.3L V6
Symptoms: Difficulty in DIY replacement due to the sensor being on the passenger side near the firewall.
What fixed it: Some owners choose to have a shop perform this specific sensor replacement even if they do other DIY work due to the difficulty of access.
Source hint: SorentoNation.com
Related OBD-II Codes
Frequently Asked Questions
Where exactly is the Bank 1, Sensor 1 oxygen sensor located on my 3.3L V6 Sorento?
Is there a fuse I should check before replacing the O2 sensor for a P0031 code?
I heard there is a recall for Sorentos involving electrical shorts; could this be related to my P0031?
Why is the labor for this sensor replacement more expensive than the front one?
Can I use a used O2 sensor from a salvage yard to save money?
Could an oil leak be causing my O2 sensor or electrical issues?
Helpful Videos
We Have This Part in Stock


The information in this article is provided for general reference and educational purposes only. Vehicle specifications, procedures, and part compatibility can vary by production date, trim level, and region. Always consult your vehicle's factory service manual and verify part numbers before purchasing or performing repairs. Safety-critical components such as airbags, seat belts, and braking systems should be installed by a qualified professional.
- Kia Sorento:
- 🎬 Helpful Videos
- 🛍️ Shop This Part
- What's Unique About the 2007-2009 Kia Sorento
- Symptoms You May Notice
- Most Likely Causes
- Rare But Worth Checking
- Diagnosis Steps
- Parts You'll Likely Need
- Related Codes That Often Appear With This One
- Platform-Specific Known Issues
- Mechanic-Grade Diagnostic Values
- Scan Tool Commands That Help
- Wiring & Ground Locations
- Real Owner Repair Stories
- OEM Part Supersession History
- Model Year Variations Within This Range
- Diagnostic Flowchart
- Other Known Issues on This Vehicle
- Used vs. New Parts: Buying Guide for This Vehicle
- Real Owner Stories
- 2007-2009 Kia Sorento 3.3L V6
- 2007-2009 Kia Sorento 3.3L V6
- 2007-2009 Kia Sorento 3.3L V6
- Related OBD-II Codes
- Frequently Asked Questions
- 🎟️ Get 5% Off