

P0030 on 2011-2019 Ford Explorer 3.5L: Causes and O2 Sensor Heater Fixes
On a 2011-2019 Explorer with the 3.5L V6, code P0030 almost always means the upstream oxygen sensor on the rear cylinder bank (Bank 1) has failed. This specific sensor is Motorcraft part number DY-1178. A DIY replacement is the most common fix, costing around $60-$150 for the part. Accessing the sensor on the rear bank near the firewall is the main challenge.
- P0030 on your Explorer points to the heater in the upstream oxygen sensor on the REAR cylinder bank (near the firewall).
- The most probable fix is replacing this specific sensor (Motorcraft part DY-1178).
- Before buying parts, check fuse #67 (20A) in the under-hood fuse box to rule out a simple electrical issue.
- Carefully inspect the wiring harness for any visible heat damage or melting before replacing the sensor, as this can cause the new sensor to fail as well.
- Do not confuse Bank 1 (rear) with Bank 2 (front), as this will lead to replacing the wrong part.
What's Unique About the 2011-2019 Ford Explorer
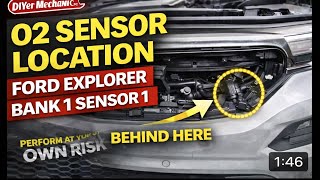
For the transversely mounted 3.5L Cyclone V6 in the fifth-generation Explorer, 'Bank 1' is the cylinder bank located at the rear of the engine bay, against the firewall. 'Sensor 1' is the upstream sensor on that bank. This rear location makes access significantly more challenging than for the Bank 2 sensor at the front of the vehicle. Knowing that Bank 1 is the rear bank is critical to avoid replacing the wrong part, a common mistake for this specific code.
Generation note: This guide covers the entire fifth generation of the Ford Explorer (2011-2019), which consistently used the 3.5L Cyclone V6 as a primary engine option. The causes and fixes for P0030 are consistent across this generation.
Symptoms You May Notice
- Check Engine Light is on
- Reduced fuel economy
- Vehicle may fail an emissions test
- Slightly rough idle on cold starts before the engine warms up
- Replacing the wrong oxygen sensor. Many people mistakenly replace the Bank 2 (front) sensor or the Sensor 2 (downstream) sensor. P0030 is specifically for Bank 1 (rear), Sensor 1 (upstream).
- Replacing the sensor multiple times without checking the wiring harness for intermittent shorts or open circuits.
Most Likely Causes
- Failed Bank 1, Sensor 1 Oxygen Sensor 🔴 High Probability The internal heater element is a common failure point in O2 sensors over time due to constant, rapid heat cycles. This is the most frequent cause for P0030.
How to confirm: After checking the fuse and wiring, use a multimeter to test the resistance of the heater circuit on the sensor itself. The two wires of the same color are for the heater. A good heater circuit will have low resistance (typically 2-15 ohms). An infinite resistance reading (OL) means the circuit is open and the sensor is bad.
Typical fix: Replace the Bank 1, Sensor 1 (Upstream, Rear) oxygen sensor. The OEM part is Motorcraft DY-1178.
Est. part cost: $60-$155 - Damaged Wiring or Connector 🟡 Medium Probability The wiring harness leading to the rear O2 sensor is in a tight, hot area. It can be damaged by heat from the exhaust manifold, become brittle and crack, or get chafed by rubbing against other components, causing a short or open circuit.
How to confirm: Visually inspect the entire length of the wiring harness from the sensor to the main engine harness. Look for melted plastic, frayed wires, or corrosion in the connector pins. Pay close attention to where the harness might contact the engine or exhaust components.
Typical fix: Repair the damaged section of wire or replace the connector pigtail.
Est. part cost: $15-$40 - Blown Fuse ⚪ Low Probability A short in the heater circuit wiring or within the sensor itself can cause the associated fuse to blow as a protective measure.
How to confirm: Check the fuse for the O2 sensor heater circuit in the under-hood fuse box. For 2011-2015 models, this is typically fuse F67 (20A). For 2016-2019 models, the O2 heaters are powered by the PCM, but check fuse F2 (20A) which protects the PCM power supply. If a fuse is blown, an underlying short circuit must be found.
Typical fix: Replace the blown fuse after diagnosing and fixing the cause of the short circuit.
Est. part cost: $1-$5
Rare But Worth Checking
- Powertrain Control Module (PCM) Fault: This is very rare. The driver circuit within the PCM that controls the O2 sensor heater can fail. This should only be considered after you have definitively ruled out the sensor, wiring, and fuse. A PCM replacement and programming is required to fix this.
- Exhaust Leak: An exhaust leak before the Bank 1 Sensor 1 O2 sensor can sometimes trigger heater circuit codes, although it more commonly causes performance codes. The leak allows fresh air into the exhaust stream, which can affect sensor readings and operation. A ticking noise from the engine bay, especially when cold, is a common symptom.
Diagnosis Steps
- Verify the code with an OBD-II scanner.
- Open the hood and locate the under-hood fuse box.
- For 2011-2015 models, check fuse F67 (20A). For 2016-2019 models, check fuse F2 (20A) in the same box. If blown, investigate for a short circuit before replacing.
- Safely raise the vehicle if necessary. Locate Bank 1, Sensor 1. It is on the rear cylinder bank (closest to the firewall), in the exhaust manifold before the catalytic converter. Access can be tight.
- Inspect the sensor's wiring harness and connector for any signs of melting, chafing, or corrosion. Ensure the connector is securely plugged in.
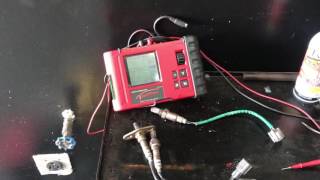
- If the wiring looks good, disconnect the sensor. Use a multimeter set to Ohms to test the resistance across the two same-colored wires (usually black or white) on the sensor side of the connector. A good heater circuit will have low resistance (typically 2-15 ohms). An infinite reading (OL) means the heater is burned out and the sensor must be replaced.
- If the sensor's resistance is good, check for 12V power at the harness connector (with the key on, engine off). If there is no power, the problem is upstream in the wiring, fuse, or PCM.
- If all other steps pass, the fault is the sensor itself. Replace the Bank 1, Sensor 1 oxygen sensor using a 22mm or 7/8" O2 sensor socket.
- After replacement, clear the codes with a scanner and perform a drive cycle to ensure the Check Engine Light does not return.
Parts You'll Likely Need
- Upstream Oxygen Sensor (Bank 1, Sensor 1)
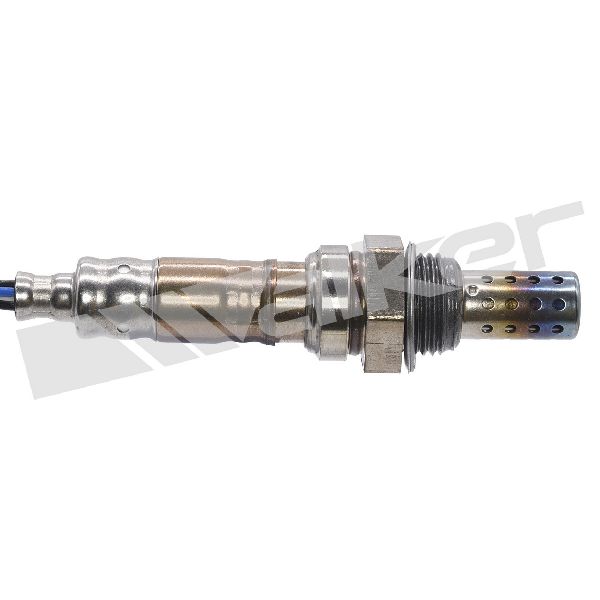
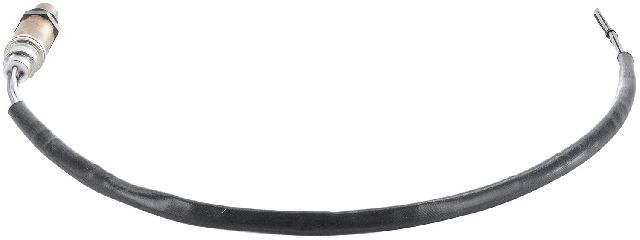
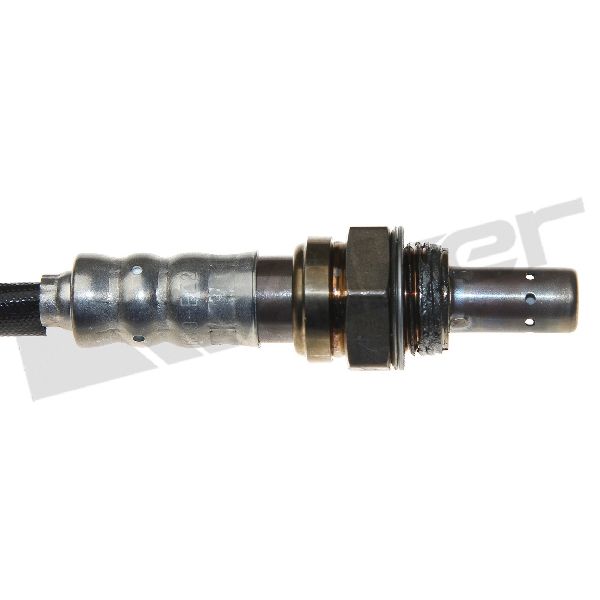
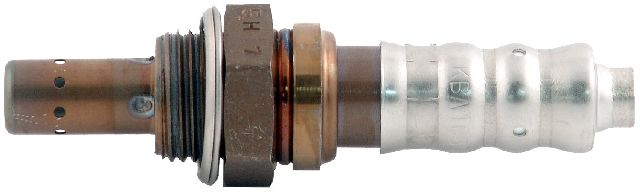
(OEM #DY-1178)— This is the sensor located at the rear of the engine (Bank 1), before the catalytic converter (Sensor 1). Its internal heater element is the most common failure point for code P0030.
Trusted brands: Motorcraft, Denso, Bosch, NGK/NTK
OEM price range: $90-$155
Aftermarket price range: $60-$100
Related Codes That Often Appear With This One
- P0135 — P0135 is 'O2 Sensor Heater Circuit Malfunction (Bank 1, Sensor 1)'. It is a very similar code and often used interchangeably by some scan tools or can appear alongside P0030, pointing to the same heater circuit fault.
- P0130 — P0130 indicates a general fault with the O2 sensor circuit (Bank 1, Sensor 1), not just the heater. It can appear if the sensor's signal is also compromised. A user on SHOforum.com reported P0030 and P0130 together on a 3.5L engine, which was resolved by replacing the sensor.
- P2243 — This code indicates an open circuit for the O2 sensor reference voltage on Bank 1, Sensor 1. A forum user on Ford Truck Enthusiasts reported this code along with P0030 on their 2013 Explorer.
Technical Service Bulletins (TSBs) & Recalls
- TSB-14-0129: Mentions P0030 on 2013 Ford Escape/Fusion models, indicating a known issue pattern for this code on Ford vehicles of this era.
- TSB 16-0143: Notes P0030 on Ford Fusion Hybrids, providing a service procedure, further establishing a pattern of Ford addressing this specific code.
Platform-Specific Known Issues
- A user on Reddit's r/AskAMechanic reported a recurring P0030 code on their 2015 Explorer, even after replacing the sensor twice. This highlights the importance of checking the wiring harness for damage from road debris or heat, especially if the problem returns after a part replacement.
- On explorerforum.com, multiple owners confirm the difficulty of reaching the Bank 1 (rear) sensor, with many recommending accessing it from underneath the vehicle after removing the front passenger wheel for better leverage.
Mechanic-Grade Diagnostic Values
- HO2S Heater Element Resistance — expected: 3 to 15 ohms at ambient temperature.. Failure: An open circuit (OL - infinite resistance) or very high resistance indicates a burned-out heater element.
- HO2S Heater Circuit Power Supply — expected: 12V+ (Battery Voltage) at the power feed wire on the harness-side connector with Key On, Engine Off.. Failure: No voltage indicates a problem with the fuse, relay, or wiring upstream of the sensor.
- HO2S Heater Control Circuit (PCM side) — expected: A pulse-width modulated (PWM) ground signal when the heater is commanded on. This is best observed with an oscilloscope.. Failure: No signal or a constant ground/open suggests a wiring issue or a faulty PCM driver.
Scan Tool Commands That Help
- Ford IDS (Integrated Diagnostic System): Datalogger / Active Commands — The Ford IDS can be used to command the HO2S heater circuit ON and OFF while monitoring voltage and current PIDs (Parameter IDs). This allows a technician to verify if the PCM is attempting to control the heater and to see the circuit's response in real-time, helping to distinguish between a faulty sensor, wiring, or PCM driver without manual testing.
Wiring & Ground Locations
- G104 — Engine compartment, on the right-hand (passenger) side, towards the rear/firewall.. This is a primary engine and PCM ground point. A corroded or loose G104 can cause a variety of sensor and module communication issues, including erratic behavior of the O2 sensor circuits which are grounded through the PCM.
- Bank 1 Sensor 1 Connector (C134 as example) — On the wiring pigtail of the O2 sensor located on the rear exhaust manifold.. This connector is the primary point for testing. Technicians need to identify the two same-colored wires for the heater circuit to test resistance on the sensor side and check for 12V power and PCM control signal on the harness side.
OEM Part Supersession History
BL3Z-9F472-A→DY-1178— Standard part number update and consolidation by Ford/Motorcraft.
Heads up: DY-1178 is the direct replacement for BL3Z-9F472-A for the upstream sensors on the 3.5L Explorer. Both Bank 1 and Bank 2 use the same upstream sensor part number.
Model Year Variations Within This Range
- 2011-2015: The O2 sensor heater circuit is protected by fuse F67 (20A) in the under-hood power distribution box.
- 2016-2019: Following the mid-cycle refresh, the O2 sensor heaters are powered directly by the PCM. The relevant fuse to check is for the PCM power supply itself, such as F2 (20A) in the under-hood box. This change makes diagnosing a power supply issue slightly different, as the fault could lie within the PCM rather than a dedicated fuse/relay.
Diagnostic Flowchart
Other Known Issues on This Vehicle
Issues unrelated to this code that are worth knowing about as an owner of this generation:
- Internal Water Pump Failure 🔴 High — Common after 80,000-120,000 miles. When the pump fails, it can leak coolant into the engine oil, leading to catastrophic engine damage if not caught early.
- Electronic Throttle Body Malfunction 🟠 Medium — Widespread issue causing sudden power loss or 'limp mode'. Often throws codes P2111 or P2112. (Ref: Customer Satisfaction Program 16B32)
- Power Transfer Unit (PTU) Overheating/Failure (AWD Models) 🔴 High — The PTU fluid can overheat due to proximity to the exhaust, leading to seal failure and gear oil breakdown. This can cause grinding noises and eventual failure of the AWD system.
- Exhaust Odor In Cabin 🟠 Medium — Many owners report an exhaust or sulfur smell in the cabin, especially during heavy acceleration. This led to a major NHTSA investigation. (Ref: TSB 16-0166, TSB 17-0029, TSB 17-0044)
- Rear Suspension Toe Link Fracture 🔴 High — Affects 2011-2017 models, can cause a sudden loss of steering control. (Ref: Recall 19S17, 20S32, 21S32)
Used vs. New Parts: Buying Guide for This Vehicle
When a used part is the smart pick: A used wiring harness connector pigtail is a viable option if only the connector is damaged (e.g., broken locking tab, corrosion). Sourcing a pigtail from a junkyard vehicle can be a cost-effective repair for damaged wiring.
Donor-vehicle mileage cap: roughly under 80000 miles for the part to have meaningful remaining life.
What to inspect on the donor part:
- For a wiring pigtail, ensure the plastic is not brittle or cracked.
- Check for clean, corrosion-free pins inside the connector.
- Ensure there is at least 6-8 inches of wire attached for easier splicing.
OEM-only on this vehicle (don't cheap out):
- Powertrain Control Module (PCM) — Due to the need for vehicle-specific programming (VIN flashing), a new or professionally refurbished and programmed PCM is required. A used PCM from another vehicle will not work without specialized tools.
Aftermarket brands forum-validated for this vehicle:
- NTK/NGK
- Denso
- Bosch
Brands owners have reported issues with on this vehicle:
- No-name, unbranded sensors from online marketplaces are frequently reported on forums to fail prematurely or be dead-on-arrival.
Real Owner Stories
Aggregated from forums and TSBs cited above. Mileages and costs reflect what owners reported in those sources.
2015 Ford Explorer 3.5L V6
Symptoms: Check Engine Light with a recurring P0030 code even after the sensor was replaced twice.
What fixed it: Inspection of the wiring harness for damage from road debris or heat, as the sensor replacement alone did not resolve the issue.
Source hint: r/AskAMechanic
2013 Ford Explorer 3.5L V6
Symptoms: Vehicle displayed codes P2243 and P0030 simultaneously.
What fixed it: Diagnosis pointed to a potential open circuit in addition to the heater fault.
Source hint: Ford Truck Enthusiasts Forum
2010-2019 Ford Taurus 3.5L V6
Symptoms: Check Engine Light with codes P0030 and P0130.
What fixed it: Replacement of the oxygen sensor.
Source hint: SHO Forum
Related OBD-II Codes
Frequently Asked Questions
Where is the Bank 1, Sensor 1 oxygen sensor located on my 3.5L Explorer?
Which fuse should I check for a P0030 code on a 2013 Ford Explorer?
Does Ford have any Technical Service Bulletins (TSBs) related to P0030?
I replaced the sensor but P0030 came back on my 2015 Explorer. What else could it be?
What is the specific Motorcraft part number for the Bank 1, Sensor 1 O2 sensor?
How can I test if the sensor itself is actually bad using a multimeter?
Helpful Videos
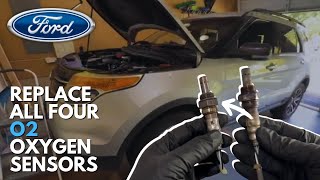
We Have This Part in Stock


The information in this article is provided for general reference and educational purposes only. Vehicle specifications, procedures, and part compatibility can vary by production date, trim level, and region. Always consult your vehicle's factory service manual and verify part numbers before purchasing or performing repairs. Safety-critical components such as airbags, seat belts, and braking systems should be installed by a qualified professional.
- Ford Explorer:
- 🎬 Helpful Videos
- 🛍️ Shop This Part
- What's Unique About the 2011-2019 Ford Explorer
- Symptoms You May Notice
- Most Likely Causes
- Rare But Worth Checking
- Diagnosis Steps
- Parts You'll Likely Need
- Related Codes That Often Appear With This One
- Technical Service Bulletins (TSBs) & Recalls
- Platform-Specific Known Issues
- Mechanic-Grade Diagnostic Values
- Scan Tool Commands That Help
- Wiring & Ground Locations
- OEM Part Supersession History
- Model Year Variations Within This Range
- Diagnostic Flowchart
- Other Known Issues on This Vehicle
- Used vs. New Parts: Buying Guide for This Vehicle
- Real Owner Stories
- 2015 Ford Explorer 3.5L V6
- 2013 Ford Explorer 3.5L V6
- 2010-2019 Ford Taurus 3.5L V6
- Related OBD-II Codes
- Frequently Asked Questions
- 🎟️ Get 5% Off