

P0201 on 2014-2021 Ram ProMaster 3.6L: Injector Circuit Fault Causes and Fixes
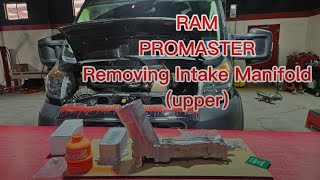
P0201 indicates an electrical fault with the cylinder #1 fuel injector. On the ProMaster 3.6L, this is most often a wiring issue near the injector connector, not a failed injector. Expect to inspect the wiring harness before replacing parts. Accessing cylinder #1 requires removing the upper intake manifold.
- P0201 is an electrical circuit code for the cylinder #1 fuel injector, not an ignition or mechanical code.
- On the ProMaster 3.6L, always suspect a wiring problem (broken wire, rodent damage) before replacing the more expensive fuel injector.
- Accessing cylinder #1 requires removing the upper intake manifold, so you must replace the intake gaskets as part of the job.
- A noid light and a multimeter are essential tools for accurately diagnosing whether the fault is in the wiring, the injector, or the PCM.
- This code is almost always accompanied by a P0301 misfire code, as the electrical fault prevents fuel delivery.
What's Unique About the 2014-2021 Ram ProMaster
On the Ram ProMaster's transverse-mounted 3.6L Pentastar engine, cylinder #1 is located on the rear bank, closest to the firewall. This makes access more difficult than on other vehicles, as the upper intake manifold must be removed for diagnosis and repair. Additionally, specialists who work exclusively on these vans report that wiring problems—such as broken wires at the connector, rodent damage, or a loose connector—are a far more common cause for a P0201 code than the fuel injector actually failing. ProMasters, often used as work vans or campers, can sit for periods, making them attractive targets for rodents that chew on wiring.
Symptoms You May Notice
- Check Engine Light is on
- Rough or shaking idle
- Engine misfire (may feel like a stumble or vibration)
- Hesitation or loss of power during acceleration
- Reduced fuel economy
- Engine shaking and feeling unbalanced
- Replacing the ignition coil or spark plug. While these parts can cause a misfire (P0301), the P0201 code specifically points to an electrical fault in the fuel injector circuit, not the ignition system.
- Replacing the fuel injector without first testing the wiring. Given the high probability of a wiring fault on this specific vehicle, testing with a noid light and multimeter is crucial to avoid unnecessary parts replacement.
Most Likely Causes
- Damaged Fuel Injector Wiring or Connector 🔴 High Probability Based on specialist experience, the wiring harness is the most frequent failure point for this code on the ProMaster. The plastic conduit can become brittle, and wires can break right at the connector from vibration and heat cycles. Rodent damage is also a significant factor, as mice are known to chew the soy-based wiring insulation used in many modern vehicles, including the ProMaster.
How to confirm: After removing the intake manifold, visually inspect the wiring going to the cylinder #1 injector for breaks, chafing, or signs of rodent damage (chew marks, nests). Check that the connector is securely attached and free of corrosion. Use a noid light in the connector to see if the PCM is sending a pulse signal; a flashing light indicates the wiring to the connector is likely good. If no pulse, check for continuity on both wires from the injector connector back to the PCM.
Typical fix: Repair the broken section of wire or replace the injector pigtail connector. In cases of rodent damage, a larger section of the engine harness may need repair or replacement.
Est. part cost: $10-$30 - Faulty Fuel Injector 🟡 Medium Probability While less common than wiring issues on this platform, the injector itself can fail internally. The internal coil winding can break, creating an open circuit. This is a possibility but should be confirmed with testing before replacement.
How to confirm: Measure the resistance across the two pins of the injector using a multimeter. A good injector for the 3.6L Pentastar should read approximately 12-14 ohms. An infinite resistance reading (OL) indicates an open/failed injector. You can also swap the cylinder #1 injector with another (e.g., cylinder #3) and see if the trouble code follows to the new cylinder (e.g., P0203). If the code changes, the injector is bad.
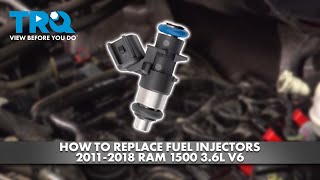
Typical fix: Replace the faulty fuel injector. 🎬 Watch: Step-by-step walkthrough for replacing fuel injectors on the 3.6L engine. It is recommended to replace the upper and lower intake manifold gaskets at the same time.
Est. part cost: $40-$120
Rare But Worth Checking
- Faulty Powertrain Control Module (PCM): This is the least likely cause. The PCM's internal driver for the injector circuit can fail, sometimes due to a short in the external wiring. This should only be considered after exhaustively ruling out all wiring and injector issues. One owner of a similar vehicle found that two wires shorting at the plug damaged the PCM.
Diagnosis Steps
- Confirm P0201 is the primary code using an OBD-II scanner. Note any other codes, especially P0301.
- Locate cylinder #1. On the ProMaster 3.6L, it is on the rear cylinder bank (closest to the firewall), on the passenger side.
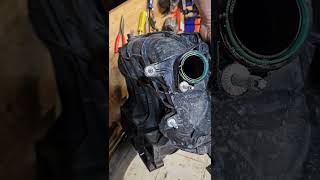
- Accessing the rear bank requires removing the upper intake manifold. Have new intake gaskets ready for reassembly. 🎬 See this guide if your intake manifold is stuck during removal.
- Visually inspect the wiring harness and connector for cylinder #1. Look for any signs of damage, corrosion, loose connections, or evidence of rodents (chewed wires, droppings).
- Disconnect the injector and plug a 'noid light' into the harness connector. Crank the engine and check if the light flashes, which confirms the PCM is sending a signal and the wiring to the connector is intact.
- If the noid light flashes, the problem is likely the injector itself. Test the injector by setting a multimeter to ohms and measuring the resistance between its two terminals. It should be around 12-14 ohms. If it reads as an open circuit (infinite resistance), the injector is bad.
- If the noid light does not flash, there is a problem in the wiring between the PCM and the injector, or a faulty PCM (which is rare). Check for 12V power on one pin of the connector with the key on. Then check for continuity on the ground/control wire from the injector connector back to the PCM connector.
- As a final confirmation, you can swap the cylinder #1 injector with the cylinder #3 injector (which is on the same bank and easier to access after intake removal). Clear the codes and run the engine. If the code changes to P0203, the injector is confirmed to be the faulty part.
Parts You'll Likely Need
- Fuel Injector
(OEM #5184085AD)— This is the part to replace if the injector itself has failed its resistance test.
Trusted brands: Mopar, Bosch, Standard Motor Products
OEM price range: $90-$150
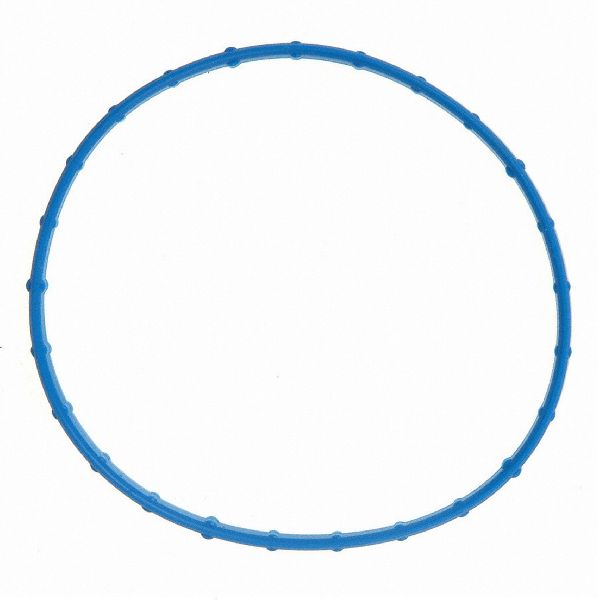
Aftermarket price range: $40-$80 - Upper and Lower Intake Manifold Gasket Set
(OEM #68535427AA)— These must be replaced anytime the intake manifold is removed to access the rear fuel injectors, preventing vacuum leaks.
Trusted brands: Mopar, Fel-Pro, Victor Reinz
OEM price range: $40-$60
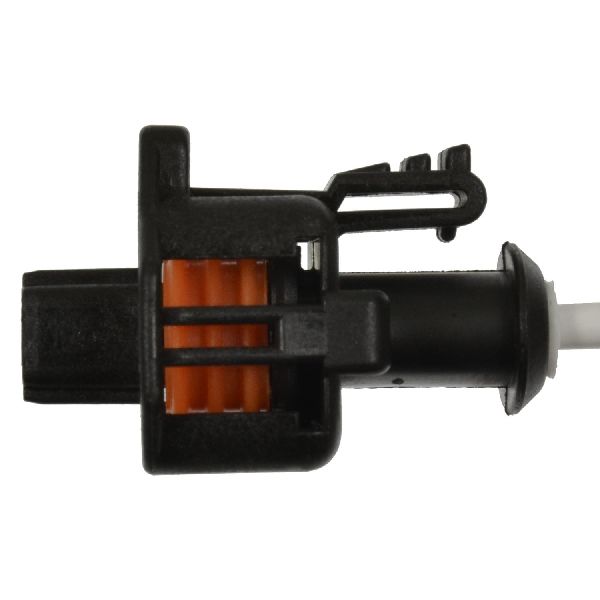
Aftermarket price range: $25-$45 - Fuel Injector Connector Pigtail
(OEM #Mopar 5148037AM)— Needed if the wiring is broken or corroded right at the connector. This Mopar part number is a repair pigtail for the 3.6L engine.
Trusted brands: Mopar, Dorman, Standard Motor Products (S-1895)
OEM price range: $20-$35
Aftermarket price range: $10-$25
Related Codes That Often Appear With This One
- P0301 — P0301 means 'Cylinder 1 Misfire Detected'. If the injector for cylinder 1 isn't firing due to an electrical fault (P0201), the cylinder won't have combustion, which the PCM detects as a misfire. These codes almost always appear together.
Platform-Specific Known Issues
- Rodent Damage to Wiring Harness: ProMasters, especially those used for camping or that sit for extended periods, are susceptible to rodent damage. Mice and other animals are known to build nests in the engine bay and chew on the soy-based wire insulation, causing open circuits that trigger P020x codes. A thorough inspection for chew marks and droppings is warranted if this code appears.
- Wire Breakage at Injector Connector: Due to heat and engine vibration, the wires for the rear bank of injectors can become brittle and break, often right at the point where they enter the plastic connector. This creates an open circuit that is often mistaken for a failed injector. Wiggling the wire at the connector during testing can sometimes reveal this intermittent connection.
Mechanic-Grade Diagnostic Values
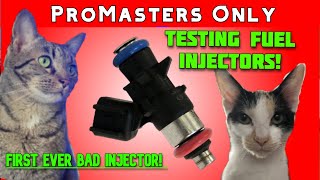
- Fuel Injector Coil Resistance — expected: 12.0 to 14.1 Ohms. Failure: An open circuit (OL), a dead short (0 Ohms), or a reading significantly higher than spec, such as 22 Ohms or more. One real-world failure on a similar engine was measured at over 60 Ohms. 🎬 Watch: How to test Pentastar 3.6 fuel injectors for these codes.
- Fuel Injector Current Draw (via Oscilloscope) — expected: A clean current ramp peaking around 785 milliamps, with a visible 'pintle hump' in the waveform indicating mechanical movement of the injector.. Failure: A missing or malformed current waveform indicates an electrical or mechanical failure of the injector.
- Injector Circuit Voltage (via Oscilloscope) — expected: The PCM grounds the control wire, causing voltage to drop to near zero for 1-5ms, followed by a sharp inductive kick (voltage spike) to ~50V when the ground is released.. Failure: Absence of the initial voltage drop or the final inductive spike points to an open in the control circuit or a faulty PCM driver.
Scan Tool Commands That Help
- Professional Scan Tool (e.g., Autel, Launch, Witech): Injector Power Balance Test / Cylinder Cut-out — To confirm which cylinder is not contributing power. The scan tool deactivates one injector at a time; if there is no change in engine RPM or smoothness when cylinder #1 is deactivated, it confirms that injector was not working to begin with.
- Professional Scan Tool (e.g., Autel, Launch, Witech): Injector Actuation / Trigger Test — With the engine off, this command allows the technician to manually fire the injector while monitoring the circuit with a multimeter or scope to confirm the PCM driver and wiring are capable of commanding the injector.
Wiring & Ground Locations
- Primary Engine Ground Strap — A braided strap running from a bolt on the transmission case to a bolt on top of the driver's side transmission mount. It is best accessed by removing the driver's side headlight assembly.. This is the main ground for the engine and transmission. If it's loose or corroded, it can create an unstable ground reference for all engine sensors and actuators, including the fuel injectors, leading to erratic behavior and fault codes like P0201.
- Injector #1 Control Wire — Runs from pin 2 of the fuel injector #1 connector to a specific pin at the PCM connector. A wiring diagram is required for the exact PCM pin number.. This is the wire the PCM uses to ground-pulse the injector to make it fire. An open or short on this wire is a direct cause of P0201. Continuity should be checked between the injector connector and the PCM connector.
- Injector Power Supply Wire (ASD Relay Output) — Runs from the Auto Shutdown (ASD) relay/fuse to pin 1 of the fuel injector #1 connector. This wire provides power to all injectors.. While a failure here would likely cause multiple injector codes (P0201, P0202, etc.), a localized break in the wire near the #1 injector could cause just P0201. It should have 12V with the key on.
- Chassis Ground Stud — Located near the under-hood fuse box, often a dedicated stud for grounding purposes.. Can be used as a known-good ground point for testing circuits or for creating a temporary, supplementary ground to diagnose a bad primary ground strap.
Real Owner Repair Stories
- YouTube user comment on 'Ram Promaster Ground Strap Cable' (2022 Ram ProMaster 3500) — Check engine light with multiple codes.
❌ Tried (didn't work) Not specified, owner took it to the dealer.
✅ What actually fixed it The dealership diagnosed and fixed a bad ground connection. The repair took 7 days to identify. - YouTube channel 'JaDudley' (Ram ProMaster (year not specified)) — Multiple electrical issues, requiring floor removal for access.
❌ Tried (didn't work) Not specified, owner's insurance claim handled by a dealership.
✅ What actually fixed it Extensive wiring harness repair due to widespread rodent damage. Mice had chewed through insulation and wires under the floor and in the engine bay. - YouTube channel 'Fix It Angel' (2014 Ram ProMaster 2500) — No-start condition.
❌ Tried (didn't work) Not specified, vehicle was purchased from an auction with the issue.
✅ What actually fixed it A supplementary ground cable was added, running from one of the starter mounting bolts directly to the chassis frame, to resolve an insufficient ground for the starter and engine.
OEM Part Supersession History
5184085AC, RL184085AC→5184085AD— Part revision or manufacturer change.
Model Year Variations Within This Range
- 2014-2021: Within this specific year range, the 3.6L Pentastar engine and its fuel injection system are mechanically consistent. No significant mid-cycle changes affecting the diagnosis of P0201 have been noted. Major powertrain changes, like the introduction of a 9-speed transmission, occurred in the 2022 model year, after this range.
Diagnostic Flowchart
Real Owner Stories
Aggregated from forums and TSBs cited above. Mileages and costs reflect what owners reported in those sources.
Ram ProMaster 3.6L V6
Symptoms: Triggered P020x series codes, indicating an open injector circuit.
What fixed it: Identified wiring harness issues as the primary failure point rather than the fuel injector itself, corroborating that wiring is the more common cause on this platform.
Source hint: ProMasters Only (YouTube Channel)
Ram ProMaster 3.6L V6
Symptoms: Experienced a P0201 code and was looking for diagnostic steps to confirm the issue.
What fixed it: Sought advice on checking the connector and wiring harness before proceeding with a full injector replacement.
Source hint: RamForum.com - 'P0201 Code trouble' thread
Dodge Grand Caravan 3.6L V6
Symptoms: Experienced multiple fuel injector codes including P0201 and P0202.
What fixed it: Discussion pointed towards checking harness pinch points and inspecting for corroded main connectors near the throttle body as potential causes.
Source hint: DodgeForum.com - 'General P0201,p0202...' thread
Related OBD-II Codes
Frequently Asked Questions
Where is cylinder #1 located on my 3.6L ProMaster?
Is it more likely to be a bad injector or a wiring issue on the ProMaster?
My ProMaster sits for long periods as a camper. Could that cause a P0201 code?
How can I test if the cylinder 1 injector is actually bad before buying a new one?
Do I need to replace any gaskets if I'm fixing the P0201 code?
What should I look for when inspecting the wiring harness for cylinder 1?
Helpful Videos
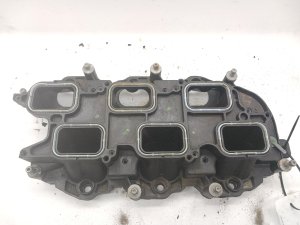
Used OEM Parts in Stock
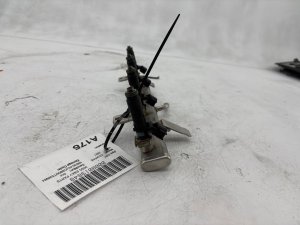

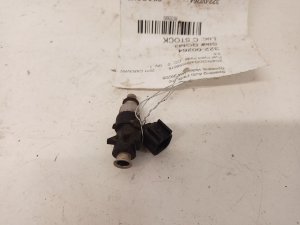


New Aftermarket Parts Available


The information in this article is provided for general reference and educational purposes only. Vehicle specifications, procedures, and part compatibility can vary by production date, trim level, and region. Always consult your vehicle's factory service manual and verify part numbers before purchasing or performing repairs. Safety-critical components such as airbags, seat belts, and braking systems should be installed by a qualified professional.
- Ram ProMaster:
- 🎬 Helpful Videos
- 🛍️ Shop This Part
- What's Unique About the 2014-2021 Ram ProMaster
- Symptoms You May Notice
- Most Likely Causes
- Rare But Worth Checking
- Diagnosis Steps
- Parts You'll Likely Need
- Related Codes That Often Appear With This One
- Platform-Specific Known Issues
- Mechanic-Grade Diagnostic Values
- Scan Tool Commands That Help
- Wiring & Ground Locations
- Real Owner Repair Stories
- OEM Part Supersession History
- Model Year Variations Within This Range
- Diagnostic Flowchart
- Real Owner Stories
- Ram ProMaster 3.6L V6
- Ram ProMaster 3.6L V6
- Dodge Grand Caravan 3.6L V6
- Related OBD-II Codes
- Frequently Asked Questions
- 🎟️ Get 5% Off