

P0139 on 2015-2019 Hyundai Sonata 2.4L GDI: Slow O2 Sensor Causes and Fixes
For the 2015-2019 Sonata 2.4L, code P0139 almost always points to a failing downstream oxygen sensor (Bank 1, Sensor 2). This sensor has become 'lazy' with age. Replacing it is a common DIY fix, with parts costing between $50 and $150. Before replacing, it is critical to rule out exhaust leaks, which can mimic a bad sensor.
- P0139 means your downstream oxygen sensor (Bank 1, Sensor 2) is old and slow.
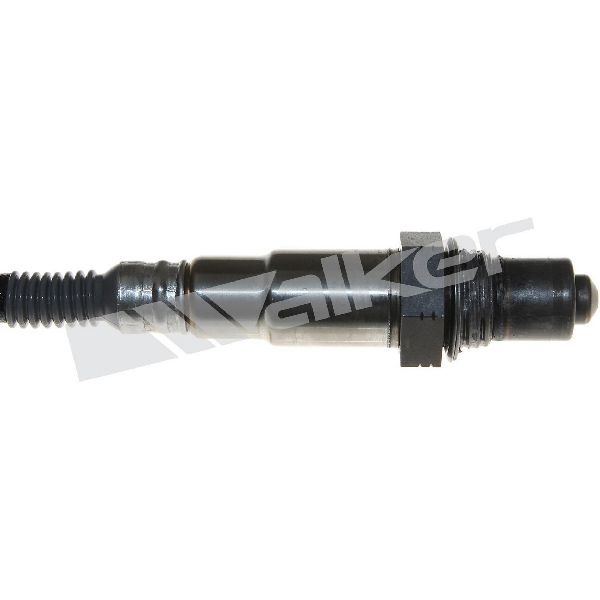
- The most probable solution is to replace the downstream O2 sensor (OEM Part #39210-2GBA0).
- Before buying parts, always check for exhaust leaks (especially the flex pipe) and inspect the sensor's wiring for damage, as these can mimic a bad sensor.
- This is a DIY-friendly repair for most, but you will need a special O2 sensor socket and likely some penetrating oil.
- Driving with this code won't cause immediate harm, but it will prevent you from passing an emissions test.
What's Unique About the 2015-2019 Hyundai Sonata
On the Sonata LF with the 2.4L GDI engine, this code is a straightforward indicator of a common wear-and-tear part. There are no widespread, unique platform-specific issues like software glitches or unusual wiring failures that commonly trigger P0139. The diagnosis is typically simple, with the fault almost always being the sensor itself rather than a more complex system issue. However, small exhaust leaks before the sensor are a common point of misdiagnosis on this platform.
Symptoms You May Notice
- Check Engine Light is on.
- Failure to pass an emissions/smog test.
- Slightly reduced fuel economy (less common).
- Occasional engine hesitation after deceleration (rare).
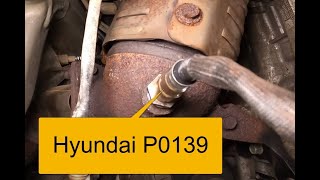
- Replacing the upstream oxygen sensor (Sensor 1) instead of the downstream one (Sensor 2). P0139 specifically refers to Sensor 2. 🎬 See this breakdown of P0139 causes and common fixes.
- Replacing the catalytic converter. A P0139 code points to the sensor's response time, not the converter's efficiency. A bad converter would typically trigger a P0420 code.
- Replacing the O2 sensor without first checking for exhaust leaks. Many owners on forums report the code returning shortly after sensor replacement, with the ultimate fix being a small leak in a gasket or flex pipe.
Most Likely Causes
- Failing Downstream Oxygen Sensor (Bank 1, Sensor 2) 🔴 High Probability Oxygen sensors are wear-and-tear items. Over time, exposure to heat and exhaust contaminants degrades their ability to respond quickly, causing them to become 'lazy' or sluggish.
How to confirm: Use a scan tool to graph the voltage of Bank 1 Sensor 2. On a warm, running engine, the voltage should be relatively stable (e.g., 0.6V-0.8V). When you snap the throttle, the voltage should change. A sensor causing P0139 will often appear 'stuck' or react very slowly to changes in engine load or during diagnostic tests. A healthy sensor should respond in less than 100 milliseconds.
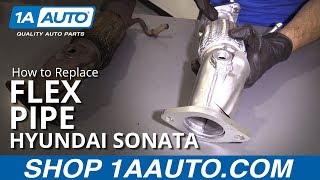
Typical fix: Replace the downstream oxygen sensor. 🎬 Watch: Step-by-step guide to fixing the P0139 code. This requires an O2 sensor socket to remove and install the new part. Penetrating oil is highly recommended as the sensor is often seized in the exhaust pipe.
Est. part cost: $50-$150 - Exhaust Leak 🟡 Medium Probability Exhaust components, particularly flex pipes and gaskets, can develop leaks from rust or stress over time. A leak before the O2 sensor can introduce outside air, which skews the sensor's readings and makes the ECM interpret the signal as a slow response.
How to confirm: Visually inspect the exhaust system from the engine to the downstream O2 sensor for cracks, rust holes, or broken gaskets. A common symptom is a ticking noise when the engine is cold that disappears as the metal expands with heat. A smoke test is the most definitive way to find a small leak.
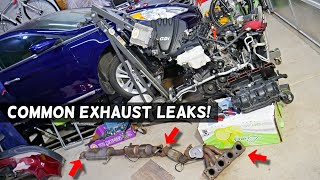
Typical fix: Repair the leak by replacing the damaged section of pipe, gasket, or by welding the crack. 🎬 Watch: How to find and fix common Hyundai exhaust leaks. Many owners report replacing the sensor only to have the code return, with the true cause being a small exhaust leak.
Est. part cost: $20-$300 - Damaged Wiring or Connector ⚪ Low Probability
How to confirm: Visually inspect the wiring harness and connector for the downstream O2 sensor. Look for signs of melting, corrosion, chafing, or broken wires. The harness runs under the car and can be damaged by road debris or contact with the hot exhaust pipe if its securing clips break.
Typical fix: Repair the damaged section of the wiring harness or clean/replace the corroded connector. Apply dielectric grease to the connector to prevent future corrosion.
Est. part cost: $10-$50
Rare But Worth Checking
- Blown Fuse: The oxygen sensor heater circuit is often protected by a fuse. While not a common cause for a 'slow response' code (more common for heater circuit codes like P0141), it's a quick and easy check. In some Hyundai models, this fuse is labeled 'SENSOR 1' in the engine bay fuse box.
- Powertrain Control Module (PCM) Issue: In very rare cases, the PCM itself can have a fault in the circuit that processes the O2 sensor signal, or the software calibration may be overly sensitive. This should only be considered after all other possibilities have been exhaustively ruled out. Checking for available software updates with a dealer can sometimes resolve these issues.
Diagnosis Steps
- Connect an OBD-II scanner and confirm that P0139 is the primary code. Note any other codes present, as misfire (P030x) or lean/rich (P017x) codes should be addressed first.
- Clear the codes and perform a drive cycle to see if the P0139 code returns. This confirms it's a persistent issue.
- Perform a thorough visual and auditory inspection of the exhaust system from the engine manifold to the downstream O2 sensor. Look for black soot stains around flanges and listen for ticking or hissing sounds, especially when the engine is cold.
- Inspect the wiring harness and connector for the downstream O2 sensor (Bank 1, Sensor 2). Check for any signs of melting from contact with the exhaust, corrosion in the connector pins, or physical damage.
- Using a scan tool with live data, monitor the voltage of Bank 1, Sensor 2 while the engine is fully warmed up. A healthy downstream sensor should show a relatively steady voltage (e.g., between 0.6V and 0.8V). A sensor causing P0139 will often appear 'stuck' or react very slowly to sharp throttle inputs.
- If an exhaust leak or wiring damage is found, repair it first, clear codes, and re-test. If no other issues are apparent, the oxygen sensor itself is the most likely cause and should be replaced.
Parts You'll Likely Need
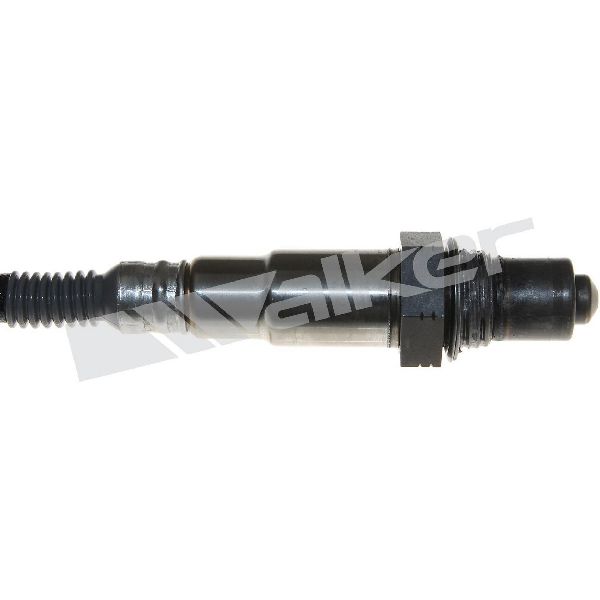
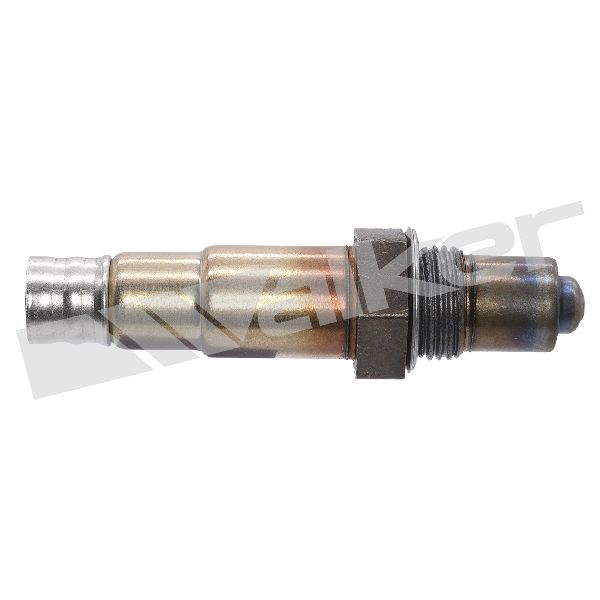
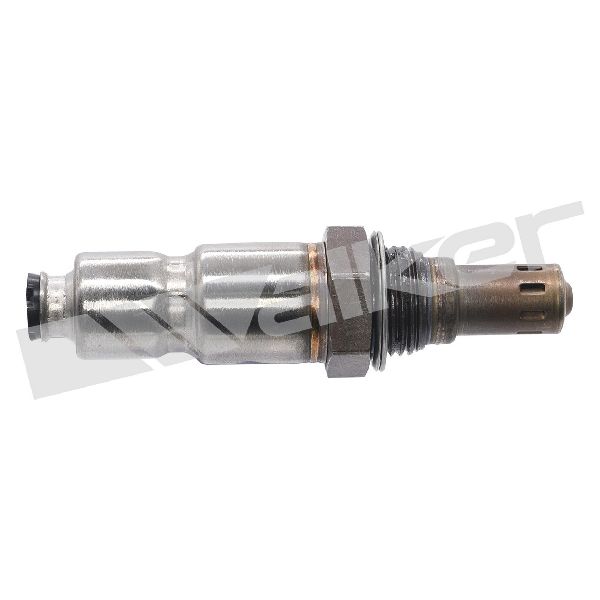
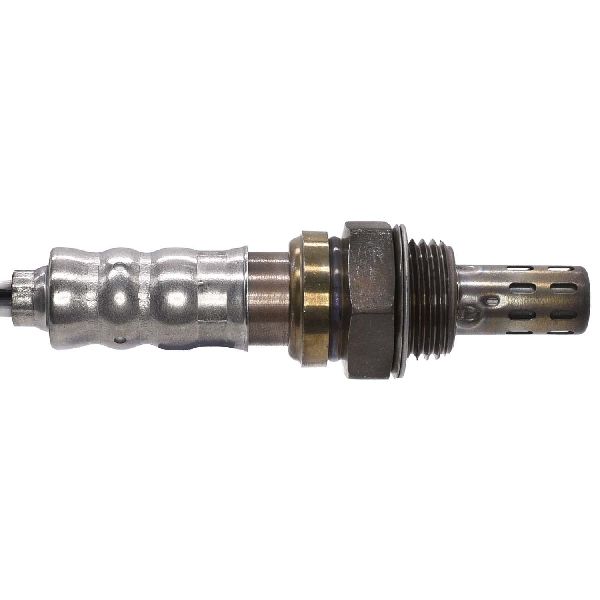
- Downstream Oxygen Sensor (Bank 1, Sensor 2)
(OEM #39210-2GBA0)— This is the most common cause of P0139, as the sensor's chemical reactivity degrades over time, causing a slow response.
Trusted brands: Denso, NTK, Bosch
OEM price range: $180-$260
Aftermarket price range: $50-$120
Technical Service Bulletins (TSBs) & Recalls
- TSB #23-01-010H: While for the 2.0L Turbo engine, this TSB shows that Hyundai has issued ECM updates to revise logic related to O2 sensor aging. This establishes a precedent that software adjustments for sensor performance are a possibility, though none are specifically listed for P0139 on the 2.4L.
Platform-Specific Known Issues
- Real-World Story: Misdiagnosed Exhaust Leak: A user on a Hyundai forum reported getting a P0139 code on their Sonata. They replaced the downstream O2 sensor, but the check engine light returned the next day with the same code. A second, more thorough diagnosis revealed a small crack in the exhaust flex pipe just before the sensor. Repairing the flex pipe permanently resolved the code, highlighting the importance of checking for leaks before replacing parts.
Mechanic-Grade Diagnostic Values
- O2 Sensor Heater Element Resistance — expected: 2.0 to 30.0 Ohms at 70°F (21°C). Failure: A reading of OL (open) or near zero (shorted) indicates a failed heater element inside the sensor.
- Downstream O2 Sensor (B1S2) Voltage during Deceleration Fuel Cut-Off — expected: Voltage should drop below 0.2 volts.. Failure: If the voltage fails to drop below 0.2 volts for 7 seconds or more during deceleration, the PCM will flag the sensor as slow.
- O2 Sensor Circuit Resistance (End-to-End) — expected: Below 5.0 Ohms. Failure: Values above 5.0 Ohms when measuring from the sensor connector pin to the corresponding PCM pin suggest high resistance from corrosion or a damaged wire.
Scan Tool Commands That Help
- Hyundai GDS: Data Analysis / Current Data Recording — While not a bidirectional command, the factory GDS tool should be used to record and graph the B1S2 voltage during a drive cycle, specifically capturing data during deceleration events to verify if the voltage drop meets the required time threshold.
Wiring & Ground Locations
- Engine Ground Strap (Transmission) — A large ground cable that runs from the top of the transmission case to a point on the chassis underneath the battery tray.. A poor main engine/transmission ground can cause erratic sensor readings and introduce electrical noise, potentially affecting the O2 sensor's signal back to the ECU.
- ECU Ground — The ECU/PCM has a ground cable that connects to the frame rail in the engine bay.. The O2 sensor's signal is interpreted relative to the ECU's ground reference. A faulty ECU ground can cause a floating or incorrect reference voltage, leading to misinterpretation of the sensor's signal.
- SENSOR 1 Fuse — Located in the under-hood fuse box, typically a 15A fuse.. This fuse powers the heater circuit for the oxygen sensors. While a failure usually sets a heater circuit code (P0141), a flickering or intermittent connection at the fuse block could potentially affect sensor performance.
- Downstream O2 Sensor Connector (C245) — Under the vehicle, attached to the downstream oxygen sensor located after the catalytic converter.. This is the primary point for testing voltage, ground, and heater circuits. The connector for the OEM part 39210-2GBA0 is a 4-pin connector. Pin assignments can be confirmed with a factory wiring diagram, but typically include Signal, Sensor Ground, Heater Power, and Heater Control.
OEM Part Supersession History
39210-2GBA0→N/A— Some vendors list this part as 'Obsolete', which may indicate it has been replaced by a newer revision, but a definitive superseding part number is not consistently provided by Hyundai parts catalogs.
Heads up: Always verify the part number with a Hyundai dealer using your vehicle's VIN before purchasing, as there may be unlisted running changes.
Model Year Variations Within This Range
- 2015-2019: The 2018 model year received a significant facelift. However, for the 2.4L GDI engine, the core powertrain components, including the engine itself, 6-speed automatic transmission, and exhaust system layout, remained consistent. Therefore, the causes and diagnostic procedures for P0139 are not expected to differ between pre-facelift (2015-2017) and post-facelift (2018-2019) models with this engine.
Diagnostic Flowchart
Other Known Issues on This Vehicle
Issues unrelated to this code that are worth knowing about as an owner of this generation:
- Theta II Engine Seizure/Failure 🔴 High — Widespread issue affecting millions of 2011-2019 vehicles with 2.0L and 2.4L GDI engines. Often presents as a knocking noise, followed by stalling or complete engine seizure. (Ref: Multiple recalls (e.g., NHTSA #15V568000, #17V226000) and a major class-action lawsuit settlement led to lifetime warranties and a Knock Sensor Detection System (KSDS) software update (Campaign 953/TSB 18-01-035) intended to detect bearing wear and prevent catastrophic failure by putting the car in limp mode (P1326).)
- Excessive Oil Consumption 🟠 Medium — Common complaint among owners of the 2.4L GDI engine, with some reporting consumption of over a quart of oil in 1,000 miles. This can lead to low oil levels and contribute to accelerated engine wear. (Ref: No specific recall, but often related to the underlying issues of the Theta II engine failures. Dealers may perform oil consumption tests.)
- Timing Chain Tensioner Noise 🟡 Low — Owners report a rattling or chattering noise from the passenger side of the engine for the first few seconds on a cold start. This is often attributed to the timing chain tensioner.
- High-Pressure Fuel Pump (GDI Pump) Failure 🟠 Medium — The GDI pump is known to be noisy (a characteristic ticking sound), but can also fail, leading to drivability problems, stalling, and check engine lights.
- Variable Charge Motion Actuator (VCMA) Failure 🟡 Low — Plastic gears inside the VCMA on the intake manifold can strip due to carbon buildup, causing a check engine light. It usually doesn't cause major drivability issues but is a known failure point.
Used vs. New Parts: Buying Guide for This Vehicle
When a used part is the smart pick: A used part is a reasonable choice for a wiring harness connector pigtail or a section of the exhaust pipe, provided they are in good condition. For the sensor itself, new is strongly recommended.
Donor-vehicle mileage cap: roughly under 30000 miles for the part to have meaningful remaining life.
What to inspect on the donor part:
- For wiring connectors: Check for non-brittle plastic, absence of corrosion on pins, and intact locking tabs.
- For exhaust components: Inspect for minimal rust, no visible cracks (especially at welds and flex joints), and flat, un-warped flanges.
- For a used O2 sensor (not recommended): Ensure the wiring is not frayed or melted and the sensor tip is free of heavy carbon or white ash deposits.
OEM-only on this vehicle (don't cheap out):
- Catalytic Converter: Aftermarket converters for this platform are known to have insufficient precious metal loading, which can fail to meet the ECU's efficiency monitoring standards and trigger a P0420 code soon after installation.
Aftermarket brands forum-validated for this vehicle:
- NTK (also known as NGK)
- Denso
- Bosch
Real Owner Stories
Aggregated from forums and TSBs cited above. Mileages and costs reflect what owners reported in those sources.
2015-2019 Hyundai Sonata 2.4L GDI
Symptoms: The check engine light returned only one day after the downstream O2 sensor was replaced.
What fixed it: A thorough diagnosis revealed a small crack in the exhaust flex pipe just before the sensor. Repairing the flex pipe resolved the code.
Source hint: vehicle_specific_issues: Real-World Story: Misdiagnosed Exhaust Leak
2015-2019 Hyundai Sonata 2.4L GDI
Symptoms: P0139 and P2097 codes present; owners discussed the necessity of checking for leaks before part replacement.
What fixed it: Replacing the downstream O2 sensor (part #39210-2GBA0) after ensuring no exhaust leaks were present.
Source hint: hyundai-forums.com thread titled 'P0139 and p2097'
Related OBD-II Codes
Frequently Asked Questions
Does TSB #23-01-010H apply to my 2.4L Sonata for the P0139 code?
What is the specific part number for the downstream oxygen sensor on my Sonata?
I replaced the sensor but P0139 came back. Is there a common mechanical failure on the Sonata exhaust?
Could my Sonata's engine oil consumption issue be related to this code?
Is the P0139 code related to the KSDS software update or the Theta II recall?
Helpful Videos
Used OEM Parts in Stock
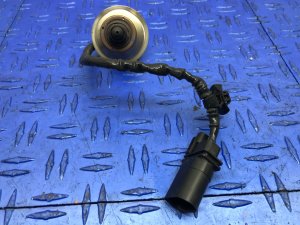
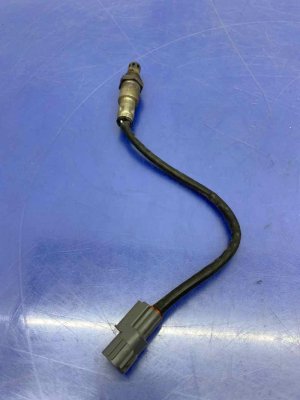
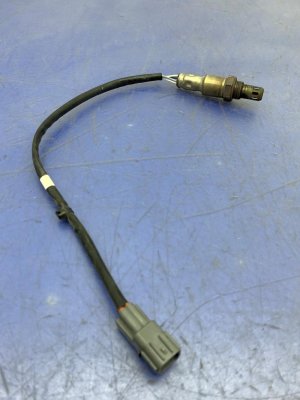
New Aftermarket Parts Available
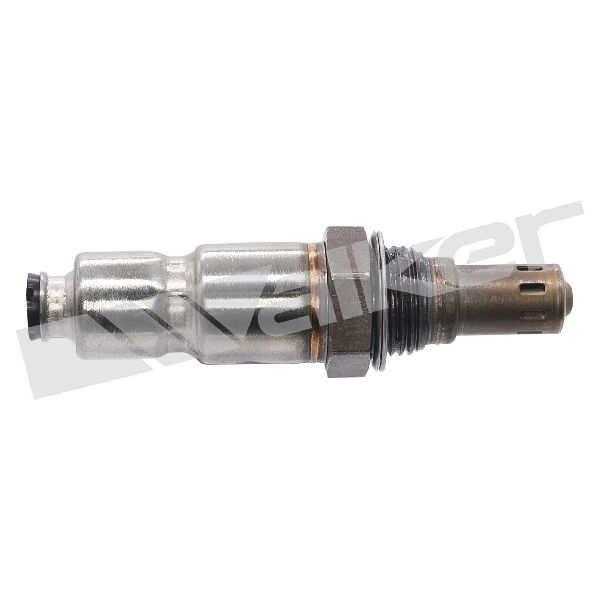

The information in this article is provided for general reference and educational purposes only. Vehicle specifications, procedures, and part compatibility can vary by production date, trim level, and region. Always consult your vehicle's factory service manual and verify part numbers before purchasing or performing repairs. Safety-critical components such as airbags, seat belts, and braking systems should be installed by a qualified professional.
- Hyundai Sonata:
- 🎬 Helpful Videos
- 🛍️ Shop This Part
- What's Unique About the 2015-2019 Hyundai Sonata
- Symptoms You May Notice
- Most Likely Causes
- Rare But Worth Checking
- Diagnosis Steps
- Parts You'll Likely Need
- Technical Service Bulletins (TSBs) & Recalls
- Platform-Specific Known Issues
- Mechanic-Grade Diagnostic Values
- Scan Tool Commands That Help
- Wiring & Ground Locations
- OEM Part Supersession History
- Model Year Variations Within This Range
- Diagnostic Flowchart
- Other Known Issues on This Vehicle
- Used vs. New Parts: Buying Guide for This Vehicle
- Real Owner Stories
- 2015-2019 Hyundai Sonata 2.4L GDI
- 2015-2019 Hyundai Sonata 2.4L GDI
- Related OBD-II Codes
- Frequently Asked Questions
- 🎟️ Get 5% Off