

Audi Q5 P0137 (2009-2017): O2 Sensor Circuit Low Voltage (Bank 1, Sensor 2) Causes and Fixes
P0137 on a 2009-2017 Audi Q5 almost always means the downstream oxygen sensor (Bank 1, Sensor 2) has failed due to age or contamination. An exhaust leak before the sensor is the second most likely cause. Expect to pay $70-$150 for a quality aftermarket sensor (Bosch/NTK) and $150-$250 for an OEM part. Before replacing, inspect wiring and check for exhaust leaks.
- P0137 on your Audi Q5 points to a problem with the downstream oxygen sensor on Bank 1.
- The most likely fix is replacing the sensor itself, which is a manageable DIY job for those with basic tools, including a special O2 sensor socket.
- Before buying a new sensor, always perform a quick visual inspection of the wiring and the exhaust system for obvious damage or leaks.
What's Unique About the 2009-2017 Audi Q5
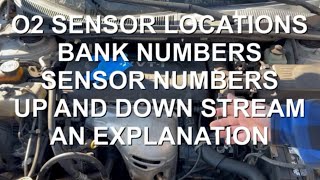
For the first-generation Audi Q5 (Typ 8R), this code is a straightforward diagnostic task. On the common 2.0T four-cylinder engine (engine codes CAEB, CPMA), there is only one exhaust bank. On the V6 engines (3.2L CALB and 3.0T CCBA/CTUC), 'Bank 1' refers to the passenger side of the engine 🎬 Watch: A quick guide to O2 sensor banks and locations in North American (LHD) markets. The downstream sensor is located under the vehicle, so while replacement is not complex, it does require safely lifting the car. There are no widespread, unique platform flaws that cause this code; it's typically due to normal component aging. The most common failure is the sensor itself.
Symptoms You May Notice
- Check Engine Light is on
- Failing an emissions test
- Slightly decreased fuel economy (uncommon)
- Rough or unstable idle (rare)
- Slightly rotten egg smell from exhaust (very rare, indicates catalyst issue)
- Replacing the upstream (Sensor 1) oxygen sensor instead of the downstream (Sensor 2) sensor.
- Replacing the oxygen sensor without first checking for exhaust leaks, which can cause the new sensor to read incorrectly as well.
- Replacing the oxygen sensor when the true fault is in the wiring or connector.
Most Likely Causes
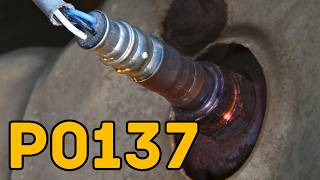
- Failed Downstream Oxygen Sensor (Bank 1, Sensor 2) 🔴 High Probability Oxygen sensors are wear items that operate in a harsh exhaust environment. Over time, contamination from carbon, soot, and other chemicals, along with constant heat cycling, causes them to fail or become slow to respond. The internal heating element can also fail, which is a common failure mode preventing the sensor from reaching operating temperature. 🎬 See this breakdown of what causes low O2 sensor voltage
How to confirm: After confirming no exhaust leaks or wiring issues, use a scan tool to monitor the live voltage of Bank 1 Sensor 2. With the engine fully warm, the voltage should be relatively stable, typically between 0.5V and 0.8V. If the voltage is stuck below 0.2V and does not respond to changes in engine RPM, the sensor is very likely bad.
Typical fix: Replace the Bank 1, Sensor 2 oxygen sensor. An offset 22mm (7/8") oxygen sensor socket and penetrating oil for the threads are highly recommended.
Est. part cost: $70-$250 - Exhaust Leak 🟡 Medium Probability Exhaust components, particularly flex pipes and gasket joints, can develop leaks due to corrosion and vibration. A leak located before the downstream O2 sensor allows outside air (oxygen) into the exhaust stream, causing the sensor to read a false lean (low voltage) condition.
How to confirm: Visually inspect the exhaust system from the engine to the sensor for cracks or black soot marks, especially around flanges and the flex pipe. Listen for ticking or hissing sounds that are more pronounced when the engine is cold. A smoke machine test is the most effective way to find small, hard-to-see leaks.
Typical fix: Repair the leak by replacing the faulty gasket, flex pipe, or section of exhaust. Sealing small leaks with high-temperature exhaust putty can be a temporary fix.
Est. part cost: $10-$500 - Damaged Wiring or Connector ⚪ Low Probability The wiring harness for the downstream sensor runs underneath the vehicle, exposing it to road debris, moisture, and heat. Wires can become chafed, brittle, or melt if they contact the hot exhaust, leading to a short to ground or an open circuit.
How to confirm: Visually inspect the entire wiring harness from the sensor to where it enters the cabin. Check the connector for corrosion, bent/broken pins, or melted plastic. Use a multimeter to check for continuity on the signal wire and verify proper voltage and ground at the connector with the key on.
Typical fix: Repair the damaged section of wire using solder and heat shrink or replace the connector pigtail. Ensure the repaired harness is secured away from heat sources and moving parts.
Est. part cost: $15-$50
Rare But Worth Checking
- Engine Running Lean: If the engine is running lean (too much air, not enough fuel) for another reason, like a vacuum leak or fuel delivery problem, it can cause the P0137 code. However, this condition will almost always be accompanied by other trouble codes (like P0171 'System Too Lean' or P2096 'Post Catalyst Fuel Trim System Too Lean').
- Failing Catalytic Converter: While a bad catalytic converter can cause O2 sensor codes, it's more likely to trigger a P0420 (Catalyst System Efficiency Below Threshold) code. A P0137 is more often the cause, not the effect, of catalyst issues.
- Engine Control Module (ECM) Fault: This is extremely rare. The ECM itself could be failing to read the sensor correctly, but all other possibilities (sensor, wiring, exhaust leaks) should be exhaustively ruled out before considering ECM replacement.
Diagnosis Steps
- Connect an OBD-II scanner to verify the P0137 code and check for any other stored codes. Note the freeze frame data to see the engine conditions when the fault was set.
- Perform a thorough visual inspection of the exhaust system from the engine back to Bank 1, Sensor 2. Look for any signs of leaks, such as black soot stains, cracks, or holes, especially at flanges and the flex pipe.
- Inspect the O2 sensor's wiring harness and connector. Look for any signs of melting, chafing, corrosion, or loose connections. Ensure the harness is properly secured and not touching the exhaust pipe.
- Use the live data function on your scanner to observe the voltage from Bank 1, Sensor 2. With the engine warm and at a steady 2500 RPM, a healthy downstream sensor should show a relatively stable voltage, typically between 0.5V and 0.8V. If the voltage is stuck below 0.2V, it confirms the low voltage condition.
- If an exhaust leak is suspected, perform a smoke test to pinpoint its location. This is the most reliable method for finding small leaks.
- If the wiring is intact and there are no exhaust leaks, the oxygen sensor itself is the most likely cause of the problem and should be replaced.
- After replacement, clear the codes and perform a drive cycle to ensure the fix was successful and the check engine light does not return.
Parts You'll Likely Need
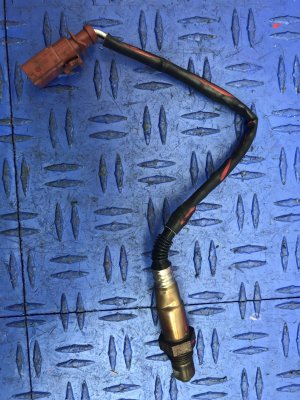
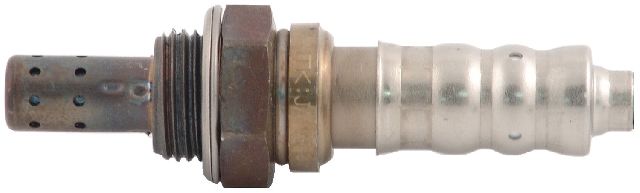
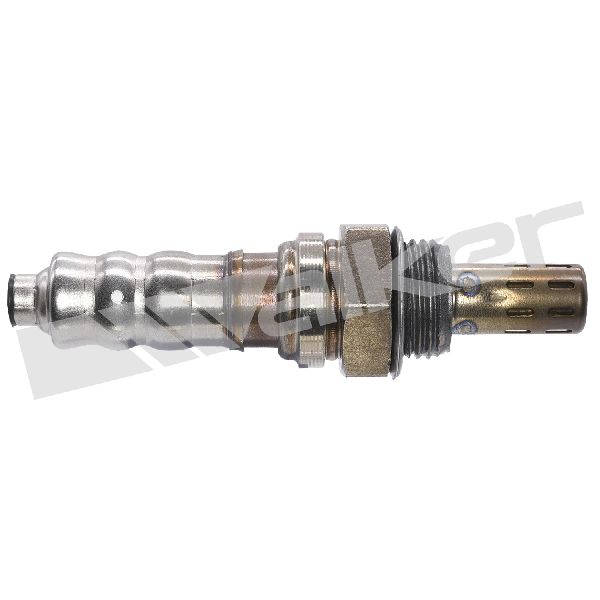
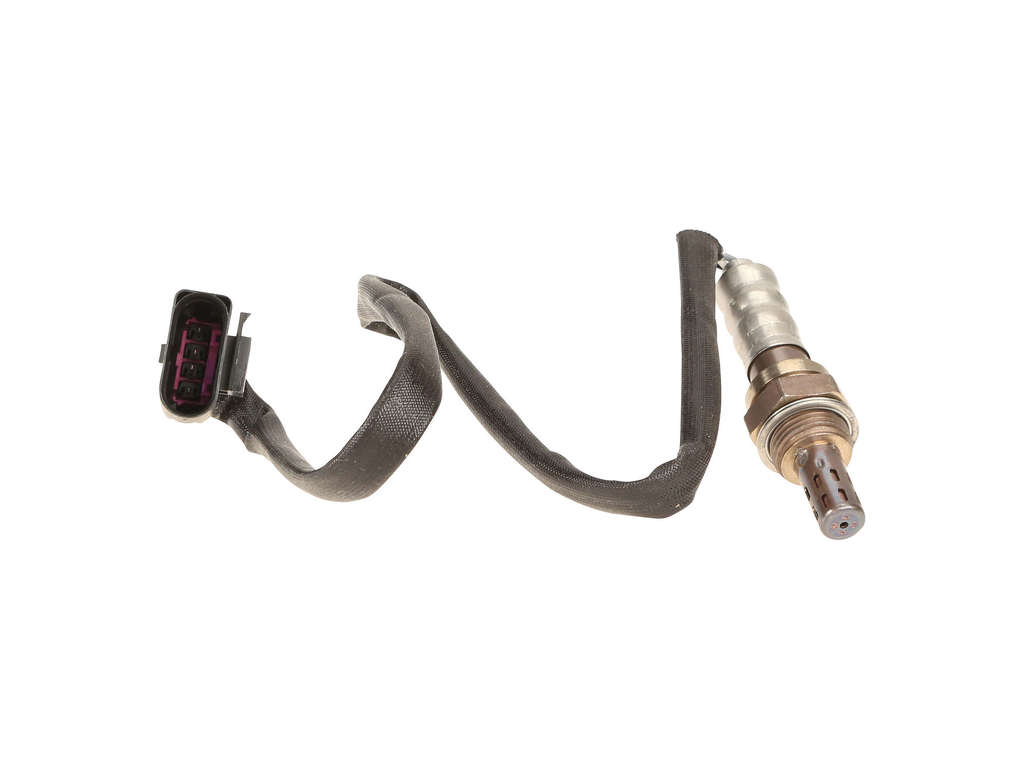
- Downstream Oxygen Sensor (Bank 1, Sensor 2)
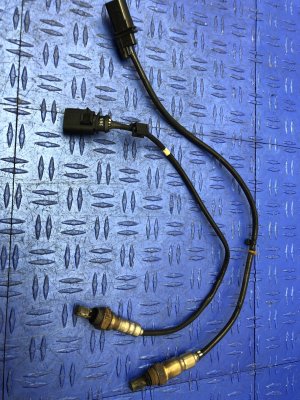
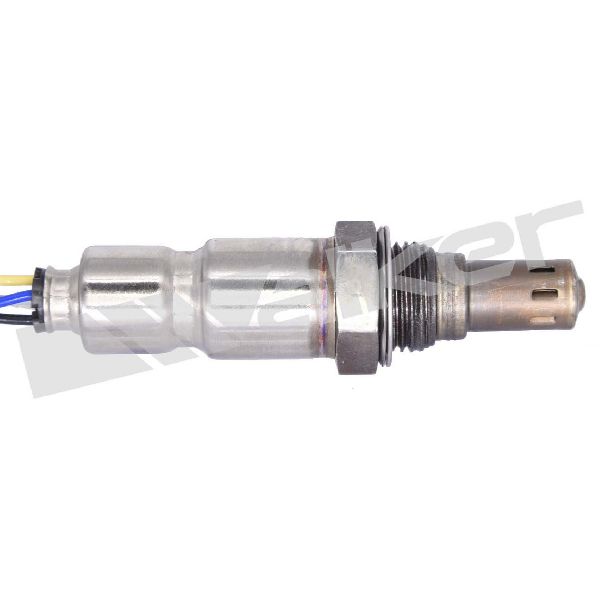
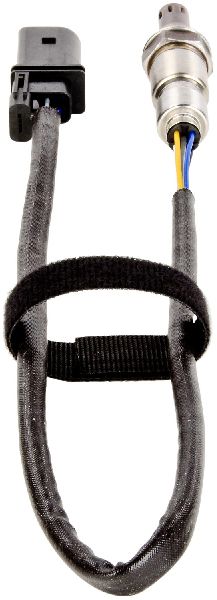
(OEM #Varies by engine. For 3.0T/3.2L V6, a common number is 06E906265Q. For 2.0T, 1K0998262T is a possibility. Always verify with VIN.)— This sensor is the most common point of failure for a P0137 code due to age and exposure to harsh exhaust conditions.
Trusted brands: Bosch, NGK/NTK, Denso
OEM price range: $150-$250
Aftermarket price range: $70-$150
Related Codes That Often Appear With This One
- P0136 — P0136 indicates a general malfunction in the same O2 sensor circuit (Bank 1, Sensor 2), and the two codes can appear together if the sensor is failing intermittently or has multiple fault conditions.
- P0420 — If the O2 sensor has been faulty for a long time, it may lead to inefficient catalytic converter operation, eventually triggering the P0420 catalyst efficiency code. Conversely, a failing catalyst can sometimes cause erratic O2 sensor readings.
- P2096 — This code, 'Post Catalyst Fuel Trim System Too Lean Bank 1', is a direct companion to P0137. P0137 indicates the low voltage signal, and P2096 indicates the system's attempt to correct for that lean reading has reached its limit.
Platform-Specific Known Issues
- Access and Removal: The downstream sensor is located under the car, so safe access via ramps or jack stands is required. The sensor can be very tight in the exhaust pipe due to rust and heat cycles. Soaking the threads with a quality penetrating oil (like PB Blaster) for several hours or overnight before attempting removal is highly recommended. A 22mm (7/8") offset oxygen sensor socket is essential for leverage. 🎬 Watch: A step-by-step walkthrough on how to replace the sensor
- V6 vs 4-Cylinder Location: On 2.0T models, the sensor is on the single downpipe after the catalytic converter. On 3.2L and 3.0T V6 models, Bank 1 is the passenger side (for LHD cars), and the sensor is located in the corresponding exhaust pipe after the primary catalytic converter.
Mechanic-Grade Diagnostic Values
- O2 Sensor Heater Element Resistance — expected: 2.0 to 16 Ohms when measured across the two heater pins on the sensor connector with a multimeter.. Failure: A reading of over 20 Ohms, or an open circuit (infinite resistance), indicates a failed heater element requiring sensor replacement.
- VCDS Calculated O2 Sensor Heater Resistance — expected: Should drop to below 0.5 kOhms (500 Ohms) within a few minutes of the engine running.. Failure: A persistently high resistance value (e.g., > 1.0 kOhm) shown in VCDS measuring blocks can indicate a slow or failing heater, even if it hasn't failed completely.
- Wiring Harness Resistance (Sensor Connector to ECM) — expected: Less than 1.5 Ohms.. Failure: Resistance greater than 1.5 Ohms points to corrosion or a damaged wire in the harness, not a faulty sensor.
Scan Tool Commands That Help
- VCDS (VAG-COM) or ODIS: Basic Settings > "Automatic test sequence" (e.g., IDE00553) or "B200 Readiness Code". — After replacing the O2 sensor or repairing a leak, this function forces the vehicle to run the necessary internal tests to set the emissions readiness monitors for the O2 sensor and catalyst. This allows a technician to verify the repair is successful without needing to perform a lengthy, specific drive cycle.
Wiring & Ground Locations
- G130 (Bank 1, Sensor 2) — The sensor itself is located after the catalytic converter on the passenger side (LHD models) for V6 engines, or on the single downpipe for 4-cylinder engines. The electrical connector is typically a 4-pin or 6-pin connector located further up on the chassis or firewall.. This is the component and connector at the center of the P0137 fault. Physical damage or corrosion at the connector is a common cause.
- Sensor Heater Circuit Pins — On the sensor-side of the electrical connector, pins 1 and 2 are typically for the internal heating element.. These are the specific pins to test with a multimeter for heater resistance. A failure here confirms the sensor is bad.
- Ground Connection Point (e.g., 12, 671) — Key engine grounds are located in the engine compartment, such as on the left side suspension strut tower or on the left front long member behind the wheel well liner.. A poor engine or chassis ground can cause floating voltages and incorrect readings across multiple sensors, including the O2 sensor. Verifying these grounds are clean and tight is a crucial step if direct wiring checks don't reveal a fault.
- J623 (Engine Control Module) — Located in the plenum chamber (under the plastic cowling at the base of the windshield).. All sensor wiring terminates here. In rare cases of water ingress into the plenum or an ECM fault, this is the final diagnostic location.
OEM Part Supersession History
Varies, but a common PN for V6 models is 06E906265Q→This part number appears to be the current revision for many 3.0T/3.2L applications.— Standard part evolution for reliability or manufacturing changes.
Heads up: Always verify the part number with the vehicle's VIN. While many sensors look identical, differences in heater resistance or calibration can cause persistent codes if the wrong part is installed. Using a direct-fit sensor from a reputable OEM supplier like Bosch or NTK is critical.
Diagnostic Flowchart
Other Known Issues on This Vehicle
Issues unrelated to this code that are worth knowing about as an owner of this generation:
- 2.0T (CAEB) Excessive Oil Consumption 🔴 High — Very common on 2009-2012 models. Caused by faulty piston rings. Often requires new pistons/rings to fix. A class-action lawsuit addressed this. (Ref: TSB 2027731/5 (and others) were issued to address diagnosis and repair steps, including a new crankcase pressure valve and eventually piston replacement.)
- 2.0T Timing Chain Tensioner Failure 🔴 High — Common on pre-2013 models with the original tensioner design. Failure can occur with little warning, often starting as a brief rattle on cold starts, and can lead to catastrophic engine damage. (Ref: No recall, but it is a widely known failure. An updated tensioner part is available and recommended as a preventative replacement.)
- 3.0T Water Pump & Thermostat Failure 🟠 Medium — A known weak spot, especially on earlier (pre-2013) 3.0T engines. The plastic components can warp or crack, leading to coolant leaks and potential overheating. (Ref: No recall, but updated parts with improved materials were used in later model years.)
- Direct Injection (FSI/TFSI) Carbon Buildup 🟠 Medium — Affects all direct-injection engines (2.0T, 3.2L, 3.0T) over time, typically becoming noticeable after 50,000-80,000 miles. Causes rough idle, hesitation, and loss of power. (Ref: No recall. Requires manual cleaning of the intake valves (e.g., walnut blasting) as a maintenance item.)
Used vs. New Parts: Buying Guide for This Vehicle
When a used part is the smart pick: For this specific repair, a used part is almost never a smart choice. The oxygen sensor is a wear-and-tear component with a finite lifespan. The labor to install it is significant enough that saving a small amount on a used part with unknown remaining life is poor economy.
What to inspect on the donor part:
- Not applicable, as used sensors are not recommended.
OEM-only on this vehicle (don't cheap out):
- Catalytic Converter: If diagnosis leads to a failed catalytic converter (which typically sets a P0420 code), using an OEM part is highly recommended. Aftermarket converters on modern European vehicles often struggle to meet the strict efficiency monitoring of the factory ECU, leading to recurring codes.
Aftermarket brands forum-validated for this vehicle:
- Bosch: Often the original equipment manufacturer for Audi.
- NGK / NTK: A highly reputable OEM supplier for oxygen sensors.
Brands owners have reported issues with on this vehicle:
- Universal Sensors: Avoid sensors that do not have a vehicle-specific connector and require you to splice wires. The connection is a potential failure point and may not have the correct resistance for the vehicle's wiring.
Real Owner Stories
Aggregated from forums and TSBs cited above. Mileages and costs reflect what owners reported in those sources.
Audi Q5 (8R)
Symptoms: Check engine light with code P0137.
What fixed it: The owner followed official Audi procedures for replacing the O2 sensors to resolve the fault.
Source hint: AudiWorld Forums - 'O2 sensor code P0137' (https://www.audiworld.com/forums/q5-sq5-mki-8r-discussion-129/o2-sensor-code-p0137-2991199/)
Related OBD-II Codes
Frequently Asked Questions
Where is the Bank 1 Sensor 2 oxygen sensor located on my 2.0T Audi Q5?
I have a 3.0T V6 Audi Q5; which side is Bank 1 for the P0137 code?
Could the excessive oil consumption issue on my 2011 Audi Q5 be related to the P0137 code?
Is there a specific tool I need to replace the sensor on my Q5?
Does TSB 2027731/5 address the P0137 oxygen sensor code?
Can a leak in my flex pipe cause a P0137 low voltage code?
Helpful Videos
![How to Fix P0137 Engine Code in 4 Minutes [3 DIY Methods / Only $9.42]](https://img.youtube.com/vi/D7iaXnsbzWQ/mqdefault.jpg)
Used OEM Parts in Stock

New Aftermarket Parts Available

The information in this article is provided for general reference and educational purposes only. Vehicle specifications, procedures, and part compatibility can vary by production date, trim level, and region. Always consult your vehicle's factory service manual and verify part numbers before purchasing or performing repairs. Safety-critical components such as airbags, seat belts, and braking systems should be installed by a qualified professional.
- Audi Q5:
- 🎬 Helpful Videos
- 🛍️ Shop This Part
- What's Unique About the 2009-2017 Audi Q5
- Symptoms You May Notice
- Most Likely Causes
- Rare But Worth Checking
- Diagnosis Steps
- Parts You'll Likely Need
- Related Codes That Often Appear With This One
- Platform-Specific Known Issues
- Mechanic-Grade Diagnostic Values
- Scan Tool Commands That Help
- Wiring & Ground Locations
- OEM Part Supersession History
- Diagnostic Flowchart
- Other Known Issues on This Vehicle
- Used vs. New Parts: Buying Guide for This Vehicle
- Real Owner Stories
- Audi Q5 (8R)
- Related OBD-II Codes
- Frequently Asked Questions
- 🎟️ Get 5% Off