

P0134 on 2018-2023 Kia Stinger 2.0T: Causes and Fixes for O2 Sensor Inactivity
P0134 on a Kia Stinger 2.0T almost always means the upstream oxygen sensor (Bank 1, Sensor 1) has failed. This sensor is a critical wear-and-tear item. Replacing it is the most common fix. Before replacing, it's wise to check the related fuse and wiring. Expect to pay around $85 for an aftermarket sensor and $245 for an OEM part.
- P0134 means the primary (upstream) oxygen sensor on your Stinger 2.0T is not sending a signal.
- The most likely cause is a failed oxygen sensor, which is a standard wear-and-tear part.
- Before replacing the sensor, always check its fuse and inspect the wiring for any visible damage.
- Driving with this code will hurt your fuel economy and can eventually damage your expensive catalytic converter.
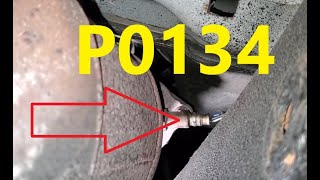
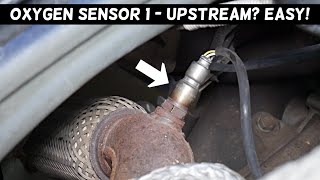
- The correct part to replace is the upstream sensor, located on the exhaust manifold before the catalytic converter, OEM part number 39210-2CTA0.
What's Unique About the 2018-2023 Kia Stinger
For the Kia Stinger with the 2.0L T-GDi engine, this code is a straightforward diagnostic. The Theta II is a common engine in the Hyundai/Kia family, and its emissions components are well-understood. The platform is shared with the Genesis G70 2.0T, which exhibits identical issues and uses the same parts. There are no unique design flaws that make the Stinger particularly prone to this code, but like any modern vehicle, the oxygen sensors have a finite lifespan and are a common replacement item.
Symptoms You May Notice
- Check Engine Light is on
- Reduced fuel economy
- Rough or unstable idle
- Engine hesitation or loss of power
- Failing an emissions test
- In some cases, drive modes may become unavailable when the check engine light is active.
- Replacing the downstream (Sensor 2) oxygen sensor instead of the upstream (Sensor 1) sensor.
- Replacing the catalytic converter when the issue is an upstream sensor.
- Overlooking a simple blown fuse or damaged wire before buying a new sensor.
Most Likely Causes
- Failed Upstream Oxygen Sensor (Bank 1, Sensor 1) 🔴 High Probability Oxygen sensors are wear-and-tear items that degrade over time due to extreme heat and exhaust contaminants. The internal heating element can also fail, which prevents the sensor from reaching operating temperature and sending a signal, a common trigger for P0134.
How to confirm: Use an OBD-II scanner with live data to monitor the 'O2S B1S1' voltage. A healthy sensor's voltage should fluctuate rapidly between approximately 0.1V and 0.9V after warm-up. If the voltage is stuck (e.g., at 0.45V) or shows no reading, the sensor has likely failed.
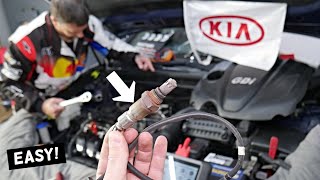
Typical fix: Replace the Bank 1, Sensor 1 oxygen sensor. This sensor is located on the exhaust manifold before the catalytic converter. A special tool, a 22mm or 7/8" oxygen sensor socket, is often required for removal and installation.
Est. part cost: $85-$250 - Damaged Wiring or Loose Connector 🟡 Medium Probability The sensor's wiring harness is close to hot exhaust components and can become brittle, melted, or corroded over time, leading to a poor or open connection. This can interrupt the signal, heater power, or ground.
How to confirm: Visually inspect the wiring harness and connector leading to the oxygen sensor for any signs of melting, fraying, or corrosion. Check for a secure connection. Use a multimeter to check for continuity between the sensor connector and the PCM connector, and verify power and ground to the heater circuit at the connector with the key on.
Typical fix: Repair the damaged section of the wiring harness or clean/replace the connector. Secure the harness away from hot exhaust pipes.
Est. part cost: $5-$50 - Blown Fuse for O2 Sensor Heater Circuit ⚪ Low Probability The oxygen sensor has an internal heater to bring it to operating temperature quickly. This heater circuit is protected by a fuse. If the fuse blows, the sensor may not warm up properly and will fail to produce a signal.
How to confirm: Locate the fuse box in the engine compartment. For the 2.0L T-GDi Stinger, check the 15A fuse labeled 'SENSOR 1'. A visual inspection or a multimeter can confirm if the fuse is blown.
Typical fix: Replace the blown fuse. If the fuse blows again, it indicates a short circuit in the heater wiring or the sensor's internal heater element that needs to be diagnosed.
Est. part cost: $1-$5
Rare But Worth Checking
- Exhaust Leak: A significant exhaust leak between the cylinder head and the upstream O2 sensor can introduce fresh air, causing the sensor to send an inaccurate signal. While more likely to cause a lean code like P0171 or P0174, a major leak could potentially disrupt sensor readings enough to be interpreted as inactivity. Check for audible leaks or black soot marks around the exhaust manifold gasket.
- Faulty Powertrain Control Module (PCM): This is extremely rare. The PCM's internal driver for the O2 sensor circuit can fail. Before condemning the PCM, all other possibilities, including the sensor itself and all related wiring and fuses, must be exhaustively ruled out.
Diagnosis Steps
- Read the code: Use an OBD-II scanner to confirm P0134 is the active code and check for any other related codes.
- Inspect the Fuse: Check the 15A 'SENSOR 1' fuse in the engine bay fuse box. Replace if blown.
- Visual Inspection: Carefully inspect the Bank 1 Sensor 1 oxygen sensor's wiring harness and connector for any signs of damage, melting, or corrosion. Ensure the connector is securely plugged in.
- Analyze Live Data: Use a scanner to view live data for 'O2S B1S1'. Start the engine and let it warm up. The voltage should fluctuate rapidly between ~0.1V and ~0.9V. If it remains static (e.g., stuck at 0.45V) or shows no reading, the sensor or its circuit is faulty.
- Test the Circuit: If the sensor appears inactive, disconnect it. With the key on and engine off, check for 12V power and a good ground at the connector for the heater circuit. Check for continuity on the signal wires running back to the PCM. This will differentiate a bad sensor from a wiring problem.
- Check for Exhaust Leaks: With the engine running, listen and feel for any hissing or ticking sounds from the exhaust manifold area that would indicate a leak before the sensor.
- Replace the Sensor: If the wiring, fuse, and engine operation are confirmed to be good, the oxygen sensor itself is the culprit. Replace it using a 22mm or 7/8" O2 sensor socket.
Parts You'll Likely Need
- Upstream Oxygen Sensor (Bank 1, Sensor 1)
(OEM #39210-2CTA0)— This is the primary sensor responsible for the signal that triggers P0134. It is a common wear item and the most frequent cause of the code.
Trusted brands: Kia (OEM), NGK/NTK, Bosch, Denso
OEM price range: $240-$260
Aftermarket price range: $85-$150
Related Codes That Often Appear With This One
- P0135 — P0135 indicates a fault in the heater circuit for the same O2 sensor (Bank 1, Sensor 1). If the heater fails, the sensor may not reach operating temperature, which can directly lead to the P0134 'no activity' code.
- P0300-P0304 — If the engine is running excessively rich or lean due to the faulty O2 sensor data, it can lead to cylinder misfires as the PCM struggles to maintain the correct fuel mixture.
- P0171 — A failing O2 sensor might initially become slow or biased (reading lean) before it fails completely, potentially setting a P0171 (System Too Lean Bank 1) code before the P0134 code appears.
Platform-Specific Known Issues
- Fuse Location: The fuse for the upstream O2 sensor on the 2.0T engine is located in the engine compartment fuse box and is typically a 15A fuse labeled 'SENSOR 1'.
Mechanic-Grade Diagnostic Values
- Upstream O2 Sensor (B1S1) Heater Circuit Resistance — expected: 2.5 - 4.0 Ω at 20°C (68°F). Failure: A reading of infinite resistance (open circuit) or zero resistance (short circuit) indicates a failed heater element within the sensor.
Scan Tool Commands That Help
- Kia GDS (Global Diagnostic System): Special Function -> Resetting adaptive values — This function should be used after replacing the oxygen sensor. The PCM learns and adapts to the behavior of the old, failing sensor. Resetting the adaptive values erases this learned data, forcing the PCM to relearn fuel trims from a baseline using the new sensor's accurate readings, which can prevent lingering performance issues.
Wiring & Ground Locations
- Main Engine Bay Ground — A bolt coming off the passenger side inner fender structure, near the fuse box.. A poor engine or chassis ground can cause floating voltages and erratic sensor readings. While checking the sensor's dedicated ground wire is primary, verifying this main ground point is tight and corrosion-free is a crucial step in diagnosing any electrical issue, including sensor circuit codes.
- B1S1 Signal Wire — In the wiring harness connector for the upstream oxygen sensor.. For the 2.0T engine, the signal wire is reported to be black and located at position #2 of the connector. This is critical information for technicians performing multimeter tests to check for a valid signal voltage directly from the sensor or testing for continuity back to the PCM.
Diagnostic Flowchart
Other Known Issues on This Vehicle
Issues unrelated to this code that are worth knowing about as an owner of this generation:
- High-Pressure Fuel Pump (HPFP) Failure 🔴 High — Affects 2018-2021 2.0T models, leading to hesitation and loss of power at highway speeds. (Ref: Recall SC281 / NHTSA 23V-653)
- Paint Chipping/Peeling on 'Sunset Yellow' Color 🟡 Low — A factory paint process error on some 2018 models with 'Sunset Yellow' (S7Y) paint can lead to premature chipping. (Ref: Voluntary Service Campaign SC166)
- Connecting Rod Bearing Failure 🔴 High — An infamous issue affecting a wide range of 2011-2019 Hyundai/Kia Theta II engines due to manufacturing debris, potentially leading to engine seizure. While later models like the Stinger are considered less affected, it remains a known concern for the engine family. (Ref: Multiple class-action lawsuits and warranty extensions (e.g., TXXI))
- Fuel Pump Jet Nozzle Blockage 🟠 Medium — A plastic burr from manufacturing could block the nozzle in some 2020-2021 models, causing insufficient fuel supply. (Ref: Recall SC198)
Used vs. New Parts: Buying Guide for This Vehicle
When a used part is the smart pick: A used part is generally not recommended for the oxygen sensor itself, as it is a wear item with a finite lifespan. However, sourcing a used wiring harness connector (pigtail) from a junkyard is a smart choice if the original connector is melted or damaged.
Donor-vehicle mileage cap: roughly under 60000 miles for the part to have meaningful remaining life.
What to inspect on the donor part:
- For a used sensor, ensure the sensor tip is not physically damaged or caked in heavy black soot.
- For a connector/pigtail, inspect for melted plastic, brittle wires, or corroded pins.
- Ask for the donor vehicle's mileage; a sensor from a low-mileage wreck (<30,000 miles) is a much lower risk.
OEM-only on this vehicle (don't cheap out):
- Powertrain Control Module (PCM)
Aftermarket brands forum-validated for this vehicle:
- NTK / NGK
- Bosch
- Denso
Real Owner Stories
Aggregated from forums and TSBs cited above. Mileages and costs reflect what owners reported in those sources.
2018-2023 Kia Stinger 2.0L T-GDi
Symptoms: Check engine light active; noted that O2 sensor circuit had no activity detected.
What fixed it: Checking for recent modifications like aftermarket electronic modules (JB4 tuner) to ensure perfect installation.
Source hint: Kia Stinger Forum (stingerforum.org) thread titled 'Kia OBD-II Error Codes'
2019 Genesis G70 2.0T
Symptoms: P0134 code triggered on the 2.0T platform shared with the Stinger.
What fixed it: Replacement of the upstream O2 sensor using part number 39210-2CTA0.
Source hint: Genesis G70 Forum (genesisg70.com) thread titled 'P0134 code'
Related OBD-II Codes
Frequently Asked Questions
Where is the fuse for the upstream oxygen sensor located on my 2.0T Stinger?
I recently installed a JB4 tuner and now have a P0134 code; could they be related?
Which specific oxygen sensor do I need to replace for a P0134 code on my 2.0L T-GDi?
Will a P0134 code affect my Stinger's drive modes?
Can I use an oxygen sensor from a Hyundai Sonata or Genesis G70 to fix this?
What tool do I need to remove the sensor on the Theta II 2.0L engine?
Helpful Videos
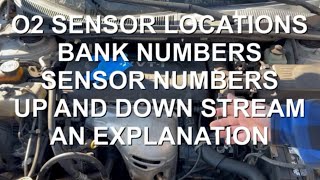
Used OEM Parts in Stock
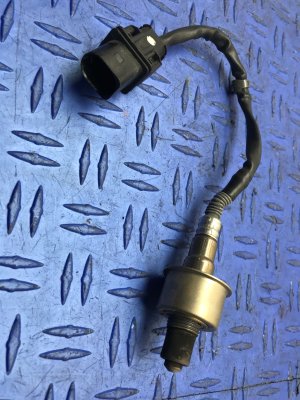
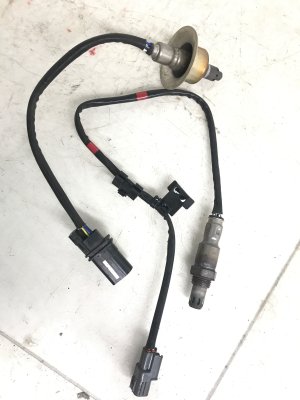
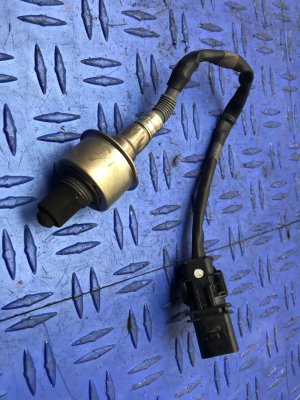
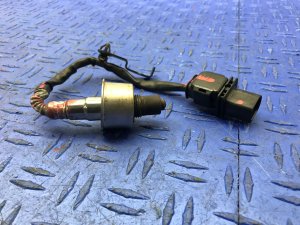
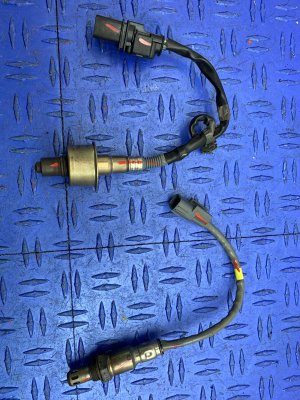
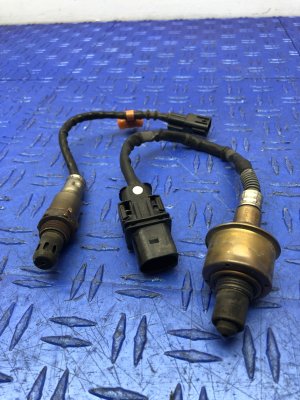
New Aftermarket Parts Available
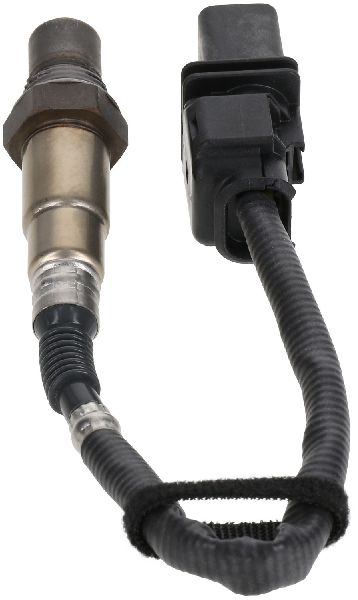

The information in this article is provided for general reference and educational purposes only. Vehicle specifications, procedures, and part compatibility can vary by production date, trim level, and region. Always consult your vehicle's factory service manual and verify part numbers before purchasing or performing repairs. Safety-critical components such as airbags, seat belts, and braking systems should be installed by a qualified professional.
- Kia Stinger:
- 🎬 Helpful Videos
- 🛍️ Shop This Part
- What's Unique About the 2018-2023 Kia Stinger
- Symptoms You May Notice
- Most Likely Causes
- Rare But Worth Checking
- Diagnosis Steps
- Parts You'll Likely Need
- Related Codes That Often Appear With This One
- Platform-Specific Known Issues
- Mechanic-Grade Diagnostic Values
- Scan Tool Commands That Help
- Wiring & Ground Locations
- Diagnostic Flowchart
- Other Known Issues on This Vehicle
- Used vs. New Parts: Buying Guide for This Vehicle
- Real Owner Stories
- 2018-2023 Kia Stinger 2.0L T-GDi
- 2019 Genesis G70 2.0T
- Related OBD-II Codes
- Frequently Asked Questions
- 🎟️ Get 5% Off