

P0134 on 2005-2010 Chrysler 300 5.7L HEMI: Causes and Fixes for O2 Sensor Inactivity
This code almost always means the upstream oxygen sensor on the driver's side has failed. Replacing the Bank 1, Sensor 1 O2 sensor is the most common fix, costing around $50-$90 for an aftermarket part and is a DIY-friendly job with the right tools.
- P0134 points to the upstream O2 sensor on the driver's side.
- The most probable cause is a failed O2 sensor; this should be the first part you suspect.
- Before buying a new sensor, perform a quick visual inspection of the wiring for obvious melting or damage, and check the related fuse.
- Use a quality replacement sensor from brands like NTK (OEM supplier), Denso, or Mopar to avoid compatibility issues.
- An O2 sensor socket will make the replacement job much easier.
What's Unique About the 2005-2010 Chrysler 300
On the 5.7L HEMI platform, this code is straightforward and rarely points to complex underlying issues. The primary challenge is physical access to the sensor, which is located on the driver's side exhaust manifold. While not unique, owners report that wiring damage from the nearby hot exhaust is a frequent secondary cause if a new sensor doesn't solve the problem. Unlike some other brands, there are no widespread reports of PCM software glitches causing this specific code on the Chrysler 300. The issue is almost always the sensor, its wiring, or a significant exhaust leak upstream.
Symptoms You May Notice
- Check Engine Light is on
- Reduced fuel economy
- Rough or unstable idle
- Engine hesitation or stumbling during acceleration
- Failing an emissions test
- Black smoke from the exhaust in rare, rich-running conditions
- Replacing the wrong sensor (e.g., the downstream Sensor 2 or the sensor on Bank 2, the passenger side).
- Replacing the catalytic converter when the issue is simply a sensor or wiring problem.
- Replacing the PCM when the actual fault is a broken wire or a blown fuse.
Most Likely Causes
- Failed Bank 1, Sensor 1 Oxygen Sensor 🔴 High Probability Oxygen sensors are wear-and-tear items with a typical lifespan of 50,000 to 100,000 miles. The internal heating element, which is required to get the sensor to its operating temperature of over 600°F, is a common failure point, leading to 'no activity'.
How to confirm: Use an OBD-II scanner to watch the live data for 'O2S11' or 'B1S1'. A healthy sensor's voltage will fluctuate rapidly between ~0.1V and ~0.9V. If the voltage is flat, stuck (e.g., at 0.45V), or absent, the sensor has likely failed. You can also test the heater circuit's resistance with a multimeter; an open circuit indicates a failed heater.
Typical fix: Replace the upstream oxygen sensor on the driver's side. An O2 sensor socket is highly recommended for removal. 🎬 Watch: This clever trick makes removing the top O2 sensor easier. Soaking the sensor with penetrating oil before removal can prevent thread damage.
Est. part cost: $50-$150 - Damaged Wiring or Connector 🟡 Medium Probability The sensor harness is located near the hot exhaust manifold and other engine components, making it susceptible to melting, chafing, or becoming brittle and breaking over time. Rodents are also known to chew on engine bay wiring.
How to confirm: Visually inspect the entire wiring harness from the O2 sensor to where it connects to the main engine harness. Look for any signs of melting, exposed wires, or corrosion in the connector pins. Check for continuity on each wire with a multimeter if no visual damage is found.
Typical fix: Repair the damaged section of the wire or replace the connector pigtail if it is corroded or melted. Use heat-shrink butt connectors for a durable, moisture-resistant repair.
Est. part cost: $15-$40 - Exhaust Leak ⚪ Low Probability The 5.7L HEMI is notorious for breaking exhaust manifold bolts, particularly the rear-most bolts, causing a leak. This allows outside air to be drawn into the exhaust stream, which can fool the O2 sensor and cause it to read incorrectly or flatline.
How to confirm: Listen for a ticking or puffing sound from the driver's side of the engine, especially when the engine is cold; the sound may diminish as the metal expands and seals the leak. You can also use a smoke machine to introduce smoke into the exhaust system and look for leaks upstream of the O2 sensor.
Typical fix: Replace the broken manifold bolts and the exhaust manifold gasket. This can be a difficult job as the broken bolts may need to be extracted.
Est. part cost: $20-$100
Rare But Worth Checking
- Blown Fuse for O2 Heater Circuit: The O2 sensor's heater has a dedicated fuse. If this fuse blows, the sensor will not warm up and will not produce a signal, triggering a P0134. Always check the fuse box before replacing more expensive parts. A short in the O2 sensor itself or its wiring can cause this fuse to blow.
- Faulty Powertrain Control Module (PCM): This is very rare, but the internal driver circuit in the PCM that reads the O2 sensor signal can fail. This should only be considered after all other possibilities (sensor, wiring, leaks, fuses) have been definitively ruled out by a professional. Often, a wiring issue is misdiagnosed as a bad PCM.
Diagnosis Steps
- Connect an OBD-II scanner and confirm P0134 is the primary code. Note any other codes, such as P0135 or P0171.
- Using the scanner's live data function, monitor the voltage for 'O2S B1S1'. With the engine warm and at idle, it should switch rapidly between approximately 0.1 and 0.9 volts. If it is flat, stuck at ~0.45V, or unresponsive, proceed to the next step.
- Turn the engine off. Visually inspect the O2 sensor's wiring harness and connector for any signs of melting, chafing, corrosion, or disconnection. Pay close attention to the area near the exhaust manifold.
- Check the fuse for the O2 sensor heater circuit in the vehicle's fuse box (often labeled 'O2 HTR' or similar in the owner's manual).
- If wiring and fuses are good, the O2 sensor itself is the most likely culprit.
- Before replacing the sensor, check for any audible exhaust leaks near the driver's side exhaust manifold, especially when the engine is cold.
- If a new sensor and verified good wiring do not resolve the code, the issue may be a rare PCM fault, which typically requires professional diagnosis.
Parts You'll Likely Need
- Oxygen Sensor (Upstream, Driver's Side)
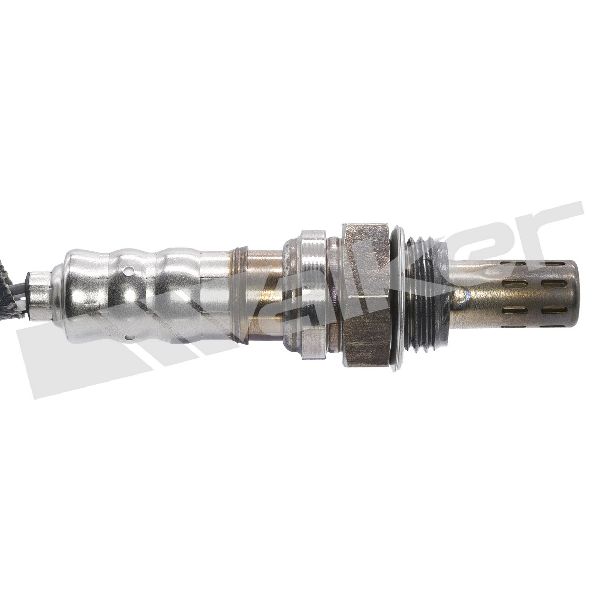
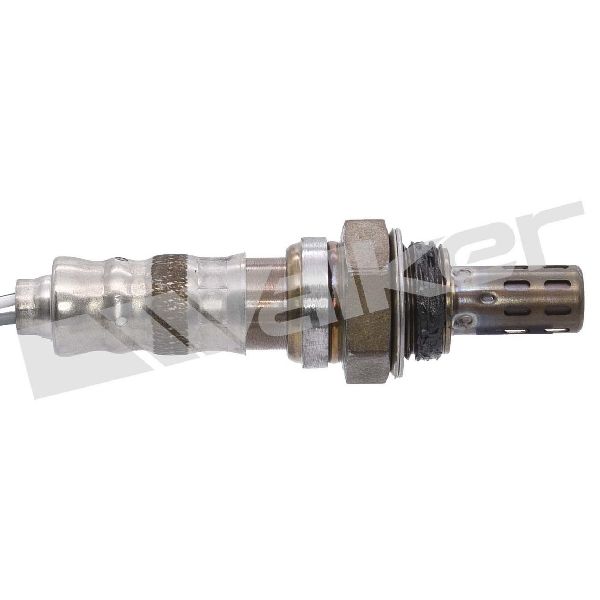
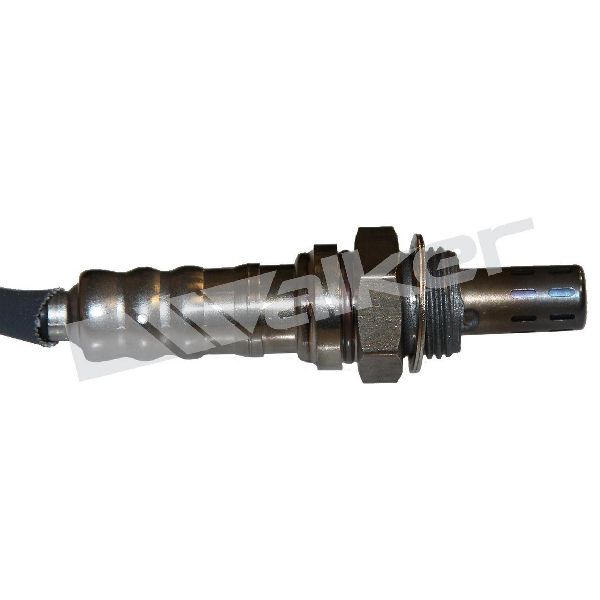
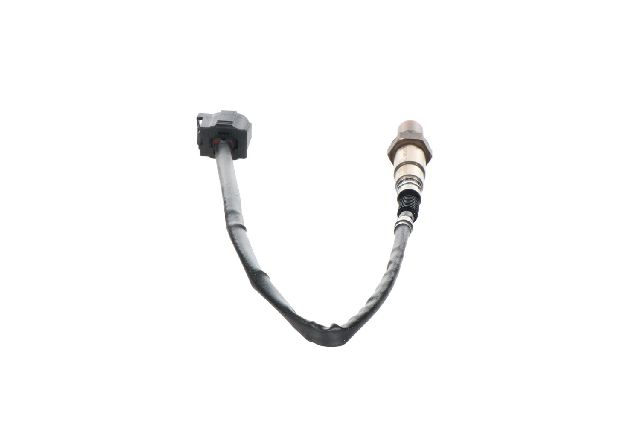
(OEM #56029049AA)— This is Bank 1, Sensor 1 for the 5.7L HEMI. It is the most common failure point for code P0134. Note that this part number is used for multiple locations on various Chrysler vehicles, so confirm fitment for Bank 1 Sensor 1.
Trusted brands: Mopar, NTK (often the OEM supplier, part #23159 is a common cross-reference), Denso, Bosch
OEM price range: $90-$150
Aftermarket price range: $50-$90
Related Codes That Often Appear With This One
- P0135 — P0135 indicates a specific fault in the heater circuit of the same sensor (Bank 1, Sensor 1). If the heater fails, the sensor won't become active, often leading to both codes appearing.
- P0171 — If there's an exhaust or vacuum leak causing the P0134, the engine may also run lean, triggering a P0171 (System Too Lean Bank 1) code.
- P0133 — P0133 indicates a slow response from the same sensor. This can be a precursor to a complete failure that results in P0134 (no activity).
Platform-Specific Known Issues
- Owner Experience: Replaced Sensor, Code Remained, Found Melted Wire: A user on a popular LX-platform forum (lxforums.com) described chasing a P0134 code. After replacing the Bank 1 Sensor 1 O2 sensor twice with no success, they finally traced the wiring harness further up into the engine bay. They discovered the harness had come loose from its clip and was resting against a hot engine component, causing an intermittent short that wasn't immediately obvious. Securing and repairing the wire permanently solved the code.
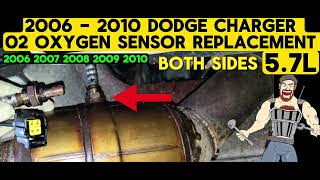
- DIY Tip: Accessing the Sensor: On the 5.7L HEMI in the 300, the Bank 1 (driver's side) upstream sensor is tight to access from above. Many owners find it easier to access from underneath the vehicle after removing the splash shield. 🎬 Watch: A step-by-step tutorial on replacing HEMI oxygen sensors. Using a proper O2 sensor socket with a slit for the wire, combined with a universal joint and extension, is highly recommended to get the proper angle and leverage for removal.
Mechanic-Grade Diagnostic Values
- O2 Sensor Heater Circuit Resistance — expected: 4 to 12 Ohms when measured across the two same-colored heater wires on the sensor connector.. Failure: A reading of infinite resistance (OL) indicates an open/burned-out heater. A reading near zero indicates a short.
- O2 Sensor Signal Circuit Voltage (KOEO, Sensor Unplugged) — expected: Approximately 5.0 Volts on the signal wire at the harness-side connector.. Failure: Significantly lower or no voltage suggests a problem with the PCM or the wiring between the PCM and the sensor.
- O2 Sensor Circuit Jumper Test (KOEO, Sensor Unplugged) — expected: Voltage on the signal circuit should drop from ~5.0V to ~2.5V when a jumper wire is connected between the signal and return circuits on the harness-side connector.. Failure: If the voltage does not drop, it indicates a fault in the wiring or the PCM's sensor driver, ruling out the sensor itself.
Scan Tool Commands That Help
- wiTECH or equivalent professional scanner: O2 Sensor Heater Actuation Test — This bidirectional command forces the O2 sensor's internal heater on. It should be used with the engine off (after a cool-down period) while monitoring sensor voltage to verify the heater circuit is functional and capable of warming the sensor. A failure to respond during this test points directly to a heater circuit problem (fuse, relay, wiring, or the heater element itself).
Wiring & Ground Locations
- B1S1 O2 Sensor Connector — On the driver's side of the transmission bell housing, accessible from underneath the vehicle.. This is the primary connection point to test the vehicle-side harness for power, ground, and signal integrity, and to test the sensor itself.
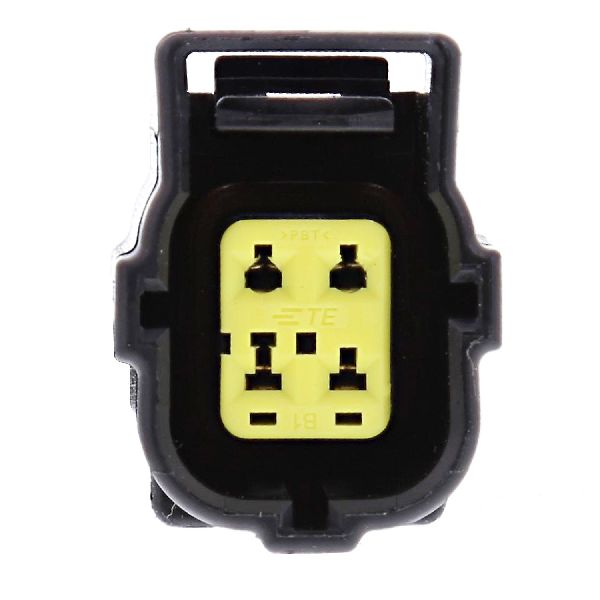
- O2 Heater Wires — On the 4-pin sensor connector, these are the two wires of the same color (e.g., both white or both black).. These specific wires must be tested for 12V power and ground from the harness side, and for resistance on the sensor side, to diagnose heater circuit faults (P0135) which often accompany P0134.
- G300 — Below the driver's side 'B' pillar, inside the cabin.. This is a major chassis ground point. While not exclusively for the O2 sensor, a poor connection here can cause a variety of difficult-to-diagnose electrical issues, including erratic sensor readings or faulty grounds for control modules.
Real Owner Repair Stories
- lxforums.com / 300cforums.com (recurring theme) (Multiple 2005-2010 Chrysler 300/Dodge Magnum/Charger with 5.7L HEMI) — Persistent P0134 code, Check Engine Light, poor fuel economy.
❌ Tried (didn't work) Replacing the Bank 1 Sensor 1 O2 sensor (sometimes multiple times)., Clearing the code, only for it to return quickly.
✅ What actually fixed it A thorough inspection of the wiring harness revealed it had sagged and made contact with the hot exhaust manifold or engine block. The insulation was melted, causing the signal wire to short to ground intermittently. Repairing the damaged wires with heat-shrink butt connectors and securing the harness away from the heat source with a zip tie resolved the code permanently.
OEM Part Supersession History
56029049AA→56029049AA (no direct supersession found)— N/A
Heads up: This part number is used for many different O2 sensor locations (upstream/downstream, left/right) across a wide range of Chrysler, Dodge, and Jeep vehicles from 2005-2020+. It is critical to verify fitment for the specific 'Bank 1, Sensor 1' position on a 2005-2010 5.7L HEMI, as wire harness length can vary even if the sensor and connector are identical.
Diagnostic Flowchart
Other Known Issues on This Vehicle
Issues unrelated to this code that are worth knowing about as an owner of this generation:
- HEMI Tick / MDS Lifter Failure 🔴 High — Common on 2009+ 'Eagle' HEMIs but can affect earlier models, especially with poor oil maintenance. Onset often occurs after 100,000 miles. The failure is of the roller lifter, which can seize and damage the camshaft.
- Broken Exhaust Manifold Bolts 🟠 Medium — Very common across all 5.7L HEMI applications. The rear-most bolts are most susceptible to breaking due to thermal stress, causing an exhaust leak tick, especially when cold.
- Premature Front Suspension Wear 🟠 Medium — The heavy weight of the vehicle puts significant stress on front suspension components. Worn tension struts, control arm bushings, and outer tie rod ends are common by 80,000-100,000 miles, leading to clunking or rattling noises.
- Early Valve Seat Failure (Pre-Eagle Engines) 🔴 High — A known design flaw in pre-2009 (non-Eagle) 5.7L HEMI engines where valve seats could drop into the cylinder, causing catastrophic engine damage. Less common now as most failures have already occurred.
- Alternator Failure 🟠 Medium — The placement of the alternator on the lower part of the engine makes it susceptible to failure from fluid leaks (e.g., power steering fluid) from above. This is a common failure point across the LX platform.
Used vs. New Parts: Buying Guide for This Vehicle
When a used part is the smart pick: A used part is generally NOT recommended for the oxygen sensor itself, as it is a wear item with a finite lifespan. However, sourcing a used wiring harness pigtail from a junkyard is a smart and cost-effective choice if only the connector is damaged (melted, corroded, or broken clip).
Donor-vehicle mileage cap: roughly under 120000 miles for the part to have meaningful remaining life.
What to inspect on the donor part:
- For a wiring pigtail, inspect for any signs of melting or heat stress on the plastic connector.
- Check that the locking tab is intact and clicks securely.
- Look at the wire insulation; it should be flexible, not brittle or cracked.
- Examine the metal pins inside the connector for any green or white corrosion.
OEM-only on this vehicle (don't cheap out):
- Powertrain Control Module (PCM) - Due to the need for VIN programming and potential software compatibility issues, a new or remanufactured OEM Mopar PCM is strongly recommended if this rare failure occurs.
Aftermarket brands forum-validated for this vehicle:
- NTK (often the original OEM supplier)
- Denso
- Bosch
Brands owners have reported issues with on this vehicle:
- Unbranded 'universal' sensors that require the user to splice the old connector onto the new sensor. These are a common source of failure due to improper connections and potential resistance mismatches.
Real Owner Stories
Aggregated from forums and TSBs cited above. Mileages and costs reflect what owners reported in those sources.
2005-2010 Chrysler 300 5.7L HEMI
Symptoms: Chasing a P0134 code; replaced the Bank 1 Sensor 1 O2 sensor twice with no success.
What fixed it: Traced the wiring harness further up into the engine bay and found it had come loose from its clip and was resting against a hot engine component, causing an intermittent short. Securing and repairing the wire solved the code.
Source hint: lxforums.com
Related OBD-II Codes
Frequently Asked Questions
Which oxygen sensor do I need to replace for a P0134 code on my 5.7L HEMI Chrysler 300?
Are there any specific brands recommended for the O2 sensor on the 300C forums?
I replaced the sensor but the P0134 code is still there. What should I check next on this platform?
Is the 'ticking' sound from my driver's side exhaust related to the P0134 code?
What is the best way to physically access the Bank 1 Sensor 1 on a Chrysler 300?
Could a fuse be the cause of my P0134 'no activity' code?
Helpful Videos
We Have This Part in Stock


The information in this article is provided for general reference and educational purposes only. Vehicle specifications, procedures, and part compatibility can vary by production date, trim level, and region. Always consult your vehicle's factory service manual and verify part numbers before purchasing or performing repairs. Safety-critical components such as airbags, seat belts, and braking systems should be installed by a qualified professional.
- Chrysler 300:
- 🎬 Helpful Videos
- 🛍️ Shop This Part
- What's Unique About the 2005-2010 Chrysler 300
- Symptoms You May Notice
- Most Likely Causes
- Rare But Worth Checking
- Diagnosis Steps
- Parts You'll Likely Need
- Related Codes That Often Appear With This One
- Platform-Specific Known Issues
- Mechanic-Grade Diagnostic Values
- Scan Tool Commands That Help
- Wiring & Ground Locations
- Real Owner Repair Stories
- OEM Part Supersession History
- Diagnostic Flowchart
- Other Known Issues on This Vehicle
- Used vs. New Parts: Buying Guide for This Vehicle
- Real Owner Stories
- 2005-2010 Chrysler 300 5.7L HEMI
- Related OBD-II Codes
- Frequently Asked Questions
- 🎟️ Get 5% Off