

1996-1998 Pontiac Grand Am Tail Light: Common Failures and Replacement Guide
This guide covers the most common tail light problems on the 1996-1998 Pontiac Grand Am, what to inspect on a used part, and how to perform this simple replacement yourself.
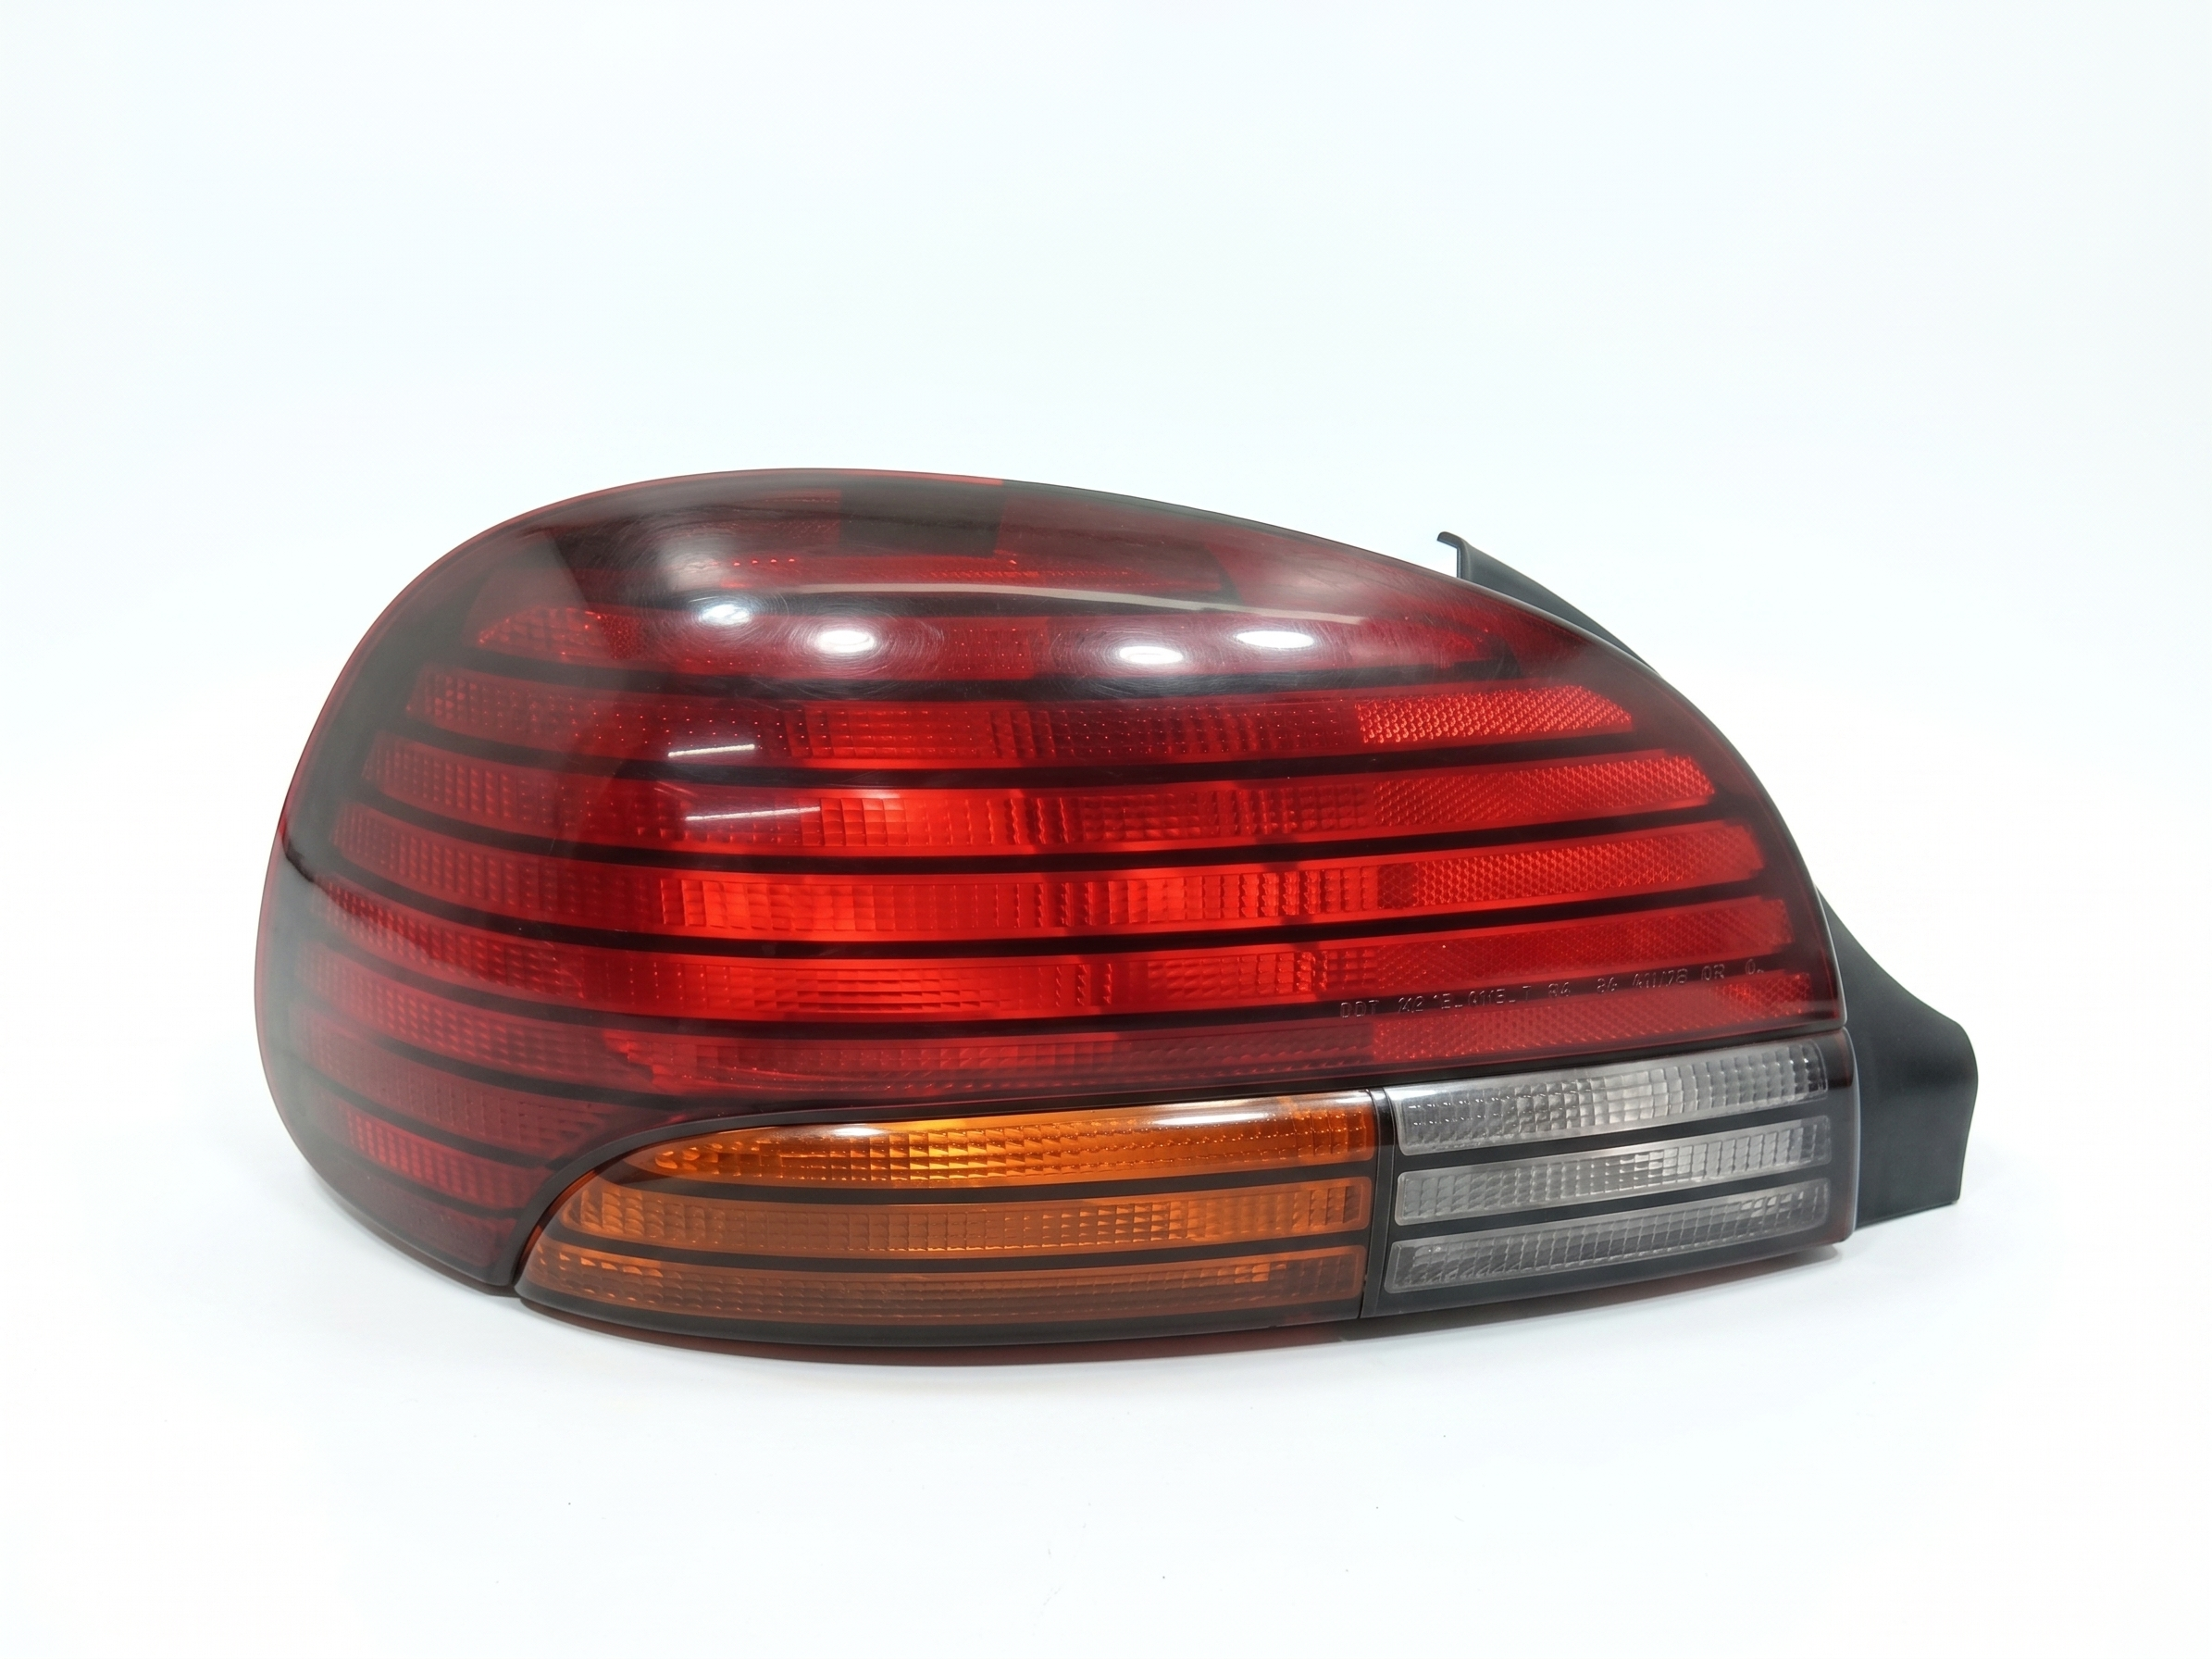
- This is the driver's side (left) tail light assembly, fitting all 1996, 1997, and 1998 Grand Am models.
- When buying a used part, carefully inspect the bulb sockets for melting or corrosion, as this is a common failure point.
- Replacement is extremely easy and takes about 15 minutes with basic tools, making it an ideal DIY repair.
- Used OEM assemblies are often a better value than new aftermarket parts due to superior fit and plastic quality.
Symptoms of a Failing Tail Light
Diagnosing a bad tail light on a 1996-1998 Grand Am is usually straightforward. The issues are almost always related to bulbs, sockets, or physical damage to the housing itself.
1. One or More Bulbs Are Out
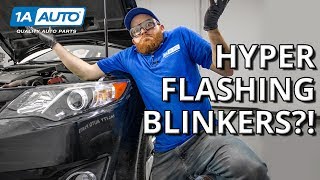
The most common issue is a burnt-out bulb. The tail and brake light functions are often performed by a dual-filament bulb (like a 3057 or 3157 type). It's possible for one filament (for the tail light) to burn out while the other (for the brighter brake light) still works, or vice-versa. If a turn signal bulb is out, you will often notice the corresponding indicator on your dashboard blinking much faster than normal, a condition known as "hyperflashing."
🎬 Watch: How to diagnose and fix fast-blinking turn signals.2. Lights Don't Work at All
If the entire assembly is dark, the problem could be a blown fuse, a bad ground connection, or a damaged wiring harness connector. Corrosion in the bulb sockets can also prevent electricity from reaching the bulbs.
3. Condensation Inside the Lens
If you see water droplets or fogging inside the tail light, the seal between the lens and the housing has failed. This moisture can cause corrosion in the bulb sockets and lead to premature bulb failure.
4. Cracked or Faded Lens
Over time, the plastic lens can become brittle and crack from sun exposure or minor impacts. Fading and hazing from UV damage can also reduce the brightness of the lights, making your car harder to see.
Pro Tip: When a bulb goes out, it's a good practice to replace the same bulb on the other side of the vehicle at the same time. They have similar lifespans, so the other one is likely to fail soon.
Buying a Used 1996-1998 Grand Am Tail Light
A used OEM tail light is often a better choice than a cheap aftermarket alternative. Original GM parts typically have superior plastic quality that resists fading and cracking longer, and they are guaranteed to fit perfectly. Here’s what to check before you buy.
- Inspect the Lens Thoroughly: Look for any cracks, even hairline fractures. Check for deep scratches or scuff marks. Minor surface scratches can be polished, but deep gouges cannot.
- Check for Fading and Hazing: Compare the color and clarity to your other tail light if possible. A significantly faded lens will be less visible and may not match the other side.
- Examine All Mounting Points: The assembly is held on by several studs with nuts. Make sure all mounting studs are intact and not cracked or broken off. A broken mounting point will cause the light to be loose and vibrate.
- Inspect the Bulb Sockets: This is critical. Ask to see the back of the assembly. Check the sockets for any signs of melting, charring, or green/white corrosion. A corroded or melted socket is a major red flag and may indicate a persistent electrical problem.
- Verify the Side: This guide and the listed part numbers are for the left, driver's side assembly. Ensure you are buying the correct side for your needs.
Known Issues, TSBs, and Recalls
For a vehicle of this age, there are no specific recalls or Technical Service Bulletins (TSBs) directly related to the tail light assemblies themselves. Most lighting issues stem from common electrical problems like faulty brake light switches, fuses, or wiring, rather than a defect in the tail light housing. Several general electrical and lighting-related recalls were issued for these vehicles, but none targeted the rear lamp assemblies specifically.
Cost of a 1996-1998 Grand Am Tail Light
| Part Type | Estimated Price Range |
|---|---|
| New OEM (GM) | $150 - $250+ (if available) |
| New Aftermarket | $40 - $80 |
| Used OEM | $25 - $60 |
| Shop Labor for Installation | $30 - $60 |
Pricing is approximate and can vary based on the supplier, part condition, and your location.
Installation Guide
Replacing the tail light assembly on a 1996-1998 Pontiac Grand Am is a very easy DIY job that requires only basic hand tools.
- Difficulty: 1 out of 5
- Estimated Time: 15 minutes
- Tools Needed: Socket wrench or nut driver
Step-by-Step Replacement
- Access the Assembly: Open the trunk. Pull back the carpet or trunk liner behind the tail light to expose the mounting studs.
- Remove the Nuts: You will see several nuts holding the tail light studs. Use your socket wrench to remove them. Keep them in a safe place.
- Disconnect and Remove: Gently pull the tail light assembly straight back, away from the vehicle. The wiring harness is connected to the bulb sockets. Twist each socket about a quarter-turn counter-clockwise and pull it out of the housing.
- Install the New Assembly: Transfer the bulbs and sockets to the new tail light housing. Push each socket in and turn it clockwise to lock it in place.
- Mount the New Light: Align the studs on the new assembly with the holes in the car's body and press it into place.
- Secure and Test: Re-install the nuts from inside the trunk and tighten them until they are snug. Do not overtighten, as this can crack the plastic. Have a helper check that all lights (running lights, brake lights, turn signals) work correctly before putting the trunk liner back.
Frequently Asked Questions (FAQ)
Is the tail light the same for the coupe and sedan models?
Yes, for the 1996-1998 model years, the tail light assemblies are the same for both the 2-door coupe and 4-door sedan models.
Why is my turn signal blinking really fast?
This is called "hyperflashing" and it's the car's way of telling you that a turn signal bulb has burned out somewhere on that side of the vehicle. Check both the front and rear turn signal bulbs on the affected side.
Can I just replace the cracked outer lens?
No, the lens is permanently sealed to the housing. If the lens is cracked, you must replace the entire tail light assembly.
My brake lights don't work, but my tail lights do. What's the problem?
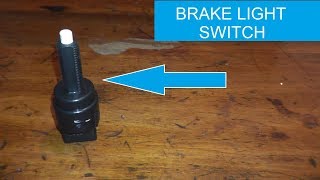
This is a very common issue. The problem is most likely a burnt-out filament in the dual-filament bulb, a faulty brake light switch located near the top of the brake pedal, or a blown fuse.
🎬 See how to test and replace a faulty brake light switch.Helpful Videos
Technical Specifications
OEM Part Numbers: 16522027 5978200
Bulb Type (Brake/Tail): 3057 or 3157 (dual filament)
We Have This Part in Stock



The information in this article is provided for general reference and educational purposes only. Vehicle specifications, procedures, and part compatibility can vary by production date, trim level, and region. Always consult your vehicle's factory service manual and verify part numbers before purchasing or performing repairs. Safety-critical components such as airbags, seat belts, and braking systems should be installed by a qualified professional.
- Pontiac Grand Am:
- 🎬 Helpful Videos
- 🛍️ Shop This Part
- Symptoms of a Failing Tail Light
- 1. One or More Bulbs Are Out
- 2. Lights Don't Work at All
- 3. Condensation Inside the Lens
- 4. Cracked or Faded Lens
- Buying a Used 1996-1998 Grand Am Tail Light
- Known Issues, TSBs, and Recalls
- Cost of a 1996-1998 Grand Am Tail Light
- Installation Guide
- Step-by-Step Replacement
- Frequently Asked Questions (FAQ)
- 🎟️ Get 5% Off