

2002-2016 Honda CR-V Tail Light Guide: Decoding Generations and Compatibility
This guide covers the critical differences in tail lights across three generations of the Honda CR-V, ensuring you get the right part the first time.
- The 2002-2016 CR-V spans three generations with completely different, non-interchangeable tail lights.
- Verify compatibility carefully: check for the 2005-2006 Japan/UK VIN split and the 2010-2011 mid-generation refresh.
- 2012-2016 models use a two-piece design; you must specify if you need the upper or lower section.
- Replacement is a very easy DIY job, requiring only an 8mm socket or Phillips screwdriver and about 15 minutes.
Common Symptoms of Tail Light Failure

Tail light issues on the Honda CR-V are usually easy to spot. Here are the most common signs that a tail light assembly or bulb needs attention:
- Dim or Flickering Lights: Bulbs that are nearing the end of their life or a poor electrical connection can cause dim or intermittent light output.
- Bulbs Not Working: The most obvious symptom is a bulb that doesn't light up at all. This could be a simple burnt-out bulb, a corroded socket, or a wiring issue. Sometimes a faulty brake light switch can cause all brake lights to fail simultaneously.
- Cracked or Damaged Lens: Physical damage from impacts can crack the lens. This not only looks bad but allows moisture to enter the housing, which can cause corrosion and premature bulb failure.
- Moisture or Condensation Inside: A failed seal or a crack in the housing can let water in. You'll see condensation, water droplets, or even standing water inside the lens. This will lead to corroded bulb sockets and electrical problems.
- "Fast Flash" Turn Signal: If your turn signal blinks much faster than usual, it's typically a sign that one of the turn signal bulbs (front or rear) has burned out.
Generation-Specific Guide to Honda CR-V Tail Lights

The 2002-2016 Honda CR-V spans three distinct generations. The tail lights are not interchangeable between these generations. It is crucial to identify your vehicle's specific year and model to ensure you purchase the correct part.
Second Generation: 2002-2006
The second-generation CR-V features a tall, single-piece vertical tail light assembly. Replacement is straightforward, requiring the removal of two bolts accessible from the cargo area.
🎬 Watch this quick DIY guide for 2nd Gen bulb replacement.Warning: For 2005-2006 models, there was a significant manufacturing change. Some CR-Vs were built in Japan, while others were built in the UK. The tail lights for these versions are different and not interchangeable. To check where your vehicle was made, look at the first character of your Vehicle Identification Number (VIN). A 'J' indicates it was built in Japan, while an 'S' indicates it was built in the UK. Be sure to verify this before ordering.
Known Part Numbers (Japan-built): 33501-S9A-A11 (Right/Passenger Side)
Third Generation: 2007-2011
The third-generation CR-V also uses a single-piece vertical tail light. Access is gained by removing two bolts inside the cargo area.
Warning: This generation had a mid-cycle refresh. Tail lights for 2007-2009 models are different from those for 2010-2011 models. The design was updated, and they are not physically interchangeable. Always confirm you are buying for the correct year range.
Known Part Numbers (2007-2011): 33501-SWA-A02 (Right/Passenger Side), 33551-SWA-A02 (Left/Driver Side). Note that part number 33501-SWA-A02 supersedes 33501-SWA-A01.
🎬 See how to replace the full housing on 2007-2011 models.Fourth Generation: 2012-2016
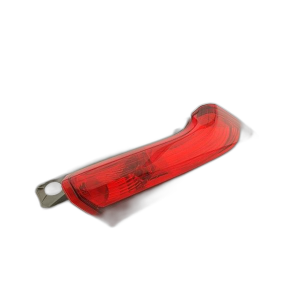
The fourth-generation CR-V introduced a two-piece tail light design. There is an upper section mounted on the body next to the rear window and a lower section mounted on the tailgate itself. When ordering, you must specify whether you need the upper or lower portion, in addition to the driver or passenger side.
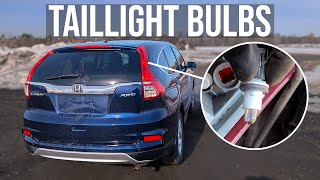
🎬 Follow this walkthrough for 2012-2016 tail light bulb replacement.A minor refresh for the 2015-2016 models changed the appearance of the tail lights, so they are not interchangeable with the 2012-2014 lights.
Known Part Numbers (2012-2014):
- Lower Assembly: 33500-T0A-A01 (Right/Passenger), 33550-T0A-A01 (Left/Driver)
- Upper Assembly: 34170-T0A-A01 (Right/Passenger), 34175-T0A-A01 (Left/Driver)
Known Issues, Recalls, and Technical Service Bulletins (TSBs)

While there have been no widespread recalls specifically for tail light failure on the 2002-2016 CR-V, a few related items are worth noting. Some early production 2016 Honda Civics (not CR-Vs) had a recall for LED side marker lights damaged in transit, but this did not apply to the CR-V. The most common owner-reported problems are moisture intrusion due to aging seals and intermittent bulb connections from corrosion. A faulty brake light switch at the pedal is also a common cause for all brake lights failing to illuminate.
Buying a Used 2002-2016 CR-V Tail Light: A Buyer's Checklist
Pro Tip: For a part like a tail light, a used OEM assembly is often a better choice than a cheap new aftermarket one. Used OEM parts guarantee a perfect fit, correct color matching, and use higher-quality plastics that resist fading and cracking better than many aftermarket options.
Before purchasing a used tail light, perform a thorough inspection:
- Check for Cracks: Inspect the entire lens and housing for cracks, even hairline fractures. Pay special attention to the edges and mounting points.
- Look for Moisture Stains: Check the inside of the lens for any signs of past water intrusion, like dried water lines or a hazy film. This indicates a bad seal.
- Inspect Mounting Tabs: Ensure all plastic mounting tabs and bolt holes are intact. Broken tabs will result in a loose, vibrating light that will eventually fail.
- Examine the Wiring: If the assembly includes the wiring harness, check that the connectors are clean, free of corrosion, and not brittle or cracked.
- Verify Compatibility: Double-check the part number and, most importantly, the vehicle generation and specific year range it came from. Remember the 2005-2006 VIN check, the 2010-2011 refresh, and the 2012-2016 upper/lower split.
Replacement Overview

Replacing a tail light assembly on any 2002-2016 Honda CR-V is a simple DIY task.
- Difficulty: 1/5 (Very Easy)
- Time: 15-30 minutes per side.
- Tools: Phillips screwdriver and/or an 8mm socket with a ratchet. A plastic trim removal tool is helpful to avoid scratching paint.
General Steps:
- Open the rear hatch to access the tail light bolts.
- Remove the two plastic covers (if applicable) and undo the two 8mm bolts holding the assembly in place.
- Carefully pull the assembly straight back from the vehicle body. It is held in by a couple of plastic alignment pins that will pop out.
- Twist the bulb sockets counter-clockwise to remove them from the old housing.
- Install the sockets into the new housing, ensuring a snug fit.
- Align the new assembly with the holes in the body and push it into place until the pins snap in.
- Reinstall the two bolts, but do not overtighten. Replace the plastic covers.
- Test all light functions (running lights, brake lights, turn signals) before driving.
Cost Comparison
| Part Type | Price Range (per assembly) |
|---|---|
| New OEM | $175 - $415 |
| New Aftermarket | $85 - $250 |
| Used OEM | $50 - $150 |
| Shop Labor (Bulb Only) | ~$95 |
Frequently Asked Questions (FAQ)
Can I just replace the outer plastic lens?
No, the lens and the housing are manufactured as a single, sealed unit. If your lens is cracked, you will need to replace the entire tail light assembly.
My tail light has condensation inside. Do I have to replace it?
It is highly recommended. Once moisture gets in, it will cause chronic issues with bulbs burning out and socket corrosion. While you can try to remove the light, dry it out, and apply a new sealant, a replacement is often the only permanent fix.
How do I tell if my 2005-2006 CR-V is Japan-built or UK-built?
Check the first character of your VIN, which is visible through the windshield on the driver's side dashboard. If it starts with 'J', it's Japan-built. If it starts with 'S', it's UK-built. The tail lights are not the same.
Are the driver and passenger side tail lights interchangeable?
No, they are mirror images of each other and are not interchangeable. You must order the specific side you need (Left for Driver, Right for Passenger).
Helpful Videos
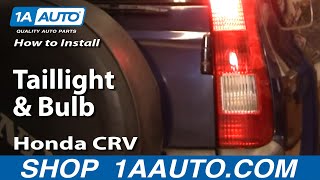
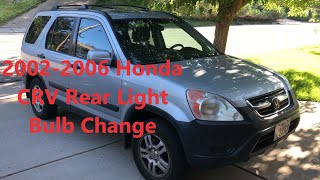
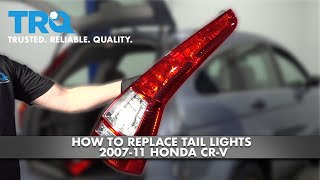

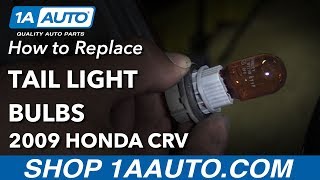

Technical Specifications
OEM Part Numbers: 33501-S9A-A11 33501-SWA-A01 33501-SWA-A02 33551-SWA-A02 33500-T0A-A01 33550-T0A-A01 34170-T0A-A01 34175-T0A-A01
Bulb types vary by year and function. Common bulbs include 7443, 7440, and 168/194.
We Have This Part in Stock





The information in this article is provided for general reference and educational purposes only. Vehicle specifications, procedures, and part compatibility can vary by production date, trim level, and region. Always consult your vehicle's factory service manual and verify part numbers before purchasing or performing repairs. Safety-critical components such as airbags, seat belts, and braking systems should be installed by a qualified professional.
- Honda CR-V:
- 🎬 Helpful Videos
- 🛍️ Shop This Part
- Common Symptoms of Tail Light Failure
- Generation-Specific Guide to Honda CR-V Tail Lights
- Second Generation: 2002-2006
- Third Generation: 2007-2011
- Fourth Generation: 2012-2016
- Known Issues, Recalls, and Technical Service Bulletins (TSBs)
- Buying a Used 2002-2016 CR-V Tail Light: A Buyer's Checklist
- Replacement Overview
- Cost Comparison
- Frequently Asked Questions (FAQ)
- 🎟️ Get 5% Off