

1997-1999 Cadillac Catera Tail Light: Quarter Panel vs. Trunk Lid Explained
This guide covers common failure symptoms, replacement tips, and how to choose the correct used tail light for your 1997-1999 Catera.
- The Catera has four separate tail lights; the outer (quarter panel) and inner (trunk lid) lamps are not interchangeable.
- The most critical step when buying a used tail light is to inspect all mounting tabs to ensure they are intact and not cracked.
- Failure is most often caused by a failed housing seal leading to moisture and corrosion, not an electrical fault in the car itself.
- Replacement is a very easy DIY job, typically requiring only a 10mm socket and about 20 minutes.
Symptoms of Tail Light Failure
Diagnosing a failing tail light on a 1997-1999 Cadillac Catera is usually straightforward. Look for these common signs:
- Dim or Burned-Out Bulbs: The most common issue is a single bulb burning out. If multiple lights fail at once, it could point to a blown fuse or a wiring problem.
- Condensation Inside the Lens: If you see moisture, fog, or water droplets inside the tail light housing, the factory seal has failed. This moisture will cause corrosion on the bulb sockets and electrical connectors, leading to intermittent light function or complete failure.
- Cracked or Hazy Lens: Physical damage like cracks or chips can let water in. Over time, the plastic lens can also become hazy or faded from sun exposure, reducing light output and making you less visible to other drivers.
- Flickering Lights: Lights that flicker, especially when hitting a bump, often indicate a loose bulb, a corroded socket, or a bad ground connection.
- Hyperflashing Turn Signal: If your turn signal blinks much faster than usual, it's a sign that a bulb in the circuit (front or rear) has burned out. The system is designed to do this to alert you to a problem.
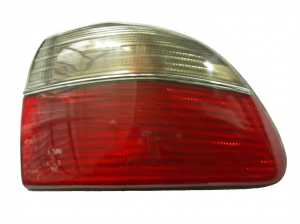
Warning: The 1997-1999 Cadillac Catera has four separate tail light components: an inner lamp on the trunk lid and an outer lamp on the quarter panel for each side. The part number 90541259 is for the passenger side, quarter panel (outer) mounted tail lamp only. It will not fit the driver's side or any trunk-lid-mounted position.
Buying a Used 1997-1999 Catera Tail Light
Since new OEM parts can be difficult to find and expensive, a quality used OEM tail light is often the best value. Here’s what to check before you buy.
1. Verify the Exact Position
First, confirm which of the four tail lights you need: driver-side outer (quarter panel), driver-side inner (trunk lid), passenger-side outer (quarter panel), or passenger-side inner (trunk lid). They are not interchangeable. The passenger-side outer lamp is the most commonly listed part.
2. Inspect the Lens and Housing
Closely examine the tail light for any signs of damage:
- Cracks and Crazing: Look for any cracks, even hairline fractures. Also, check for 'crazing,' which looks like a network of fine spiderwebs in the plastic. Both can allow moisture to enter.
- Seal Integrity: Check the gray or black rubber seal around the edge of the housing. It should be pliable and fully intact, not dry, cracked, or peeling away.
- Mounting Points: This is critical. The tail light is held on by several studs and plastic tabs. Ensure all mounting points are present and free of cracks. A light with a broken tab will not sit flush and will be prone to vibrating loose.
3. Check the Electrical Components
If possible, inspect the back of the assembly:
- Bulb Sockets: Look inside the sockets for any green or white powder, which indicates corrosion. Severe corrosion means the socket may not provide a reliable connection.
- Wiring Harness Connector: Check the main electrical plug for melted plastic or corroded pins.
Why Used OEM is Often Better Than New Aftermarket
For a vehicle like the Catera, a used OEM (Original Equipment Manufacturer) tail light is generally a smarter purchase than a cheap, new aftermarket part. OEM parts are made by the original factory supplier (in this case, likely Hella or GM) and are guaranteed to fit perfectly. Aftermarket lights can suffer from poor fitment, color that doesn't quite match the other side, and seals that fail quickly, leading to the same condensation problems you're trying to fix.
Known Issues, Recalls, and TSBs
As of early 2026, there are no specific recalls issued by the National Highway Traffic Safety Administration (NHTSA) for the tail lights on the 1997-1999 Cadillac Catera. While the Catera has over 240 Technical Service Bulletins (TSBs) for various issues, none appear to directly address a widespread manufacturing defect with the tail light assemblies themselves. Most reported problems are related to normal age-related failures like burned-out bulbs, blown fuses, or wiring issues.
Replacement Guide
Replacing a quarter-panel-mounted tail light on a 1997-1999 Catera is a simple DIY job that requires basic hand tools.
- Installation Difficulty: 1 out of 5
- Estimated Time: 15-20 minutes
- Tools Needed: 10mm socket with ratchet (based on similar GM vehicles of the era).
Step-by-Step Process (Outer Tail Light)
- Open the Trunk: Access the area behind the tail light.
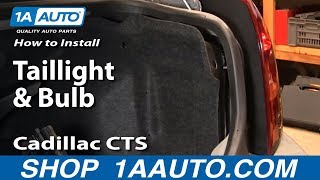
- Remove the Trunk Liner: You will likely need to pull back the carpeted trunk liner to expose the back of the tail light. This is often held in place with plastic clips or knobs that can be unscrewed by hand or gently pried off.
- Disconnect the Wiring Harness: Locate the main electrical connector plugged into the back of the tail light assembly. Press the release tab and pull the connector straight out.
- Unbolt the Tail Light: Find the 10mm nuts holding the tail light studs to the car's body. There are typically two or three. Remove these nuts.
- Remove the Assembly: Gently pull the tail light assembly straight back out of the quarter panel. It may be snug, but it should come out without excessive force. 🎬 Watch: How to remove and replace the tail light assembly
- Install the New Light: Installation is the reverse of removal. Guide the new assembly's studs into the holes, hand-tighten the nuts, reconnect the electrical plug, and then fully tighten the nuts until they are snug. Do not overtighten, as you can crack the plastic housing.
Pro Tip: Before you fully reinstall the trunk liner, have a helper test all light functions (running lights, brake lights, and turn signal) to ensure the replacement is working correctly.
Cost Comparison
Prices for a 1997-1999 Cadillac Catera tail light can vary significantly based on condition and source.
| Part Type | Estimated Price Range |
|---|---|
| New OEM | $150 - $250+ (if available) |
| New Aftermarket | $60 - $120 |
| Used OEM | $45 - $75 |
| Shop Labor Cost | $50 - $100 |
Frequently Asked Questions
Can I replace just the plastic lens?
No, the lens and the housing are manufactured as a single, sealed unit. If your lens is cracked or damaged, you must replace the entire tail light assembly.
Why is my turn signal blinking really fast?
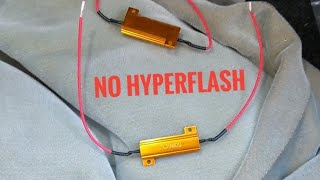
This is called 'hyperflashing' and it's an intentional design to let you know a bulb has failed. Check the turn signal bulbs on both the front and rear of the affected side of the car. Replacing the burned-out bulb will return the blinker speed to normal.
🎬 See how to fix hyperflashing with a new relayIs the driver's side tail light the same as the passenger's side?
No, they are mirror images of each other and are not interchangeable. You must buy the specific side you need to replace.
What's the difference between the inner and outer tail lights?
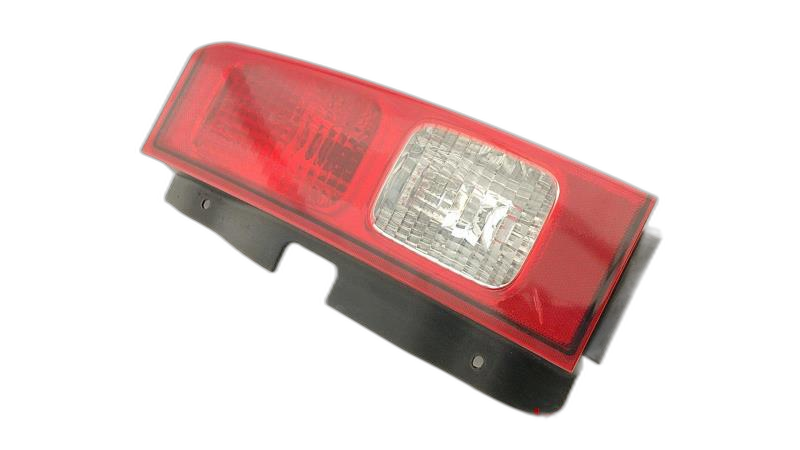
The outer tail light is mounted on the car's stationary quarter panel. The inner tail light is mounted on the trunk lid itself. They are different shapes and sizes and cannot be swapped.
Helpful Videos
Technical Specifications
OEM Part Numbers: 90541259 (Right, Quarter Panel Mounted)
Bulb Type: Incandescent
We Have This Part in Stock


The information in this article is provided for general reference and educational purposes only. Vehicle specifications, procedures, and part compatibility can vary by production date, trim level, and region. Always consult your vehicle's factory service manual and verify part numbers before purchasing or performing repairs. Safety-critical components such as airbags, seat belts, and braking systems should be installed by a qualified professional.
- Cadillac Catera:
- 🎬 Helpful Videos
- 🛍️ Shop This Part
- Symptoms of Tail Light Failure
- Buying a Used 1997-1999 Catera Tail Light
- 1. Verify the Exact Position
- 2. Inspect the Lens and Housing
- 3. Check the Electrical Components
- Why Used OEM is Often Better Than New Aftermarket
- Known Issues, Recalls, and TSBs
- Replacement Guide
- Step-by-Step Process (Outer Tail Light)
- Cost Comparison
- Frequently Asked Questions
- 🎟️ Get 5% Off