

2015-2018 Audi Q3 Tail Light: A Guide to Upper, Lower, LED & Dynamic Signal Variants
Avoid common and costly compatibility mistakes when replacing your 2015-2018 Q3's complex four-piece tail light system.
- The Q3 uses a four-piece system: upper (liftgate) and lower (bumper) lights on each side. They are not interchangeable.
- Verify your exact lighting technology before buying: Halogen, standard LED, or LED with Dynamic Turn Signals (Prestige trim). The connectors are different.
- A common failure mode is the upper liftgate lights deactivating due to a faulty hatch sensor, causing the lower bumper lights to take over.
- Water intrusion is a major issue; always inspect used units for signs of moisture, corrosion on the pins, or cracks in the housing.
Symptoms of Failure

Tail light issues on the Audi Q3 can range from simple bulb burnout to more complex electrical problems. Here are the most common signs that a tail light assembly needs attention:
- "Bulb Out" Warning on Dashboard: The vehicle's computer monitors the lighting system and will often display a warning message in the instrument cluster if a bulb or LED circuit fails.
- One or More Functions Stop Working: A specific function like the brake light, turn signal, or running light may stop working while others continue to operate. This could be a burnt-out bulb or a failed LED segment within the assembly.
- Flickering or Dim Lights: LEDs or bulbs that flicker or appear dimmer than usual can indicate a failing component, a poor electrical connection, or water damage.
- Condensation or Water Inside the Lens: Moisture inside the tail light housing is a clear sign that the factory seal has failed. This water can cause corrosion on electrical connectors and circuit boards, leading to intermittent or total failure.
- Incorrect Light Operation: In some cases, the lower bumper lights may illuminate during normal driving when only the upper liftgate lights should be active. This is often caused by a faulty hatch sensor that incorrectly reports the liftgate is open.
Known Issues, TSBs, and Recalls

While generally reliable, this generation of Q3 has a few known issues and one important recall related to its lighting system.
Common Problems
- Water Ingress: The most frequent complaint is water leaking into the tail light housings. This can be due to aging or damaged seals, or even microscopic cracks in the lens. The resulting moisture corrodes internal electronics, causing flickering or complete failure.
- Hatch Closed Sensor Failure (G525): Many owners report issues where the main liftgate-mounted tail lights stop working, and the lower bumper-mounted lights operate instead. This is typically caused by a problem with the hatch closure sensor (part number G525), which tells the car's computer that the liftgate is shut. If the sensor fails or its wiring is disconnected (sometimes after body shop repairs), the car thinks the hatch is open and defaults to the lower lights.
Recalls & Technical Service Bulletins (TSBs)
- NHTSA Recall 45G6: This recall affects 2016-2017 Audi Q3 models. The issue is that the brake lights may not illuminate if the driver uses the electronic parking brake in an emergency stopping situation, increasing the risk of a rear-end crash. The fix is a simple software update performed by an Audi dealer, free of charge.
- TSB 2058420: Audi issued this technical service bulletin for concerns where a tail light is cracked, broken, leaking, or not working on various models including the Q3. It provides dealers with specific instructions for documenting the issue for warranty claims.
Warning: The four-piece tail light system on the 2015-2018 Q3 is complex. There are four distinct locations (upper/liftgate and lower/bumper for both left and right sides), different lighting technologies (Halogen vs. LED), and year-specific variations. Ordering the wrong part is a very common and expensive mistake.
Buying a Used 2015-2018 Q3 Tail Light: Your Checklist

Purchasing a used OEM tail light is a great way to save money, but careful verification is essential. Follow these steps to ensure you get the right part.
Step 1: Identify the Correct Location and Side
First, determine which of the four lights you need. They are not interchangeable.
- Upper Left (Driver Side): Mounted on the liftgate.
- Upper Right (Passenger Side): Mounted on the liftgate.
- Lower Left (Driver Side): Mounted in the bumper cover.
- Lower Right (Passenger Side): Mounted in the bumper cover.
Step 2: Determine Your Lighting Technology (LED vs. Halogen)
The Q3 was available with both standard (often Halogen) and full LED tail lights. The connectors and wiring are different, so they are not plug-and-play. The easiest way to identify yours is by trim level:
- Premium & Premium Plus: Typically came with standard Xenon headlights and non-LED tail lights, though LED could be an option.
- Prestige: Came standard with full LED headlights and LED tail lights.
Visually inspect your existing lights. LED versions often have a more modern, complex appearance with distinct light-up elements, while halogen versions look simpler.
Step 3: Check for Year-Specific Features
- 2015 Models: The 2015 model year may have unique wiring plugs. Always compare a photo of the connector on the replacement part with your existing one before buying.
- 2016-2018 Prestige Models: These top-trim models feature Dynamic Turn Signals, where the amber signal sweeps outward. If your Q3 has this feature, you must buy a replacement light with the same capability. A standard LED light will not work correctly.
Step 4: Perform a Physical Inspection
When inspecting a used tail light, look for:
- Cracks and Scratches: Check the lens for any cracks, even hairline ones, which can let in water.
- Seal Integrity: Examine the black or gray rubber seal around the housing for any signs of drying, cracking, or damage.
- Connector Pins: Look at the electrical connector pins. They should be clean and shiny. Any green or white crusty buildup is a sign of corrosion from water damage, and you should reject the part.
- Mounting Points: Ensure all plastic mounting tabs and bolt holes are intact and not cracked or broken.
Replacement Overview & Difficulty
- Difficulty: 2/5 (Upper), 1/5 (Lower)
- Time: 0.5 hours
- Tools Needed: 10mm socket (for upper lights), Phillips screwdriver, plastic trim removal tool (for lower lights).
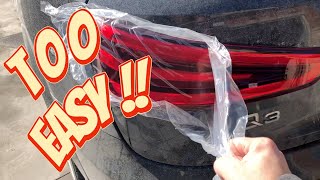
Upper (Liftgate) Light Replacement: Open the liftgate. There are small plastic covers on the interior trim that pop off to reveal three 10mm plastic nuts. Remove these nuts, carefully close the hatch, and gently pull the light assembly away from the vehicle. Disconnect the single electrical connector by lifting the red locking tab first. Installation is the reverse of removal.
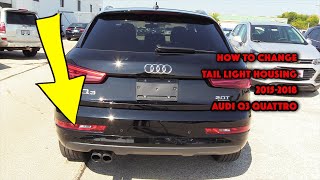
🎬 See this quick liftgate tail light removal walkthroughLower (Bumper) Light Replacement: Below the light in the bumper, there is a small access panel. Pop this panel off to reveal a single Phillips head screw. Loosen this screw completely (it is a captive screw and may not come all the way out). Use a plastic trim tool to gently pry the housing out of the bumper. 🎬 Watch: Step-by-step bumper tail light replacement guide Disconnect the electrical plug to remove the old unit.
Pro Tip: When installing the new light, test all functions (running lights, brake lights, turn signal, reverse light) before you fully tighten all fasteners and replace the trim covers. Make sure the electrical connector clicks securely into place.
Cost Comparison
| Part Type | Estimated Cost (Per Unit) |
|---|---|
| New OEM | $315 - $720 |
| New Aftermarket | $150 - $450 |
| Used OEM | $160 - $250 |
| Shop Labor | $50 - $150 |
Frequently Asked Questions (FAQ)
My liftgate tail lights stopped working but the bumper lights work instead. What's wrong?
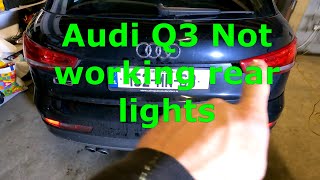
This is a classic symptom of a failed or disconnected hatch closed sensor (G525). The car thinks the liftgate is open and automatically switches to the lower lights for safety. Check the sensor and its wiring connection near the liftgate latch mechanism first.
🎬 Watch: Diagnose why your bumper lights are on insteadCan I upgrade my standard tail lights to the LED version with dynamic turn signals?
This is not a simple plug-and-play swap. It requires different wiring harnesses and potentially coding changes to the vehicle's computer. While possible, it is a complex and expensive retrofit best left to specialty shops.
Why is there condensation inside my tail light?
Condensation means the seal on the light housing has failed, allowing moisture to enter. This is a common issue that can be caused by age, damage, or even microscopic cracks in the lens. The moisture will eventually corrode the electronics and cause the light to fail completely. The assembly should be replaced.
Do I need to get my car reprogrammed after replacing a tail light?
No. As long as you replace the old light with an identical new or used OEM part (e.g., LED for LED), no programming or coding is required. The new light should function immediately once plugged in.
Helpful Videos
Technical Specifications
OEM Part Numbers: 8U0-945-093-AB 8U0-945-094-AB 8U0-945-094-AC 8U0945093AB 8U0945093N 8U0945094AB 8U0945094AC 8U0945094D 8U0945095 8U0945095A 8U0945095B 8U0945095C 8U0945096 8U0945096A 8U0945096C
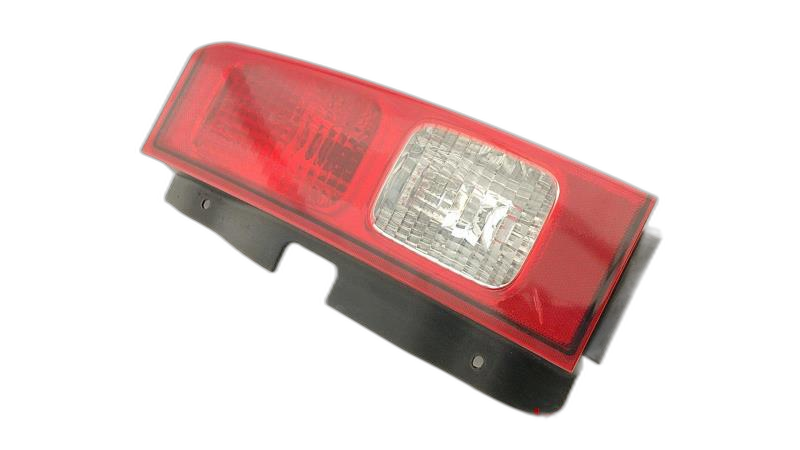
Varies by trim and options. Available with Halogen or LED technology. Prestige models from 2016-2018 feature Dynamic Turn Signals.
We Have This Part in Stock



The information in this article is provided for general reference and educational purposes only. Vehicle specifications, procedures, and part compatibility can vary by production date, trim level, and region. Always consult your vehicle's factory service manual and verify part numbers before purchasing or performing repairs. Safety-critical components such as airbags, seat belts, and braking systems should be installed by a qualified professional.
- Audi Q3:
- 🎬 Helpful Videos
- 🛍️ Shop This Part
- Symptoms of Failure
- Known Issues, TSBs, and Recalls
- Common Problems
- Recalls & Technical Service Bulletins (TSBs)
- Buying a Used 2015-2018 Q3 Tail Light: Your Checklist
- Step 1: Identify the Correct Location and Side
- Step 2: Determine Your Lighting Technology (LED vs. Halogen)
- Step 3: Check for Year-Specific Features
- Step 4: Perform a Physical Inspection
- Replacement Overview & Difficulty
- Cost Comparison
- Frequently Asked Questions (FAQ)
- 🎟️ Get 5% Off