

2009-2012 Acura RL Sun Visor: Fixing Droop and Matching Interior Colors
This guide covers common failure symptoms, simple replacement steps, and how to find the exact color-matched sun visor for your RL.
- The most common failure is an internally worn pivot, causing the visor to droop; this cannot be repaired and requires replacement.
- You must match the interior color code from the sticker on your driver's door jamb (e.g., YR372L, NH637L) to the replacement part to ensure it matches your headliner.
- Replacement is a very easy DIY job, requiring only a screwdriver and about 15 minutes.
- New OEM visors are very expensive, making a quality used OEM part from a 2005-2012 RL the most cost-effective solution.
Symptoms of a Failing Sun Visor

A faulty sun visor is typically easy to diagnose. The symptoms are usually physical and visual, affecting the visor's ability to stay in place or function correctly.
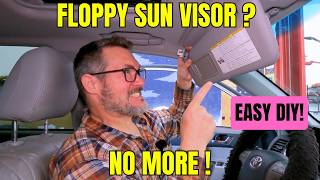
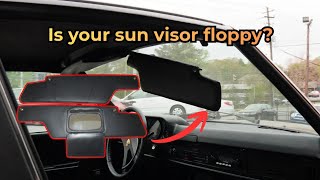
- Visor Droops or Won't Stay Up: 🎬 See how to diagnose and address a floppy sun visor The most common problem is a weak internal pivot mechanism. The visor will sag, droop into your line of sight, or fall down completely when you hit a bump. This happens because the internal friction points that hold the visor in position have worn out.
- Vanity Mirror Light Failure: The light around the mirror may flicker or stop working entirely. This is often caused by a break in the wiring within the visor's hinge from repeated use, or it could be a blown fuse.
- Broken Mirror or Cover: The vanity mirror itself can crack from impact, or the plastic cover and its small hinges can become brittle and break off.
- Loose Mounting: The entire visor assembly may feel loose where it attaches to the roof. This is usually due to the two mounting screws backing out over time.
Buying a Used 2009-2012 Acura RL Sun Visor

Because new OEM sun visors for the Acura RL can be surprisingly expensive, a used OEM part is often the best value. Aftermarket options are generally not available for this specific model, making a quality used part an excellent choice. Here’s what to look for.
1. Verify Your Interior Color Code
This is the most critical step. Acura offered a few different interior colors for the RL, and the sun visor must match your headliner. The color code is located on a sticker on the driver's side door jamb. Look for a code that typically starts with 'NH' or 'YR'.
- YR372L - Premium Ivory / Parchment
- NH637L - Gray
- YR416L - Max Ivory
When buying a used visor, ensure the seller specifies the color code from the donor vehicle or provides clear pictures that you can match to your own. The last few letters of the OEM part number (e.g., ZB, ZG, ZH) denote the color.
Pro Tip: If you are unsure of your color name or code, you can provide your Vehicle Identification Number (VIN) to an Acura dealership's parts department, and they can look up the exact part number and color for your specific car.
2. Physical Inspection Checklist
When inspecting a used sun visor, check the following:
- Pivot Stiffness: Hold the mounting base and try to move the visor up and down. It should move smoothly but have enough resistance to hold its position. If it feels floppy, it has the same internal wear as your old one.
- Fabric and Condition: Check for stains, tears, or sagging fabric. Years of use and sun exposure can degrade the material.
- Mirror and Light Cover: Open the vanity mirror cover. Make sure it's not cracked and that the hinge operates correctly.
- Mounting Points: Inspect the plastic mounting base for any cracks, especially around the screw holes.
3. Compatibility Across Years (2005-2012)
The part numbers for the 2009-2012 Acura RL sun visors begin with the prefix "832xx-SJA-". The "SJA" designation corresponds to the second-generation Acura RL chassis (KB1/KB2). This means that sun visors from any 2005-2012 Acura RL should be physically compatible, as long as the color and electrical features match. This widens the range of potential donor vehicles when searching for a used part.
Sun Visor Replacement Guide (DIY)
Replacing the sun visor on an Acura RL is a simple DIY job that usually takes less than 15 minutes and requires only basic tools.
Tools Needed:
- Phillips head screwdriver
- Small flathead screwdriver or plastic trim removal tool
Step-by-Step Instructions: 🎬 Watch this quick video walkthrough on replacing your sun visor
- Pry Open the Screw Cover: The mounting base of the sun visor has a plastic cover hiding the screws. Use a small flathead screwdriver or a trim tool to gently pry this cover off. There is often a small slot to insert the tool.
- Remove the Mounting Screws: With the cover removed, you will see two Phillips head screws. While holding the sun visor to keep it from falling, remove both screws.
- Disconnect the Electrical Connector: Gently pull the visor down from the headliner. You will see a small electrical wire leading into the roof. This is for the vanity mirror light. Squeeze the tab on the connector and pull it apart to disconnect it.
- Install the New Visor: Connect the electrical plug on the new visor. Align the mounting base with the screw holes in the roof and insert the two Phillips head screws. Tighten them until snug, but be careful not to overtighten and strip the holes or crack the plastic base.
- Test and Finish: Before snapping the cover back on, test the visor. Move it up and down to ensure it holds its position. Open the mirror cover to confirm the vanity light turns on. Once confirmed, snap the plastic cover back into place over the mounting base.
Cost Comparison for Acura RL Sun Visor
Prices for sun visors can vary dramatically between new OEM, used, and aftermarket options (though aftermarket is rare for this model).
| Part Source | Estimated Price Range |
|---|---|
| New OEM | $250 - $500+ |
| New Aftermarket | $50 - $100 (Generally not available for this specific model) |
| Used OEM | $60 - $120 |
| Shop Labor Cost | $30 - $75 |
Known Issues, Recalls, and TSBs
There are no specific recalls or Technical Service Bulletins (TSBs) from Acura or the NHTSA for sun visor failures on the 2009-2012 Acura RL. While other manufacturers have issued recalls for sun visor wiring short circuits or incorrect warning labels, the Acura RL is not affected by these issues. The primary known issue is the non-safety-related mechanical failure causing the visor to droop.
OEM Part Numbers
Part numbers are specific to the side (driver/passenger) and color. `83280` indicates the driver's side (Left), and `83230` indicates the passenger's side (Right). The suffix (e.g., ZB, ZG) indicates the color.
| Side | Color | Part Number |
|---|---|---|
| Driver (Left) | Gray | 83280-SJA-A02ZB |
| Driver (Left) | Premium Ivory | 83280-SJA-A02ZG |
| Driver (Left) | Max Ivory | 83280-SJA-A02ZH |
| Passenger (Right) | Gray | 83230-SJA-A02ZB |
| Passenger (Right) | Premium Ivory | 83230-SJA-A02ZG |
Note: This is not an exhaustive list. Additional part numbers exist for other color and model year variations. Always verify with your VIN.
Frequently Asked Questions (FAQ)
Can I repair a drooping sun visor instead of replacing it?
Unfortunately, for the Acura RL, the drooping is caused by internal wear in the pivot mechanism, which is not designed to be serviced or tightened. While some DIY fixes exist for other cars, like adding clips or injecting material, the most reliable and long-lasting solution is to replace the entire visor assembly.
Is the driver's side visor the same as the passenger's side?
No, they are not interchangeable. They are mirror images of each other. The driver's side part number will start with 83280-SJA-XXXX and the passenger's side will start with 83230-SJA-XXXX.
What causes the vanity mirror light to stop working?
The most common cause is a broken wire inside the visor's hinge from repeated opening and closing. It can also be a blown "Interior Lamp" fuse. If the fuse is good, the visor assembly itself needs to be replaced to fix the light.
How do I find my Acura's interior color code?
Open the driver's side door and look for the vehicle information sticker on the door jamb. The interior color code is listed on this sticker. It will be a code like YR372L or NH637L.
Helpful Videos
Technical Specifications
OEM Part Numbers: 83230-SJA-A01ZE 83230-SJA-A01ZF 83230-SJA-A02ZB 83230-SJA-A02ZD 83230-SJA-A02ZG 83230-SJA-A82ZA 83230-SJA-A82ZB 83280-SJA-A01ZE 83280-SJA-A01ZF 83280-SJA-A02 83280-SJA-A02ZB 83280-SJA-A02ZD 83280-SJA-A02ZF 83280-SJA-A02ZG 83280-SJA-A02ZH
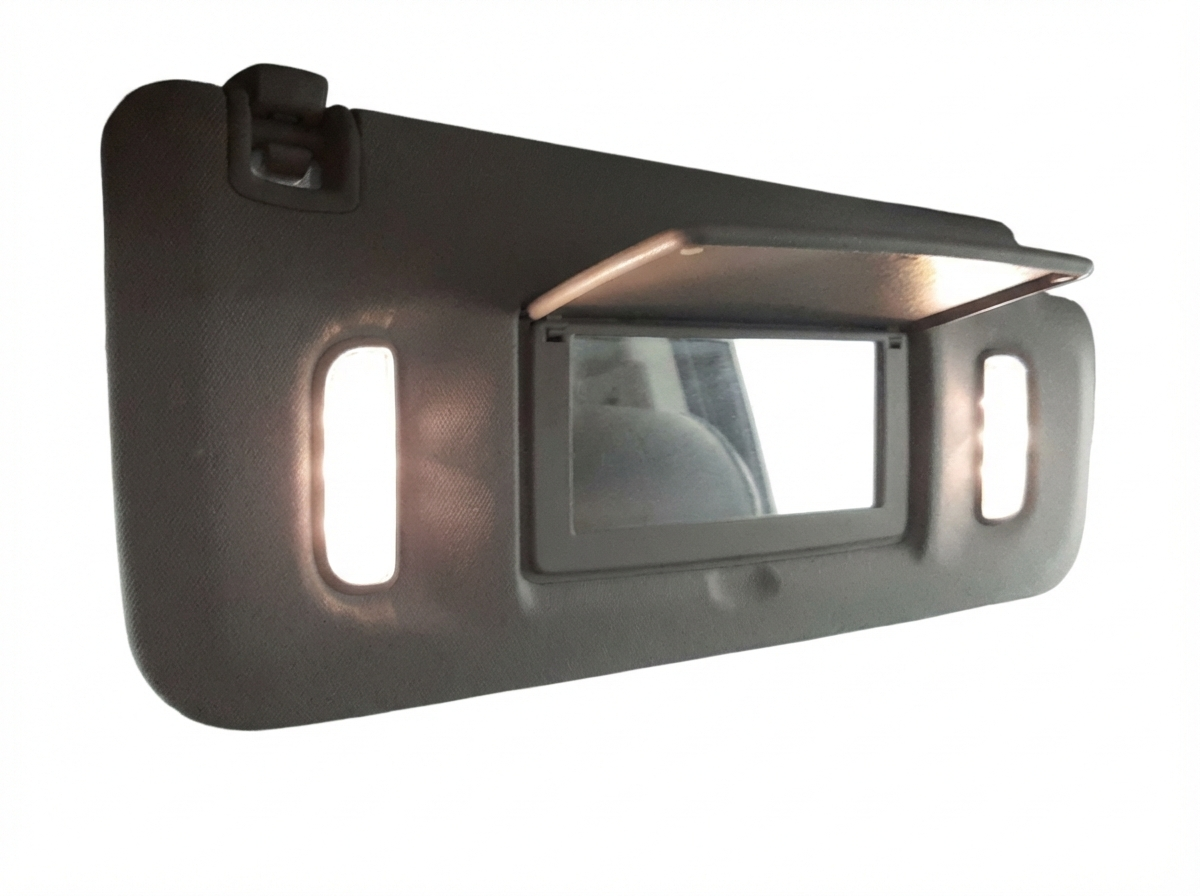
Contains one electrical connector for the illuminated vanity mirror.
We Have This Part in Stock


The information in this article is provided for general reference and educational purposes only. Vehicle specifications, procedures, and part compatibility can vary by production date, trim level, and region. Always consult your vehicle's factory service manual and verify part numbers before purchasing or performing repairs. Safety-critical components such as airbags, seat belts, and braking systems should be installed by a qualified professional.
- Acura RL:
- 🎬 Helpful Videos
- 🛍️ Shop This Part
- Symptoms of a Failing Sun Visor
- Buying a Used 2009-2012 Acura RL Sun Visor
- 1. Verify Your Interior Color Code
- 2. Physical Inspection Checklist
- 3. Compatibility Across Years (2005-2012)
- Sun Visor Replacement Guide (DIY)
- Cost Comparison for Acura RL Sun Visor
- Known Issues, Recalls, and TSBs
- OEM Part Numbers
- Frequently Asked Questions (FAQ)
- 🎟️ Get 5% Off