

Mitsubishi 3000GT Oxygen Sensor Replacement Guide (1991-1999)
Fix your check engine light, restore fuel economy, and bring back lost performance by choosing the right oxygen sensor for your 3000GT.
- Verify the exact number of sensors your 3000GT needs, as it varies by year and model.
- Choose a direct-fit sensor from a premium brand like Denso or NTK for best results; avoid universal-fit sensors.
- The rear oxygen sensor is extremely difficult to access and may require professional installation.
- Always use anti-seize on the threads and torque the new sensor to 33 ft-lbs.
Is Your 3000GT Oxygen Sensor Failing?
Oxygen sensors are wear-and-tear items that typically last from 50,000 to 100,000 miles. When they start to fail, they send slow or incorrect signals to the engine's computer, leading to a range of noticeable problems. Ignoring these symptoms can lead to more expensive repairs, including a damaged catalytic converter.
Common Symptoms of a Bad O2 Sensor:
- Check Engine Light: This is the most common indicator. For 1996 and newer models, codes will be in the P0130-P0167 range. Older OBD-I models may show a code like '39'. 🎬 Watch: How to read check engine codes on your 3000GT.
- Poor Fuel Economy: One of the first things you'll notice is having to fill up your tank more often.
- Rough Idle and Poor Performance: Your engine might idle erratically, hesitate when you accelerate, misfire, or feel sluggish.
- Bad Smell from Exhaust: A failing sensor can cause a rich fuel mixture, leading to a smell of rotten eggs (sulfur) or raw gasoline from the exhaust.
- Failed Emissions Test: A bad O2 sensor is a very common reason for failing a smog check.
Choosing the Right Aftermarket O2 Sensor
For the 3000GT, it is critical to buy a direct-fit sensor with the correct wire length and factory-style connector. Universal sensors that require you to splice wires are a common point of failure and should be avoided.
Pro Tip: How Many Sensors Do I Have?
The number of sensors on your 3000GT depends on the year, engine, and original emissions configuration (Federal or California). Always verify your specific setup before ordering.
- 1991-1993 DOHC Non-Turbo: Typically one sensor.
- 1991-1993 Twin-Turbo (VR-4): Two sensors (both upstream).
- 1994-1995 Models: A transition period. Some have one or two sensors like earlier models, while others (especially California-spec) have four.
- 1996-1999 All Models: Four sensors (two upstream before the catalytic converters, and two downstream after).
Brand Quality Tiers
Not all aftermarket brands are created equal. Based on owner experiences and brand reputation for Japanese vehicles, here is a breakdown of your options.
Tier 1: OEM & Premium Aftermarket
These brands are either the original equipment manufacturer or are known to meet or exceed OEM quality. They are the recommended choice for reliability and performance.
- Denso: A major OEM supplier for Japanese automakers, Denso sensors are widely considered a top-tier choice for the 3000GT.
- NGK / NTK: The original factory sensors in many 3000GTs were made by NGK (branded as NTK for sensors). This is a guaranteed OEM-quality fit and function.
Tier 2: Quality Aftermarket
This brand is a global leader and produces high-quality parts, though some owners prefer to stick with Japanese brands for Japanese cars.
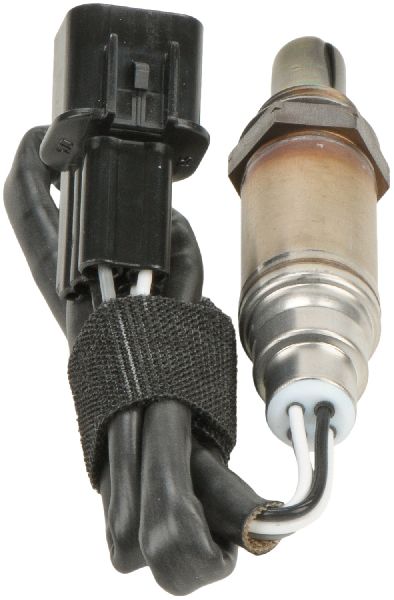
- Bosch: Bosch invented the oxygen sensor and is a massive OEM supplier worldwide. Their direct-fit sensors are a reliable option, though some forum members have noted a preference for Denso or NTK for perfect electronic compatibility.
Tier 3: Budget-Friendly Options
These brands offer a more affordable price point, which can be appealing for older vehicles or budget-conscious repairs. Quality and longevity may not match the premium brands.
- Delphi
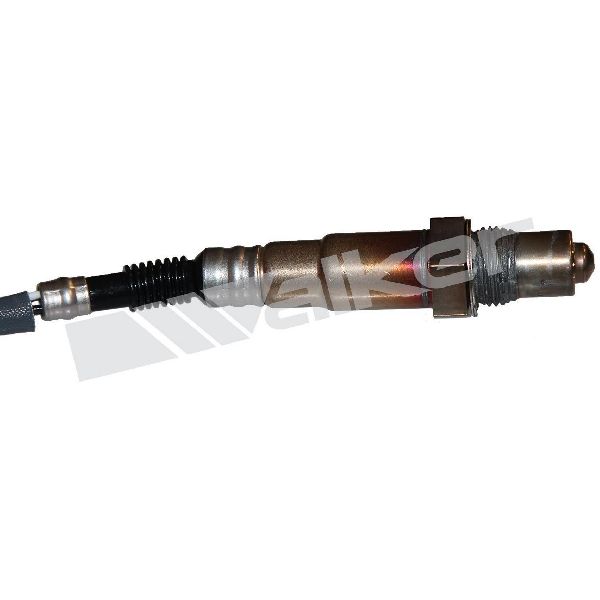
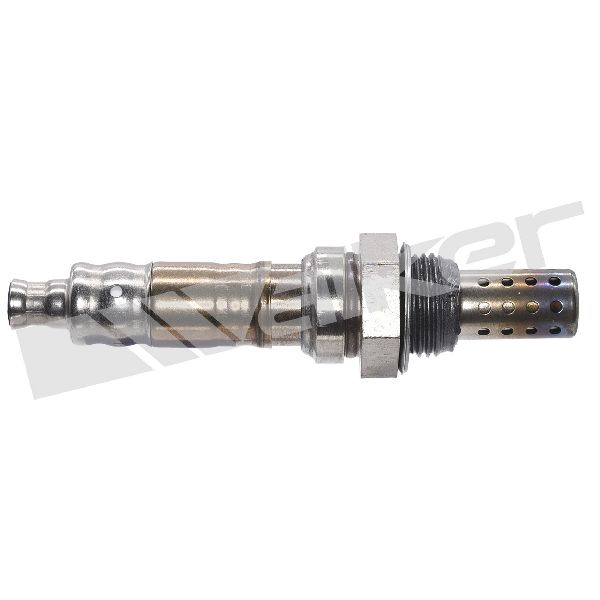
- Walker Products
- Spectra
- DriveWire
Typical Replacement Costs
| Part Type | Price Range | Notes |
|---|---|---|
| New Aftermarket | $25 - $108 | Price depends heavily on the brand chosen. |
| New OEM | $200 - $450+ | Can be very expensive and hard to find. Aftermarket is a more practical choice. |
| Shop Labor | $100 - $400 | Varies based on which sensor is being replaced. The rear sensor is significantly more labor-intensive. |
A Word on Installation Difficulty
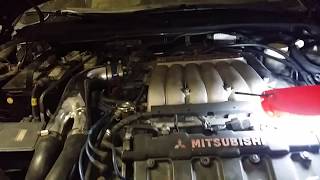
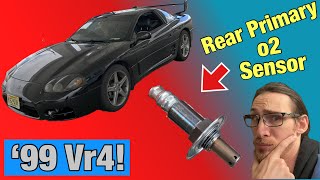
Replacing the front oxygen sensor(s) is straightforward for a DIY mechanic. However, the 🎬 See this walkthrough for replacing the front oxygen sensor. rear sensor (on the firewall side of the engine) is notoriously difficult to access. It often requires removing intercooler piping and other components to reach. It is highly 🎬 Watch: Tips for accessing and replacing the difficult rear sensor. recommended to soak the old sensors in penetrating oil for several days before attempting removal to prevent them from seizing and breaking.
Frequently Asked Questions (FAQ)
What is the difference between an upstream and downstream sensor?
Upstream sensors (also called primary or front sensors) are located in the exhaust manifold or just after it, before the catalytic converter. Their job is to provide real-time feedback for the ECU to adjust the air-fuel ratio. Downstream sensors (secondary or rear) are located after the catalytic converter. They monitor the converter's efficiency by comparing their readings to the upstream sensors.
Do I need to replace all the sensors at once?
It is not required, but it is often recommended. O2 sensors are wear items, and if one has failed due to age, the others are likely near the end of their service life. Replacing them at the same time can save you from having another failure and a repeat repair job in the near future.
Can I clean my old oxygen sensor?
While some people attempt to clean O2 sensors, it is not a reliable or recommended fix. The sensing element degrades internally over time, and contamination from substances like oil or coolant causes permanent damage. Replacement is the only guaranteed solution.
What tools do I need for the job?
You will need a special oxygen sensor socket, which is a 7/8" (or 22mm) socket with a slot cut out for the wire. You will also need a ratchet, extensions, penetrating oil, and potentially a breaker bar for stubborn sensors. For the difficult rear sensor, a set of ratcheting wrenches is very helpful.
What is the most common ordering mistake?
The most common mistake is ordering the wrong sensor for the specific location. The front and rear banks, as well as upstream and downstream positions, often use sensors with different wire lengths. For example, on a '92 Twin Turbo, the front sensor wire is 30cm long, while the rear is 60cm. Always verify the position and check wire lengths before you buy.
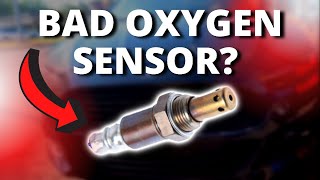
Helpful Videos
Technical Specifications
OEM Part Numbers: MD164422 MD164423 MD186990 MD305148 MD305149 MD312084 MD331887 MD343987
Thread Size: M18 x 1.50mm. Hex Size: 7/8" (22mm). Type: 4-wire heated Zirconia.
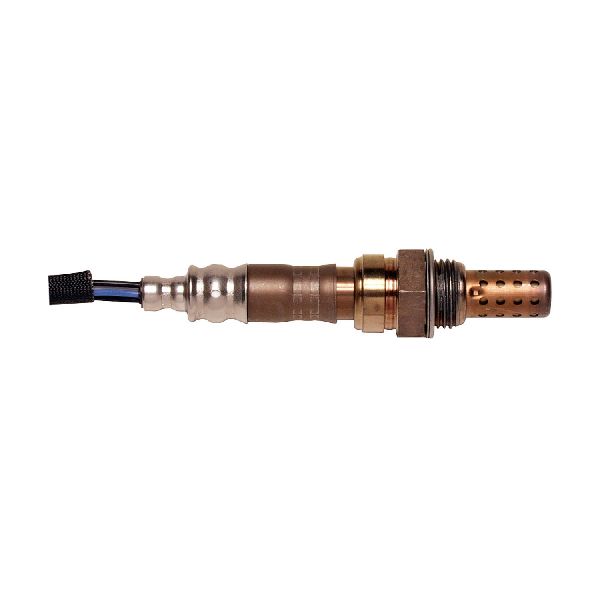
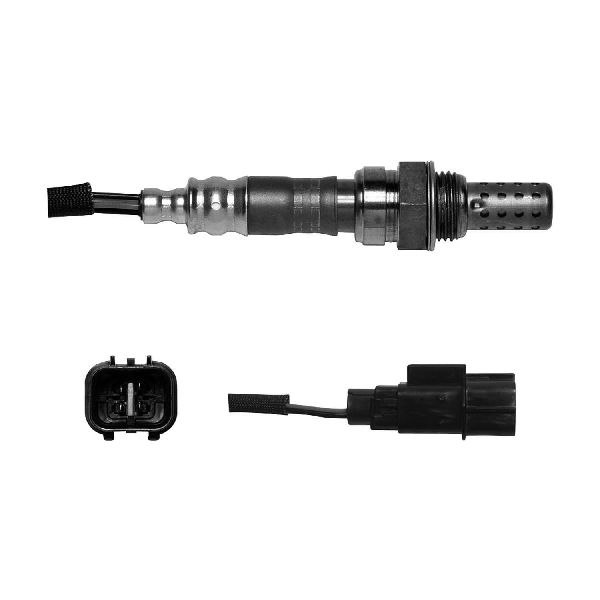
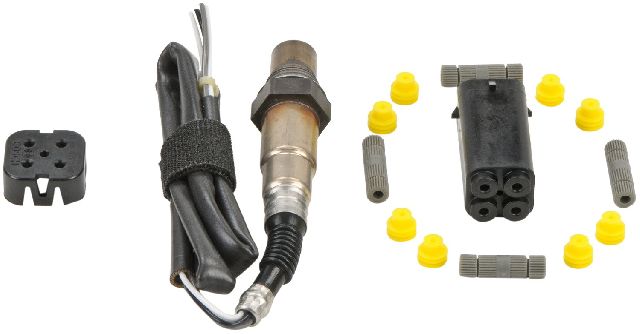
We Have This Part in Stock

The information in this article is provided for general reference and educational purposes only. Vehicle specifications, procedures, and part compatibility can vary by production date, trim level, and region. Always consult your vehicle's factory service manual and verify part numbers before purchasing or performing repairs. Safety-critical components such as airbags, seat belts, and braking systems should be installed by a qualified professional.
- Mitsubishi 3000GT: