

1975-1978 GMC G15 Brake Light Switch: Symptoms, Brands, and Replacement Guide
Don't get left in the dark; learn how to diagnose and replace the faulty brake light switch on your classic GMC van.
- A bad brake light switch is a critical safety failure; do not drive the vehicle until it is fixed.
- For this van, a quality aftermarket brand like Standard Ignition is a reliable and recommended choice.
- Replacement is a simple DIY task that can be done in under 30 minutes with basic tools.
- Always check the bulbs and fuses first before assuming the switch has failed.
Is Your G15's Brake Light Switch Failing?
On a classic van like the 1975-1978 G15, parts like the brake light switch fail from decades of use. The internal contacts wear out, get corroded, or the plastic housing can become brittle and break. The symptoms are usually obvious and require immediate attention for safety.
Critical Safety Warning
A faulty brake light switch is a major safety hazard. If your brake lights do not work, other drivers won't know you are slowing down or stopping, creating a high risk of a rear-end collision. It is also illegal to drive without functioning brake lights. Address this issue before driving the vehicle.
Choosing the Right Aftermarket Switch
For a vehicle from this era, finding a New Old Stock (NOS) OEM part is highly unlikely and generally unnecessary for a simple switch. The aftermarket provides reliable and affordable options. The key is choosing a brand known for quality.
Brand Tiers for Your G15 Van:
- Top Tier (Recommended): Standard Ignition (Standard Motor Products)
Standard Ignition is a well-respected aftermarket brand known for making high-quality electronic parts that meet or exceed original factory specs. They use quality materials like copper alloy conductors and durable housings to ensure reliability and a long service life. For a critical safety part, this brand is a trusted and recommended choice. - Economy Tier: Skyward
Skyward is a more budget-focused brand. While the price is lower, there is very little public information or long-term owner feedback regarding the durability of their switches. For a component this important, investing a few extra dollars in a proven brand like Standard Ignition is a wise decision for peace of mind.
Brake Light Switch Replacement Cost
| Part Type | Estimated Cost |
|---|---|
| New Aftermarket (Skyward, Standard Ignition) | $5.40 - $29.97 |
| Shop Labor for Installation | $55 - $110 |
Note: Prices are estimates and can vary based on your location and supplier.
Pro Tip: Check Before You Replace
Before buying a new switch, always check the simple things first. Make sure the brake light bulbs aren't burned out and check the "STOP LAMP" fuse in the fuse panel. On these older vans, bad wiring grounds can also cause lighting problems.
Frequently Asked Questions (FAQ)
Where is the brake light switch located on my GMC G15?
The brake light switch is located under the driver's side dashboard. Look up at the top of your brake pedal arm; you will see the switch mounted on a bracket where the pedal arm can make contact with its plunger or body.
Can I replace the brake light switch myself?
Yes, this is a great job for a DIY mechanic and is usually very simple. It typically involves unplugging the electrical connector, removing a small retaining clip, and sliding the switch out of its bracket. The entire job often takes less than 30 minutes with basic hand tools.
Does the new switch need to be adjusted?
Yes, proper adjustment is important. The switch must be positioned so that the brake lights turn on shortly after you begin to press the pedal, and turn off completely when the pedal is fully released. If it's not adjusted correctly, the lights might stay on and drain your battery, or they might not come on at all.
My brake lights still don't work after replacing the switch. What's next?
If a new switch doesn't fix the issue, re-check the fuse and bulbs. The next most likely culprits are a bad ground wire, a problem in the wiring harness, or a fault within the turn signal switch in the steering column, as the brake light circuit often passes through it.
Technical Specifications
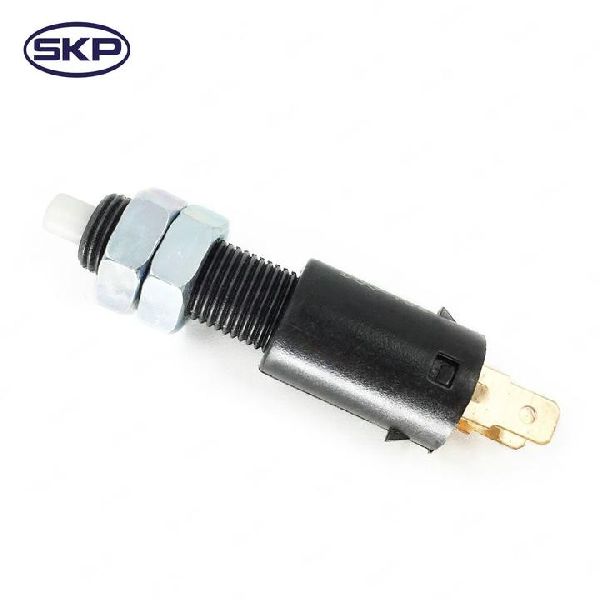
Mechanically-activated plunger switch, mounted on brake pedal support bracket.
We Have This Part in Stock


The information in this article is provided for general reference and educational purposes only. Vehicle specifications, procedures, and part compatibility can vary by production date, trim level, and region. Always consult your vehicle's factory service manual and verify part numbers before purchasing or performing repairs. Safety-critical components such as airbags, seat belts, and braking systems should be installed by a qualified professional.