

A Practical Guide to Replacing Engine Mounts on Your 1963-1968 Mercury Villager
Keep your classic wagon's engine secure and your ride smooth by understanding when and how to replace your engine mounts.
- Bad mounts cause vibration, clunking noises, and visible engine movement.
- For this vehicle, new aftermarket mounts from brands like DEA are an affordable and effective solution.
- It is highly recommended to replace engine mounts in pairs, along with the transmission mount.
- Ignoring a failed mount can lead to damage to hoses, belts, and exhaust components.
Is Your Villager Shaking, Clunking, or Vibrating?
Over decades of use, the rubber in your engine mounts dries out, cracks, and collapses. When this happens, they can no longer support the engine properly or absorb its vibrations. This leads to several noticeable problems that can make your classic Mercury unpleasant to drive.
Top 3 Signs of a Bad Engine Mount:
- Excessive Vibration: This is the most common symptom. You'll feel a rough idle, and vibrations may be felt through the steering wheel, floor, and seats. This shaking often gets worse when the car is in gear and stopped, like at a traffic light.
- Clunking and Banging Noises: When you accelerate, decelerate, or shift from drive to reverse, a loud clunk or thud from the engine bay is a clear sign of a failed mount. This noise is the engine itself lifting or shifting and hitting other parts of the frame.
- Visible Engine Movement: A quick way to check is to have a helper watch the engine while the car is off. Try to rock the engine by hand; it shouldn't move much. A more definitive test is to have a helper hold the brakes firmly, shift into drive, and lightly press the gas. If the engine dramatically lifts or jumps, one or more mounts have failed.
Don't Ignore a Bad Mount
While you can still drive with a failing mount, it's not recommended for long. The excessive engine movement can put stress on radiator hoses, exhaust manifolds, wiring, and transmission linkages, leading to more expensive repairs down the road.
Choosing the Right Aftermarket Mount
For a classic vehicle like the 1963-1968 Villager, finding original "New Old Stock" (NOS) Ford parts is nearly impossible. Your only realistic option is new aftermarket mounts. The good news is that for this type of simple, solid rubber mount, aftermarket quality is generally sufficient for daily driving.
Brands like DEA Products offer an affordable and practical choice. They are designed to be a direct-fit replacement, making installation straightforward. While some online reviews for modern cars show mixed results regarding vibration on complex hydraulic mounts, the simple solid rubber design used in your Villager is what these brands produce effectively. Other common brands you might see for classic Fords are Anchor and Westar, which have a long history in the aftermarket.
Pro Tip: Replace in Pairs or Sets
If you find one engine mount has failed, the others are likely not far behind. The rubber on all mounts has aged at the same rate. To ensure proper engine alignment and save on future labor, it's best to replace both engine mounts (and the transmission mount) at the same time.
What to Expect for Replacement Costs
The cost to replace engine mounts on your Villager is reasonable, as the parts are inexpensive and the labor is straightforward for a mechanic familiar with classic cars.
| Part Type | Estimated Part Cost (Each) | Notes |
|---|---|---|
| New Aftermarket (DEA, etc.) | $12.84 - $39.94 | This is the most common and recommended option. Price depends on the specific mount (left, right, or transmission). |
| New OEM (NOS) | $100+ (If found) | Extremely rare and not necessary for good performance. Often sold by specialty classic parts dealers. |
| Shop Labor | $150 - $300 | Covers replacing two engine mounts. The job typically takes 1.5 to 2.5 hours. |
Frequently Asked Questions
Are there any recalls for 1963-1968 Villager engine mounts?
No. Searches of the National Highway Traffic Safety Administration (NHTSA) database show no recalls or technical service bulletins (TSBs) related to the engine mounts for this specific vehicle and year range.
Can I replace the engine mounts myself?
Yes, this is a DIY-feasible job if you have the right tools and are comfortable working under your car. You will need a good floor jack, jack stands, a block of wood to protect the oil pan, and a set of wrenches and sockets. The main challenge can be prying the engine into position to align the bolt holes on the new, taller mount.
Do I need special mounts for my V8 engine?
Yes, but most aftermarket mounts are designed for the common V8s in the Comet/Villager family, like the 260 and 289. Always verify that the part you are buying lists compatibility with your specific engine. Some larger V8s offered in other Mercury models may use a different mount.
Will a new aftermarket mount cause more vibration than the original?
It shouldn't. While this can be a concern with modern hydraulic mounts, the simple solid rubber design for your Villager is easy to replicate. A new, quality aftermarket mount will be a significant improvement over a collapsed original and should restore a smooth feel.
Technical Specifications
OEM Part Numbers: B9M-6038-A
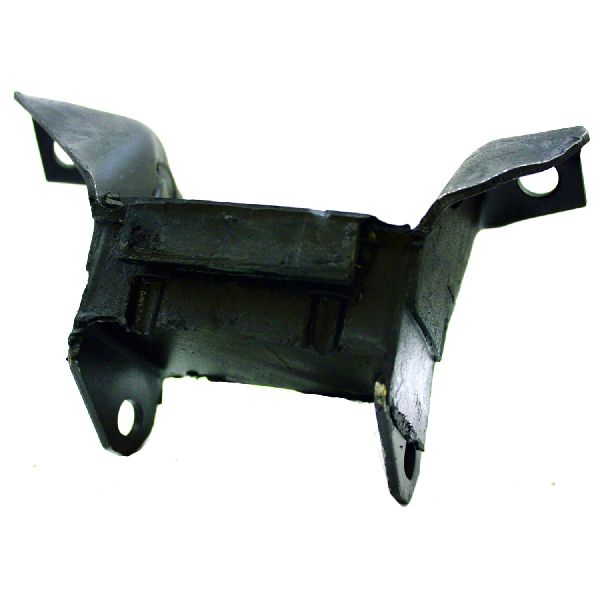
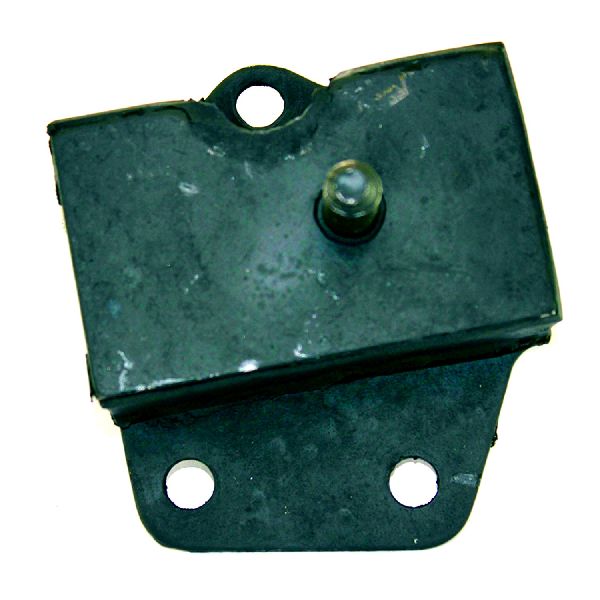
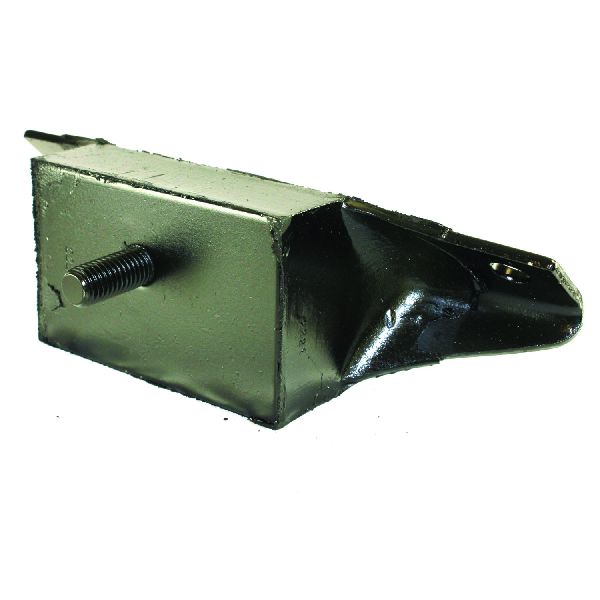
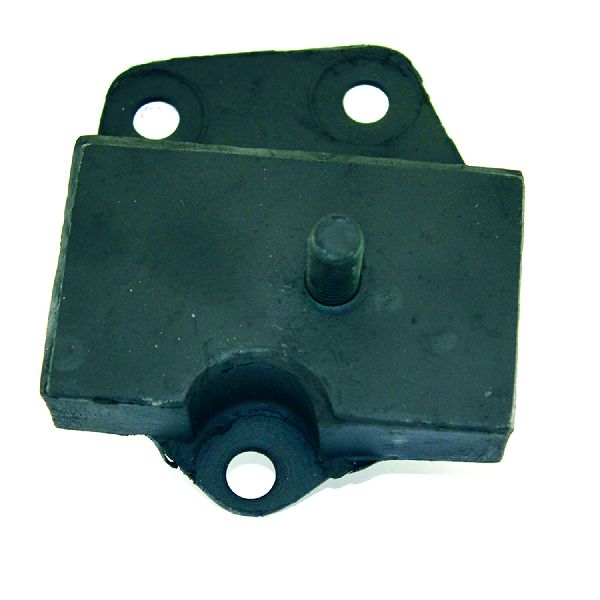
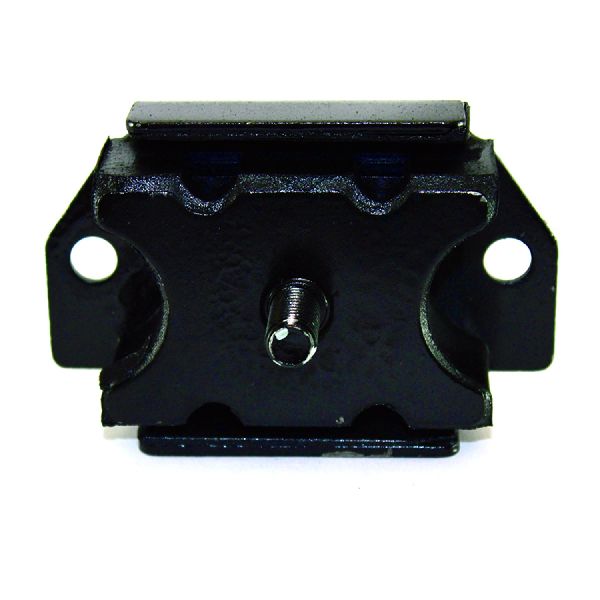
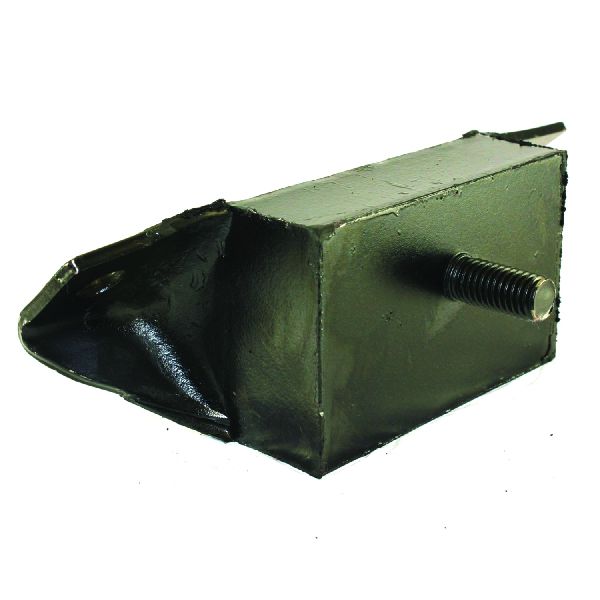
The engine mounts for the 1963-1968 Mercury Villager are a solid rubber block design bonded to a steel mounting plate. They are typically a stud-type mount, specific to the passenger (RH) or driver (LH) side, and vary based on the V8 engine size (e.g., 260/289 vs. 390).
We Have This Part in Stock

The information in this article is provided for general reference and educational purposes only. Vehicle specifications, procedures, and part compatibility can vary by production date, trim level, and region. Always consult your vehicle's factory service manual and verify part numbers before purchasing or performing repairs. Safety-critical components such as airbags, seat belts, and braking systems should be installed by a qualified professional.