

Universal Joint Guide for the 1954-1957 Nash Ambassador Custom
Keep your classic Nash running smoothly by understanding, identifying, and replacing your universal joints.
- Listen for squeaking at low speeds or clunking when shifting, as these are the earliest signs of U-joint failure.
- Addressing vibrations immediately is crucial to prevent a catastrophic failure where the driveshaft could detach.
- Modern aftermarket brands like Moog and GMB are excellent, high-quality replacements that surpass the original 1950s parts.
- It is highly recommended to replace both U-joints on the driveshaft at the same time for balanced performance and to prevent a second repair job.
Understanding Universal Joint Failure in Your Classic Nash
The universal joints in your 1954-1957 Nash Ambassador Custom are simple but essential. They are wear-and-tear items, meaning they eventually wear out from use. The original U-joints from the 1950s were not designed to last forever. The most common reason for failure is a lack of lubrication, which causes the small needle bearings inside the caps to wear out from friction. This wear creates extra play in the driveshaft, leading to noises and vibrations.
Symptoms of a Bad U-Joint
A failing U-joint will give you clear warning signs. Ignoring them can lead to more severe damage or even the driveshaft detaching from the vehicle.
- Squeaking Noises: A repetitive squeak or chirp when you start moving at low speeds is often the first sign. This is caused by dry metal-on-metal contact as the internal grease is gone.
- Clunking or Ringing Sounds: A distinct “clank” when you shift from drive to reverse or vice-versa points to excessive play in a worn U-joint.
- Vibrations: As the wear gets worse, you may feel a vibration throughout the car that increases with speed. This is a serious sign that the driveshaft is becoming unbalanced.
Critical Failure Warning
If you experience severe vibrations, stop driving the vehicle. A complete U-joint failure can cause the driveshaft to disconnect, potentially damaging the transmission, exhaust, and underbody. This is a critical safety issue.
Choosing the Right Aftermarket U-Joint
For a classic car like the 1954-1957 Nash Ambassador, original "New Old Stock" (NOS) parts are extremely rare and not necessary for a wearable part like a U-joint. Modern aftermarket U-joints from reputable brands offer superior materials and manufacturing compared to what was available in the 1950s. The two main brands you will find are GMB and Moog.
Brand Quality Tiers:
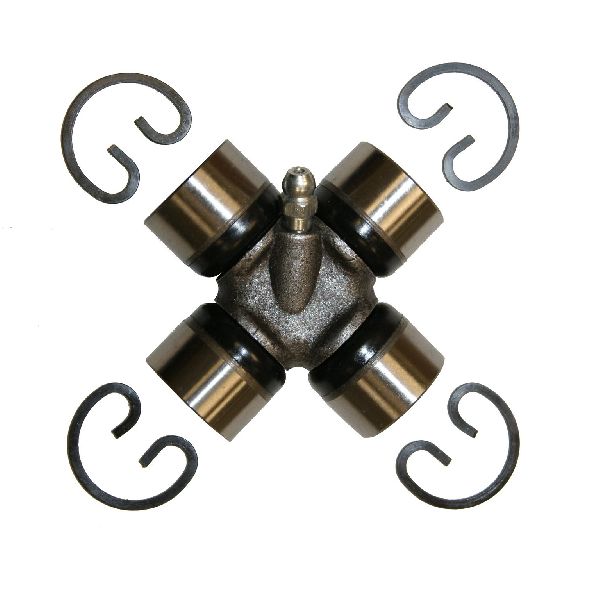
- Moog: Often considered a premium aftermarket brand, Moog U-joints are known for their durability and features like a greasable design. This allows you to add fresh grease periodically to flush out contaminants, potentially extending the part's life. Some forum users prefer Moog or other premium brands like Spicer for classic cars.
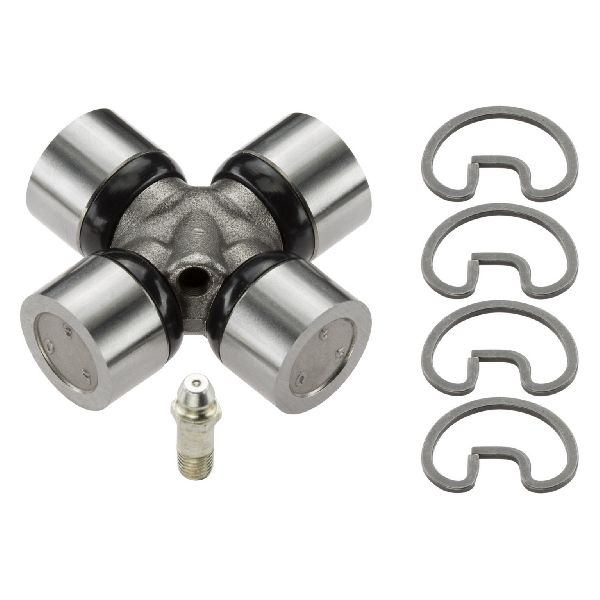
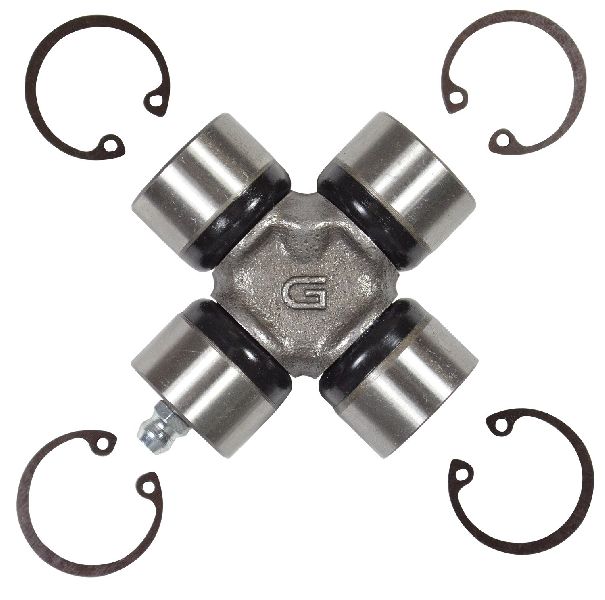
- GMB: GMB is a well-regarded manufacturer that produces quality, reliable parts that meet or exceed original specifications. They are a solid choice for a dependable, standard replacement and are often more budget-friendly.
Pro Tip: Greasable vs. Sealed
Many aftermarket U-joints are "greasable," meaning they have a zerk fitting for adding grease. This is a great feature for longevity, but you must remember to grease them regularly. Non-greasable, or sealed, U-joints are fit-and-forget but may have a shorter lifespan if used in harsh conditions. For a classic car that is driven occasionally, either type from a quality brand will perform well.
Cost of Replacing a Universal Joint
Replacing U-joints is a relatively inexpensive repair, especially if you can do the work yourself. The parts are affordable, and the labor is straightforward for a mechanic.
| Item | Estimated Cost |
|---|---|
| Aftermarket U-Joint Part | $17.07 - $28.50 |
| Shop Labor | $150 - $300 |
| Total Estimated Cost | $167 - $329 |
Frequently Asked Questions
Are there any recalls for the 1954-1957 Nash Ambassador U-Joint?
No. There are no specific recalls or technical service bulletins (TSBs) found for universal joints on the 1954-1957 Nash Ambassador Custom. The NHTSA's public database generally starts its detailed records in 1966, well after this vehicle's production.
How many U-joints does my Nash Ambassador have?
Most standard driveshaft configurations on a car like the Ambassador use two universal joints: one at the transmission end (front) and one at the rear axle end (rear). It is recommended to replace them in pairs.
Is a Moog U-joint better than a GMB for my classic Nash?
Both Moog and GMB are reputable brands that will provide a reliable replacement for your vehicle. Moog is often seen as a premium or heavy-duty option, and many enthusiasts prefer them. GMB offers excellent quality for a standard replacement. For a classic car with stock power, either brand will serve you well and will be an improvement over a worn original part.
Can I replace the U-joints myself?
Yes, if you have the right tools and are comfortable working under your vehicle. The process involves unbolting the driveshaft and using a press, a specialized tool, or a large vise and hammer to remove the old U-joint and install the new one. It's crucial to mark the driveshaft's orientation before removal to maintain its balance. If you are not experienced, it is best to have a professional mechanic perform the replacement.
Technical Specifications
Two universal joints are typically required for the driveshaft assembly.
We Have This Part in Stock

The information in this article is provided for general reference and educational purposes only. Vehicle specifications, procedures, and part compatibility can vary by production date, trim level, and region. Always consult your vehicle's factory service manual and verify part numbers before purchasing or performing repairs. Safety-critical components such as airbags, seat belts, and braking systems should be installed by a qualified professional.