

U1000 on 2005-2009 Nissan Quest: CAN Communication Failure Causes and Fixes
On a 2005-2009 Nissan Quest, code U1000 almost always points to a poor ground connection, a weak battery, or corroded battery terminals. Before suspecting expensive computer modules, thoroughly clean all main ground points, especially the negative battery cable connections to the chassis and transmission, and test the battery. This simple, low-cost step often resolves the issue, which is common across many Nissan platforms of this era.
- U1000 is a network communication error, not a specific part failure.
- The most likely cause on a 2005-2009 Quest is a bad ground connection or a weak battery.
- Always start diagnosis by cleaning all battery and chassis grounds and testing the battery. This is a cheap and highly effective first step.
- Do NOT replace any computer (ECM, BCM, TCM) unless you have proven its power and grounds are good and it is the specific module that is offline.
- This code can cause a no-start or stalling condition, so it should be addressed promptly.
What's Unique About the 2005-2009 Nissan QUEST
Like many Nissans from this era (including the Altima, Murano, and Titan), the Quest is highly susceptible to electrical issues caused by poor ground connections that corrode over time. The main negative battery cable, which provides ground for multiple systems via connections to the chassis (often under the battery tray) and the transmission housing, is a common failure point. Unlike a simple sensor code, U1000 is a network-wide error, meaning the symptom (like a transmission issue) and the cause (like a corroded wire under the battery) can seem completely unrelated, making diagnosis tricky.
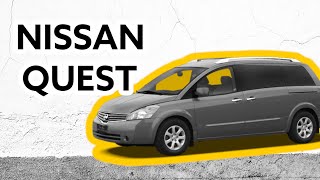
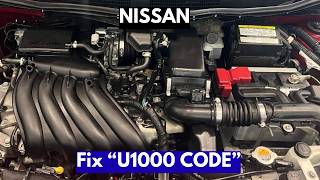
🎬 Watch: A guide to diagnosing the Nissan U1000 network code.Diagnostic Flowchart
Tap your situation to follow the diagnostic path that matches what you're seeing on this vehicle.
Symptoms You May Notice
- Check Engine Light or Service Engine Soon light is on
- Vehicle may not start or may stall intermittently
- Erratic or harsh, violent shifting
- Transmission gear position indicator on dash may disappear
- Gauges on the instrument cluster behave erratically or don't work
- Electrical glitches like power windows, locks, HVAC, horn, or wipers failing or activating on their own
- ABS, VDC, or SLIP warning lights may illuminate
- Security/Immobilizer light stays on
- Radiator fans run on high speed with key on, engine off
- Replacing the Engine Control Module (ECM) or another module simply because it has stored the U1000 code. The TSB explicitly states the module reporting the code is usually not the faulty part.
- Replacing sensors when the root cause is a network communication failure.
- Overlooking a simple, corroded ground wire on the transmission or chassis in favor of more complex diagnoses.
Most Likely Causes
- Poor or Corroded Ground Connections 🔴 High Probability Nissans of this era are well-documented to have issues with ground straps corroding where they bolt to the chassis and transmission, creating high resistance and causing voltage drops. The connection point under the battery tray and on the transmission housing are the most frequent culprits.
How to confirm: Visually inspect the main negative battery cable and its connection points on the chassis and the engine/transmission. Look for green or white powder-like corrosion. Perform a voltage drop test on the ground circuit while the engine is running; it should be less than 0.2 volts. A high reading confirms a bad ground.
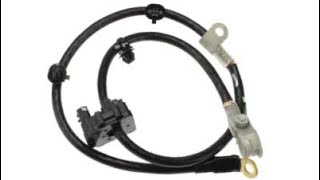
Typical fix: Disconnect the ground wires, clean the contact points on the terminal and the chassis to bare metal using a wire brush or sandpaper, then re-secure them tightly. Applying dielectric grease can help prevent future corrosion. If the cable itself is heavily corroded or broken, it must be replaced. 🎬 See this walkthrough on replacing the main battery ground cable.
Est. part cost: $5-$50 - Weak or Failing Battery 🔴 High Probability Modern electronic modules are highly sensitive to voltage. A voltage drop below 10V during engine cranking can cause modules to fail their startup sequence and drop off the network, triggering a U1000 code.
How to confirm: Test the battery with a digital multimeter or, preferably, a load tester. A healthy, resting battery should be at approximately 12.6 volts. The key test is a load test, which checks if the voltage drops below 9.6V-10V during startup.
Typical fix: Charge or replace the battery. Ensure the new battery meets or exceeds the OEM specifications for Cold Cranking Amps (CCA).
Est. part cost: $150-$250 - Corroded or Loose Battery Terminals 🟡 Medium Probability
How to confirm: Visually inspect the battery terminals for white or greenish corrosion. Check if the terminal clamps can be twisted by hand; they should be completely tight.
Typical fix: Disconnect the terminals (negative first), clean them and the battery posts with a wire brush and a baking soda/water solution, then reconnect securely (positive first).
Est. part cost: $0-$15 - Damaged CAN Bus Wiring Harness ⚪ Low Probability
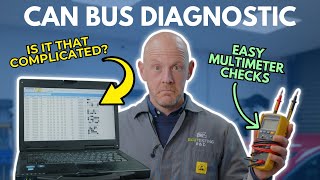
How to confirm: Visually inspect harnesses in the engine bay and under the dash for signs of chafing, melting, or rodent damage. A multimeter can be used to check for continuity and shorts in the CAN high and CAN low wires. With the battery disconnected, resistance between Pin 6 (CAN High) and Pin 14 (CAN Low) at the DLC should be ~60 ohms. A reading of 120 ohms indicates an open circuit or a missing terminating resistor, while a reading near zero indicates a short between the two lines. 🎬 Watch: How to troubleshoot CAN bus faults with a multimeter.
Typical fix: Repair the damaged section of the wire. Splicing CAN wires requires care to maintain the twisted-pair design to prevent interference.
Est. part cost: $10-$100
Rare But Worth Checking
- Faulty Control Module (ECM, BCM, TCM): A module like the ECM, BCM, or TCM can fail internally and stop communicating or flood the network with bad data. This is rare and should only be suspected after all wiring, power, and ground issues have been ruled out. Per TSB NTB10-066A, the module logging the U1000 is rarely the one that has failed.
- Faulty Intelligent Power Distribution Module (IPDM): The IPDM, located in the engine bay, is a smart fuse/relay box. Internal relay failures, often due to corrosion or heat, can cut power to essential modules like the ECM or fuel pump, causing them to drop off the network and trigger a U1000 code in other modules. Symptoms can include a no-start, stalling, or multiple electrical systems failing at once. The original factory IPDMs were often white and known to fail; the updated replacement part from Nissan is typically black.
Diagnosis Steps
- Check Battery Health: Ensure the battery voltage is above 12.4V with the engine off. Perform a load test to ensure it can hold a charge under load and doesn't drop below 10V during cranking.
- Inspect and Clean Battery Terminals: Remove any corrosion from the battery posts and terminals and ensure they are tightly secured.
- Inspect All Main Grounds: This is the most critical step. Locate and inspect the main negative battery cable where it connects to the vehicle body (often under the battery tray) and the transmission housing. Remove the bolts, clean all contact surfaces to bare, shiny metal, and tighten them securely.
- Scan All Modules: Use a professional-grade scan tool that can perform a full system scan (e.g., Nissan CONSULT). Note which modules are communicating and which are not responding. The modules that are *not* responding are the ones to investigate.
- Check Fuses: Inspect all fuses related to the non-communicating modules, including those in the IPDM (engine bay fuse box). A failing IPDM can cause intermittent power loss to other modules.
- Check CAN Bus Resistance: With the battery disconnected, measure the resistance between Pin 6 (CAN High) and Pin 14 (CAN Low) at the Data Link Connector (DLC). A healthy network should read approximately 60 ohms. A reading of 120 ohms indicates an open circuit or a missing terminating resistor (often in the ECM or BCM). A reading near zero indicates a short between the two lines.
- Check Power and Ground at the Faulty Module: If a specific module is identified as offline, use a wiring diagram to check for proper power and ground directly at its connector. If power and ground are good, but the module is still offline, the module itself may have failed.
Parts You'll Likely Need
- Negative Battery Cable Assembly
(OEM #24080-8J000 (example, verify by VIN))— The factory ground cable is a common failure point due to corrosion, especially at the transmission and chassis connection points. Replacing the entire assembly is often more effective than cleaning heavily corroded ends.
Trusted brands: Nissan OE, Standard Motor Products (e.g., A232CLT), Duralast (e.g., DW440B)
OEM price range: $50-$70
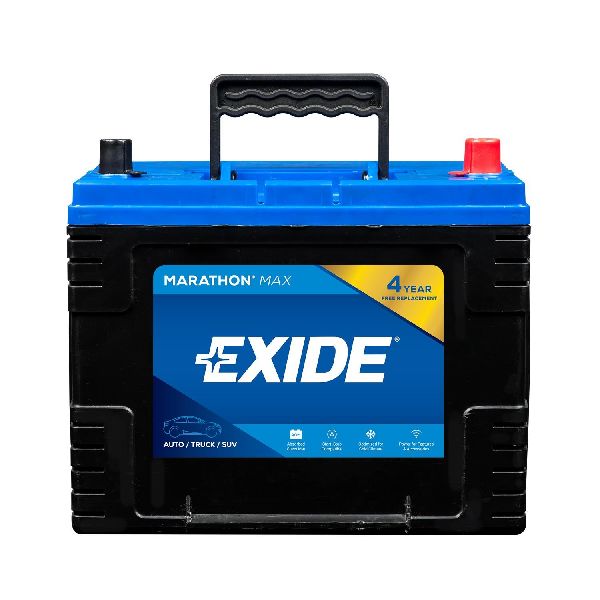
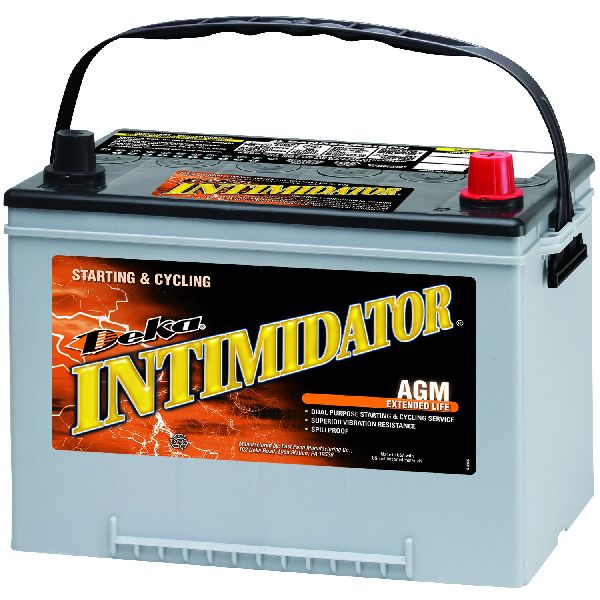
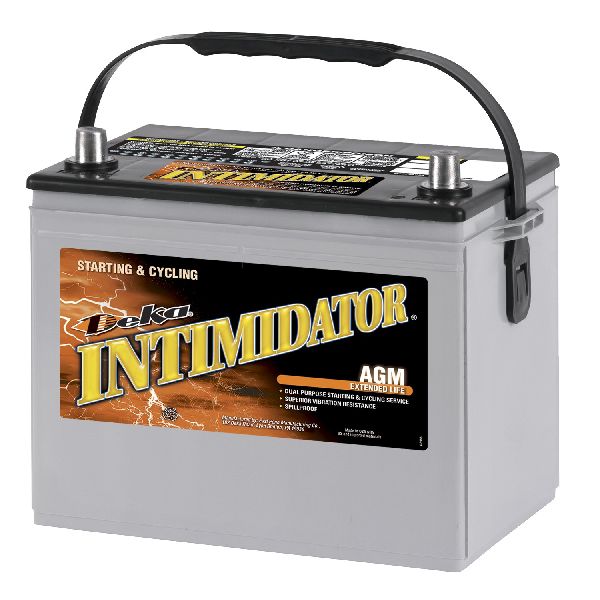
Aftermarket price range: $20-$40 - Battery — Low voltage during startup is a primary trigger for U1000. An aging battery that fails a load test is a common cause.
Trusted brands: Interstate, DieHard, Duralast
OEM price range: $180-$280
Aftermarket price range: $150-$250
Related Codes That Often Appear With This One
- U0100 — This is a more specific code for 'Lost Communication With ECM/PCM'. If seen with U1000, it helps narrow the focus to the ECM's power, ground, or wiring.
- U0101 — This code means 'Lost Communication with TCM'. Its presence points towards a problem with the Transmission Control Module or its related circuits, which can be a wiring issue or an internal TCM fault.
- U1001 — This is another Nissan-specific CAN code related to missing communications, often pointing towards the ECM. If seen with U1000, it reinforces that a network-wide communication check is needed.
- P1610, P1614 — These are immobilizer-related codes ('Lock Mode' and 'NATS Malfunction'). They often appear alongside U1000 when the BCM and IPDM lose communication, preventing the car from recognizing the key and starting.
Technical Service Bulletins (TSBs) & Recalls
- NTB10-066A / NTB10-066B: States that when a module reports a U1000 code, it is typically operating normally and the communication error is external to that module. It advises diagnosing communication codes first, checking for low battery voltage, and confirming power/ground at a suspect module before replacement.
Platform-Specific Known Issues
- Real-World Fix: Transmission Shifting and No-Start: A user on NissanForums.com with a 2006 Quest reported a U1000 code accompanied by violent shifting and the gear selection indicator disappearing. After replacing the TCM and valve body with no success, the issue persisted. This is a classic example where the transmission symptoms point away from the true root cause, which is most likely a ground or wiring issue affecting the entire CAN bus, not just the TCM.
Mechanic-Grade Diagnostic Values
- CAN High (Pin 6 at DLC) to Ground Voltage — expected: ~2.5V to 3.0V (recessive state), rises to ~3.5V (dominant state). Failure: Voltage significantly outside this range, or stuck at one value.
- CAN Low (Pin 14 at DLC) to Ground Voltage — expected: ~2.5V to 2.0V (recessive state), drops to ~1.5V (dominant state). Failure: Voltage significantly outside this range, or stuck at one value.
- Alternator AC Ripple Voltage — expected: Less than 0.5V AC with engine running at 1500 RPM. Failure: AC voltage exceeding 0.5V indicates failing alternator diodes, which introduces electrical noise that can disrupt CAN communication.
- Voltage Drop at Module Power Supply — expected: Within 0.5V of battery voltage. Failure: A voltage reading more than 0.5V lower than battery voltage at a module's power pin indicates high resistance in the power feed, possibly from a failing IPDM relay.
Scan Tool Commands That Help
- Nissan CONSULT-II / CONSULT-III plus: CAN Diag Support Monitor — This is the primary function used by Nissan technicians to diagnose CAN codes. It polls all modules on the network and displays which ones are communicating and which are not, allowing the technician to quickly identify the source of the communication loss.
- Nissan CONSULT-II / CONSULT-III plus: IPDM Auto Active Test — This self-test commands the IPDM to sequentially activate all of its outputs (headlights, wipers, horn, fans, etc.). It is used to confirm if the IPDM itself is functional and capable of sending power to various components. If the test runs successfully but a component doesn't work, the fault is in the wiring or the component itself, not the IPDM. If the test fails or won't run, the IPDM is suspect.
Wiring & Ground Locations
- Main Engine/Transmission Ground — A multi-wire terminal bolted directly to one of the upper bolts on the transmission housing.. This is one of the most critical ground points for the entire powertrain system, including the ECM and TCM. Corrosion here is a top cause of U1000 and related transmission shifting problems.
- Chassis Ground (Under Battery) — A ground wire bolted to the chassis frame directly underneath the battery tray. Requires removal of the battery to access.. This is a primary body ground point. Corrosion is common here due to battery fumes or spills, leading to high resistance and a host of electrical issues, including CAN faults.
- Firewall/Cowl Grounds — Several smaller-gauge ground wires bolted to the firewall in the engine bay, often near the brake master cylinder or on either side of the engine compartment.. These points provide ground for various body control modules and interior electronics. While less common to fail than the main grounds, they should be inspected for tightness and corrosion.
- IPDM E/R (Intelligent Power Distribution Module Engine Room) — The main fuse and relay box located in the engine compartment, typically near the battery.. This is not a ground, but a central power distribution hub. It contains fuses and non-serviceable relays that provide power to the ECM, TCM, and BCM. A failure within the IPDM can cut power to a module, causing it to drop off the network and trigger a U1000 in other modules.
Real Owner Repair Stories
- Reddit user u/Mysterious_Ad_15 on a similar Nissan platform (Nissan 350Z (similar IPDM design and issue)) — No-start, U1000 active in BCM, IPDM and Immobilizer not detected by scan tool, horn and wipers activating on their own with key on.
❌ Tried (didn't work) Replaced camshaft and crankshaft sensors, Replaced crank sensor sub-harness
✅ What actually fixed it The root cause was a faulty IPDM. The module is located in an area with poor drainage, leading to internal corrosion of the fuses, relays, and circuit board contacts. This corrosion created high resistance and heat, eventually causing the module to fail and take other modules offline. Replacing the IPDM resolved the communication issues.
OEM Part Supersession History
24080-8Y000→24080-8Y100— Standard part revision/update.
Heads up: The new part number is a direct replacement for the old one for the 2005 Quest.White-colored IPDM housing→Black-colored IPDM housing— The original white IPDMs were known for a high failure rate of the internal, non-serviceable ECM relay. The updated black-colored IPDM is a more robust design.
Heads up: If diagnosing a no-start or stalling with U1000 and the vehicle has a white IPDM, it is a very high probability suspect.
Model Year Variations Within This Range
- 2007-2009: The 2007 model year received a significant mid-cycle refresh. The most relevant change for U1000 diagnosis is a completely redesigned instrument panel and center console. The gauges were moved from the center stack to a traditional position in front of the driver. This change involves different wiring, a different instrument cluster module, and potentially different BCM programming.
Helpful Videos
We Have This Part in Stock


The information in this article is provided for general reference and educational purposes only. Vehicle specifications, procedures, and part compatibility can vary by production date, trim level, and region. Always consult your vehicle's factory service manual and verify part numbers before purchasing or performing repairs. Safety-critical components such as airbags, seat belts, and braking systems should be installed by a qualified professional.
- Nissan QUEST:
- 🎬 Helpful Videos
- 🛍️ Shop This Part
- What's Unique About the 2005-2009 Nissan QUEST
- Diagnostic Flowchart
- Symptoms You May Notice
- Most Likely Causes
- Rare But Worth Checking
- Diagnosis Steps
- Parts You'll Likely Need
- Related Codes That Often Appear With This One
- Technical Service Bulletins (TSBs) & Recalls
- Platform-Specific Known Issues
- Mechanic-Grade Diagnostic Values
- Scan Tool Commands That Help
- Wiring & Ground Locations
- Real Owner Repair Stories
- OEM Part Supersession History
- Model Year Variations Within This Range
- 🎟️ Get 5% Off