

U0200 on 2005-2010 Chrysler 300: Fix for Lost Communication with Passenger Door Module
On a 2005-2010 Chrysler 300, code U0200 is almost always caused by broken wires in the driver's side door jamb harness. The communication signals for the passenger door are routed through the driver's door, making it the common point of failure. A DIY repair involves splicing the broken wires and costs less than $30. A shop may charge $150-$400.
- Code U0200 on a 2005-2010 Chrysler 300 means the passenger door module has lost communication.
- The most probable cause by far is broken wires in the DRIVER'S side door jamb harness.
- Always inspect and repair the wiring harness in the driver's door boot before considering replacing any expensive modules.
- This is a very common, well-documented problem on the Chrysler LX platform (300, Charger, Magnum), and a DIY repair is feasible for those with basic wiring skills.
- If code U0199 is also present, it further strengthens the diagnosis of a broken wiring harness in the driver's door jamb.
What's Unique About the 2005-2010 Chrysler 300

The first-generation Chrysler 300 (and its sibling LX platform cars like the Dodge Charger and Magnum) is notorious for this specific issue. The wiring harness that passes from the car's body into the driver's door is a major communication pathway for the CAN bus network. Due to constant flexing from opening and closing the door, the wires inside this harness become brittle and break. Critically, communication signals for the *passenger* door module (PDM) are routed through the *driver's* door harness before reaching the BCM. This is why a problem manifesting on the passenger side is most often fixed by repairing the driver's door.
Diagnostic Flowchart
Tap your situation to follow the diagnostic path that matches what you're seeing on this vehicle.
Symptoms You May Notice
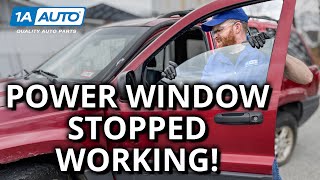
- Passenger side power window is inoperative
- Passenger side power door lock is inoperative
- Passenger side power mirror does not adjust
- Check Engine Light or other warning indicator on the dashboard
- Interior lights may not function correctly when the passenger door is opened.
- Replacing the Passenger Door Module (PDM) without first inspecting the wiring in the driver's door jamb.
- Replacing the passenger window switch or door lock actuator, which are unlikely to be the cause of a communication code.
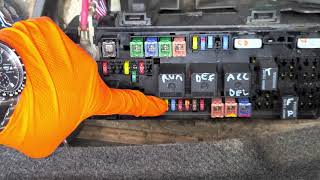
- Replacing the wrong module, such as the Driver Door Module (DDM), when the code is specifically for the passenger side. 🎬 Check this guide to locate power window and lock fuses
Most Likely Causes

- Broken Wires in Driver's Side Door Jamb Harness 🔴 High Probability The wiring harness is subject to constant flexing and stress every time the door is opened and closed, leading to metal fatigue and broken wires. This is a well-documented weak point on the LX platform, confirmed by manufacturer TSBs and countless owner reports.
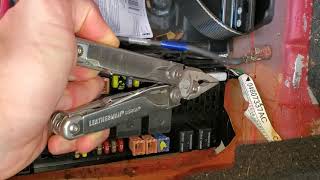
How to confirm: Peel back the rubber boot between the driver's door and the car's A-pillar. Visually inspect the wires for cracks, breaks, or damaged insulation. Gently tug on individual wires; a broken wire will stretch or pull apart easily. 🎬 Watch: How to identify and test for broken door wires The CAN bus wires are a twisted pair, typically White/Black (CAN High) and White/Light Blue (CAN Low). A break in either will cause this code.
Typical fix: Splice the broken wires using butt connectors or solder and seal with heat shrink tubing. Ensure the repair is done with enough slack to prevent future breaks. Some owners add new sections of more flexible wire. Mopar also offers a wiring repair kit (pigtail) for this purpose.
Est. part cost: $10-$75 - Broken Wires in Passenger's Side Door Jamb Harness 🟡 Medium Probability This harness is also subject to flexing, but the driver's door is typically used more frequently, making it the more common failure point. If the driver's side is intact, this is the next logical place to check.
How to confirm: If the driver's side harness is intact, perform the same inspection on the passenger side door jamb harness.
Typical fix: Repair broken wires by splicing them with butt connectors or solder and heat shrink.
Est. part cost: $10-$30 - Failed Passenger Door Module (PDM) ⚪ Low Probability
How to confirm: This should only be considered after confirming all wiring and connectors between the BCM and the PDM are intact and have good continuity. A diagnostic scan tool that can communicate with individual modules can help determine if the module is unresponsive despite having good power and ground.
Typical fix: Replace the Passenger Door Module. The door panel must be removed to access it. Part numbers vary by year and features.
Est. part cost: $50-$150
Rare But Worth Checking
- Failed Body Control Module (BCM): A failing BCM would likely cause numerous other communication codes and erratic behavior across multiple vehicle systems, not just the passenger door.
- Corroded or Damaged Connectors: Water intrusion into the door can cause corrosion on the PDM connector or the main harness connector. Always check for green or white crust on the pins.
Diagnosis Steps
- Scan the vehicle for all diagnostic trouble codes. Note if U0200 is present alone or with U0199.
- Verify the symptoms by attempting to use the passenger window, lock, and mirror from both the driver's master switch and the passenger's own switch.
- Begin inspection at the most likely point of failure: the driver's side door jamb. Peel back the rubber accordion boot that protects the wiring harness.
- Carefully inspect each wire for signs of cracking, chafing, or complete breaks. Pay close attention to the twisted pair of CAN bus wires (often White/Black and White/Light Blue). Gently pull on each wire to see if it has broken inside the insulation.
- If broken wires are found, proceed to the repair. If the driver's side harness appears perfect, repeat the inspection process on the passenger's side door jamb harness.
- If no wiring faults are found, use a multimeter to check for continuity on the CAN bus wires from the door harness connector to the PDM connector.
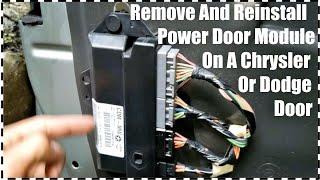
- If wiring is confirmed good, remove the passenger door panel to access the Passenger Door Module (PDM). 🎬 See this walkthrough on removing the door control module
- Inspect the electrical connector at the PDM for corrosion, moisture, or backed-out pins. Verify it has 12V power and a solid ground.
- If all wiring and connections appear sound, the PDM itself may have failed. This is the least likely cause and should be the last component to be replaced.
Parts You'll Likely Need

- Door Harness Wiring Repair Supplies
(OEM #68064998AA (Mopar 3-way wiring kit/pigtail))— This is needed to fix the most common cause of the code: broken wires in the door jamb. The Mopar kit provides a pigtail for a more robust repair than simple splicing.
OEM price range: $50-$75
Aftermarket price range: $10-$30 (for butt connectors, wire, heat shrink) - Passenger Door Module (PDM)
(OEM #Varies (e.g., 04602752AF, 04602752AG). Must be matched to VIN and vehicle options.)— This is the part to replace if all wiring has been confirmed to be intact and functional, but the code persists.
Trusted brands: Mopar, Dorman, Cardone
OEM price range: $100-$200
Aftermarket price range: $50-$150
Related Codes That Often Appear With This One
- U0199 — U0199 is 'Lost Communication With Drivers Door Module'. Since the wiring for both modules often runs through the same harness, a break can affect both simultaneously, as noted in TSB 08-061-12.
- U0002 — U0002 indicates a 'CAN C Bus Off Performance' error. This is a more general network code that can appear alongside U0200 if the wiring short is severe enough to disrupt the entire CAN C bus, not just communication to one module.
Technical Service Bulletins (TSBs) & Recalls
- 08-061-12: Drivers And/Or Passenger Front Power Door Locks And Windows Inoperative U0200 Lost Communication With Passengers Door Module U0199 Lost Communication With Drivers Door Module.
Platform-Specific Known Issues
- Chrysler issued Technical Service Bulletin (TSB) #08-061-12 specifically for this problem on 2005-2010 Chrysler 300 and Dodge Charger models. The TSB acknowledges that codes U0200 and U0199 are common and result in inoperative front power locks and windows. The official diagnostic procedure involves checking for communication loss and, if confirmed after a battery disconnect/reconnect cycle, replacing the affected door module(s). However, experienced owners and mechanics have found that this procedure often overlooks the underlying cause of broken wires in the harness, leading to misdiagnosis.
- A common owner experience shared on forums involves a shop or dealer replacing the Passenger Door Module per the TSB, only for the problem to return or remain unfixed because the root cause was the wiring in the driver's door jamb.
Mechanic-Grade Diagnostic Values
- CAN C Bus Resistance — expected: ~60 Ω. Failure: A reading of ~120 Ω indicates an open circuit or a missing terminating resistor. A reading significantly lower than 60 Ω (e.g., near 0 Ω) indicates a short between the CAN High and CAN Low wires.
- CAN Bus Voltage (Key On, Engine Off) — expected: CAN High (White/Black wire) to ground: ~2.5-2.7V. CAN Low (White/Light Blue wire) to ground: ~2.3-2.5V. The two should mirror each other during communication.. Failure: Voltages that are stuck high, low, or match each other indicate a bus failure or short. For example, if both lines show the same voltage, the bus is shorted together.
- CAN Wire Continuity — expected: < 2.0 Ω. Failure: High resistance or an open circuit (OL) reading indicates a broken wire.
Scan Tool Commands That Help
- wiTECH (OEM Chrysler Scan Tool): View Active DTCs / Loss of Communication — This is the first step to confirm which modules are not communicating with the Body Control Module or TIPM. The TSB procedure uses this to verify the U0200 code is active.
- wiTECH (OEM Chrysler Scan Tool): Actuator Tests / Bidirectional Controls — Used to command a specific function on the passenger door (e.g., 'actuate power lock,' 'roll window down'). If the command fails, it confirms a communication or module/actuator issue. This helps isolate the problem without physically touching the switch.
- wiTECH (OEM Chrysler Scan Tool): Loss of Communication Test (Ping Test) — This function continuously 'pings' all modules on the network. It's invaluable for finding intermittent faults. While this test is running, you can wiggle the door harness to see if communication drops in real-time, pinpointing an intermittent wire break.
Wiring & Ground Locations

- Driver Door Harness — Inside the rubber accordion boot between the driver's door and the A-pillar.. This is the most common failure point. The CAN bus signals for the passenger door module are routed through this harness, and the constant flexing from door use causes the wires to break.
- CAN C Bus Wires — Twisted pair within the main vehicle harnesses, including the door harnesses.. These are the specific data lines for module communication. On this platform, they are typically a White/Black wire (CAN High) and a White/Light Blue wire (CAN Low). A break or short in either wire will cause this code.
- G300 — Main body ground located below the driver's side 'B' pillar, under the trim/carpet.. This is a critical chassis ground point for multiple components on the driver's side of the vehicle. A loose or corroded G300 can cause a host of difficult-to-diagnose electrical issues, including module communication problems.
- G301 — Main body ground located below the passenger's side 'B' pillar, under the trim/carpet.. This is the corresponding chassis ground for the passenger side. A fault here could directly affect the Passenger Door Module's ability to operate correctly, though it's a less common cause for U0200 than the driver's harness break.
- Star Connector (CAN Bus Junction) — Can be in various locations, but commonly found in the trunk behind the seat near the spare tire, or under the passenger side of the dashboard.. This connector acts as a hub where multiple CAN bus branches meet. Corrosion or a loose connection here can sever communication to one or more modules, including the PDM.
Real Owner Repair Stories
- Synthesized from multiple owner reports on 300CForums.com and LXForums.com (2006 Chrysler 300C) — Passenger window and lock suddenly stopped working. The passenger mirror was also inoperative. Scan tool showed code U0200 and sometimes U0199.
❌ Tried (didn't work) Replacing the fuse for the passenger door module., Checking the passenger door harness (it was intact)., Considering replacing the Passenger Door Module (PDM) but decided to check driver's door first based on forum advice.
✅ What actually fixed it The owner peeled back the rubber boot on the driver's side door jamb and found three wires completely broken and several others with cracked insulation. The broken wires were the larger gauge power and ground wires. After splicing the broken wires with butt connectors and wrapping the damaged ones with electrical tape, all passenger door functions were restored and the code was cleared.
"I Checked Everything" — The Actual Cause
- The wiring equivalent of this is when a wire passes a static continuity test with a multimeter but is actually broken internally. An owner may test the CAN wires from the A-pillar to the PDM and get a good reading (<2.0 ohms), leading them to believe the wiring is fine. However, the break is intermittent and only separates when the door is moved. The actual cause is a hairline fracture inside the wire's insulation that makes contact when held still but opens the circuit when flexed. This is why a 'wiggle test'—manipulating the harness while monitoring the system or running a scan tool ping test—is critical for diagnosing this issue correctly.
Model Year Variations Within This Range
- 2008-2010: A significant interior and electronics refresh occurred in 2008, introducing the MyGig touchscreen infotainment system. While the root cause of U0200 (broken door harness wires) remains the same, diagnosing network issues on these later models may involve different modules (like the radio) interacting on the CAN bus. The procedure for diagnosing a bus-wide failure might be different if the radio or other new modules are suspected of causing interference.
Helpful Videos
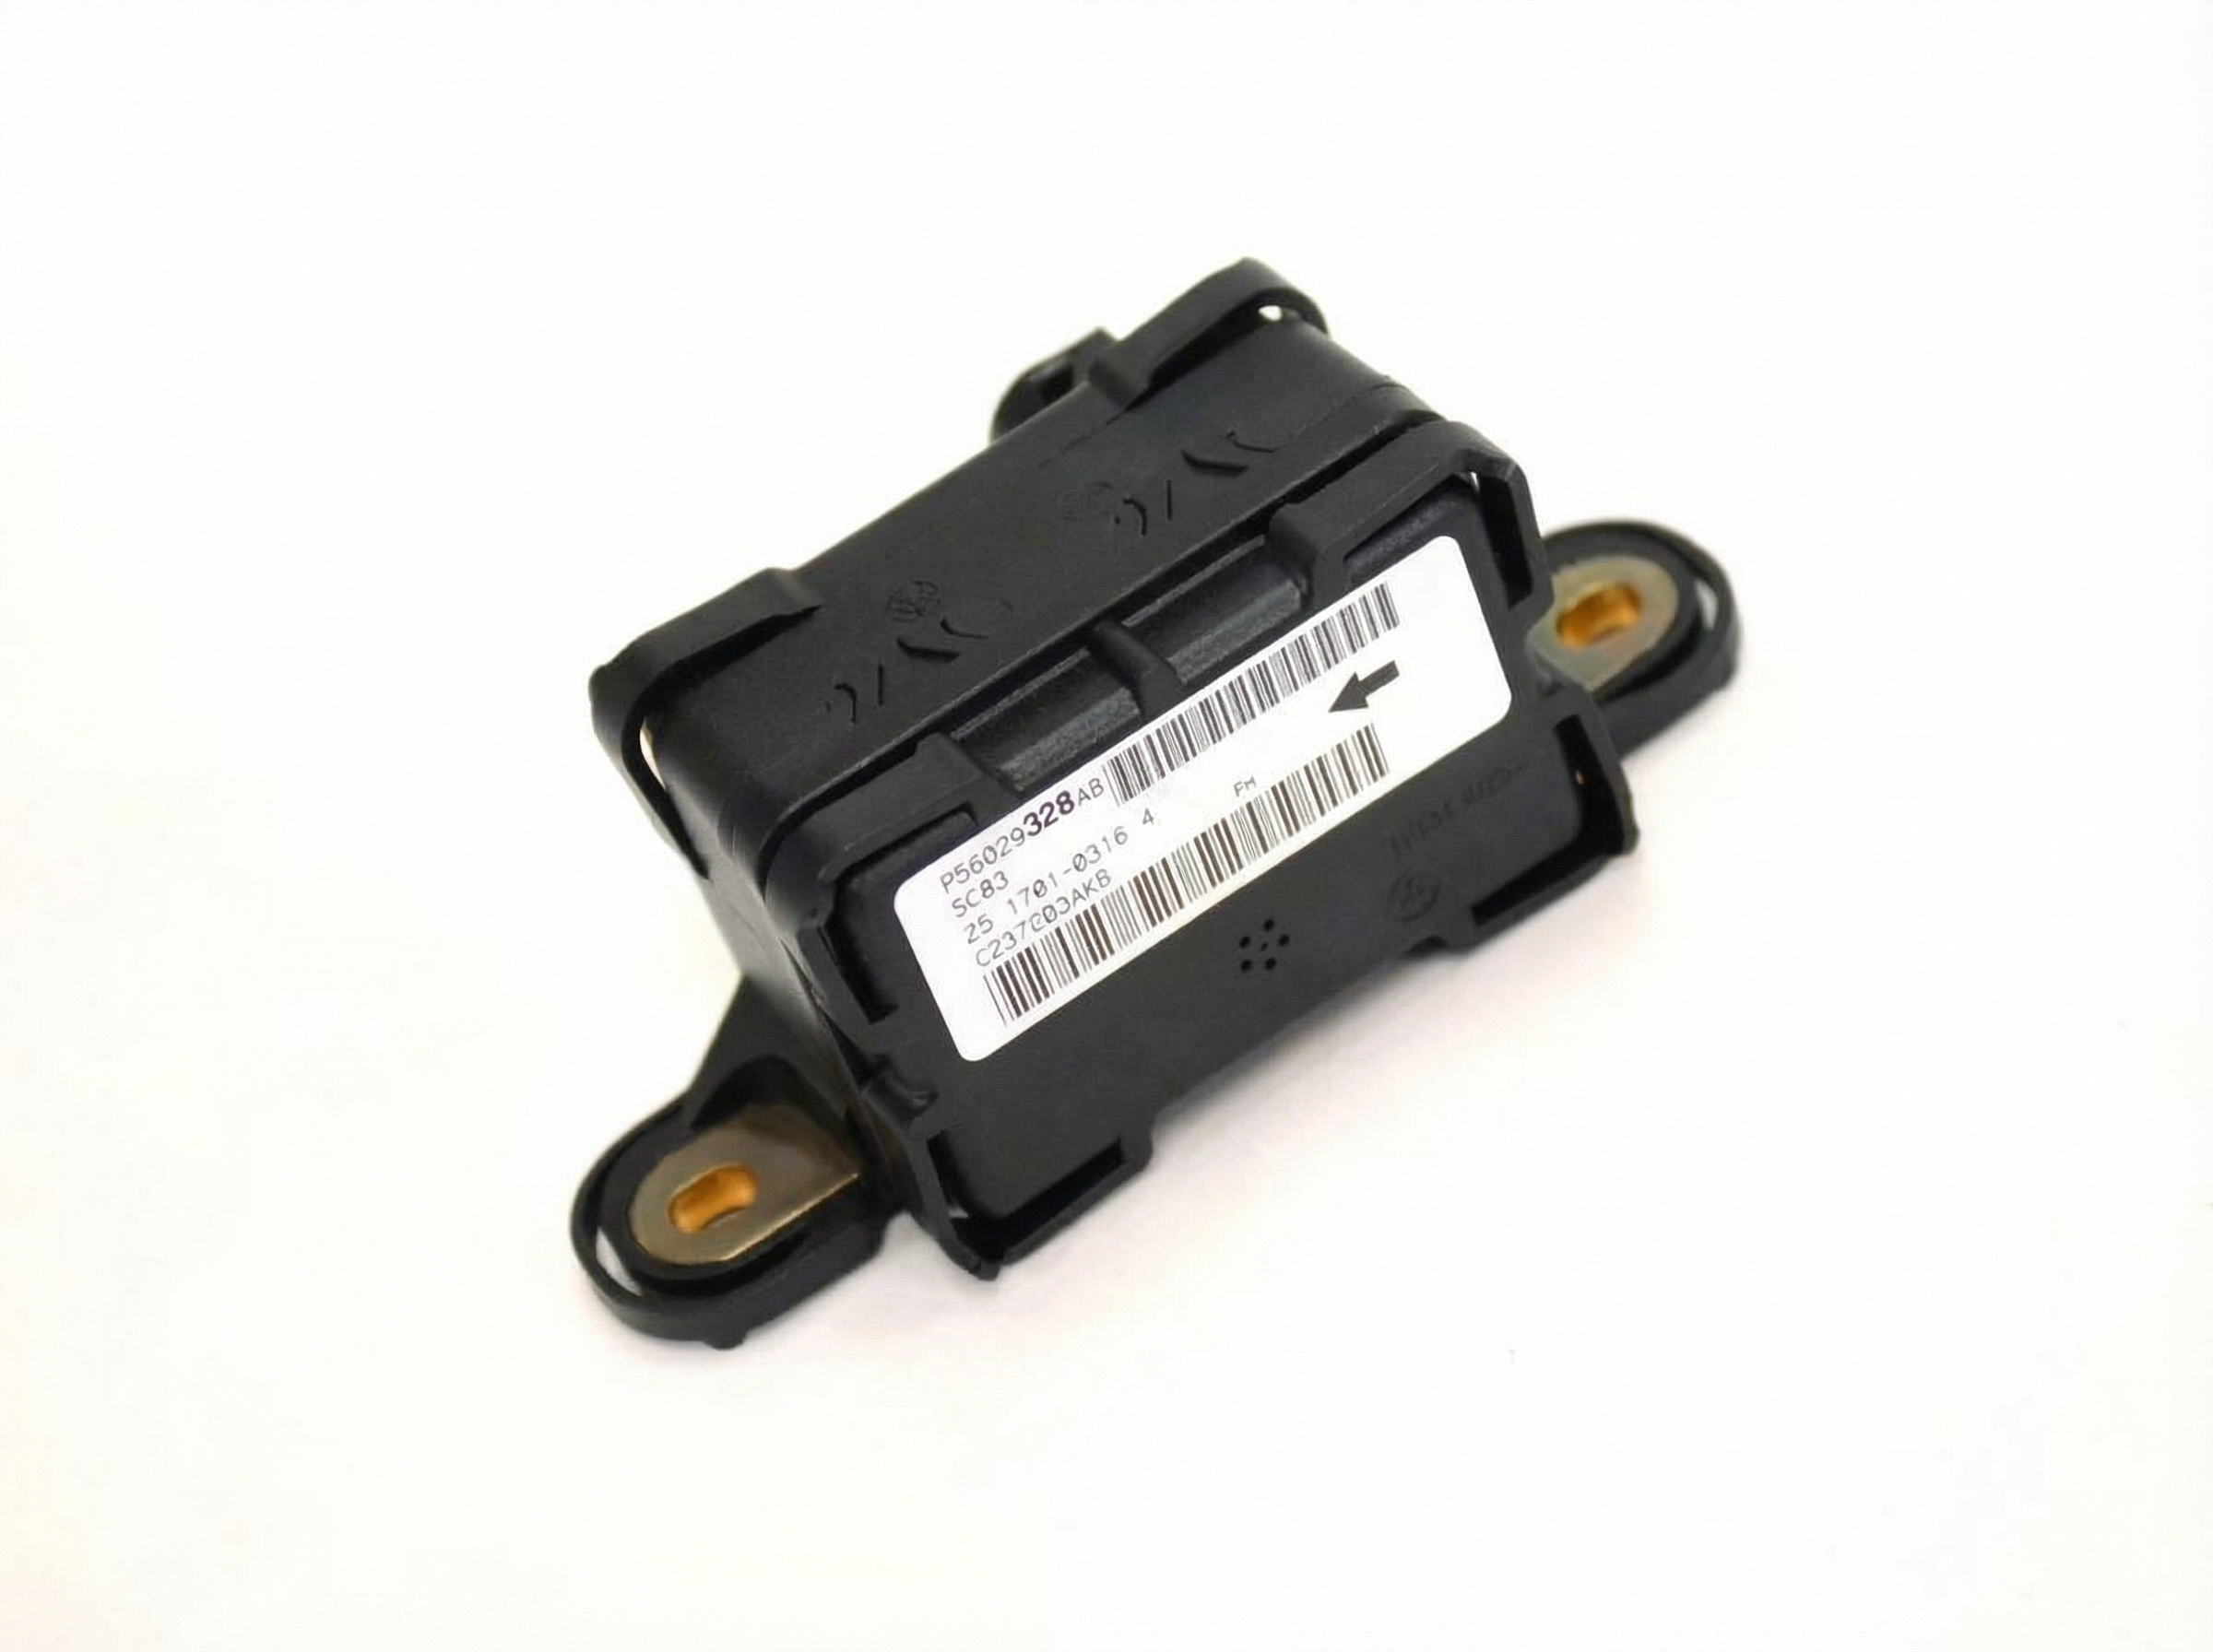
We Have This Part in Stock




The information in this article is provided for general reference and educational purposes only. Vehicle specifications, procedures, and part compatibility can vary by production date, trim level, and region. Always consult your vehicle's factory service manual and verify part numbers before purchasing or performing repairs. Safety-critical components such as airbags, seat belts, and braking systems should be installed by a qualified professional.
- Chrysler 300:
- 🎬 Helpful Videos
- 🛍️ Shop This Part
- What's Unique About the 2005-2010 Chrysler 300
- Diagnostic Flowchart
- Symptoms You May Notice
- Most Likely Causes
- Rare But Worth Checking
- Diagnosis Steps
- Parts You'll Likely Need
- Related Codes That Often Appear With This One
- Technical Service Bulletins (TSBs) & Recalls
- Platform-Specific Known Issues
- Mechanic-Grade Diagnostic Values
- Scan Tool Commands That Help
- Wiring & Ground Locations
- Real Owner Repair Stories
- "I Checked Everything" — The Actual Cause
- Model Year Variations Within This Range
- 🎟️ Get 5% Off