

U0140 on 2011-2018 Dodge Durango: Lost Communication With BCM Causes and Fixes
On a 2011-2018 Dodge Durango, code U0140 most often indicates a software glitch that requires a Powertrain Control Module (PCM) update from a dealer. This is confirmed by multiple Technical Service Bulletins (TSBs). Before replacing any parts, check for available software updates, as this is the most common manufacturer-recommended fix, especially if the code appears after a cold start.
- For a 2011-2018 Durango, U0140 is most likely a software problem, not a failed part.
- Always ask a Dodge dealer to check for available PCM software updates before authorizing any expensive repairs.
- A weak or failing battery can cause this and many other electronic communication codes; test the battery early in your diagnosis.
- Do not replace the Body Control Module (BCM) unless all other possibilities (software, wiring, power/ground) have been professionally ruled out.
What's Unique About the 2011-2018 Dodge DURANGO

For the third-generation (WD) Dodge Durango and its platform-mate, the Jeep Grand Cherokee (WK2), the U0140 code is very frequently a software issue, not a hardware failure. Chrysler (now Stellantis) has issued multiple Technical Service Bulletins (TSBs) instructing dealers to resolve this code by reprogramming the PCM with updated software. A specific known trigger is shifting into Drive or Reverse within 3 seconds of a cold start, which can cause the communication loss. This is a key difference from many other vehicles where a U0140 code would more immediately point to a wiring problem or a failed BCM.
🎬 Watch: Understanding U0140 causes and common BCM fixes.Diagnostic Flowchart

Tap your situation to follow the diagnostic path that matches what you're seeing on this vehicle.
Symptoms You May Notice

- Check Engine Light (Malfunction Indicator Lamp) is on.
- Issues with remote start functionality.
- Erratic or non-functional power windows, door locks, or mirrors.
- Interior or exterior lights not working correctly.
- Wipers behaving erratically or not working.
- "No Bus" message on the instrument cluster.
- Vehicle may not start or has a crank-no-start condition.
- Slight engine RPM drop or hesitation when shifting shortly after a cold start.
- Electronic Stability Control (ESC) light may illuminate.
- Engine may run rough, misfire, or hesitate on acceleration.
- Replacing the Body Control Module (BCM) without first checking for software updates. The TSBs clearly indicate a software reflash is the primary solution in many cases, and unnecessary BCM replacement is a common expensive mistake.
- Replacing other modules (like the PCM or TCM) when the root cause is a weak battery or a bad ground connection causing a network-wide voltage drop.
Most Likely Causes

- Outdated Powertrain Control Module (PCM) Software 🔴 High Probability Multiple TSBs (#0806816, #18-082-15, #1805616, #18-063-14) were issued by Dodge to fix this specific code with a software update, indicating a known logic flaw in the original programming. TSB 18-082-15 specifically calls out U0140 being set when the vehicle is shifted into gear too quickly after a cold start.
How to confirm: A Dodge dealer or a shop with a wiTECH scan tool can check the current software calibration ID against the latest available version referenced in the TSBs. This is the first step before any hardware replacement.
Typical fix: Reprogramming (flashing) the PCM with the latest manufacturer software. This is a non-DIY repair that takes about an hour of labor.
Est. part cost: $0 - Weak Battery or Poor Power/Ground Connections 🟡 Medium Probability All modern electronic modules require stable voltage to communicate properly. Low voltage from a weak or aging battery, or high resistance from a corroded ground, can cause intermittent communication dropouts between the BCM and PCM. Forum users often report that a simple battery replacement or a hard reset (disconnecting the battery) can temporarily or permanently resolve the issue.
How to confirm: Test the battery's state of charge and health with a digital battery tester; voltage should be above 12.4V at rest and 13.7-14.7V when running. Visually inspect battery terminals for corrosion and check the main chassis ground straps (from battery to frame, and frame to engine block) for tightness and cleanliness.
Typical fix: Replace the battery if it fails a load test. Clean or replace corroded battery terminals and ground straps. A hard reset by disconnecting both battery terminals and touching them together for a moment can also clear module glitches.
Est. part cost: $150-$350 - Wiring Harness or Connector Issue ⚪ Low Probability The CAN bus network wiring can be susceptible to damage from chafing, moisture intrusion, or physical impact, leading to a short or open circuit. The BCM is located under the driver's side dashboard, and its connectors can be vulnerable to being kicked or moisture from a water leak.
How to confirm: Visually inspect the wiring harness connected to the BCM (under the driver's dash) and TIPM/Gateway for damage. A more advanced check involves using a multimeter to check for ~60 ohms of resistance across the CAN-H and CAN-L pins at the OBD-II port with the battery disconnected. A reading of 120 ohms suggests an open circuit, while a reading near 0 ohms suggests a short.
Typical fix: Repairing the damaged section of the wire or cleaning/replacing the corroded connector.
Est. part cost: $10-$100 - Faulty Body Control Module (BCM) ⚪ Low Probability
How to confirm: This is typically diagnosed by exclusion. If software, power, grounds, and wiring are all confirmed to be good, and a professional scan tool cannot communicate with the BCM, the module itself is the likely cause. A burnt smell near the BCM is a strong indicator of internal failure.
Typical fix: Replacing the BCM and having it programmed to the vehicle's VIN and specific options. This is a job for a professional.
Est. part cost: $250-$600
Rare But Worth Checking
- Faulty Totally Integrated Power Module (TIPM): The TIPM on these vehicles acts as a central gateway for network communication. A failure within the TIPM, which is a known issue on many 2007-2015 Chrysler products, can disrupt the CAN bus and cause communication codes between other modules, mimicking a BCM failure.
- Interference from Aftermarket Accessories: Improperly installed aftermarket remote starters, alarms, or audio equipment can interfere with the CAN bus network by tapping into the wrong wires or introducing electrical noise, causing communication errors.
Diagnosis Steps
- Check for Technical Service Bulletins (TSBs) related to U0140 for your specific vehicle year and engine. The most likely fix is a PCM software update, especially if the issue occurs on a cold start.
- Using a professional scan tool, check for any other stored fault codes. Attempt to communicate directly with the Body Control Module. Note if other modules are also offline.
- Test the battery. Perform a load test and ensure it is fully charged (above 12.4 volts at rest) and healthy. A weak battery is a very common cause of communication codes.
- Inspect the battery terminals and main chassis ground connections for corrosion or looseness. Key locations are the negative terminal to chassis and the engine block ground strap. Clean and tighten as necessary.
- Visually inspect the wiring harnesses and connectors at the BCM (located under the driver's side dash, near the steering column) and the TIPM (engine bay fuse box) for any signs of damage, corrosion, or loose connections.
- With the battery disconnected, use a multimeter to measure the resistance between Pin 6 (CAN-H) and Pin 14 (CAN-L) on the OBD-II port. A healthy network should read approximately 60 Ohms.
- If all wiring, power, and grounds are good, have a dealer or qualified shop perform the PCM software update as specified in the relevant TSBs. Ensure they use a battery charger during the flash process.
- If the code persists after the software update, more advanced diagnostics on the CAN bus network and the BCM itself are required, which may lead to BCM replacement.
Parts You'll Likely Need
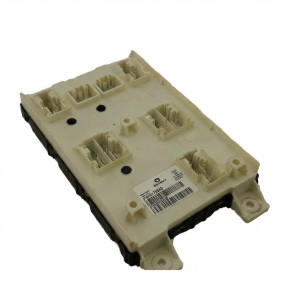
- Body Control Module (BCM)
(OEM #68354769 (Note: Part number is year/VIN specific and often superseded. Example: 68354769AE))— This part is only needed if it is confirmed to have failed after all software, wiring, and power supply issues have been ruled out. It is a common misdiagnosis.
Trusted brands: Mopar
OEM price range: $400-$600
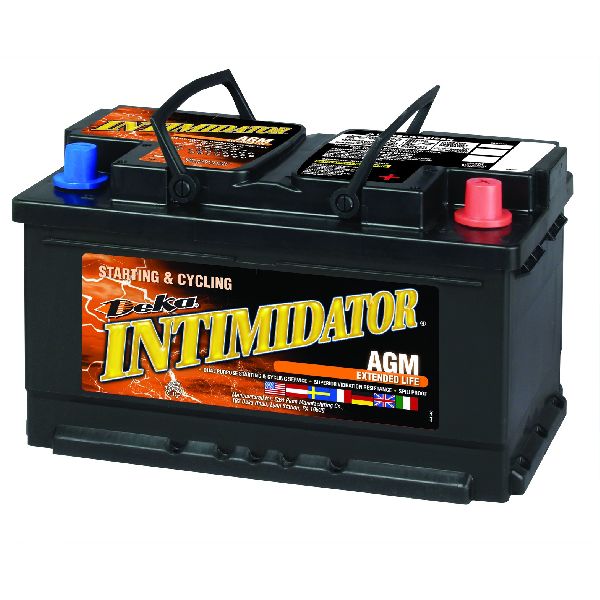
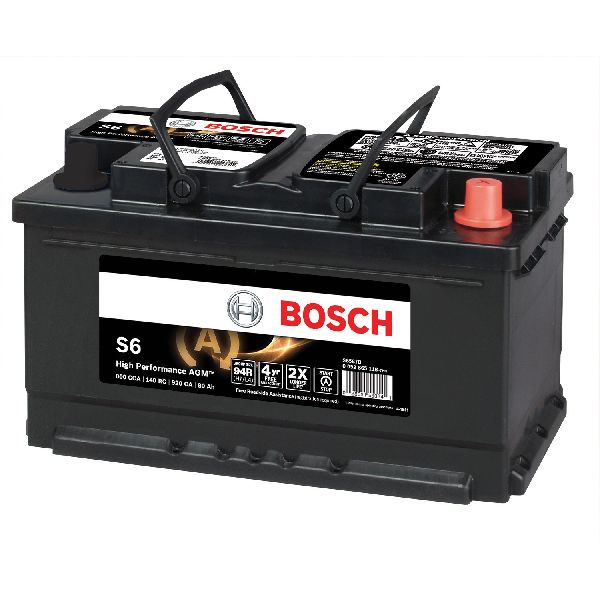
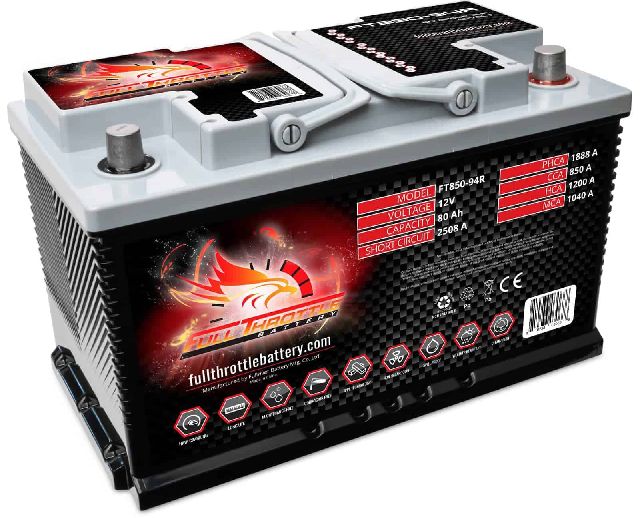
Aftermarket price range: $250-$450 - Vehicle Battery — A weak or failing battery is a frequent cause of module communication errors on modern vehicles. Replacing an old battery is a common and effective fix.
Related Codes That Often Appear With This One
- U0100 — Lost Communication With ECM/PCM. This code often appears with other U-codes as it indicates a general network communication breakdown.
- U0101 — Lost Communication With TCM. Like U0100, this points to a broader network issue where the Transmission Control Module is also not communicating.
- P0300 — Multiple Cylinder Misfire. TSB #18-096-15 links this code with U0140, suggesting the communication loss can sometimes affect engine management and cause drivability issues.
- P0456 — EVAP System Small Leak. TSB #1805616 lists this code alongside U0140 as being resolved by a software update, indicating the original software had multiple unrelated issues that were fixed in the same flash.
Technical Service Bulletins (TSBs) & Recalls
- 0806816: General TSB for reducing misdiagnosis of communication codes, including U0140.
- 18-082-15: Addresses U0140 set on cold starts for 2014 5.7L models by reprogramming the PCM.
- 1805616: Addresses U0140 and remote start issues for 2015 5.7L models with a PCM software update.
- 18-096-15: Notes that U0140 may be impossible to clear without performing the proper diagnosis/fix.
- 18-063-14: Addresses U0140 set on cold starts for 2014 models with a PCM reflash.
Platform-Specific Known Issues
- TSB #18-082-15 and #18-063-14 note that U0140 can be set if the vehicle is shifted into reverse or drive within 3 seconds of a cold start, a condition fixed by a software update.
- TSB #18-096-15 states that if U0140 is present, attempting to clear the code with a standard scan tool may be unsuccessful until the underlying issue (often software) is resolved.
- TSB #1805616 for the 2015 5.7L model links the U0140 code fix to enhancements for remote engine start, suggesting a direct link between the BCM communication and this feature.
- Owner forums frequently cite that a hard reset (disconnecting the battery for 30 minutes) or replacing an aging battery resolves the U0140 code and associated electrical gremlins.
Mechanic-Grade Diagnostic Values
- CAN Bus Network Resistance — expected: ~60 Ω. Failure: A reading of ~120 Ω indicates an open circuit or a missing terminating resistor. A reading near 0 Ω indicates a short between the CAN High and CAN Low wires.
- BCM Power Supply Voltage — expected: 12.2 - 12.8 V. Failure: Voltage below 12.2V with the key on suggests a power supply issue (weak battery, bad connection) that can cause communication codes.
- BCM Ground Resistance — expected: < 0.1 Ω. Failure: Resistance higher than 0.1 Ω indicates a poor ground connection, which can cause intermittent module operation.
- CAN Bus Voltage (Key On, Engine Off) — expected: CAN High (Pin 6): ~2.6V, CAN Low (Pin 14): ~2.4V. Failure: Significant deviation from these average voltages can indicate a short to power or ground on one of the bus lines.
Scan Tool Commands That Help
- wiTECH: Network Test (Bus Diagnostics) — This is a primary function to check which modules on the CAN bus are not communicating. It gives a network-wide overview of health.
- wiTECH: Restore BCM Proxi Configuration / Proxi Configuration Alignment — This function is used after replacing or reprogramming the BCM to ensure it is correctly configured with the vehicle's options and other modules. It synchronizes the vehicle's configuration data across the network.
- wiTECH: ECU Reset & Reflash — This is the function used to perform the software updates specified in the TSBs. It reinitializes the module and can fix software-related glitches causing the U0140 code.
Wiring & Ground Locations
- Body Control Module (BCM) — Located in the passenger cabin, mounted to the right kick panel area, under the dashboard.. This is the module that has lost communication. Its connectors and nearby wiring are primary inspection points for damage or corrosion.
- CAN Bus Star Connectors (Junction Block) — On later models (approx. 2018+), a primary star connector is located behind the driver's side instrument panel side cover. On other models, there are typically two main star connectors: a brown one for the interior CAN (IHS) bus and a green one for the powertrain CAN bus, often found behind the instrument cluster.. These connectors are central hubs where multiple module wiring branches meet. A bad connection here can take down multiple modules. They are also useful for diagnostics, as individual module branches can be disconnected to isolate a fault.
- OBD-II Data Link Connector — Under the driver's side dashboard, to the left of the steering column.. This port provides the easiest access point for testing the overall health of the CAN bus network (Pins 6 & 14) with a multimeter.
- Ground G919A — A chassis ground point located behind the front of the right quarter panel.. Wiring diagrams show this as a ground point related to the BCM and other body components. A loose or corroded connection here can cause communication issues.
Real Owner Repair Stories
- Reddit user on r/DodgeDurango (2015 Durango RT) — Multiple "lost communication" errors, including U0011 "CAN Interior Bus Off Performance" at the BCM. Front windows, AC/Radio panel, and rear liftgate were inoperative.
❌ Tried (didn't work) Disconnecting the battery multiple times., Checking fuses.
✅ What actually fixed it The issue was a short in the CAN bus wiring going to the passenger seat monitor. The user diagnosed this by accessing the star connector behind the instrument cluster and disconnecting module branches one by one until the fault cleared. - YouTube user comment (Dodge Durango (year not specified)) — Intermittent electrical issues, CAN bus faults.
❌ Tried (didn't work) Initial inspection did not reveal the fault.
✅ What actually fixed it The problem was traced to a faulty heated seat module. The technician diagnosed it by disconnecting modules from the star connector until the bus signal stabilized. Playing with the plug under the seat caused the issue to flicker, confirming the location of the fault.
OEM Part Supersession History
68236139AC (For 2015 Durango)→68236139AH— Standard part revision for bug fixes or component updates.68258390AB / 68258390AC (For 2016 Durango)→68258390AD— Standard part revision for bug fixes or component updates.68571964AA / 68617764AA (For later model years, e.g. 2023)→68666781AA— Standard part revision for bug fixes or component updates.
Model Year Variations Within This Range
- 2014-2015: These model years are specifically called out in multiple TSBs (#18-082-15, #1805616, #18-063-14) where U0140 is caused by a software glitch, often triggered by shifting too soon after a cold start. The fix is a PCM reflash. This is most pronounced after the 2014 model year facelift which introduced significant electrical and powertrain changes.
- 2011-2013: While still susceptible to software issues, these earlier third-generation models are also known for TIPM (Totally Integrated Power Module) failures, which can cause U0140. For these years, the TIPM should be considered a more likely cause than on the 2014+ models which have an updated power distribution center.
Helpful Videos
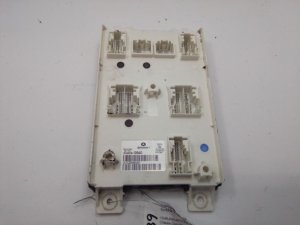
Used OEM Parts in Stock
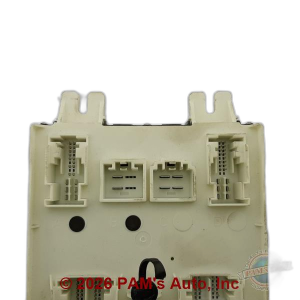



New Aftermarket Parts Available


The information in this article is provided for general reference and educational purposes only. Vehicle specifications, procedures, and part compatibility can vary by production date, trim level, and region. Always consult your vehicle's factory service manual and verify part numbers before purchasing or performing repairs. Safety-critical components such as airbags, seat belts, and braking systems should be installed by a qualified professional.
- Dodge DURANGO:
- 🎬 Helpful Videos
- 🛍️ Shop This Part
- What's Unique About the 2011-2018 Dodge DURANGO
- Diagnostic Flowchart
- Symptoms You May Notice
- Most Likely Causes
- Rare But Worth Checking
- Diagnosis Steps
- Parts You'll Likely Need
- Related Codes That Often Appear With This One
- Technical Service Bulletins (TSBs) & Recalls
- Platform-Specific Known Issues
- Mechanic-Grade Diagnostic Values
- Scan Tool Commands That Help
- Wiring & Ground Locations
- Real Owner Repair Stories
- OEM Part Supersession History
- Model Year Variations Within This Range
- 🎟️ Get 5% Off