

U0140 on 2011-2018 Dodge Challenger: Lost Communication with BCM Fixes
On a 2011-2018 Dodge Challenger, code U0140 most often indicates a software glitch in the Powertrain Control Module (PCM). The primary fix, documented in multiple Technical Service Bulletins, is a software update performed by a Dodge dealer. Before suspecting a bad Body Control Module (BCM), check for software updates, perform a hard reset, and verify battery health.
- For a 2011-2018 Challenger, U0140 is very often a software problem, not a hardware failure.
- Before replacing any parts, contact a Dodge dealer to see if a PCM software update is available for your VIN.
- Always test the battery and check main ground connections first when diagnosing any network communication code.
- Do not replace the BCM or PCM unless a software update has been performed and all wiring/power has been confirmed to be good.
- This code can cause serious drivability and safety issues; it should be diagnosed promptly.
What's Unique About the 2011-2018 Dodge CHALLENGER
For this generation of Dodge Challenger and its platform mates (Dodge Charger, Chrysler 300), the U0140 code is frequently addressed by manufacturer Technical Service Bulletins (TSBs). Unlike many other vehicles where this code often points directly to a wiring failure or a bad BCM, on the Challenger, a PCM software reflash is a very common and officially recognized solution. This is a critical distinction that can save owners from unnecessarily replacing expensive hardware.
Diagnostic Flowchart
Tap your situation to follow the diagnostic path that matches what you're seeing on this vehicle.
Generation note: The 2011-2018 model years cover the third generation (LC/LA) of the Dodge Challenger. A significant facelift occurred in 2015, which included major updates to the interior electronics. However, the TSBs provided cover years both before and after this facelift (2013, 2014, 2015), indicating that the U0140 communication issue can affect the entire 2011-2018 range.
Symptoms You May Notice
- Check Engine Light is on
- Multiple other warning lights may illuminate (ABS, Airbag, Traction Control)
- Interior or exterior lights work erratically or not at all
- Power windows, door locks, or wipers are inoperative
- Vehicle may not start or may stall intermittently
- Poor or slow acceleration
- Unexplained battery drain
- Horn honking when using turn signals or brakes
- Replacing the Body Control Module (BCM) before checking for PCM software updates.
- Replacing the Powertrain Control Module (PCM) when it only needs to be reprogrammed.
- Overlooking a corroded CAN bus star connector behind the glove box.
Most Likely Causes
- Outdated Powertrain Control Module (PCM) Software 🔴 High Probability Dodge has released multiple Technical Service Bulletins (TSBs) specifically calling for a PCM software update to resolve U0140, indicating known bugs in the original software.
How to confirm: A Dodge dealer or a qualified shop with a wiTECH scan tool can check the current PCM software version against the latest available version referenced in the TSBs.
Typical fix: Reprogramming (flashing) the PCM with the latest software. This must be done by a dealer or properly equipped independent shop. The cost for this service is typically 1-1.5 hours of labor, ranging from $150-$350.
Est. part cost: $0 - Weak Battery or Poor Ground Connections 🟡 Medium Probability All modern vehicles are sensitive to voltage, and low voltage can cause control modules to drop off the communication network. This should always be the first check for any 'U' (network) code.
How to confirm: Test the battery with a digital multimeter or electronic battery tester. Voltage should be above 12.4V with the engine off and 13.5-14.5V when running. Inspect the main battery terminals (located in the trunk) and chassis ground straps for corrosion or looseness. Ground resistance should be less than 1 Ohm.
Typical fix: Charge or replace the battery. Clean or replace corroded terminals and ground straps.
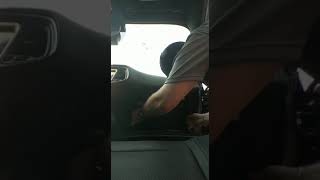
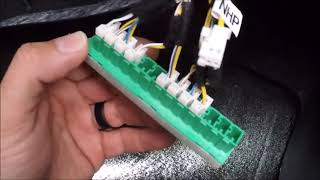
Est. part cost: $150-$300 - Wiring Harness or Connection Issues ⚪ Low Probability The CAN bus network wiring can be damaged by chafing, corrosion, or physical impact. A primary failure point on these platforms is the CAN bus star connector (also called a junction block), located behind the glove box. 🎬 See this video to find the CAN bus star connector Water leaks in this area can corrode the connector, taking the network down.
How to confirm: Visually inspect the wiring harnesses connected to the PCM and BCM. Specifically, remove the glove box to access and inspect the CAN bus star connector for corrosion or pushed-out pins. An advanced technician may use a multimeter or oscilloscope to test for continuity and proper signal on the CAN high and CAN low wires.
Typical fix: Repair the damaged section of wiring. Clean or replace corroded connectors and apply dielectric grease.
Est. part cost: $20-$200 - Faulty Body Control Module (BCM) ⚪ Low Probability The BCM can fail due to internal component wear, vibration, or moisture intrusion. On the Challenger, it is located under the passenger side dashboard, accessible by removing the glove box.
How to confirm: After ruling out software, wiring, and power/ground issues, a technician will attempt to communicate directly with the BCM using a scan tool. If the module has proper power and ground but is unresponsive, it is likely faulty.
Typical fix: Replace the Body Control Module. The new module must be programmed to the vehicle's VIN and configuration using a tool like wiTECH.
Est. part cost: $250-$500
Rare But Worth Checking
- Aftermarket Electronics Interference: Improperly installed aftermarket accessories like remote starters, alarms, or stereos can disrupt the CAN bus network and cause communication codes. If you have any aftermarket parts, disconnecting them is a crucial diagnostic step.
Diagnosis Steps
- Check Battery and Perform Hard Reset: Ensure battery voltage is stable and above 12.4V (engine off). Inspect battery terminals in the trunk. As a first step, perform a hard reset by disconnecting both battery terminals and touching the cable ends together for 60 seconds to drain residual power from all modules. Reconnect and check if the fault clears.
- Scan for TSBs: Contact a Dodge dealer or use a professional database to check if your vehicle's VIN has an open TSB related to U0140 and a PCM software update. This is the most likely fix.
- Full System Scan: Use a professional-grade scan tool to check for codes in all vehicle modules. Note if the scan tool can communicate with the BCM. A cascade of 'U' codes often points to a network-wide issue rather than a single bad module.
- Inspect BCM and CAN Star Connector: Visually inspect the BCM (under the passenger dash) and its electrical connectors for signs of water damage, corrosion, or loose pins. Crucially, inspect the CAN bus star connector/junction block in the same area, as it's a common point of corrosion.
- Check CAN Bus Wiring: Inspect the wiring harness between the PCM and BCM. If no obvious damage is seen, advanced diagnostics are needed.
- Verify BCM Power and Ground: Using a multimeter, confirm that the BCM has proper power and a good ground at its connector. Ground resistance to the battery negative post should be less than 1.0 Ohm. If power and ground are present but the module won't communicate, it has likely failed.
- Professional Diagnosis: If the steps above do not identify the cause, a technician with an oscilloscope may be needed to analyze the CAN bus signals directly to find the source of the network failure.
Parts You'll Likely Need
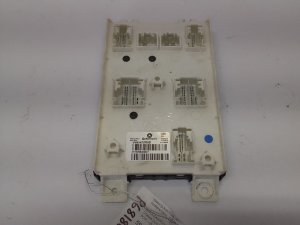
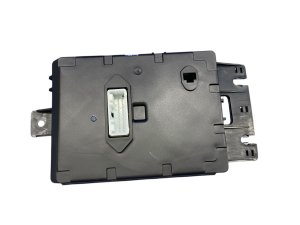
- Body Control Module (BCM)
(OEM #68186570AD (for 2015 models, superseded by 68186570AE). Note: Part numbers are highly specific to year and vehicle options. Always verify with VIN.)— This module is replaced only after software, power, and wiring issues have been completely ruled out. It is a less common cause than a software glitch for this specific code.
Trusted brands: Mopar
OEM price range: $290-$573
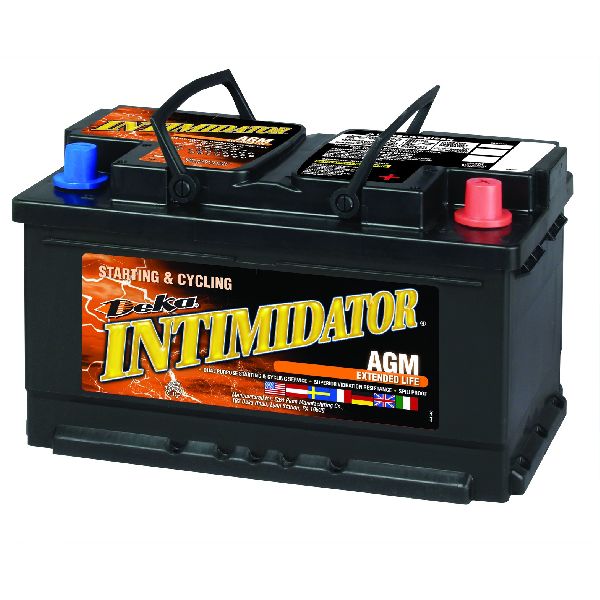
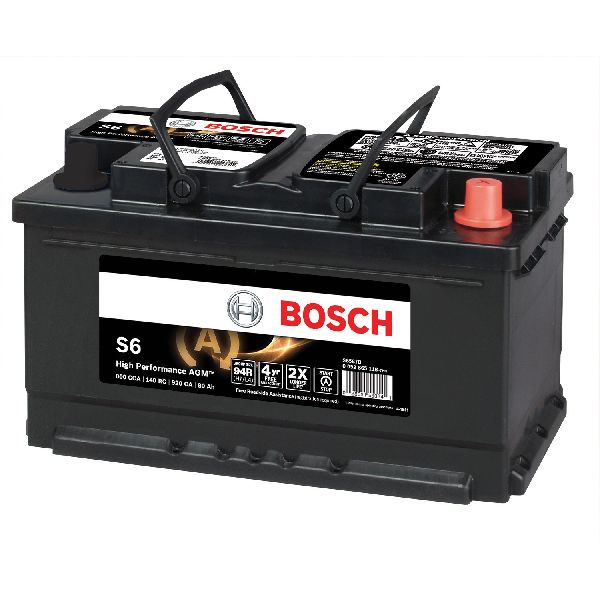
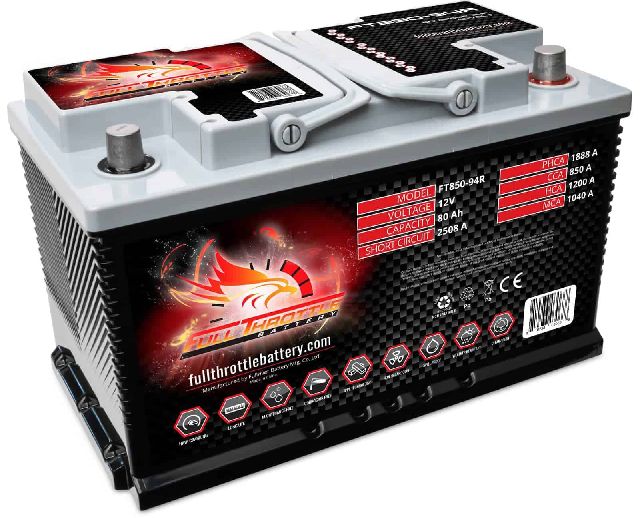
Aftermarket price range: $200-$400 - Automotive Battery — A weak or failing battery is a common cause of various electronic and communication faults in modern vehicles.
Trusted brands: Interstate, DieHard, Duralast
OEM price range: $200-$300
Aftermarket price range: $150-$250
Related Codes That Often Appear With This One
- P0456 — EVAP System Small Leak. This code is specifically mentioned in TSBs #18-088-16 and #18-070-16 alongside U0140 as being resolved by a PCM software update.
- P0335 — Crankshaft Position Sensor Circuit. Mentioned in TSBs #1807320, #18-084-16, and #18-070-16 as another code that can be stored with U0140 and fixed via a software update.
- P2610 — PCM Internal Engine Off Timer Performance. Also listed in multiple TSBs (#18-088-16, #18-084-16, #18-070-16) as being related to the same software issue that causes U0140.
Technical Service Bulletins (TSBs) & Recalls
- 1807320: Mentions U0140 in a list of codes related to timer performance and sensor circuits.
- 18-088-16: Recommends reprogramming the PCM with the latest software to resolve U0140 and other codes.
- 18-084-16: Lists U0140 as a code addressed by a software update for performance issues.
- 18-070-16: Notes U0140 may be impossible to clear without addressing the root cause, often a software update.
Platform-Specific Known Issues
- Multiple Technical Service Bulletins (#1807320, #18-088-16, #18-084-16, #18-070-16) specify that a PCM software update is the correct fix for U0140, often when seen with other codes like P0456, P0335, and P2610.
- The CAN bus star connector/junction block, a central point for network wiring located behind the glove box, is a known weak point for corrosion from water leaks, which can cause a U0140 fault.
Mechanic-Grade Diagnostic Values
- CAN Bus Network Resistance — expected: ~60 Ohms (with battery disconnected, measured between Pin 6 and Pin 14 of the OBD-II port).. Failure: A reading of ~120 Ohms indicates an open circuit or a missing terminating resistor. A reading significantly lower than 60 Ohms (e.g., 45 Ohms) can indicate a shorted module or an extra terminating resistor on the network.
- BCM Ground Circuit Resistance — expected: Less than 1.0 Ohm, ideally < 0.1 Ohm, between the BCM ground pin and the negative battery terminal.. Failure: Resistance higher than 1.0 Ohm indicates a poor ground connection, which can cause module communication issues.
- CAN Bus Voltage (Key On, Engine Off) — expected: CAN High (Pin 6): ~2.5V to 3.5V. CAN Low (Pin 14): ~1.5V to 2.5V. The two voltages should be mirror images of each other and add up to approximately 5V.. Failure: Voltages that are stuck high, stuck low, or do not change indicate a short to power or ground. Note that a standard multimeter may show average readings around 2.5V and is best for checking for shorts, while an oscilloscope is needed to see the actual signal.
Scan Tool Commands That Help
- wiTECH (Dodge Dealer Tool): BCM Bidirectional Output Test — After confirming the BCM has good power and ground, command it to activate an output (e.g., 'Dome Light On'). If the command fails and the light does not turn on, it strongly suggests the BCM itself is faulty.
- wiTECH (Dodge Dealer Tool): Clear DTCs — According to multiple TSBs, if the root cause is the known PCM software glitch, attempting to clear U0140 will be unsuccessful. This failure to clear is itself a diagnostic indicator that a PCM reflash is likely required.
Wiring & Ground Locations
- CAN Bus Star Connector / Junction Block — Located behind the glove box. Access requires lowering the glove box completely. It may consist of two separate blocks connected by a short harness.. This is the central hub where many modules connect to the CAN bus. Corrosion (often from water leaks) or a poor connection in this single spot can take down the entire network and cause U0140.
- Chassis Ground G305 (example) — There are multiple critical ground points. A key one for the related Charger platform is under the engine airbox. Another common location for dash components is on the chassis behind the passenger kick panel. A wiring diagram shows a ground designated G305 near the powertrain.. A poor ground connection to the BCM or another module on the network can introduce electrical noise or cause the module to drop offline, triggering a communication code.
Real Owner Repair Stories
- Go-Parts article citing YouTube user Valeriu Moscalu (2016 Dodge Challenger SXT) — Horn was honking when pressing the brake pedal or using the right turn signal. Turn signals worked intermittently.
❌ Tried (didn't work) The owner suspected the BCM and did not report trying other fixes first.
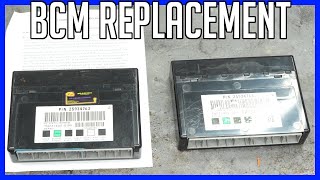
✅ What actually fixed it The owner replaced the Body Control Module with a used unit. After replacement, several error codes appeared, which were successfully cleared using an Autel scanner, resolving all symptoms.
"I Checked Everything" — The Actual Cause
- In a similar Chrysler/Dodge/Ram platform, a technician diagnosed a network-wide communication failure that would only occur after exactly 33 miles of driving. All wiring, modules, and terminating resistors tested good when the vehicle was stationary. The actual cause was a faulty CAN bus star connector itself. An internal capacitor was failing under the high data load of active driving, crashing the network. Replacing the star connector resolved the issue.
OEM Part Supersession History
68186570AD→68186570AE— Standard part revision by manufacturer.
Heads up: A replacement BCM, new or used, must be programmed to the vehicle's VIN and specific configuration. Failure to program the module with a tool like wiTECH will result in a no-start condition or malfunctioning features.
Helpful Videos
Used OEM Parts in Stock



New Aftermarket Parts Available


The information in this article is provided for general reference and educational purposes only. Vehicle specifications, procedures, and part compatibility can vary by production date, trim level, and region. Always consult your vehicle's factory service manual and verify part numbers before purchasing or performing repairs. Safety-critical components such as airbags, seat belts, and braking systems should be installed by a qualified professional.
- Dodge CHALLENGER:
- 🎬 Helpful Videos
- 🛍️ Shop This Part
- What's Unique About the 2011-2018 Dodge CHALLENGER
- Diagnostic Flowchart
- Symptoms You May Notice
- Most Likely Causes
- Rare But Worth Checking
- Diagnosis Steps
- Parts You'll Likely Need
- Related Codes That Often Appear With This One
- Technical Service Bulletins (TSBs) & Recalls
- Platform-Specific Known Issues
- Mechanic-Grade Diagnostic Values
- Scan Tool Commands That Help
- Wiring & Ground Locations
- Real Owner Repair Stories
- "I Checked Everything" — The Actual Cause
- OEM Part Supersession History
- 🎟️ Get 5% Off