

U0100 on 2015-2017 Chevrolet Silverado: Lost Communication with ECM Causes & Fixes
On a 2015-2017 Silverado, U0100 most often points to a poor ground connection at the BCM (G218) or a faulty connector at the Serial Data Gateway Module (SDGM), not a failed ECM. Checking these known weak points, as detailed in GM TSBs, is the first step and can be a low-cost fix.
- Do not immediately assume the ECM has failed. The U0100 code on this truck is more often caused by simpler, cheaper issues.
- The first and most important diagnostic step is to check the battery's health and the integrity of the G218 ground under the dashboard.
- Inspect the connectors at the Serial Data Gateway Module (SDGM) for any signs of damage or corrosion, as this is another known weak point.
- Due to the risk of stalling and loss of vehicle control, it is unsafe to drive the vehicle until this issue is properly diagnosed and repaired.
- This is a complex electrical issue. If checking the battery and G218 ground doesn't solve the problem, professional diagnosis is strongly recommended.
What's Unique About the 2015-2017 Chevrolet SILVERADO

For the 2015-2017 Silverado (part of the K2XX generation), the U0100 code is frequently linked to specific, well-documented electrical weak points. GM has issued Technical Service Bulletins (TSBs) that point directly to a poor ground connection for the Body Control Module at location G218, where dash insulation can get caught under the ground nut during assembly. TSBs also identify connector issues and 'logic lock-ups' at the Serial Data Gateway Module (SDGM). These known issues mean that the problem is often in the supporting wiring or modules, not the expensive ECM itself.
Diagnostic Flowchart

Tap your situation to follow the diagnostic path that matches what you're seeing on this vehicle.
Symptoms You May Notice
- Engine will not start or has a long crank time
- Engine stalls while driving, sometimes when turning or shifting
- Check Engine Light is on (or may disappear and reappear)
- No Check Engine Light at all when the key is in the 'ON' position (a key sign of no ECM communication)
- Multiple warning lights on the instrument panel (e.g., ABS, Traction Control, Service Stabilitrak 🎬 Watch: Fixing common electrical and Stabilitrak warning light issues.)
- Instrument panel gauges drop to zero, go blank, or behave erratically
- Loss of electric power steering assist
- Transmission may not shift correctly or may be stuck in one gear ('limp mode')
- Radio or HVAC controls may go blank or reset
- Replacing the Engine Control Module (ECM) without first diagnosing the CAN bus network, checking the G218 ground, inspecting the SDGM, and verifying battery health. This is an expensive mistake, as the problem is often a much cheaper wiring or ground issue.
Most Likely Causes

- Poor Ground Connection at G218 🔴 High Probability As cited in TSB #PIT5405C, sound-deadening insulation under the dashboard can get trapped between the BCM's ground lug and the chassis stud during manufacturing, causing a poor connection. This is a widely reported issue in owner forums for the K2XX platform.
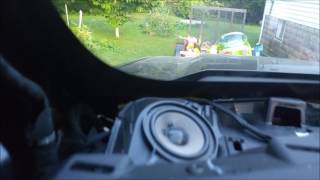
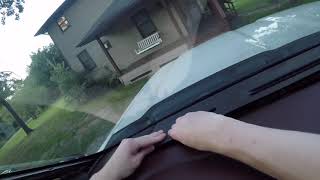
How to confirm: Locate ground G218 behind the passenger side kick panel 🎬 Watch: How to find and fix the G218 ground issue./lower A-pillar trim. Remove the 10mm nut and inspect if the black dash insulation is caught under the ring terminal. A voltage drop test from the terminal to the chassis can confirm high resistance.
Typical fix: Cleaning and securing the ground connection. This involves removing the nut, pulling the terminal away, trimming the interfering insulation, cleaning the contact surfaces, and re-tightening the nut securely. This is often a no-cost fix.
Est. part cost: $0-$5 - Faulty Connection or Logic Lock at Serial Data Gateway Module (SDGM) 🔴 High Probability TSB #PIT5586B specifically instructs technicians to check the X2 connector at the SDGM for issues. Later TSBs also mention a 'logic lock' state where the module freezes, causing a host of communication codes, including U0100.
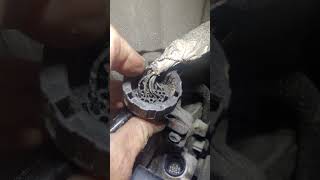
How to confirm: Locate the SDGM (often near the interior fuse box/BCM), disconnect its connectors (X1/X2), and inspect for backed-out terminals, corrosion, or bent pins. Re-seating the connector may temporarily restore communication. A hard reset (disconnecting the battery for 20+ minutes) may clear a logic lock.
Typical fix: Repairing connector terminals or replacing the SDGM. The module is a critical network component and requires programming by a dealer or qualified shop after replacement.
Est. part cost: $50-$200 - Low or Unstable Battery Voltage 🟡 Medium Probability Modern trucks are heavily reliant on stable voltage. A weak, failing, or improperly connected battery can cause modules to drop off the communication network, triggering various U-codes.
How to confirm: Test the battery with a multimeter; it should read at least 12.4-12.6 volts with the engine off. Perform a load test to check its health under stress. Inspect terminals for corrosion and ensure they are tight. TSB #21-NA-254 also advises checking that battery cable clamps are torqued to 7 Nm (62 lb-in).
Typical fix: Clean battery terminals, tighten connections, or replace the battery.
Est. part cost: $150-$350 - Damaged CAN Bus Wiring ⚪ Low Probability Wiring harnesses can be damaged by chafing against the frame or engine components, rodent damage, or previous improper repairs. TSB #PIT5405C also notes a specific potential short where the starter heat shield contacts the B+ battery cable terminal.
How to confirm: Visually inspect wiring harnesses, particularly where they pass through the firewall or near the engine, frame, and starter. A multimeter can be used to check for 60 ohms of resistance across Pin 6 (CAN High) and Pin 14 (CAN Low) at the OBD-II port (with the battery disconnected). A reading of 120 ohms suggests an open in the circuit or a faulty terminating resistor; a reading near 0 ohms indicates a short between the two wires.
Typical fix: Repairing the damaged section of the wiring harness.
Est. part cost: $10-$100
Rare But Worth Checking
- Failed Engine Control Module (ECM): While this is the definition of the code, the ECM itself is a robust component and is often the last part to fail. All other communication pathway issues (grounds, wiring, other modules) should be ruled out before condemning the ECM.
Diagnosis Steps
- Check Battery Health: Ensure the battery has a full charge (12.6V) and clean, tight terminals. A weak battery is a common cause of communication codes.
- Scan for All Codes: Use a quality OBD-II scanner to pull all codes from all modules, not just the engine. Note any other 'U' codes, as they provide clues to the source of the failure.
- Inspect Ground G218: Locate the G218 ground point behind the passenger side kick panel. Disassemble, trim any interfering dash insulation, clean all contact surfaces with a wire brush or sandpaper, and re-tighten the 10mm nut securely. This is the most common fix.
- Inspect Serial Data Gateway Module (SDGM): Locate the SDGM (near the BCM) and inspect its electrical connectors (X1, X2) for corrosion, moisture, or backed-out pins, as noted in TSB #PIT5586B.
- Check Fuses: Inspect all fuses related to the ECM, BCM, and SDGM in the underhood and interior fuse panels.
- Inspect CAN Bus Wiring: Visually inspect the main wiring harnesses for any signs of physical damage, chafing against metal parts, or rodent damage. Pay close attention to the area around the starter, checking for contact between the B+ cable and heat shield.
- Test CAN Bus Resistance: With the battery disconnected, use a multimeter to measure resistance between Pin 6 (CAN-H) and Pin 14 (CAN-L) on the OBD-II port. A healthy network should read approximately 60 Ohms. 120 Ohms indicates an open circuit, and ~0 Ohms indicates a short.
- Professional Diagnosis: If the above steps do not resolve the issue, professional diagnosis with a bidirectional scanner is needed to isolate the faulty module or wiring section.
Parts You'll Likely Need
- Serial Data Gateway Module (SDGM)
(OEM #13599318 (replaces 13509768, 13524297, 13524298, 13599317))— This module is a known failure point referenced in TSBs. It acts as a router for network traffic, and its failure (or logic lock) can bring down the entire CAN bus. Requires programming after installation.
Trusted brands: ACDelco (GM Genuine)
OEM price range: $70-$150
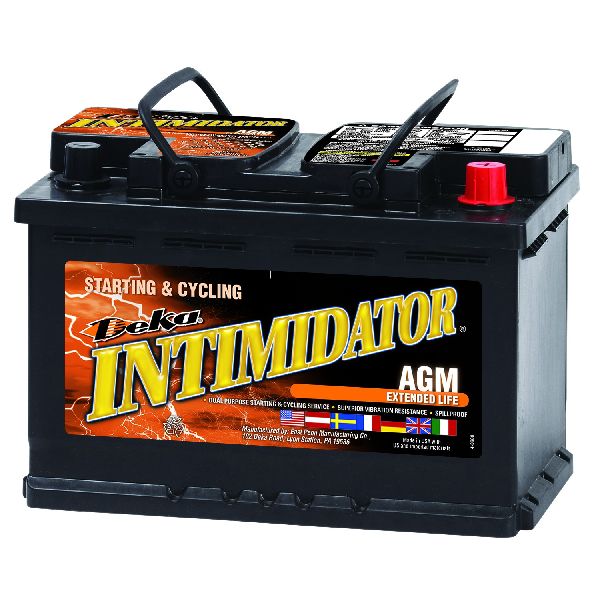
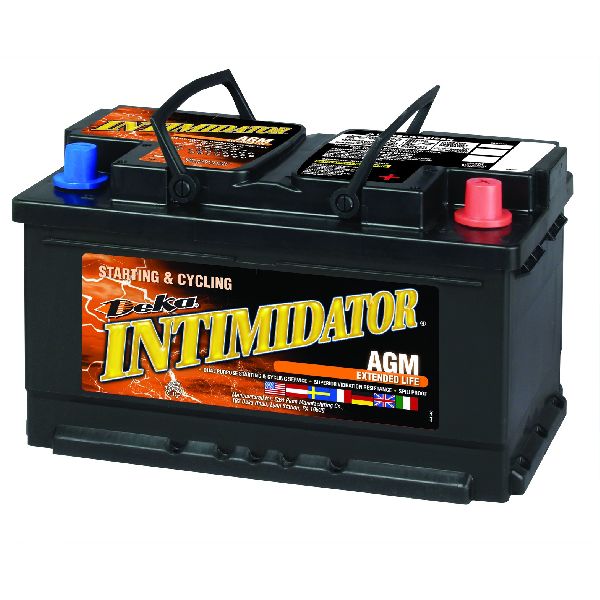
Aftermarket price range: $50-$100 - Battery — A weak or failing battery can cause low voltage, leading to module communication dropouts.
Trusted brands: ACDelco, DieHard, Optima
OEM price range: $200-$350
Aftermarket price range: $150-$250 - Engine Control Module (ECM) — This is the least likely cause and should only be replaced after all other possibilities are exhausted. A failed ECM will not communicate with a scan tool and will prevent the engine from starting.
Related Codes That Often Appear With This One
- U0101 — Lost Communication with Transmission Control Module (TCM). This often appears with U0100 as they are both critical modules on the same high-speed network and can be affected by the same ground or power issues.
- U0140 — Lost Communication with Body Control Module (BCM). This is very common with U0100, especially if the G218 ground is the root cause, as G218 is a primary ground for the BCM.
- U0073 — Control Module Communication Bus 'A' Off. This is a general network code indicating the entire bus is down, which happens when a critical module like the ECM or SDGM is not communicating.
Technical Service Bulletins (TSBs) & Recalls
- PIT5405C: Addresses multiple electrical issues including U0100, stemming from a poor BCM ground at G218 or a shorted starter B+ cable.
- PIT5586B: Points to the X2 connector at the Serial Data Gateway Module (SDGM) as a cause for a host of communication codes, including U0100.
Platform-Specific Known Issues
- TSB #PIT5405C points to the body control module ground at G218 as a potential cause for U0100 and a host of other communication codes. The bulletin specifically describes dash insulation getting trapped under the ground lug.
- TSB #PIT5405C also identifies a less common but possible cause: the starter heat shield making contact with the starter solenoid B+ battery cable, causing a short.
- TSB #PIT5586B highlights issues with the X2 connector on the Serial Data Gateway Module (SDGM) as a cause for U0100 and other network codes.
Mechanic-Grade Diagnostic Values
- CAN Bus Terminating Resistance — expected: ~60 Ω (measured between Pin 6 and Pin 14 at DLC with battery disconnected). Failure: A reading of ~120 Ω indicates an open circuit or one of the two terminating resistors is offline. A reading near 0 Ω indicates a short between the high and low circuits.
- CAN High Voltage (Key On, Engine Off) — expected: ~2.5V to 3.5V. Failure: Voltage stuck high, low, or unchanging indicates a bus fault.
- CAN Low Voltage (Key On, Engine Off) — expected: ~1.5V to 2.5V. Failure: Voltage stuck high, low, or unchanging indicates a bus fault.
- Battery Cable Clamp Torque — expected: 7 Nm (62 lb-in). Failure: Loose clamps can cause intermittent voltage drops and communication faults.
- Engine Block Negative Cable Ground Torque — expected: 45 Nm (33 ft-lb). Failure: A loose main engine ground can cause a wide range of communication issues.
Scan Tool Commands That Help

- GDS2 (GM Dealer Tool): Module Reprogramming/Setup — Required after replacing the Serial Data Gateway Module (SDGM) or Engine Control Module (ECM) to configure the new module to the vehicle's specific options and VIN.
- Professional Bidirectional Scanner: Crankshaft Position Variation Learn — This procedure must be performed after replacing the ECM to calibrate it to the crankshaft position sensor, preventing misfires and ensuring correct engine operation.
Wiring & Ground Locations

- G218 — Behind the passenger side kick panel / lower A-pillar trim.. This is a primary ground for the Body Control Module (BCM). TSB #PIT5405C identifies it as a top cause for U0100 due to dash insulation getting trapped under the ground terminal during assembly.
- CAN Bus Terminating Resistor #2 — In the rear wiring harness, often taped to the harness above the spare tire area, near the trailer control modules.. The CAN bus requires two 120-ohm resistors (one in the ECM, one external) to function, creating a total resistance of 60 ohms. If this rear resistor or its wiring fails, the bus resistance will read 120 ohms, and communication will be unstable or fail.
- Negative Battery Cable Sensor — A sensor clamp located on the negative battery cable itself.. This sensor monitors current draw from the battery. If auxiliary accessories are grounded improperly, bypassing this sensor, the charging system may not function correctly, leading to low voltage conditions that can trigger communication codes.
- Starter Solenoid B+ Cable — At the starter motor.. TSB #PIT5405C warns that the starter heat shield can come loose or the B+ cable can be mis-installed, causing a short to ground. This can drain the battery and cause widespread communication codes.
Real Owner Repair Stories
- Reddit user comment (2015 Silverado WT) — No communication with OBD-II port, scan tool would blue screen. Truck was crippled.
❌ Tried (didn't work) First mechanic was unable to diagnose.
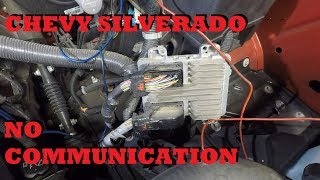
✅ What actually fixed it A second mechanic found two frayed wires in the wiring bundle near the driver's side, between the ECM and TCM. Repairing the frayed wires restored communication and fixed the truck. - YouTube video by Tio's Auto Diagnostics (2015 Silverado 1500) — No crank, no start, no communication.
❌ Tried (didn't work) Checked terminating resistors, which initially read 120 ohms (indicating a fault) instead of 60., Unplugging the power steering control module did not resolve the issue.
✅ What actually fixed it A broken wire in the harness was found and soldered. After the wire repair, all communication was restored, and the truck started and ran fine. - YouTube video by Oz Mechanics (Silverado (year not specified, K2XX body style)) — No communication on the low-speed CAN bus after a new radio was installed. Instrument cluster was dead.
❌ Tried (didn't work) Diagnosing various splice packs and connectors on the network.
✅ What actually fixed it The fault was isolated to the seat memory control module under the driver's seat. Unplugging this module restored communication to the rest of the network. It was suspected that water intrusion shorted the module.
OEM Part Supersession History
13509768, 13524297, 13524298, 13599317→13599318— Standard hardware and software revisions by the manufacturer.
Heads up: The replacement module requires programming and special setup procedures after installation to learn the vehicle's specific configuration. It is not a plug-and-play part.
Helpful Videos
Used OEM Parts in Stock



New Aftermarket Parts Available


The information in this article is provided for general reference and educational purposes only. Vehicle specifications, procedures, and part compatibility can vary by production date, trim level, and region. Always consult your vehicle's factory service manual and verify part numbers before purchasing or performing repairs. Safety-critical components such as airbags, seat belts, and braking systems should be installed by a qualified professional.
- Chevrolet SILVERADO:
- 🎬 Helpful Videos
- 🛍️ Shop This Part
- What's Unique About the 2015-2017 Chevrolet SILVERADO
- Diagnostic Flowchart
- Symptoms You May Notice
- Most Likely Causes
- Rare But Worth Checking
- Diagnosis Steps
- Parts You'll Likely Need
- Related Codes That Often Appear With This One
- Technical Service Bulletins (TSBs) & Recalls
- Platform-Specific Known Issues
- Mechanic-Grade Diagnostic Values
- Scan Tool Commands That Help
- Wiring & Ground Locations
- Real Owner Repair Stories
- OEM Part Supersession History
- 🎟️ Get 5% Off