

P2407 on 2010-2015 Jaguar XJ: EVAP Leak Detection Pump Circuit Causes and Fixes
On a 2010-2015 Jaguar XJ, code P2407 is almost always caused by water and road salt corroding the EVAP Leak Detection Pump (LDP), also called a DMTL pump, or its electrical connector. This is a known issue documented in Jaguar Technical Service Bulletin JTB00436NAS2. The pump is located behind the rear wheel arch liner, making it vulnerable. The fix is to replace the pump and clean or repair the connector, applying dielectric grease to prevent recurrence.
- P2407 on a 2010-2015 Jaguar XJ is an electrical fault, not a vacuum leak.
- The root cause is almost certainly water and salt corrosion on the Leak Detection Pump (LDP/DMTL) or its connector, a known issue confirmed by Jaguar TSB JTB00436NAS2.
- Before buying any parts, visually inspect the LDP connector for green or white crusty buildup. Access requires removing the rear wheel and liner.
- The fix involves replacing the LDP and/or cleaning/repairing its connector. Applying dielectric grease is crucial to prevent a recurrence.
- Be prepared for a difficult repair. Access is very tight, and some shops, including dealers, may insist on dropping the rear subframe, which dramatically increases labor costs.
- Do not waste time or money on a smoke test or replacing the gas cap for this specific code on this car.
What's Unique About the 2010-2015 Jaguar XJ
The 2010-2015 Jaguar XJ (X351 generation) is uniquely susceptible to this code due to a specific design vulnerability. Jaguar issued a Technical Service Bulletin (JTB00436NAS2) acknowledging that water and ice, thrown up by the road tires, can get trapped in the area where the Leak Detection Pump is mounted behind the rear wheel arch liner. This constant exposure to moisture and road salt leads to severe corrosion of the pump's electrical connector and the pump itself, causing the erratic signal that triggers P2407. The official TSB service instruction involves not only replacing the pump/canister assembly but also installing a new fuel tank filler pipe and adding a piece of protective foam to shield the components.
Diagnostic Flowchart
Tap your situation to follow the diagnostic path that matches what you're seeing on this vehicle.
Symptoms You May Notice
- Check Engine Light is illuminated
- Inability to pass an emissions test
- Difficulty filling the fuel tank (fuel nozzle clicks off repeatedly)
- Occasional faint fuel odor near the rear of the vehicle
- Replacing the gas cap
- Replacing the charcoal canister (though the TSB recommends it as part of a complete kit)
- Performing a smoke test to find a vacuum leak (P2407 is an electrical circuit code)
Most Likely Causes
- Water Intrusion and Corrosion at the Leak Detection Pump Connector 🔴 High Probability As documented in TSB #JTB00436NAS2, the pump's location behind the rear wheel arch liner makes it vulnerable to road spray from the tires, leading to trapped water/ice and subsequent corrosion. This is the most common cause for this specific vehicle. Forum users report the connector can become so corroded that it burns or the pins break off inside.
How to confirm: Visually inspect the Leak Detection Pump and its electrical connector, which is located near the charcoal canister by the rear of the vehicle, often behind a wheel well liner. Look for white or green crusty corrosion on the connector pins and wiring. Wiggling the harness while monitoring sensor voltage with a bi-directional scanner can also reveal intermittent connections.
Typical fix: Unplug the connector and clean the pins thoroughly with an electrical contact cleaner and a small brush. If corrosion is severe, the connector pigtail may need to be replaced. However, Jaguar may not sell the connector separately from the main body harness, forcing a repair or sourcing a used connector. Apply dielectric grease before reconnecting to prevent future moisture intrusion.
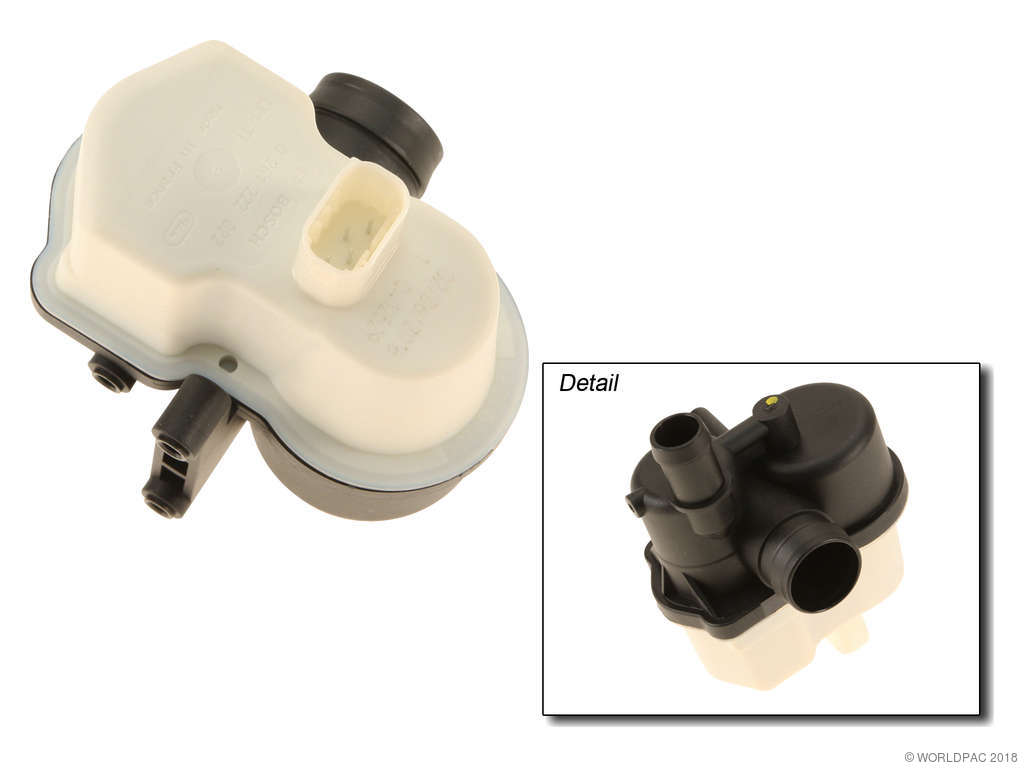
Est. part cost: $5-$25 for cleaning supplies, potentially more for a sourced connector. - Failed Leak Detection Pump (DMTL Pump) 🔴 High Probability The same water intrusion that corrodes the connector also damages the pump itself. The internal sense circuit, often a delicate reed switch, fails due to moisture damage.
How to confirm: If the connector and wiring are clean and have good continuity, but the code persists, the pump is the likely culprit. A bi-directional scan tool can be used to command the pump on; if it doesn't respond or the sense circuit voltage is still erratic, the pump has failed. One owner on a forum noted that after replacing the pump, they discovered a bent pin on the old unit, indicating prior damage.
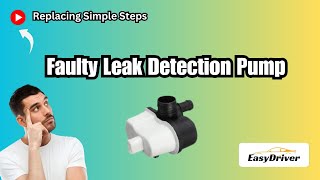
Typical fix: Replace the Leak Detection Pump. 🎬 Watch: See a walkthrough on how to replace a faulty pump. This part is often mounted on a bracket next to the EVAP charcoal canister. On the XJ, this can be a difficult job. One owner reported the dealer stated the rear sub-frame must be dropped for access, resulting in a ~$2600 repair bill. Another owner found it possible but very difficult to replace without dropping the subframe.
Est. part cost: $150-$250 - Damaged Wiring Harness ⚪ Low Probability The wiring to the LDP is routed underneath the car and can be damaged by road debris or chafing against chassis components, though this is less common than corrosion at the connector itself.
How to confirm: Perform a continuity test on the wires running from the LDP connector back to the ECM. Wiggle the harness while testing to check for intermittent breaks.
Typical fix: Repair or splice the damaged section of wire. Ensure the repair is sealed against moisture.
Est. part cost: $1-$10
Rare But Worth Checking
- Faulty Powertrain Control Module (PCM): This is extremely rare. The PCM should only be considered after all other possibilities, including the pump, connector, and all related wiring, have been definitively ruled out.
Diagnosis Steps
- Read the trouble codes with an OBD-II scanner. Note any other EVAP codes present, as they are likely related per TSB JTB00436NAS2.
- Lift the rear of the vehicle and securely support it on jack stands.
- Remove the rear wheel (driver's side in LHD markets) and the wheel arch liner to gain access.
- Locate the EVAP charcoal canister and the attached Leak Detection Pump (DMTL pump). It is near the rear axle/suspension area.
- Disconnect the electrical connector from the LDP. Carefully inspect both the pump's pins and the connector's terminals for any signs of green or white corrosion, moisture, or burnt plastic.
- If corrosion is found, clean it with electrical contact cleaner and a small brush. Apply dielectric grease and reconnect. Clear the codes and drive the vehicle to see if the code returns.
- If no corrosion is visible or cleaning doesn't fix it, test the wiring. Check for battery voltage and a good ground at the connector with the key on. Check for continuity on the signal wire back to the ECM.
- If wiring and the connector are confirmed to be good, the Leak Detection Pump itself is faulty and should be replaced. Be aware that access is very tight and may require lowering the rear subframe for clearance.
Parts You'll Likely Need
- EVAP Fuel Vapor Leak Detection Pump
(OEM #C2S52866 (replaces C2S44358))— This is the component that fails due to internal corrosion from water exposure, as identified in the Jaguar TSB.
Trusted brands: Bosch (OEM supplier), Genuine Jaguar
OEM price range: $200-$275
Aftermarket price range: $150-$220 - TSB Repair Kit Components
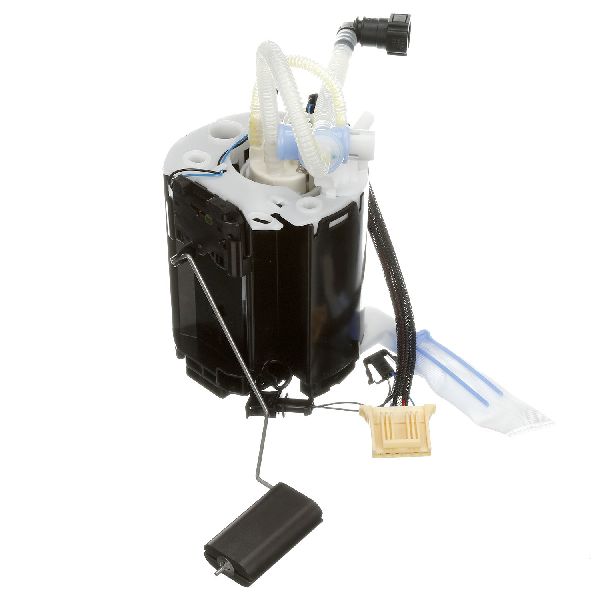
(OEM #Evaporative emission canister (C2D40532), Fuel tank filler pipe (C2D30506), Protective Foam (C2D49253))— The official TSB repair calls for replacing these additional parts to fully address the water intrusion issue.
Trusted brands: Genuine Jaguar
OEM price range: $300+
Aftermarket price range: N/A
Related Codes That Often Appear With This One
- P043E — TSB JTB00436NAS2 lists this and other EVAP codes as being caused by the same water intrusion issue.
- P0442 — TSB JTB00436NAS2 lists this and other EVAP codes as being caused by the same water intrusion issue.
- P2401 — TSB JTB00436NAS2 lists this and other EVAP codes as being caused by the same water intrusion issue.
- P2402 — TSB JTB00436NAS2 lists this and other EVAP codes as being caused by the same water intrusion issue.
- P2404 — TSB JTB00436NAS2 lists this and other EVAP codes as being caused by the same water intrusion issue.
- P240C — TSB JTB00436NAS2 lists this and other EVAP codes as being caused by the same water intrusion issue.
Technical Service Bulletins (TSBs) & Recalls
- JTB00436NAS2: States that numerous EVAP codes (P043E, P0442, P2401, P2402, P2404, P2407, etc.) may be stored due to water/ice from road spray becoming trapped. The official fix involves replacing the canister (C2D40532), filler pipe (C2D30506), and adding protective foam (C2D49253).
Platform-Specific Known Issues
- A Jaguar Technical Service Bulletin (JTB00436NAS2) directly addresses P2407 on this vehicle. It states the cause is likely water or ice from road tire spray becoming trapped within the Diagnostic Module Tank Leakage (DMTL) pump filter.
- The official service instruction for the TSB involves replacing the evaporative emission canister, the fuel tank filler pipe, and adding a piece of protective foam to the area to prevent recurrence.
- Owners on forums have reported extreme difficulty in accessing the pump, with some dealer quotes suggesting the entire rear sub-frame must be dropped, leading to very high labor costs.
Helpful Videos
We Have This Part in Stock


The information in this article is provided for general reference and educational purposes only. Vehicle specifications, procedures, and part compatibility can vary by production date, trim level, and region. Always consult your vehicle's factory service manual and verify part numbers before purchasing or performing repairs. Safety-critical components such as airbags, seat belts, and braking systems should be installed by a qualified professional.
- Jaguar XJ:
- 🎬 Helpful Videos
- 🛍️ Shop This Part
- What's Unique About the 2010-2015 Jaguar XJ
- Diagnostic Flowchart
- Symptoms You May Notice
- Most Likely Causes
- Rare But Worth Checking
- Diagnosis Steps
- Parts You'll Likely Need
- Related Codes That Often Appear With This One
- Technical Service Bulletins (TSBs) & Recalls
- Platform-Specific Known Issues
- 🎟️ Get 5% Off