

P1450 on 2009-2013 Mazda 6 3.7L: Causes and Fixes for 'Unable to Bleed Up Fuel Tank Vacuum'
On a 2009-2013 Mazda 6 with the 3.7L V6, code P1450 is almost always caused by a faulty canister purge valve that is stuck open. Mazda released a technical service bulletin (TSB #01-012/14) for this exact issue, recommending replacement with a modified part (OEM Part No. CXE5-13-970). Expect to pay $50-$100 for the part, which is a simple DIY fix that can be done in under 30 minutes.
- P1450 on your Mazda 6 almost certainly means you need a new canister purge valve, part number CXE5-13-970.
- Mazda acknowledged this was a common problem and released an updated part to fix it per TSB 01-012/14.
- This is a very simple and inexpensive repair you can likely do yourself in under 20 minutes with an 8mm socket and a screwdriver.
- Do not replace the gas cap; it is not the likely cause for this specific code.
- A strong whoosh of air when opening the gas cap is a key symptom confirming this issue.
What's Unique About the 2009-2013 Mazda 6
The 3.7L V6 engine in this generation of Mazda 6 is a Ford Cyclone engine, so this issue is also common on many Ford, Lincoln, and other Mazda products like the Ford Edge, Mustang, and Mazda CX-9. The problem became so frequent on the Mazda 6 that Mazda issued a specific Technical Service Bulletin (TSB 01-012/14) identifying the canister purge valve as the root cause and releasing an updated, more durable part to resolve the problem permanently.
Symptoms You May Notice
- Check Engine Light illuminated.
- Difficulty starting the engine, particularly right after filling the gas tank.
- A noticeable hissing sound when opening the fuel cap, which confirms trapped vacuum.
- Fuel cap may be difficult to remove due to suction.
- Slightly reduced fuel economy due to the improper air/fuel mixture.
- Rough idling or stalling in some cases.
- Replacing the gas cap. While a faulty gas cap can cause many other EVAP codes (like for small or large leaks), it is not a typical cause for P1450, which relates to the system's inability to actively bleed off vacuum. Owners often replace this first with no success.
Most Likely Causes
- Faulty Canister Purge Valve / Solenoid 🔴 High Probability This is a known failure point for this vehicle, as documented by Mazda in TSB #01-012/14. The original part was prone to sticking internally, creating a constant vacuum leak from the engine into the EVAP system.
How to confirm: With the engine off, locate the purge valve on the intake manifold. Disconnect the electrical connector and the EVAP lines. The valve is normally closed, so try to blow through it from the engine side towards the canister side. If any air passes through, it is faulty and stuck open. A vacuum gauge can also be used to confirm it's leaking vacuum when commanded off.
Typical fix: Replace the canister purge valve with the updated part specified by Mazda (Part No. CXE5-13-970). This is located on the engine and is easy to access, held by two 8mm bolts.
Est. part cost: $50-$100 - Blocked or Kinked EVAP Vent Hoses 🟡 Medium Probability Hoses can become clogged with dirt, debris, or carbon from the canister, or get pinched during other repairs. A notable TSB for earlier Mazda6 models mentioned spiders weaving webs in the canister vent line, causing a restriction. While not specific to this generation for P1450, it highlights the possibility of external blockages.
How to confirm: Visually inspect all EVAP lines between the fuel tank, charcoal canister, and vent solenoid (located near the rear of the vehicle) for kinks, damage, or blockages. A smoke test can reveal a blockage if pressure builds and does not flow out the vent.
Typical fix: Clear the blockage or replace the damaged section of hose.
Est. part cost: $10-$40 - Stuck-Closed Canister Vent Solenoid ⚪ Low Probability
How to confirm: The vent solenoid is normally open. Locate the valve (usually near the charcoal canister at the rear of the car) and disconnect it. You should be able to blow through it easily. If you cannot, it is stuck closed and faulty. Applying 12V power should cause it to click and close, stopping airflow.
Typical fix: Replace the canister vent solenoid.
Est. part cost: $40-$80 - Faulty Fuel Tank Pressure (FTP) Sensor ⚪ Low Probability
How to confirm: Use a scan tool to monitor the FTP sensor reading in live data. With the gas cap removed, the pressure should be at or very near 0 PSI (atmospheric pressure), which corresponds to about 2.5-2.6 volts. If the sensor still reports a significant vacuum with the system open to the atmosphere, it is likely faulty.
Typical fix: Replace the Fuel Tank Pressure sensor, which is often located on top of the fuel tank or near the charcoal canister.
Est. part cost: $30-$70
Rare But Worth Checking
- Saturated or Blocked Charcoal Canister: This can happen if you habitually 'top off' your fuel tank after the pump clicks off. Liquid fuel can enter the canister, ruining the charcoal media and causing blockages that prevent the system from venting properly.
Diagnosis Steps
- Confirm the Check Engine Light is on and code P1450 is present using an OBD-II scanner.
- Go to refuel the vehicle or simply open the gas cap. Listen for a loud, prolonged hiss of air rushing into the tank. This is a strong confirmation that excessive vacuum is being trapped.
- Locate the canister purge valve on the engine's intake manifold. It will have two hoses and an electrical connector.
- With the engine off, disconnect the electrical connector from the purge valve. Start the engine. If the engine's idle changes or if you can feel vacuum on the port leading to the EVAP canister, 🎬 Watch: How to test if your purge valve is stuck open without tools the valve is stuck open and must be replaced.
- Alternatively, with the engine off, remove the purge valve (typically held by two 8mm bolts). Try to blow air through it. Since it should be normally closed, if any air passes through, the valve is faulty.
- If the purge valve tests good, locate the EVAP canister and vent solenoid at the rear of the vehicle. Inspect the vent hose for any blockages from dirt, debris, or even spider webs.
- Test the canister vent solenoid. It is a normally-open valve. Disconnect it and ensure you can blow through it. Apply 12V power and it should click shut. If it's stuck closed, it's the problem.
- If all valves and hoses are good, use a scan tool to check the Fuel Tank Pressure (FTP) sensor reading with the gas cap off. It should read near zero PSI or 2.5-2.6V. If it shows a persistent vacuum, the sensor itself may be faulty.
Parts You'll Likely Need
- Canister Purge Valve / Solenoid
(OEM #CXE5-13-970)— This is the most common failure part for this specific code on this vehicle, as confirmed by Mazda Technical Service Bulletin 01-012/14. The original part is prone to sticking open.
Trusted brands: Mazda OE, Standard Motor Products (CP739), Dorman (911-706)
OEM price range: $80-$120
Aftermarket price range: $40-$70
Technical Service Bulletins (TSBs) & Recalls
- 01-012/14 (supersedes 01-012-14-2908A): States that for a P1450 code, the concern is likely caused by the purge valve, which has been modified to eliminate the concern. Applies to 2009-2013 Mazda6 3.7L vehicles produced before March 31, 2012.
Platform-Specific Known Issues
- Mazda TSB #01-012/14 was issued specifically for the 2009-2013 Mazda 6 3.7L (and other models with the engine), identifying the purge valve as the cause for P1450 and providing a modified part (CXE5-13-970) for the repair.
Mechanic-Grade Diagnostic Values
- Fuel Tank Pressure (FTP) Sensor Voltage — expected: ~2.6 Volts. Failure: A reading significantly lower than 2.6V (e.g., 2.2V) with the gas cap off indicates a persistent vacuum reading, pointing to a sensor or system fault.
- Canister Purge Valve Solenoid Resistance — expected: 22 to 30 ohms. Failure: A resistance reading outside of this range indicates a faulty solenoid coil.
Wiring & Ground Locations
- G2 — Left front of engine compartment.. This is a primary engine compartment ground. A poor connection here could potentially affect the operation of engine-mounted sensors and solenoids, including the purge valve.
- G3 — Left side of engine compartment.. Another key ground point for engine components. Ensuring it is clean and tight is a good practice when diagnosing any electrical fault in the engine bay.
- G8 — Left end of dash.. This ground is associated with the instrument cluster and various control modules. A fault here could cause erroneous readings or communication issues, though it's less likely to be a direct cause of P1450.
- Purge Solenoid Valve Connector — Located on the purge valve at the left rear corner of the engine compartment.. This is the electrical connection for the most common failure part. Technicians will test for power and ground at this connector's pins during diagnosis.
Real Owner Repair Stories
- Mazdas247 Forum user '2012Mazda' (2012 Mazda 5 (different model, but similar EVAP components and code logic)) — Persistent P1450 code.
❌ Tried (didn't work) Replaced vapor canister purge valve/solenoid, Replaced vapor canister vent valve/solenoid, Replaced fuel tank cap, Replaced intake manifold vacuum valve/solenoid
✅ What actually fixed it The user's problem returned after replacing multiple parts and the final fix was not posted, highlighting that even after replacing all common components, the issue can persist, possibly due to a wiring issue or blocked line.
OEM Part Supersession History
Unknown→CXE5-13-970— The original purge valve was prone to sticking, causing the P1450 code. The new part is a modified design to eliminate this concern.
Heads up: The TSB applies to vehicles produced before March 31, 2012, indicating a production change around that time. Using an old-stock original part will likely lead to a repeat failure.
Model Year Variations Within This Range
- 2009-2011 (before Dec 14, 2010) vs 2011-2013 (after Dec 14, 2010): The engine timing chain design changed from a 'Roller type' to a 'Silent type'. While not directly related to the P1450 code, this is a critical variation for any internal engine work. The associated sprockets, guides, tensioners, and front cover are NOT interchangeable between the two designs.
- 2009-2013 (before March 31, 2012): Vehicles produced before this date were equipped with the original, failure-prone purge valve. The TSB for P1450 specifically targets these earlier vehicles.
Diagnostic Flowchart
Other Known Issues on This Vehicle
Issues unrelated to this code that are worth knowing about as an owner of this generation:
- Internal Water Pump Failure 🔴 High — Common at higher mileage (over 100,000 miles). A failure can be catastrophic.
- Faulty Throttle Body 🟠 Medium — Can occur at various mileages.
- Timing Chain Wear 🟠 Medium — More common on earlier models (2009-2011) with the roller-type chain. (Ref: TSB #SA279)
- Spider Infestation in EVAP Vent Line 🟡 Low — Uncommon, but well-documented. (Ref: Recall #5710F)
Used vs. New Parts: Buying Guide for This Vehicle
When a used part is the smart pick: For this specific P1450 code, buying a used purge valve is NOT recommended. The original part has a known design flaw, and a used part from a donor vehicle is highly likely to be the same faulty design or already be failing. Used EVAP hoses or a charcoal canister could be considered if they pass a thorough visual inspection for cracks, blockages, and fuel saturation.
Donor-vehicle mileage cap: roughly under 80000 miles for the part to have meaningful remaining life.
What to inspect on the donor part:
- For hoses: Check for any dry rot, cracking, or soft/spongy spots.
- For charcoal canister: Ensure there is no physical damage, and shake it to listen for loose charcoal pellets, which indicates internal failure. There should be no smell of raw fuel, which indicates saturation.
OEM-only on this vehicle (don't cheap out):
- Canister Purge Valve: It is critical to use the updated OEM part (CXE5-13-970) or a high-quality aftermarket equivalent that explicitly states it is a fix for the original design. Avoid old-stock or used original valves.
Aftermarket brands forum-validated for this vehicle:
- Standard Motor Products (SMP): Generally considered a quality aftermarket brand, often supplying OEM-equivalent parts.
- Dorman: A widely available aftermarket brand that produces a direct replacement (911-706). Quality can be variable, but they are a common choice for DIY repairs.
Brands owners have reported issues with on this vehicle:
- Unbranded/"White Box" parts: Avoid generic, no-name parts from online marketplaces, as their quality control and material specifications are often unknown and can lead to repeat failures.
Real Owner Stories
Aggregated from forums and TSBs cited above. Mileages and costs reflect what owners reported in those sources.
2015 Mazda CX-9 3.7L V6
Symptoms: Dealt with a Check Engine P1450 for almost a year; replaced the gas cap and investigated the canister area at the rear of the vehicle.
What fixed it: Replacing the purge valve (after initially focusing on the gas cap and rear canister).
Source hint: Mazdas247 - 'Been dealing with this Check Engine P1450 for almost a year'
2018 Ford Edge 2.0L EcoBoost
Symptoms: Check engine light with P1450 code present.
What fixed it: Used a scan tool to identify the faulty purge valve and replaced it.
Source hint: Ford Edge Forum - 'Check engine with P1450 code on ford edge 2.0L eco boost 2018 model'
2009-2013 Mazda 6 3.7L V6
Symptoms: Purge valve sticking internally, creating a constant vacuum leak from the engine into the EVAP system.
What fixed it: Replacement with modified purge valve Part No. CXE5-13-970.
Source hint: TSB #01-012/14 (supersedes 01-012-14-2908A)
Related OBD-II Codes
Frequently Asked Questions
Does Mazda TSB #01-012/14 apply to my 2011 Mazda 6 with the 3.7L V6?
What is the specific replacement part number Mazda recommends for the P1450 purge valve issue?
Why is my Mazda 6 difficult to start only after I fill up the gas tank?
I hear a loud hissing sound when I open my gas cap; is this related to P1450?
Is the P1450 code related to the internal water pump failure known on the 3.7L engine?
Can I test the purge valve myself before buying the $50-$100 replacement part?
Helpful Videos
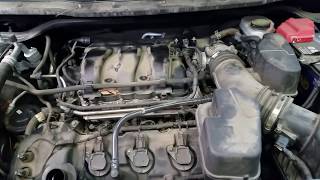
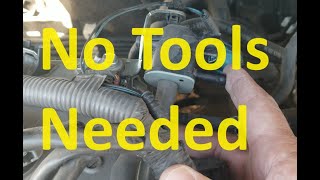
We Have This Part in Stock

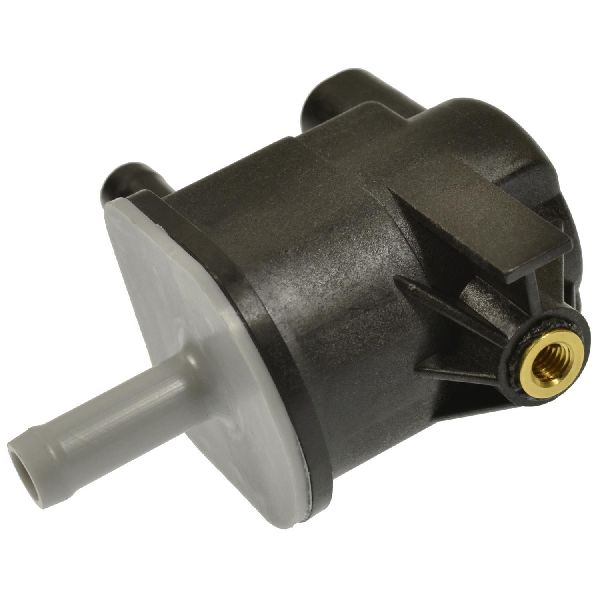

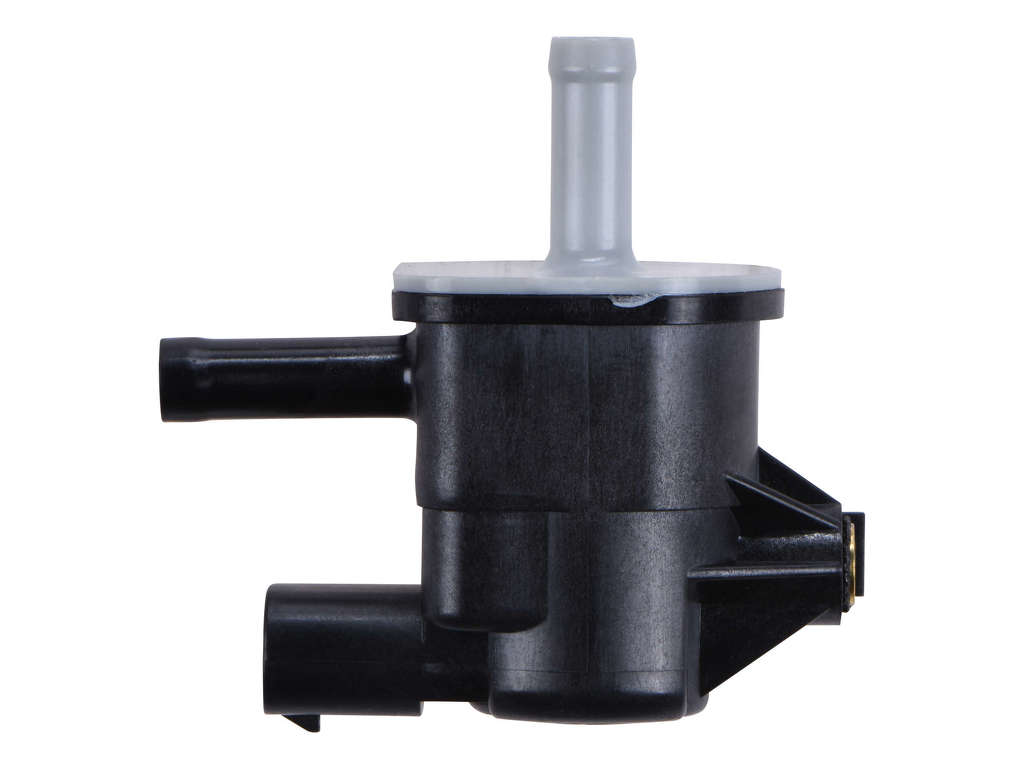

The information in this article is provided for general reference and educational purposes only. Vehicle specifications, procedures, and part compatibility can vary by production date, trim level, and region. Always consult your vehicle's factory service manual and verify part numbers before purchasing or performing repairs. Safety-critical components such as airbags, seat belts, and braking systems should be installed by a qualified professional.
- Mazda 6:
- 🎬 Helpful Videos
- 🛍️ Shop This Part
- What's Unique About the 2009-2013 Mazda 6
- Symptoms You May Notice
- Most Likely Causes
- Rare But Worth Checking
- Diagnosis Steps
- Parts You'll Likely Need
- Technical Service Bulletins (TSBs) & Recalls
- Platform-Specific Known Issues
- Mechanic-Grade Diagnostic Values
- Wiring & Ground Locations
- Real Owner Repair Stories
- OEM Part Supersession History
- Model Year Variations Within This Range
- Diagnostic Flowchart
- Other Known Issues on This Vehicle
- Used vs. New Parts: Buying Guide for This Vehicle
- Real Owner Stories
- 2015 Mazda CX-9 3.7L V6
- 2018 Ford Edge 2.0L EcoBoost
- 2009-2013 Mazda 6 3.7L V6
- Related OBD-II Codes
- Frequently Asked Questions
- 🎟️ Get 5% Off