

P1197 on 2010-2012 Audi S4: O2 Sensor Heater Circuit Fault Causes and Fixes
On a 2010-2012 Audi S4, code P1197 indicates an electrical malfunction in the heater circuit of the Bank 2, Sensor 1 oxygen sensor. This is the upstream sensor on the passenger side. The most common fix is replacing the sensor itself, which costs around $180 for an OEM part or $55-$100 for a quality aftermarket replacement like a Bosch 17385.
- P1197 on a 2010-2012 S4 means the heater in your passenger-side upstream O2 sensor has failed.
- The most common solution is to replace the Bank 2, Sensor 1 oxygen sensor with a direct-fit unit like the Bosch 17385.
- Before buying a new sensor, check the O2 sensor fuse in the engine bay fuse box for failure or corrosion.
- This is a DIY-friendly repair for those with basic tools, but a special 22mm (7/8") O2 sensor socket is highly recommended.
- Ignoring the code will lead to poor fuel economy and guaranteed failure of an emissions test.
What's Unique About the 2010-2012 Audi S4
The 2010-2012 Audi S4 belongs to the B8 generation, which uses the 3.0L TFSI supercharged V6 engine. For this platform, Audi issued a Technical Service Bulletin (TSB #2033767/1) that specifically groups P1197 with other O2 sensor heater circuit faults, acknowledging it as a known issue. Unlike some generic OBD-II codes, P1197 on this Audi points very specifically to the Bank 2, Sensor 1 heater, making diagnosis relatively straightforward. The most common failure is simply the internal heating element burning out from age and heat cycles, a frequent occurrence on these vehicles.
Diagnostic Flowchart
Tap your situation to follow the diagnostic path that matches what you're seeing on this vehicle.
Symptoms You May Notice
- Check Engine Light (MIL) is on
- Increased fuel consumption
- Potential for rough idle on a cold start
- Failure to pass an emissions test
- Noticeable smell of unburnt fuel from the exhaust, particularly when the engine is cold.
- Replacing the wrong oxygen sensor (e.g., the post-catalyst sensor or the sensor on Bank 1). 🎬 See how the downstream sensor differs to avoid the wrong fix.
- Replacing the catalytic converter, which is not related to a heater circuit fault.
- Using a low-quality 'universal' oxygen sensor. Some owners report issues with universal sensors not working correctly, making a direct-fit replacement from a reputable brand like Bosch or NTK a safer choice.
Most Likely Causes
- Failed Oxygen Sensor (Bank 2, Sensor 1) 🔴 High Probability The internal heating element of the sensor is a common failure point due to constant, extreme heat cycles and age. This is the most frequent reason for a P1197 code on the 3.0T engine.
How to confirm: Disconnect the sensor and use a multimeter to test the resistance between the two heater circuit pins (usually the two wires of the same color). A healthy sensor should read between 3-25 ohms when cold. An open circuit (infinite resistance) or a reading far outside this range confirms the heater has failed.
Typical fix: Replace the Bank 2, Sensor 1 (Upstream, Passenger Side) oxygen sensor. A 22mm or 7/8" slotted oxygen sensor socket is required. 🎬 Watch: Step-by-step walkthrough for replacing the upstream oxygen sensor.
Est. part cost: $55-$180 - Damaged Wiring or Connector 🟡 Medium Probability The wiring harness is located in a hot, tight space near the exhaust. The plastic clips that hold the harness away from the catalytic converter can become brittle and break, allowing the wires to rest on the hot exhaust and melt, causing a short. Corrosion in the connector from moisture is also possible.
How to confirm: Visually inspect the wiring harness and connector leading to the B2S1 oxygen sensor for any signs of melting, fraying, corrosion, or loose pins. Follow the wire from the sensor to its connection point on the firewall. If visual inspection is inconclusive, check for 12V power and ground at the harness-side connector with the ignition on.
Typical fix: Repair the damaged section of the wiring harness or clean/replace the connector. If wires have melted, they must be carefully spliced and re-insulated with high-temperature tape or sleeving.
Est. part cost: $5-$50 - Blown Fuse ⚪ Low Probability
How to confirm: Check the fuse box located in the engine compartment, near the base of the windshield on the driver's side. On a C7 A6 (similar platform), fuse #10 in this box is for the pre-cat O2 sensors. Visually inspect the fuse and test for continuity with a multimeter. A user on YouTube with an Audi Q7 found that heavy corrosion on the fuse legs was enough to break the circuit, even if the fuse wasn't blown.
Typical fix: Replace the blown fuse or clean the corroded fuse and terminals. If the fuse blows again immediately, it indicates a short circuit in the wiring or the sensor itself that must be diagnosed.
Est. part cost: $1-$5
Rare But Worth Checking
- Failed Engine Control Module (ECM): This is extremely rare. Before suspecting the ECM, all other possibilities, including the sensor, wiring, and fuses, must be exhaustively ruled out. An ECM failure would likely be accompanied by other, more serious trouble codes.
Diagnosis Steps
- Scan the vehicle for trouble codes to confirm P1197 is present.
- Identify the correct sensor: Bank 2 is the passenger side, and Sensor 1 is the upstream sensor located in the exhaust manifold/downpipe before the catalytic converter.
- Inspect the fuse for the O2 sensor heater circuit in the engine bay fuse box. Check for a blown fuse or corrosion on the contacts.
- Visually inspect the sensor's wiring harness and connector for any signs of damage, melting, or corrosion. Pay close attention to the plastic clips that secure the harness away from the hot exhaust components.
- If the wiring appears intact, disconnect the sensor.
- Using a multimeter set to Ohms, measure the resistance across the heater circuit pins on the sensor side of the connector. A reading between 3-25 Ohms is typical; a reading of infinity (OL) or significantly higher indicates a failed sensor.
- If the sensor tests good, check for 12V power and ground at the harness-side connector (with ignition on) to ensure the ECM is sending power to the heater.
- If the sensor has failed, replace it. If the wiring is faulty, repair it.
Parts You'll Likely Need
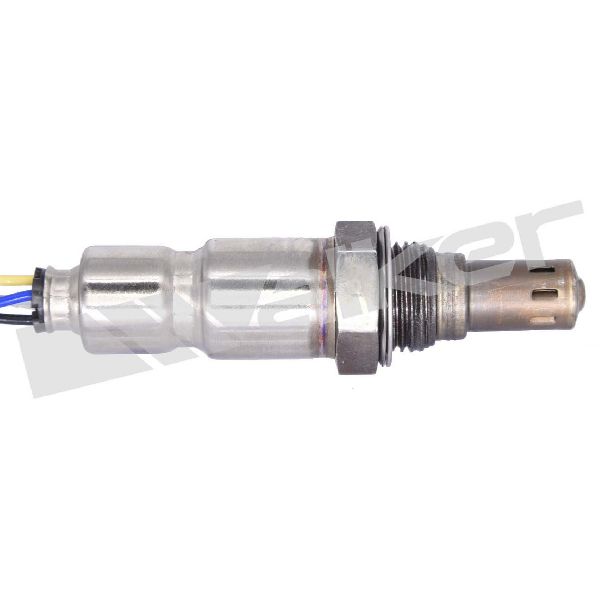
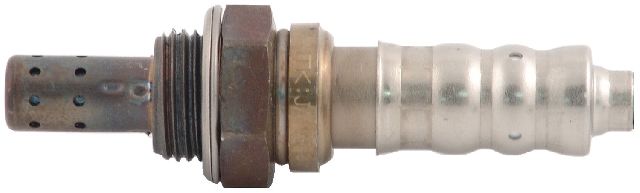
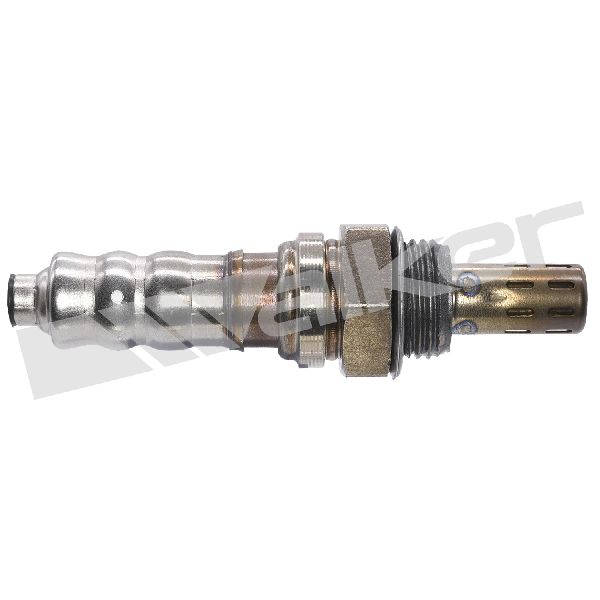
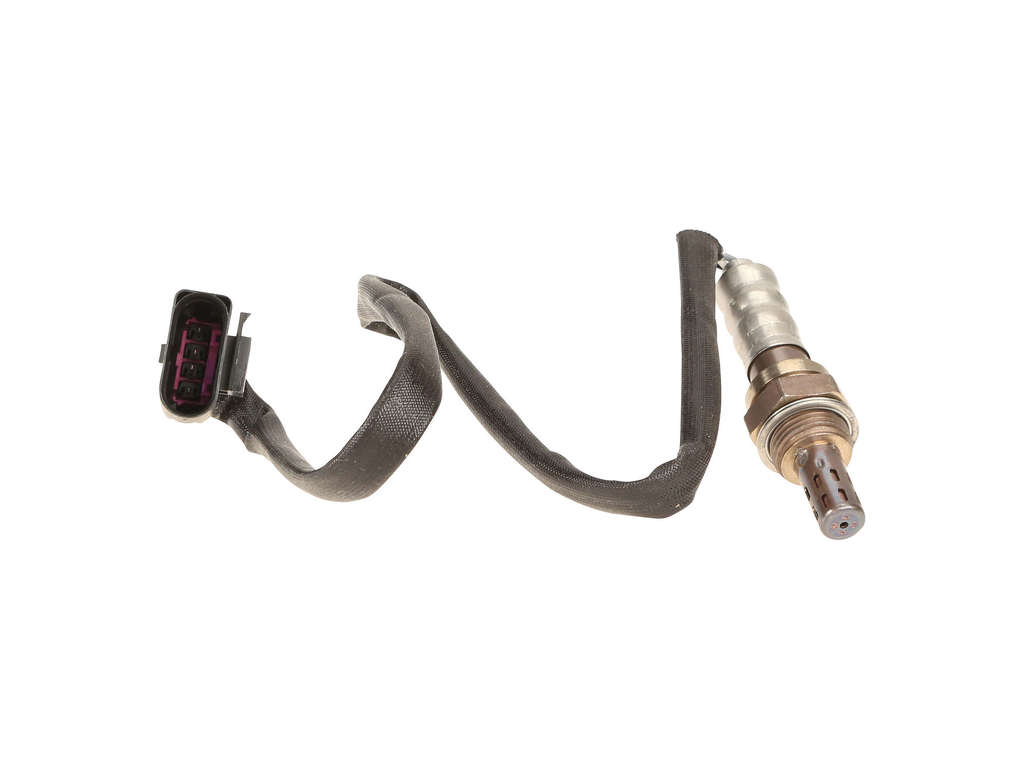
- Oxygen Sensor (Bank 2, Sensor 1)
(OEM #06E906265R)— This is the upstream (pre-cat) sensor for the passenger side. The internal heater element is the component that fails, triggering the P1197 code.
Trusted brands: Bosch (OEM supplier), NTK, Denso, Genuine Audi
OEM price range: $180-$220
Aftermarket price range: $55-$110
Related Codes That Often Appear With This One
- P1196 — P1196 is the equivalent code for the Bank 1, Sensor 1 heater circuit (driver's side). Seeing both codes together could indicate a common problem like a shared fuse or a systemic wiring issue. It's also possible for both sensors to fail around the same time due to age.
- P0135 — This is a generic OBD-II code for 'O2 Sensor Heater Circuit Malfunction (Bank 1 Sensor 1)'. While P1196 is the more precise Audi code, some scanners may report the generic equivalent. The TSB for this issue lists P0135 alongside P1196 and P1197.
Technical Service Bulletins (TSBs) & Recalls
- 2033767/1 (NHTSA ID: 10052345): 01 MIL on (DTC P1196/P1197/P0135, heater circuit fault lambda sensor) - Repair Authorization. This TSB is informational and directs dealers to collect data.
Platform-Specific Known Issues
- Official Audi TSB: Audi released Technical Service Bulletin #2033767/1 (also listed as 01-13-90), which directly addresses MIL illumination due to DTC P1197 (and related codes). The bulletin is informational, requesting technicians to contact the Audi Technical Assistance Center (TAC) with diagnostic logs before performing repairs, suggesting Audi was tracking the failure mode. It covers the 2010-2012 S4, S5, A6, A7, Q7, and the 3.2L Q5.
- Real-World Repair Story: Fuse Corrosion: A technician working on an Audi Q7 with O2 sensor heater circuit codes found that after replacing the sensors, the codes immediately returned. The actual cause was not the sensors but severe corrosion on the legs of the O2 sensor fuse in the engine bay fuse box. Cleaning the corrosion and reinstalling the fuse resolved the issue permanently. This highlights the importance of checking fuses thoroughly before spending money on parts.
Mechanic-Grade Diagnostic Values
- O2 Sensor Heater Element Resistance (cold) — expected: 3 to 25 Ohms. A new Bosch sensor is specified at 9 Ohms.. Failure: An open circuit (OL or infinite resistance) or a value significantly outside the 3-25 Ohm range indicates a failed heater element.
- Voltage at Harness Connector (Heater Power Feed) — expected: Should be equal to battery voltage (approx. 12V) with Key On, Engine Off.. Failure: No voltage suggests a blown fuse, a break in the power wire from the fuse box, or a faulty relay.
- VCDS Live Data - O2 Sensor Heater Resistance — expected: VCDS can display a calculated resistance. When cold, it should be low. As the heater activates, the resistance will rise due to the Positive Temperature Coefficient (PTC) of the heating element.. Failure: An abnormally high reading (e.g., 235 Ohms as seen in one forum post) or a reading that doesn't change can indicate a failed sensor or wiring issue.
Scan Tool Commands That Help
- VCDS (VAG-COM): Read Measuring Value Block (MVB) or Advanced Measuring Values — For ECUs that use the non-UDS protocol, navigate to Engine -> Measuring Blocks and select a group between 030-049 to view O2 sensor heating status. For newer UDS-protocol ECUs (around 2010+), use Engine -> Adv. Meas. Values and search for terms like 'Lambda' or 'heater' to find the relevant live data. This allows you to see the heater status ('Heater ON'/'Heater OFF'), resistance, and temperature readings from the ECU's perspective.
- VCDS (VAG-COM): Basic Settings - 04: Oxygen Sensor Heater Test — This function can be used to manually trigger the O2 sensor heater test. The ECU will activate the heaters and monitor the circuit. This is useful to confirm if the ECU is capable of commanding the heater on and to watch the sensor's response in real-time without having to wait for a full drive cycle.
Wiring & Ground Locations
- Engine Block to Chassis Ground — A primary ground strap is typically located on the engine block, connecting to the vehicle's chassis/frame rail in the engine bay.. A poor engine ground can cause a variety of electrical issues and floating voltages for sensors that use the engine block as a ground reference. While the O2 sensor has its own ground wire in the harness, ensuring the main engine ground is clean and tight is a fundamental step in diagnosing any electrical fault.
- Ground Connection Point 12 — In the engine compartment, on the left side (driver's side for LHD vehicles).. This is a major grounding point in the engine bay. While not exclusively for the O2 sensor, multiple engine management components share this ground. A problem here could cause erratic sensor behavior. This location is based on a B7 platform but is typically carried over or located similarly on the B8.
- O2 Sensor Connector Pins — On the sensor-side of the electrical connector.. The two wires of the same color (often both white or both black on Bosch sensors) are for the heater circuit. Resistance should be measured across these two pins to test the heater element directly. The other two wires are for the sensor signal and signal ground.
Real Owner Repair Stories
- AudiWorld Forums user 'jcrampton' (Audi A6 (C5 platform) with 2.8L V6) — Codes P1196, P1197, and P0134 present.
❌ Tried (didn't work) Replaced both pre-cat O2 sensors with universal fit Bosch sensors., Replaced the relevant fuse in the driver's side fuse panel., Replaced a blown maxi fuse under the steering column.
✅ What actually fixed it The user's thread did not have a final resolution posted, but the key takeaway is that replacing the sensors and checking fuses did not immediately solve the problem, pointing towards a potential wiring issue or incompatibility with the 'universal' sensors used. - Ross-Tech Forums user 'Gojiito' (2012 Audi A6 C7 3.0T) — Multiple codes for manifold pressure sensor and upstream oxygen sensor.
❌ Tried (didn't work) Shop replaced the upstream oxygen sensor., Shop replaced the manifold pressure sensor., Shop swapped the wiring harness for one in better condition.
✅ What actually fixed it The codes returned immediately after parts replacement. A forum expert noted that one of the active codes was for a B2S2 (downstream) sensor, and the shop had replaced the upstream sensor. The unresolved diagnosis pointed to either the shop replacing the wrong sensor, or a short in a different sensor (like the B2S2) causing 'ghost' codes for other components on a shared circuit. The final fix was not posted, but the story is a critical example of misdiagnosis.
When the Usual Fixes Don't Work
- In several documented cases, replacing the Bank 2 Sensor 1 oxygen sensor did not resolve the P1197 code. One user on AudiWorld forums replaced both pre-cat sensors with universal units, checked fuses, and still had the codes return, suggesting a deeper wiring issue or a problem with the universal sensors themselves. Another case on a similar platform showed that even after replacing the correct sensor and its harness, the code persisted, leading a shop to suspect an ECU fault, although a misdiagnosed downstream sensor fault was also a possibility. These instances highlight that while the sensor itself is the most common cause, it is not the only cause, and further diagnosis of the wiring, fuses (including corrosion), and ensuring use of correct, direct-fit parts is critical if the code returns.
OEM Part Supersession History
06E906265R→06E906265S— Standard part revision by the manufacturer, likely for minor improvements in durability or material changes. Functionally identical.
Model Year Variations Within This Range
- 2010+: The Engine Control Unit (ECU) may use the UDS protocol instead of the older non-UDS protocol. This changes how a technician accesses live data with a tool like VCDS. Instead of using 'Measuring Blocks - 08', the technician must use 'Advanced Measuring Values' to search for and select the desired sensor readings.
Helpful Videos
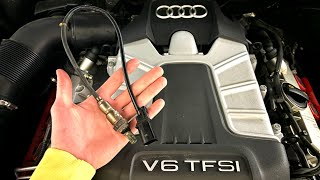

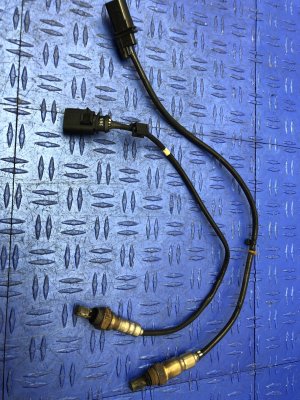
Used OEM Parts in Stock
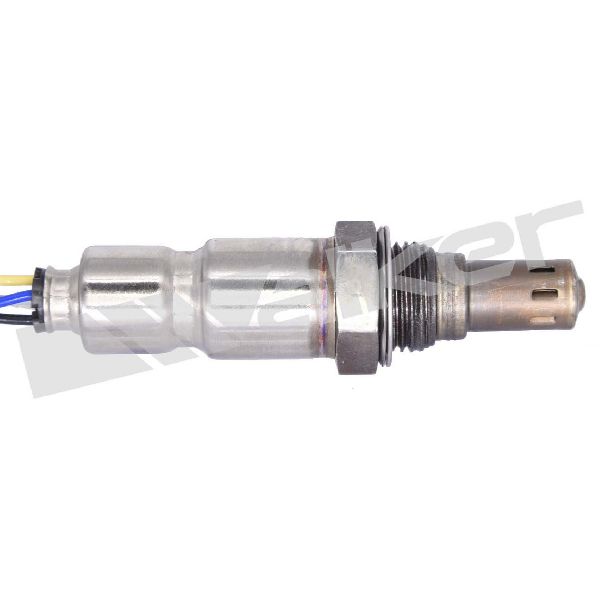
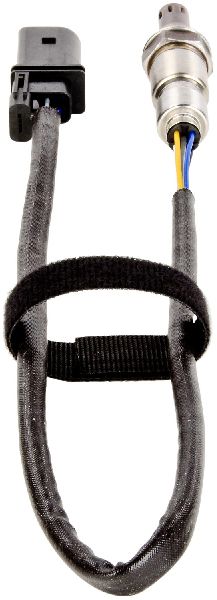
New Aftermarket Parts Available

The information in this article is provided for general reference and educational purposes only. Vehicle specifications, procedures, and part compatibility can vary by production date, trim level, and region. Always consult your vehicle's factory service manual and verify part numbers before purchasing or performing repairs. Safety-critical components such as airbags, seat belts, and braking systems should be installed by a qualified professional.
- Audi S4:
- 🎬 Helpful Videos
- 🛍️ Shop This Part
- What's Unique About the 2010-2012 Audi S4
- Diagnostic Flowchart
- Symptoms You May Notice
- Most Likely Causes
- Rare But Worth Checking
- Diagnosis Steps
- Parts You'll Likely Need
- Related Codes That Often Appear With This One
- Technical Service Bulletins (TSBs) & Recalls
- Platform-Specific Known Issues
- Mechanic-Grade Diagnostic Values
- Scan Tool Commands That Help
- Wiring & Ground Locations
- Real Owner Repair Stories
- When the Usual Fixes Don't Work
- OEM Part Supersession History
- Model Year Variations Within This Range
- 🎟️ Get 5% Off