

P1197 on 2010-2012 Audi Q5 3.2L: Bank 2 O2 Sensor Heater Fault Causes & Fixes
This code indicates a fault in the heater circuit of the upstream oxygen sensor on the driver's side (Bank 2, Sensor 1). The most common fix is to replace the sensor itself. Expect to pay between $70 for an aftermarket part (Bosch is a common OEM supplier) and $200 for a genuine Audi sensor.
- P1197 points to a problem with the heater in the upstream oxygen sensor on the driver's side of your Q5's 3.2L V6 engine.
- The most likely cause is a failed sensor, which is a
What's Unique About the 2010-2012 Audi Q5
For the 2010-2012 Audi Q5, this code almost exclusively applies to the 3.2L V6 engine, as four-cylinder models only have one bank. 'Bank 2' refers to the driver's side cylinder bank on LHD vehicles. Audi has acknowledged this type of failure in Technical Service Bulletin (TSB) #01139020337671, which groups P1197 (Bank 2) with P1196 (Bank 1), indicating a known pattern of O2 sensor heater circuit faults on these vehicles.
Diagnostic Flowchart
Tap your situation to follow the diagnostic path that matches what you're seeing on this vehicle.
Symptoms You May Notice
- Check Engine Light (MIL) is illuminated.
- Increased fuel consumption.
- Failure to pass an emissions test.
- Potentially irregular engine operation or rough idle, though this is less common.
- Replacing the wrong oxygen sensor. This code is specific to Bank 2, Sensor 1 (Upstream, Driver's Side). People may mistakenly replace the downstream sensor (Sensor 2) or the sensor on Bank 1 (Passenger's Side).
Most Likely Causes
- Failed Bank 2, Sensor 1 Oxygen Sensor 🔴 High Probability The internal heating element is a common failure point due to age and thermal cycles, as documented in Audi's TSB. Repair shops have noted that while aftermarket sensors are available, they have experienced higher out-of-box failure rates compared to OEM or Bosch parts.
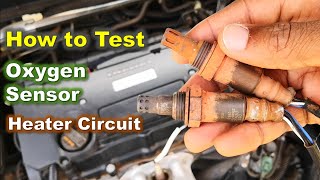
How to confirm: Disconnect the sensor and measure the resistance across the two heater circuit pins (usually the two same-colored wires) with a multimeter. A reading of infinite resistance (open circuit) or a dead short confirms the sensor has failed. 🎬 Watch: How to diagnose a broken O2 sensor heater element. A good heater typically has a resistance under 20 ohms.
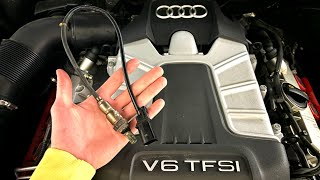
Typical fix: Replace the Bank 2, Sensor 1 (Upstream, Driver's Side) oxygen sensor. The Bosch part is widely considered to be the same as the OEM part without the Audi logo. 🎬 See this walkthrough for replacing an upstream Audi oxygen sensor.
Est. part cost: $70-$220 - Damaged Wiring or Connector 🟡 Medium Probability The wiring harness is exposed to heat and debris under the vehicle, which can lead to chafing, melting, or corrosion over time. The connector for Bank 2, Sensor 1 is located near the coolant expansion tank, requiring the tank to be unbolted and moved for access, which can strain wires if not done carefully.
How to confirm: Visually inspect the wiring harness and connector for the Bank 2, Sensor 1 for any signs of damage, melting, or corrosion on the pins. Perform a continuity test on the heater circuit wires between the ECU and the sensor connector.
Typical fix: Repair the damaged section of the wiring harness or clean/replace the connector.
Est. part cost: $5-$50 - Blown Fuse or Faulty Relay ⚪ Low Probability An electrical short in the circuit can cause the corresponding fuse to blow as a protective measure.
How to confirm: Locate and inspect the fuse(s) responsible for the oxygen sensor heater circuits. On the Q5, fuse boxes are located in the passenger cabin on the driver's and passenger's side of the dashboard, and in the rear cargo area. A specific fuse number for the O2 heater is not consistently documented, so a visual inspection of all 10A and 15A fuses in these panels may be necessary.
Typical fix: Replace the blown fuse. If the fuse blows again immediately, it indicates a short circuit that must be diagnosed.
Est. part cost: $1-$10
Rare But Worth Checking
- Faulty Engine Control Module (ECM): This is very rare, but if the sensor, wiring, and fuses are all confirmed to be good, the driver circuit within the ECM may have failed.
Diagnosis Steps
- Read the fault codes with an OBD-II scanner to confirm P1197 is present.
- Identify Bank 2, Sensor 1. On the 3.2L V6, this is the upstream sensor (before the catalytic converter) on the driver's side.
- Inspect the fuses for the O2 sensor heater circuit in the dash and cargo area panels. Replace if blown.
- To access the sensor's electrical plug, unbolt the coolant expansion tank (one bolt) and set it aside. The plug is mounted to a bracket in that area.
- Visually inspect the sensor's electrical connector and wiring for any signs of melting, corrosion, or physical damage.
- Disconnect the sensor and use a multimeter to test the resistance of the heater element. An open circuit (infinite ohms) means the sensor is bad and must be replaced.
- If the sensor's resistance is good, test the vehicle-side connector for power (should be near battery voltage with key on) and ground to ensure the circuit from the ECM is intact.
- If the circuit has power and ground, and the sensor tests bad, replace the oxygen sensor. A 22mm slotted oxygen sensor socket is required.
- When replacing, be careful not to drop the new sensor, as the internal ceramic element is fragile. Apply a small amount of anti-seize compound to the threads if the new sensor does not come with it pre-applied.
- If the circuit does not have power or ground, trace the wiring back to the ECM/fuse box to find the open or short.
Parts You'll Likely Need
- Oxygen Sensor (Bank 2, Sensor 1)
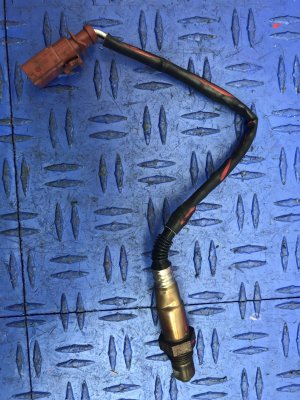
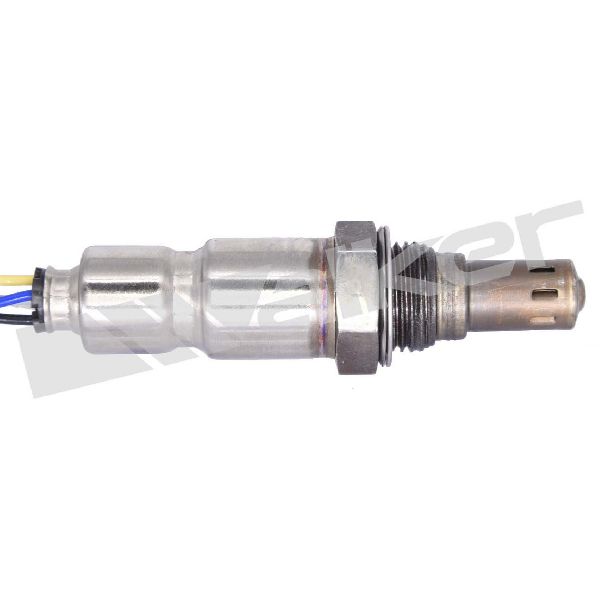
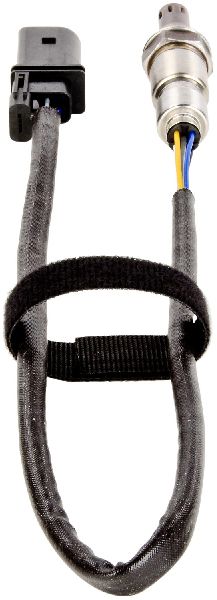
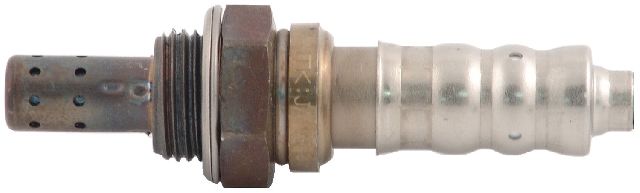
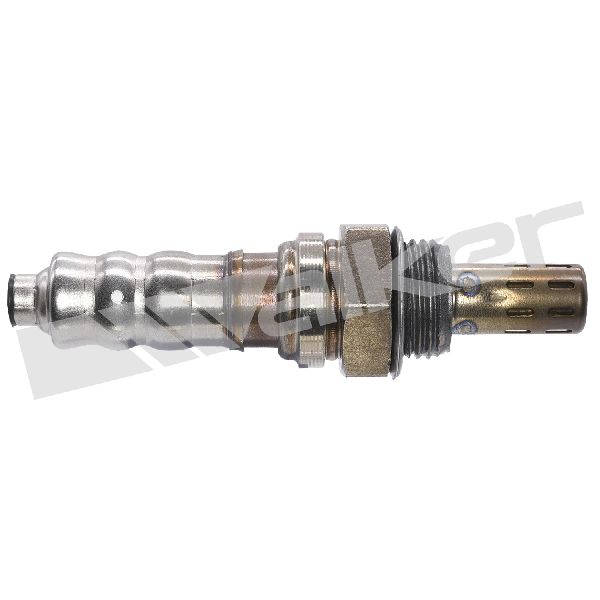
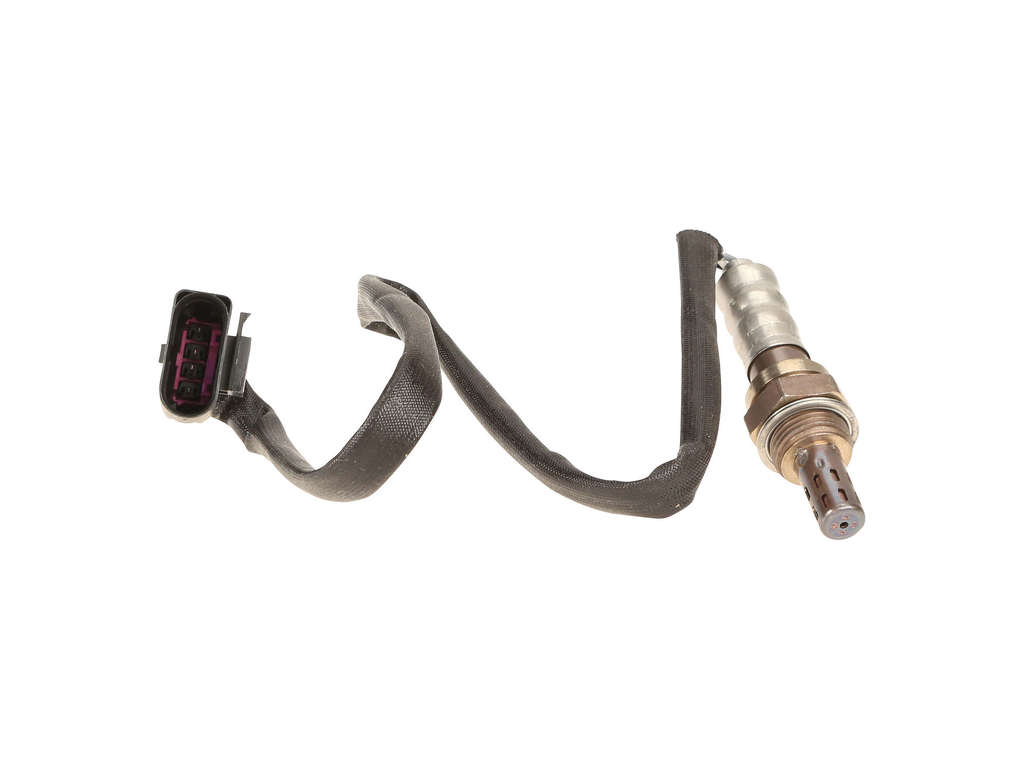
(OEM #06E906265S)— This is the upstream sensor on the driver's side. Its internal heater is the most common failure point for code P1197. It is a wideband-type sensor.
Trusted brands: Bosch (OEM supplier), NGK, Denso
OEM price range: $150-$220
Aftermarket price range: $70-$140 - 22mm Oxygen Sensor Socket — A special slotted socket is needed to remove and install the sensor without damaging its wire.
Trusted brands: Lisle, OEMTOOLS, GearWrench
Aftermarket price range: $10-$25
Related Codes That Often Appear With This One
- P1196 — P1196 is the identical heater circuit fault but for Bank 1, Sensor 1. The TSB groups them together, and it's common for both front sensors to fail around the same time due to age.
Technical Service Bulletins (TSBs) & Recalls
- 01139020337671: MIL on (DTC P1196/P1197/P0135, heater circuit fault lambda sensor) - Repair Authorization
Platform-Specific Known Issues
- Audi issued Technical Service Bulletin #01139020337671 regarding MIL illumination for DTCs P1196, P1197, and P0135, all related to lambda sensor heater circuit faults, indicating this is a recognized issue. The full text of the TSB is not widely available, but the title confirms the pattern of failure.
- Access to the Bank 2, Sensor 1 electrical connector requires unbolting and moving the coolant expansion tank aside.
Mechanic-Grade Diagnostic Values
- O2 Sensor Heater Element Resistance — expected: 2.5 to 10.0 Ohms at room temperature (approx. 20°C/68°F).. Failure: A reading of infinite resistance (open circuit) or zero Ohms (dead short) indicates a failed heater element.
- Voltage supply to O2 Sensor Heater — expected: Battery voltage (approx. 12.5V) should be present at the heater power pin on the vehicle's harness connector with the ignition on.. Failure: No voltage indicates a problem upstream, such as a blown fuse, faulty relay, or wiring break.
- Wiring harness continuity to ECM — expected: Less than 1.5 Ohms.. Failure: High resistance or an open circuit indicates a break or corrosion in the wiring between the sensor connector and the ECM.
Scan Tool Commands That Help
- VCDS (VAG-COM): Basic Settings - Group 034 (Pre-cat sensor aging test) — Although not a direct heater test, this function runs a diagnostic on the pre-cat sensor's performance. A failure here, in conjunction with a P1197, further points to a faulty sensor. The test requires holding specific engine RPMs to initiate.
- VCDS (VAG-COM) or Generic OBD-II Scanner: Clear All DTCs — After replacing the oxygen sensor, the fault code must be cleared from the ECM's memory. The system does not require a special adaptation or relearn procedure for the O2 sensor itself; it will self-adapt during normal driving.
- Generic OBD-II Scanner: Mode $06, Test ID $41 (or similar) — Accessing Mode $06 data can show results from the ECM's non-continuous monitors. Look for the test ID corresponding to 'Oxygen Sensor Heater Monitor Bank 1 - Sensor 1' (for P1196) and a similar ID for Bank 2. This can show the raw test data and whether it passed or failed the last time the monitor ran.
Wiring & Ground Locations
- Ground Connection 12 — In the engine compartment, on the left side.. This is a primary engine ground. A loose or corroded connection here can cause a variety of electrical issues, including erratic sensor behavior and incorrect fault codes.
- Ground Connection 615 — On the left suspension strut tower in the engine compartment.. Another critical chassis and engine ground point. Ensuring this is clean and tight is a key step in diagnosing any electrical fault.
- Ground Connection 671 / 672 — Ground connections on the left front long member (frame rail).. These are main body ground points. While less likely to be the sole cause for a single sensor code, poor grounding here can contribute to system-wide voltage issues.
- T94 Connector — This is the 94-pin main connector for the Engine Control Module (J623), located in the plenum chamber on the driver's side.. The wires for the O2 sensor heater circuit run from the sensor to specific pins on this connector. Advanced diagnosis for a wiring fault would involve checking for continuity and voltage directly at these pins.
OEM Part Supersession History
06E906265F→06E906265S— Part revision by the manufacturer, likely for improved durability or minor design changes.
Heads up: The parts are interchangeable. 06E906265S is the current replacement for the older 'F' revision.
Helpful Videos
Used OEM Parts in Stock

New Aftermarket Parts Available

The information in this article is provided for general reference and educational purposes only. Vehicle specifications, procedures, and part compatibility can vary by production date, trim level, and region. Always consult your vehicle's factory service manual and verify part numbers before purchasing or performing repairs. Safety-critical components such as airbags, seat belts, and braking systems should be installed by a qualified professional.
- Audi Q5:
- 🎬 Helpful Videos
- 🛍️ Shop This Part
- What's Unique About the 2010-2012 Audi Q5
- Diagnostic Flowchart
- Symptoms You May Notice
- Most Likely Causes
- Rare But Worth Checking
- Diagnosis Steps
- Parts You'll Likely Need
- Related Codes That Often Appear With This One
- Technical Service Bulletins (TSBs) & Recalls
- Platform-Specific Known Issues
- Mechanic-Grade Diagnostic Values
- Scan Tool Commands That Help
- Wiring & Ground Locations
- OEM Part Supersession History
- 🎟️ Get 5% Off