

P1196 on 2010-2012 Audi S4: O2 Sensor Heater Circuit Fault Causes and Fixes
P1196 on a 2010-2012 Audi S4 indicates an electrical fault in the heater circuit of the Bank 1, Sensor 1 oxygen sensor. The most common fix is to replace this specific sensor, which is the upstream sensor on the passenger side of the engine. Before replacing, it's wise to check the associated fuse and wiring.
- P1196 on your S4 means the heater in your passenger-side, pre-catalytic converter O2 sensor has an electrical problem.
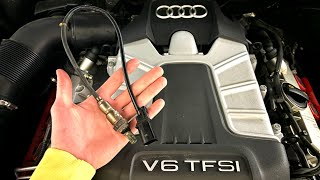
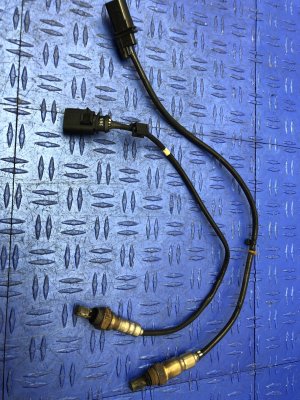
- The most likely cause is the sensor itself has failed and needs to be replaced. The OEM part number is 06E906265S.
- Before buying parts, test the sensor's heater resistance with a multimeter (expect 2.5-10 Ohms) and check the fuse for the O2 heaters.
- This is a DIY-possible repair, but be prepared for a challenge in accessing the electrical connector on the firewall.
- Consider replacing both upstream O2 sensors (Bank 1 and Bank 2) at the same time, as they tend to fail around the same mileage.
What's Unique About the 2010-2012 Audi S4
On the B8-generation Audi S4 with the 3.0L TFSI supercharged V6, this code is a relatively common issue. The upstream oxygen sensors (both Bank 1 and Bank 2) are known points of failure. Audi issued a Technical Service Bulletin (TSB #01139020337671) that includes P1196, acknowledging a known issue with the lambda sensor heater circuit that required a specific repair authorization, indicating it was a recognized problem by the manufacturer. Many owners on forums consider replacing the upstream O2 sensors a common maintenance item as the cars age.
Diagnostic Flowchart
Tap your situation to follow the diagnostic path that matches what you're seeing on this vehicle.
Symptoms You May Notice
- Check Engine Light (MIL) illuminated
- Potentially decreased fuel economy
- Failure to pass an emissions test
- Slightly rough or hesitant idle on a cold start
- Replacing the wrong oxygen sensor (e.g., the post-catalyst sensor or the sensor on the wrong bank). P1196 specifically refers to Bank 1, Sensor 1, which is the upstream (pre-catalyst) sensor on the passenger side.
- Replacing the sensor without checking the fuse or testing for voltage at the connector first.
Most Likely Causes
- Failed Bank 1, Sensor 1 Oxygen Sensor 🔴 High Probability The internal heater element within the oxygen sensor is a common failure point due to age and countless heat cycles. The existence of a TSB for this issue confirms a known failure rate for this component on the 3.0T engine.
How to confirm: Using a multimeter, disconnect the sensor and measure the resistance between the two heater circuit pins (often the two same-colored wires). A good sensor should read between 2.5 and 10 Ohms when cold. An infinite resistance reading (Open Line/OL) or a reading significantly outside this range confirms the heater element has failed.
Typical fix: Replace the Bank 1, Sensor 1 (pre-cat, passenger side) oxygen sensor. The OEM part is often a Bosch sensor. Many owners choose to replace both upstream sensors (Bank 1 and Bank 2) at the same time as they tend to fail around the same mileage.
Est. part cost: $70-$180 - Wiring or Connector Damage 🟡 Medium Probability The wiring harness is located in a hot, tight engine bay and is subject to heat, vibration, and potential contamination from oil or moisture. The plastic connectors and their retaining clips can become brittle and break, leading to poor connections.
How to confirm: Visually inspect the wiring harness and connector leading to the O2 sensor for any signs of melting, chafing, corrosion, or loose pins. The connector is located near the firewall and can be difficult to access. With the key on (engine off), use a multimeter to check for battery voltage at the heater power wire in the connector harness.
Typical fix: Repair the damaged section of the wiring harness or clean/replace the connector. Ensure the connector is securely clipped back into its bracket.
Est. part cost: $5-$50 - Blown Fuse ⚪ Low Probability
How to confirm: Consult the vehicle's fuse diagram to locate the fuse for the oxygen sensor heater circuits. On the B8 platform, this may be located in one of the fuse panels on the sides of the dashboard or in the electronics box (E-box) in the plenum chamber under the windshield cowl. Visually inspect the fuse and test for continuity with a multimeter.
Typical fix: Replace the blown fuse. If the fuse blows again immediately, it indicates a short circuit in the wiring or within the O2 sensor's heater element itself that must be diagnosed further.
Est. part cost: $1-$5
Rare But Worth Checking
- Faulty Engine Control Module (ECM): This is extremely rare. The ECM should only be considered a potential cause after all other possibilities (sensor, wiring, fuses) have been exhaustively tested and ruled out.
Diagnosis Steps
- Connect an OBD-II scanner to confirm P1196 is the active code and check for any other related codes, especially P1197.
- Identify Bank 1, Sensor 1. On the 3.0L V6, Bank 1 is the passenger side of the engine, and Sensor 1 is the upstream sensor located in the exhaust manifold before the catalytic converter.
- Perform a visual inspection of the sensor's wiring harness and connector. Look for any signs of damage, melting, or corrosion. The connector is clipped to a bracket on the firewall and can be difficult to see and reach.
- Check the fuse associated with the O2 sensor heaters. Refer to your vehicle's fuse diagram, checking panels in the dashboard and engine plenum chamber.
- Disconnect the O2 sensor. Use a multimeter set to Ohms (Ω) to measure the resistance across the heater circuit pins on the sensor side of the connector. A reading between 2.5-10 Ω is expected for a good sensor at room temperature. A reading of infinity (OL) indicates a broken heater element, and the sensor must be replaced.
- If the sensor resistance is within spec, test the vehicle-side connector. With the ignition on (engine off), check for battery voltage on the heater power pin and for a good ground on the ground pin.
- If voltage and ground are present and the sensor resistance is good, there may be an intermittent connection issue. If no voltage is present, the wiring issue is further upstream or the fuse is blown.
- When replacing, a specialized 22mm (or 7/8") offset oxygen sensor socket is highly recommended for removal and installation.
Parts You'll Likely Need
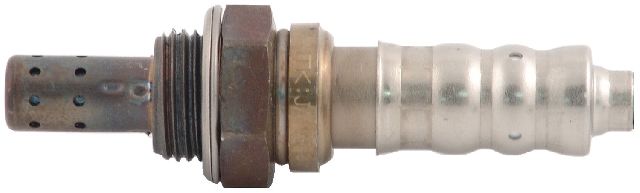
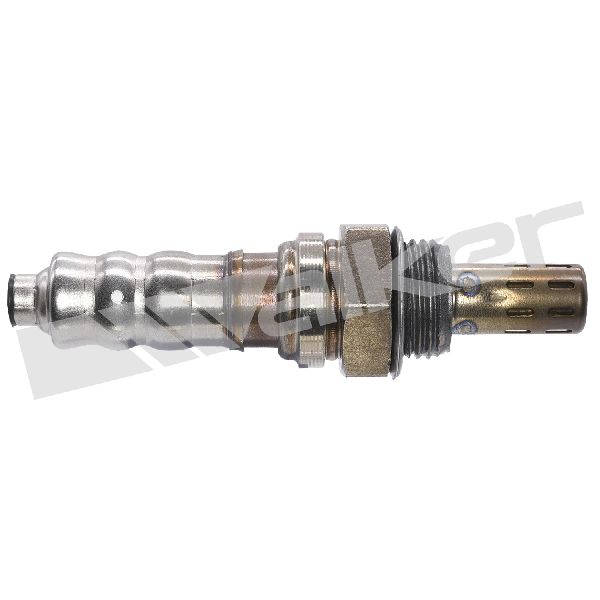
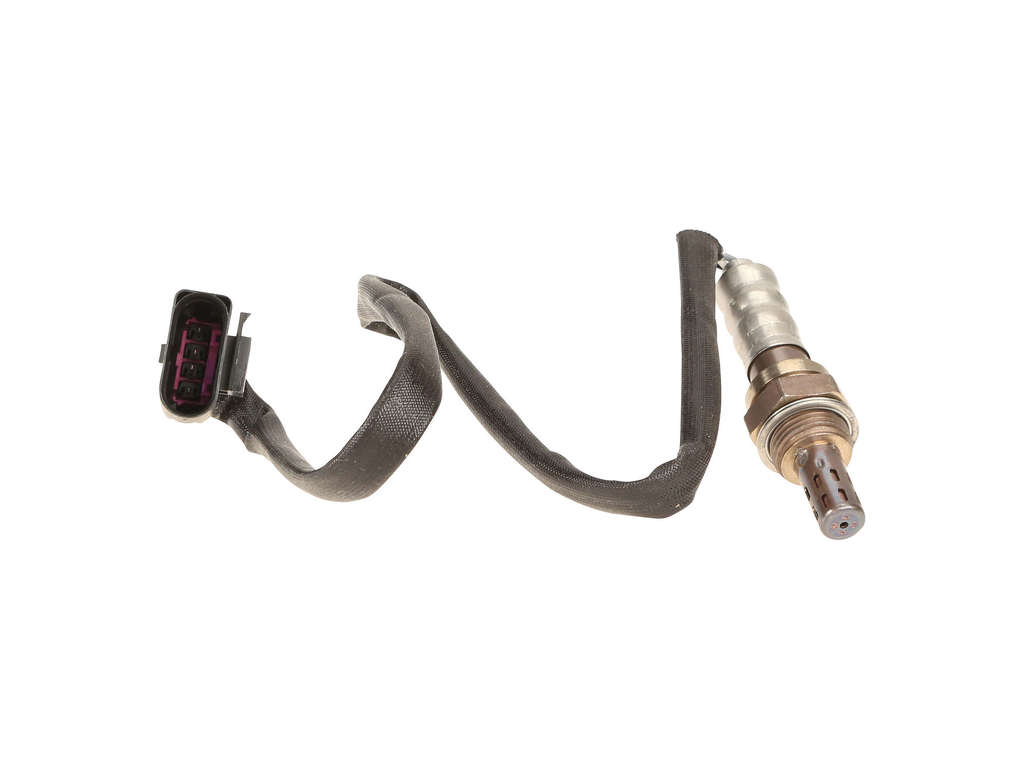
- Oxygen Sensor (Bank 1, Sensor 1)
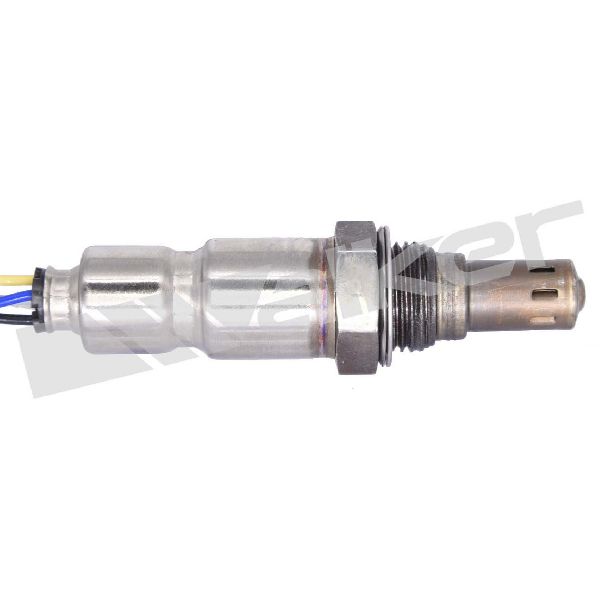
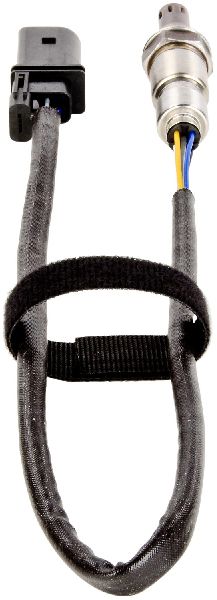
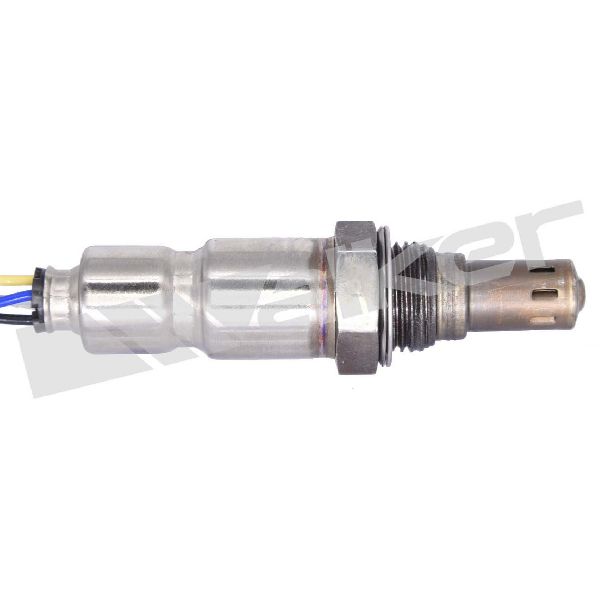
(OEM #06E906265S)— This is the component that contains the heater element that fails and triggers code P1196. It is the upstream sensor on the passenger side.
Trusted brands: Bosch (OEM), NTK, Denso
OEM price range: $150-$200
Aftermarket price range: $70-$120
Related Codes That Often Appear With This One
- P1197 — P1197 is the equivalent heater circuit fault for Bank 2, Sensor 1 (driver's side). It's very common for both upstream O2 sensors to fail around the same time due to similar age and wear, often triggering both codes simultaneously.
- P0134 — This code means 'O2 Sensor Circuit No Activity Detected (Bank 1 Sensor 1)'. If the heater fails, the sensor may not reach operating temperature and will not produce a signal, triggering this code alongside the heater fault code.
- P0135 — This is the generic SAE equivalent of P1196, also indicating an O2 Sensor Heater Circuit Malfunction for Bank 1, Sensor 1. It is cited alongside P1196 in the manufacturer TSB, indicating they represent the same fault.
Technical Service Bulletins (TSBs) & Recalls
- Bulletin #01139020337671: 01 MIL on (DTC P1196/P1197/P0135, heater circuit fault lambda sensor) - Repair Authorization
Platform-Specific Known Issues
- Audi Technical Service Bulletin #01139020337671 was issued for the 2010 S4 (among other models) specifically addressing MIL illumination with DTC P1196, P1197, or P0135 due to a heater circuit fault in the lambda sensor.
- Accessing the electrical connector for the upstream sensor is a common complaint. It is clipped to a bracket on the firewall, behind the engine, and can be very difficult to release without visual confirmation. Some owners remove the air intake ducting to gain better access.
Mechanic-Grade Diagnostic Values
- O2 Sensor Heater Element Resistance (Cold) — expected: 2.5 to 10.0 Ohms (at approx. 20°C). Failure: A reading of infinity (Open Line/OL) or significantly higher than 10 Ohms.
- Voltage Supply at Sensor Connector (Harness Side) — expected: Battery Voltage (approx. 12.5V+). Failure: No voltage or significantly low voltage.
- Continuity from Sensor Connector to ECM — expected: Max 1.5 Ohms. Failure: Higher resistance or an open circuit (OL).
Scan Tool Commands That Help
- VCDS (VAG-COM): Basic Settings - O2 Sensor Heater Test — Can be used to actively command the heater circuit on and monitor its status, confirming if the ECM is attempting to activate it and if the sensor is responding. This helps differentiate between a sensor failure and a control-side issue.
- VCDS (VAG-COM): Measuring Blocks - Group 031 — Allows for monitoring of Lambda sensor air values, which can show if the sensor is providing dynamic data or is stuck, indicating a potential failure after a heater fault.
- Generic Scan Tool: Mode 6, Test ID $01 — This function checks the test results of non-continuously monitored components, specifically the Heated Oxygen Sensor, and can provide raw data on its performance during a test cycle.
Wiring & Ground Locations
- Bank 1 Sensor 1 Connector Pins 3 & 4 — On the sensor-side of the electrical connector located on the firewall, passenger side.. These are the specific pins for the heater element. Resistance should be measured across these two pins to test the integrity of the heater.
- Bank 1 Sensor 1 Connector Pin 4 (Harness Side) — On the vehicle harness side of the electrical connector.. This pin should have battery voltage when the ignition is on. A lack of voltage points to a problem with the fuse or wiring, not the sensor itself.
- ECM Connector T94, Pin 73 — This is a specific pin on the main Engine Control Module connector.. This is the terminal for the heater circuit wiring from the Bank 1 Sensor 1. Technicians can test for continuity between this pin and Pin 3 at the sensor connector to verify the integrity of the control wire.
Real Owner Repair Stories
- AudiForums.com user (1999.5 Audi A4 (B5 platform, but same code principle)) — P1196 error code present.
❌ Tried (didn't work) Replacing the Bank 1 Sensor 1 oxygen sensor without prior diagnosis.
✅ What actually fixed it The user was advised to first test the resistance of the heater circuit on the sensor itself between pins 1 and 2. A reading over 20 ohms would confirm a bad heater, while a good reading would point towards a wiring or fuse issue, preventing unnecessary part replacement.
OEM Part Supersession History
06E906265F→06E906265S— Part revision by the manufacturer, likely for improved reliability or a change in supplier.
Helpful Videos
Used OEM Parts in Stock
New Aftermarket Parts Available

The information in this article is provided for general reference and educational purposes only. Vehicle specifications, procedures, and part compatibility can vary by production date, trim level, and region. Always consult your vehicle's factory service manual and verify part numbers before purchasing or performing repairs. Safety-critical components such as airbags, seat belts, and braking systems should be installed by a qualified professional.
- Audi S4:
- 🎬 Helpful Videos
- 🛍️ Shop This Part
- What's Unique About the 2010-2012 Audi S4
- Diagnostic Flowchart
- Symptoms You May Notice
- Most Likely Causes
- Rare But Worth Checking
- Diagnosis Steps
- Parts You'll Likely Need
- Related Codes That Often Appear With This One
- Technical Service Bulletins (TSBs) & Recalls
- Platform-Specific Known Issues
- Mechanic-Grade Diagnostic Values
- Scan Tool Commands That Help
- Wiring & Ground Locations
- Real Owner Repair Stories
- OEM Part Supersession History
- 🎟️ Get 5% Off