

P1196 on 2010-2012 Audi A6: O2 Sensor Heater Fault Causes and Fixes
P1196 on a 2010-2012 Audi A6 indicates an electrical malfunction in the heater circuit for the Bank 1, Sensor 1 oxygen sensor. The most common fix is to replace this specific O2 sensor, which is located before the catalytic converter on the passenger side of the engine. Using a high-quality OEM-equivalent sensor, like Bosch, is critical for a lasting repair.
- P1196 specifically points to a fault in the heater circuit for the upstream oxygen sensor on Bank 1.
- The most probable cause is a failed O2 sensor, which is a common maintenance item.
- Before buying parts, check the relevant fuse and visually inspect the sensor's wiring for damage.
- Replacing the sensor is a manageable DIY task for most home mechanics with the proper O2 sensor socket.
- Using a quality, direct-fit replacement sensor from a brand like Bosch or NTK is highly recommended over a universal splice-in type.
What's Unique About the 2010-2012 Audi A6
For the Audi A6 in this year range, which includes both the C6 (2010-2011) and C7 (2012) generations, O2 sensor heater circuit codes are fairly common. The primary issue is almost always the sensor itself failing. While wiring issues can occur, they are less frequent. It's important to use high-quality replacement sensors, as some owners have reported that universal or budget sensors may not resolve the issue or can fail prematurely. A thread on AudiWorld forums highlighted a case where a user replaced sensors with universal Bosch units and the codes returned, emphasizing the sensitivity of the system. The consensus among enthusiasts is to use direct-fit OEM or Bosch sensors to avoid compatibility problems.
Diagnostic Flowchart
Tap your situation to follow the diagnostic path that matches what you're seeing on this vehicle.
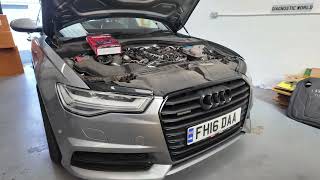
Generation note: The 2010-2012 model years span two generations of the Audi A6: the C6 (up to 2011) and the C7 (starting in 2012). While the 🎬 Watch: Locate the Bank 1 Sensor 1 on a C7 A6 meaning of the code is the same for both, the exact location of the Bank 1 Sensor 1 O2 sensor and the specific part numbers may differ depending on the engine (e.g., 3.2L V6, 3.0T Supercharged V6, or 2.0T I4). Bank 1 is always the side of the engine that contains cylinder #1, which on V-engines in this platform is the passenger side.
Symptoms You May Notice
- Check Engine Light (MIL) is on
- Slightly reduced fuel economy
- Potential for a rough idle on cold starts
- Failure to pass an emissions inspection
- In rare cases with multiple O2 sensor faults, rough running or stalling after a hot restart.
- Replacing the wrong O2 sensor (e.g., the post-catalyst Sensor 2 instead of the pre-catalyst Sensor 1).
- Replacing the sensor without first checking the fuse and inspecting the wiring for damage.
- Using a cheap, universal O2 sensor which may not be compatible with the Audi's sensitive monitoring system, leading to the code returning.
Most Likely Causes
- Failed Bank 1, Sensor 1 Oxygen Sensor 🔴 High Probability The internal heater element within the O2 sensor is a common failure point due to age and constant, rapid heat cycles. It's a wear-and-tear component.
How to confirm: Disconnect the sensor and measure the resistance between the two heater circuit pins (often the two same-colored wires, e.g., white). A cold sensor should have a low resistance, typically between 2-15 Ohms. An infinite resistance reading (open circuit) or a very high reading (e.g., over 30 Ohms) indicates a failed heater.
Typical fix: Replace the Bank 1, Sensor 1 O2 sensor. An O2 sensor socket (typically 22mm) is required.
Est. part cost: $70-$180 - Damaged Wiring or Connector 🟡 Medium Probability The wiring harness is exposed to high heat and road debris under the vehicle, which can lead to melted insulation, corrosion in the connector, or physical breaks in the wires. Oil or moisture contamination in the connector can also cause a short.
How to confirm: Visually inspect the wiring harness and connector leading to the O2 sensor for any signs of damage, melting, or corrosion. Check for 12V power and a good ground at the vehicle-side connector with the key on, engine off.
Typical fix: Repair the damaged section of the wiring harness or clean/replace the connector.
Est. part cost: $10-$50 - Blown Fuse ⚪ Low Probability A short circuit in the heater element or wiring can cause the corresponding fuse to blow as a protective measure.
How to confirm: Locate the fuse for the O2 sensor heater circuits. For the C6 generation (2010-2011), fuse panels are on both sides of the dashboard and in the trunk. For the C7 (2012), they are similarly located. Check the owner's manual or a fuse diagram for the specific fuse, often labeled for 'Engine Electronics' or 'Lambda'. A forum user noted checking a maxi fuse under the steering column as well.
Typical fix: Replace the blown fuse. If it blows again, a short circuit must be diagnosed and repaired.
Est. part cost: $1-$5
Rare But Worth Checking
- Failed Engine Control Module (ECM): This is extremely rare. Before condemning the ECM, all other possibilities (sensor, wiring, fuses) must be exhaustively ruled out. A shop in one forum post suspected an ECU issue after replacing sensors and a harness didn't fix the codes, but this is not a common outcome.
Diagnosis Steps
- Read the code with an OBD-II scanner to confirm P1196 is present.
- Locate and inspect the fuse for the oxygen sensor heaters. Fuse panels are typically on the driver's side, passenger's side, and in the trunk. Replace if blown.
- Safely raise the vehicle and locate the Bank 1, Sensor 1 O2 sensor (pre-catalytic converter on the passenger side).
- Visually inspect the sensor's wiring harness and connector for any signs of melting, chafing, oil contamination, or corrosion.
- Disconnect the sensor and test the resistance of the heater circuit on the sensor side (usually between the two white wires). A cold resistance should be low (typically 2-15 ohms). An infinite or very high reading confirms the sensor's internal heater has failed.
- If the sensor's resistance is within spec, test for 12V power and ground at the vehicle-side connector with the ignition on to rule out a wiring issue.
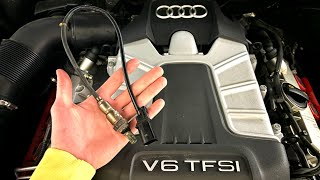
- If the sensor has failed, replace it with a new one. A special 22mm O2 sensor socket is highly recommended to avoid damaging the wire. 🎬 See this walkthrough for replacing the upstream sensor Apply anti-seize compound to the threads if not pre-coated.
- Clear the trouble codes and perform a drive cycle to ensure the fault does not return.
Parts You'll Likely Need
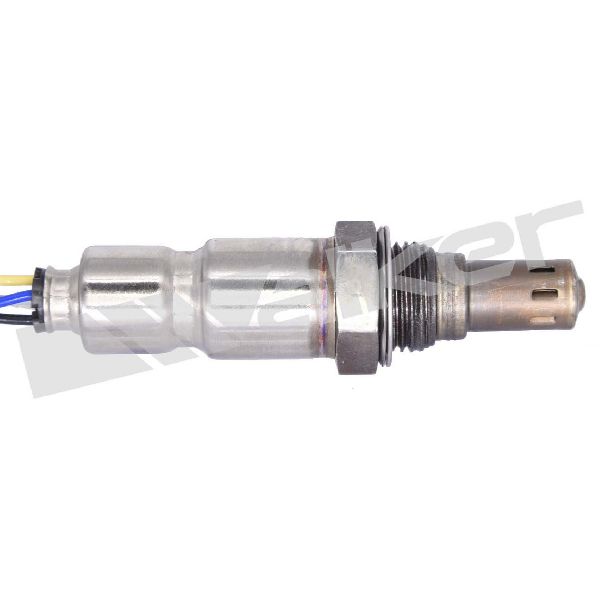
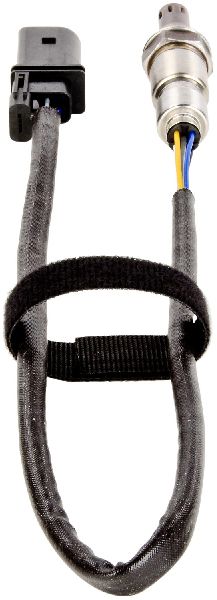
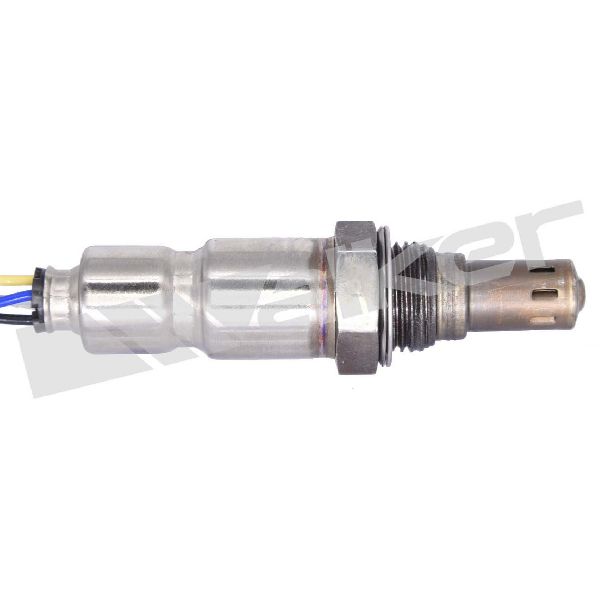
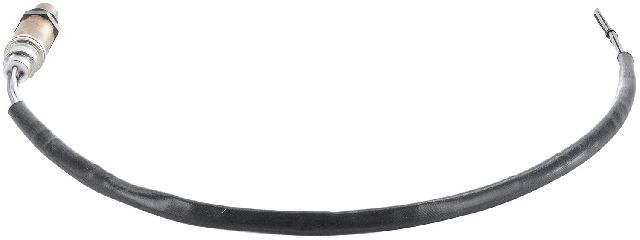
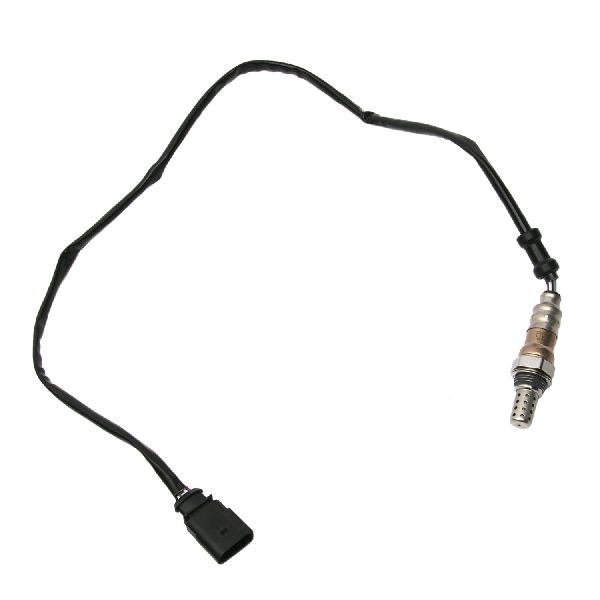
- Oxygen Sensor (Bank 1, Sensor 1)
(OEM #06E906265AJ (example for 3.0T, verify by VIN))— This is the upstream (pre-catalyst) sensor whose internal heater is indicated as faulty by code P1196. The heater element itself fails.
Trusted brands: Bosch (OEM supplier), NTK, Denso
OEM price range: $150-$250
Aftermarket price range: $70-$180
Related Codes That Often Appear With This One
- P1197 — P1197 is the code for the O2 Sensor Heater Circuit on Bank 2, Sensor 1. It's common to see both codes together if the sensors are of a similar age and are failing around the same time.
- P0134 — P0134 indicates 'O2 Sensor Circuit No Activity Detected (Bank 1, Sensor 1)'. This can occur alongside P1196 because if the heater fails, the sensor may not reach operating temperature and therefore will not produce a signal.
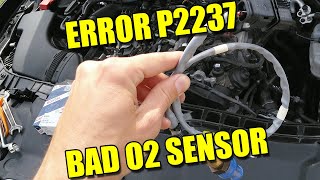
- P2251 — P2251 refers to 'O2 Sensor Negative Current Control Circuit/Open Bank 1 Sensor 1'. This is another electrical fault related to the same sensor and can appear with P1196, pointing to a wiring or sensor failure. 🎬 Watch: How to diagnose and replace a Bank 1 sensor
Technical Service Bulletins (TSBs) & Recalls
- 01139020337671: MIL on (DTC P1196/P1197/P0135, heater circuit fault lambda sensor) - Repair Authorization
Platform-Specific Known Issues
- A Technical Service Bulletin (TSB #01139020337671) was issued for the 2010 model year concerning the Check Engine Light (MIL) being on with DTC P1196, P1197, or P0135. This TSB is a 'Repair Authorization', which is an internal document guiding technicians on claim procedures, confirming the fault is known but not indicating a recall.
- On the 3.0T supercharged engine, the Bank 1 Sensor 1 is on the passenger side, upstream of the catalytic converter. Access can be tight but it is often reachable from the top of the engine bay after removing some intake components.
Mechanic-Grade Diagnostic Values
- O2 Sensor Heater Resistance (Cold) — expected: 5-15 Ohms. Failure: A reading of 20 Ohms or more, or an open circuit (infinite resistance), indicates a failed heater element.
- Heater Circuit Voltage at Connector — expected: 11-14 Volts (Battery Voltage). Failure: No voltage indicates a wiring or fuse issue upstream of the sensor.
- VCDS/VAG-COM Measuring Block Group 041 — expected: Field 1: 'Heater before cat. ON'. This confirms the ECM is commanding the heater to activate.. Failure: If the heater is commanded 'ON' but the fault persists, it points strongly to the sensor or wiring, not the ECM command.
Scan Tool Commands That Help
- VCDS (VAG-COM): Measuring Blocks, Group 041 — To verify that the Engine Control Module is actively trying to turn on the O2 sensor heater. This helps differentiate between a command issue (ECM) and a circuit/component failure (wiring, sensor).
Wiring & Ground Locations
- Engine to Chassis Ground — On the C7 platform, a key ground wire connects from the engine block to the frame rail in the engine compartment, often near the alternator or on the side of the engine bay.. A poor engine ground can cause a variety of electrical issues, including creating a voltage differential that could affect sensor readings and heater circuit performance. While not a direct cause of a single heater fault, it should be checked if multiple, persistent electrical codes are present.
Real Owner Repair Stories
- AudiWorld Forums user 'jcrampton' (Audi A6 (C5 platform, but diagnosis is relevant)) — P1196, P1197 (both pre-cat heater circuits), and P0134 (B1S1 no activity).
❌ Tried (didn't work) Replaced both pre-cat O2 sensors with universal-fit Bosch sensors., Checked fuses in the driver-side panel., Replaced a blown maxi fuse under the steering column.
✅ What actually fixed it The thread concluded with the user being advised that the universal-fit sensors were the likely cause of the persistent codes, and that direct-fit OEM or equivalent sensors should be used. The final resolution was not posted, but the strong advice from experienced members pointed to the incompatible parts.
OEM Part Supersession History
06E906265R→06E906265AJ— Standard part revision and update by the manufacturer.
Heads up: 06E906265AJ is the correct, current part number for many 3.0T applications within this year range. Using the older 'R' revision may not be advisable if the 'AJ' is available.
Model Year Variations Within This Range
- 2010-2011 (C6) vs 2012 (C7): While the code's meaning is identical, the physical layout of the engine bay and harness routing differs between the C6 and C7 generations. Ground points, connector locations, and access procedures may vary slightly. For example, the C7 has more complex front-end components that may need to be removed for access compared to the C6.
Helpful Videos
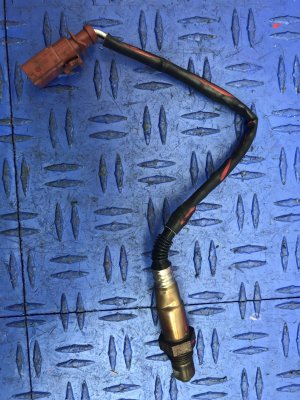
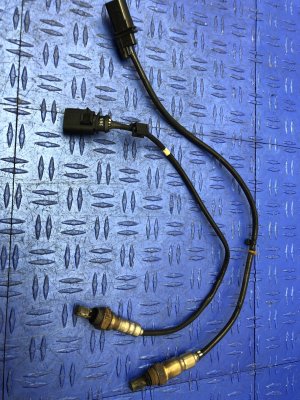
Used OEM Parts in Stock
New Aftermarket Parts Available
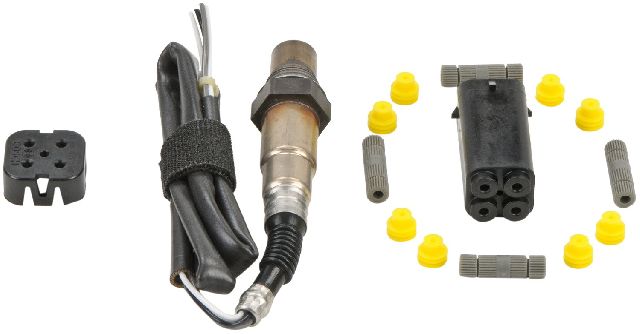

The information in this article is provided for general reference and educational purposes only. Vehicle specifications, procedures, and part compatibility can vary by production date, trim level, and region. Always consult your vehicle's factory service manual and verify part numbers before purchasing or performing repairs. Safety-critical components such as airbags, seat belts, and braking systems should be installed by a qualified professional.
- Audi A6:
- 🎬 Helpful Videos
- 🛍️ Shop This Part
- What's Unique About the 2010-2012 Audi A6
- Diagnostic Flowchart
- Symptoms You May Notice
- Most Likely Causes
- Rare But Worth Checking
- Diagnosis Steps
- Parts You'll Likely Need
- Related Codes That Often Appear With This One
- Technical Service Bulletins (TSBs) & Recalls
- Platform-Specific Known Issues
- Mechanic-Grade Diagnostic Values
- Scan Tool Commands That Help
- Wiring & Ground Locations
- Real Owner Repair Stories
- OEM Part Supersession History
- Model Year Variations Within This Range
- 🎟️ Get 5% Off