

P1101 on 2016-2019 Chevrolet Volt: Intake Airflow Performance Causes and Fixes
On a 2016-2019 Chevy Volt, P1101 is most often caused by a clogged PCV orifice in the camshaft cover, leading to high crankcase pressure. This is a known issue documented in GM TSB #20-NA-047. The fix involves removing the camshaft cover and replacing the small, inexpensive PCV orifice, though some earlier guidance and kits involved replacing the entire cover assembly.
- For a 2016-2019 Chevy Volt, P1101 is most likely caused by a clogged PCV system, not a bad MAF sensor.
- Before buying any parts, check for signs of oil leaks and have the engine's crankcase pressure tested. A reading above 0 inH2O is a strong indicator of the issue.
- The official fix, according to GM TSB #20-NA-047, is to remove the camshaft cover and replace the small internal PCV orifice (Part #12641875).
- Simply cleaning or replacing the MAF sensor will not fix the code if the underlying crankcase pressure issue is not addressed.
- This repair is more complex than on many vehicles, requiring removal of the fuel rail and injectors, with a book time of 3.5 hours.
What's Unique About the 2016-2019 Chevrolet VOLT
While P1101 on many cars points to a simple MAF sensor or vacuum leak issue, the 2016-2019 Volt has a very specific and well-documented problem. General Motors issued Technical Service Bulletin (TSB) #20-NA-047 which identifies the root cause as a clogged Positive Crankcase Ventilation (PCV) orifice inside the camshaft cover. This tiny, inexpensive plastic orifice can get blocked with carbon buildup. The blockage creates excessive pressure in the engine's crankcase, which can force oil out of crankshaft seals and disrupt the air-fuel mixture, triggering the P1101 code. Ignoring this TSB often leads to misdiagnosis, where owners needlessly replace the expensive MAF sensor.
Diagnostic Flowchart
Tap your situation to follow the diagnostic path that matches what you're seeing on this vehicle.
Symptoms You May Notice
- Check Engine Light (MIL) illuminated
- Engine oil leaks, particularly from the front or rear crankshaft seals. [Bulletin #20-NA-047, 9]
- Reduced engine power or sluggish acceleration.
- Rough or erratic idling.
- Poor fuel efficiency.
- Visible oil consumption or oil residue in the intake ducting.
- A whistling or sucking noise from the engine bay, indicating a failed PCV diaphragm (less common on this specific design but a related symptom).
- Replacing the Mass Airflow (MAF) sensor without first checking crankcase pressure. Due to TSB #20-NA-047, the PCV system is the primary suspect for this code on this specific vehicle.
Most Likely Causes
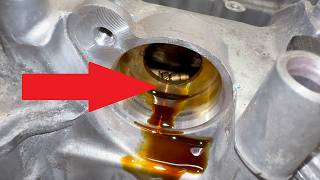
- Clogged PCV Orifice in Camshaft Cover 🔴 High Probability This is a known design issue identified by GM in TSB #20-NA-047 for the 1.5L L3A engine. 🎬 Watch: Diagnosing the P1101 code and PCV orifice issue. The small PCV orifice can become plugged with carbon, leading to excessive crankcase pressure.
How to confirm: Perform a crankcase pressure test using a manometer. With the engine at hot idle, pressure should be negative (-1 to -5 inches of water). If the pressure is positive (above 0), the PCV orifice is blocked. An informal test is to slightly lift the oil dipstick at idle; a puffing sound or visible smoke indicates positive pressure.
Typical fix: Remove the camshaft cover, pry out the old PCV orifice, and install a new one (Part No. 12641875). While the cover is off, clean any carbon from the PCV passages. Early repairs and some aftermarket kits replace the entire camshaft cover assembly. The job requires removing the fuel rail and injectors. 🎬 See this walkthrough for removing the camshaft cover.
Est. part cost: $15-$25 for the orifice, $150-$250 for the full cover assembly. - Dirty or Faulty Mass Airflow (MAF) Sensor ⚪ Low Probability
How to confirm: Inspect the MAF sensor's sensing elements for dirt or oil contamination, which can be a side effect of the PCV issue. Try cleaning it with dedicated MAF sensor cleaner. With a scan tool, monitor the MAF reading; it should be stable at idle and increase smoothly with RPM. A large discrepancy between 'Calculated Airflow' and 'MAF Airflow' PIDs points to a problem.
Typical fix: First, attempt to clean the sensor. If the code returns and crankcase pressure is normal, replace the MAF sensor. The OEM part is ACDelco 23324767.
Est. part cost: $70-$150 - Clogged Engine Air Filter ⚪ Low Probability
How to confirm: Visually inspect the engine air filter. If it is visibly dirty, black, or clogged with debris, it is restricting airflow. An improperly seated air filter can also cause this code.
Typical fix: Replace the engine air filter.
Est. part cost: $20-$40 - Intake Air Leak (Vacuum Leak) ⚪ Low Probability
How to confirm: Inspect all intake ducting between the MAF sensor and the throttle body for cracks or loose connections. Perform a smoke test to check for leaks from vacuum hoses, the intake manifold gasket, or throttle body seal.
Typical fix: Repair the source of the leak, which could be a cracked hose, loose clamp, or a failed gasket.
Est. part cost: $10-$100
Rare But Worth Checking
- Cracked Piston(s):
Diagnosis Steps
- Read the code with an OBD-II scanner to confirm P1101 is present.
- Visually inspect the engine bay for any signs of oil leaks, especially around the crankshaft pulley and the rear of the engine. [Bulletin #20-NA-047]
- As a quick preliminary check, start the engine and carefully lift the oil dipstick. If you hear puffing or feel pressure escaping, it's a strong indicator of high crankcase pressure.
- Perform a formal crankcase pressure test as described in TSB #20-NA-047. This is the most critical step. Connect a manometer to the dipstick tube. 🎬 Watch: How to perform a professional crankcase pressure test. A reading above 0 inches of water confirms a crankcase pressure issue. If the gauge flutters rhythmically, suspect a more serious piston/ring issue.
- If crankcase pressure is positive, the PCV orifice inside the camshaft cover is the likely cause. Proceed with its replacement.
- If crankcase pressure is normal (negative), proceed with traditional diagnostics.
- Inspect the engine air filter and its housing. Ensure the filter is clean and seated correctly.
- Inspect the intake air ducting between the air filter housing and the throttle body for any cracks, tears, or loose clamps.
- Remove and inspect the MAF sensor for oil contamination. Clean it with dedicated MAF sensor cleaner and reinstall.
- If the problem persists, perform a smoke test to check for vacuum leaks downstream of the MAF sensor.
Parts You'll Likely Need
- PCV Orifice
(OEM #12641875)— This is the direct cause of the high crankcase pressure described in TSB #20-NA-047. It's a small plastic part that clogs with carbon.
Trusted brands: ACDelco, GM Genuine
OEM price range: $15-$25
Aftermarket price range: $10-$20 - Camshaft Cover (Valve Cover)
(OEM #12679253)— This is sometimes replaced as an assembly, especially in earlier repairs or if the cover itself is damaged. Aftermarket versions like Dorman 264-968 are also available. However, TSB 20-NA-047's later revisions only call for replacing the orifice inside.
Trusted brands: ACDelco, Dorman
OEM price range: $180-$250
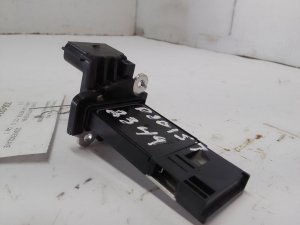
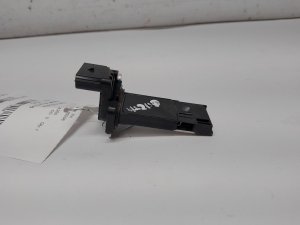
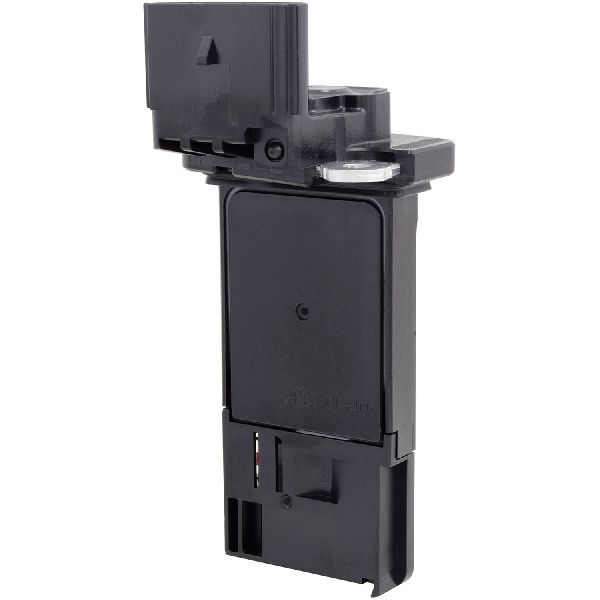
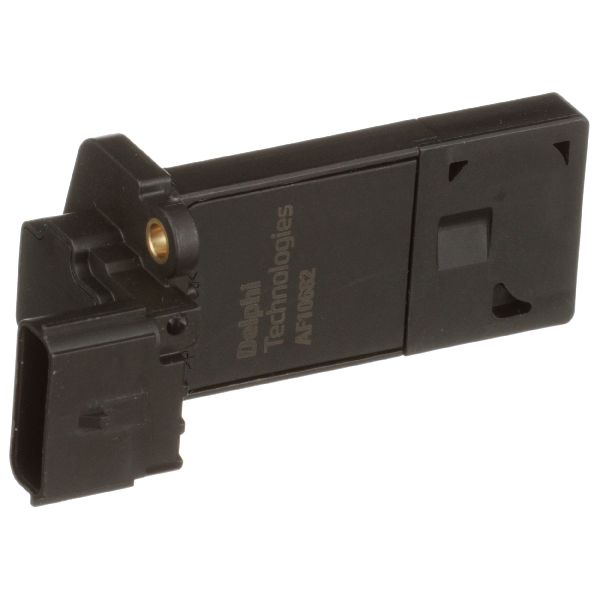
Aftermarket price range: $120-$200 - Mass Airflow (MAF) Sensor
(OEM #23324767 (replaces 22951817))— This is a common misdiagnosis. It should only be replaced after ruling out the PCV/crankcase pressure issue. Oil contamination from the PCV issue can sometimes damage it.
Trusted brands: ACDelco, Delphi, Hitachi
OEM price range: $100-$150
Aftermarket price range: $50-$100
Technical Service Bulletins (TSBs) & Recalls
- 20-NA-047: Links DTC P1101 to high crankcase pressure from a clogged PCV orifice, and also notes associated oil leaks. Later revisions clarify that only the orifice (12641875) needs replacement, not the entire camshaft cover.
Platform-Specific Known Issues
- GM Technical Service Bulletin #20-NA-047 (and its various revisions) directly addresses the P1101 code on this vehicle. It states the cause is often high crankcase pressure from a clogged PCV orifice, which may also cause oil leaks.
- The official GM repair procedure per the TSB has a labor time of 3.5 hours for the Volt, as it involves significant disassembly including the fuel rail and injectors.
Mechanic-Grade Diagnostic Values
- Crankcase Pressure at Hot Idle — expected: -1 to -5 inches of water. Failure: Pressure is positive (above 0 inches of water).
- Mass Airflow (MAF) Sensor at Hot Idle — expected: Approximately 1.5-2.5 g/s. A general rule is g/s should roughly equal engine displacement in liters.. Failure: Significantly higher or lower reading at idle, or does not increase smoothly with RPM.
- Long Term Fuel Trim (LTFT) — expected: Within +/- 10%. Failure: A high positive percentage (e.g., >10%) indicates the ECM is adding fuel to compensate for a lean condition, which can be caused by the unmetered air from the PCV issue.
- Throttle Body Idle Air Flow Compensation — expected: Less than 90%. Failure: A value at or near 100% suggests the throttle body has built up carbon and cannot close to its minimum commanded position, which can contribute to the P1101 code.
Scan Tool Commands That Help
- GDS2 / Professional Scan Tool: Throttle Body Idle Air Flow Compensation Reset — After cleaning the throttle body. Carbon buildup can cause the throttle plate's learned idle position to be incorrect. Resetting this forces the ECM to relearn the new, clean, closed-throttle position.
- GDS2 / Professional Scan Tool: Fuel Trim Reset — After a repair that affects the air/fuel mixture (like fixing the PCV issue or a vacuum leak). This clears the learned long-term fuel trim values, allowing the ECM to adapt to the new, correct conditions more quickly.
Wiring & Ground Locations
- MAF Sensor Connector — On the air filter housing, connected to the Mass Airflow sensor.. The MAF sensor has several wires: a 12V power supply (often pink), a ground (often black), and a signal wire (often brown/blue) that sends the airflow reading to the ECM. A poor connection or damaged wire on any of these can cause incorrect readings and trigger P1101.
Real Owner Repair Stories
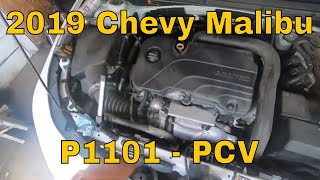
- YouTube channel 'Hoopties Garage' (2019 Chevrolet Malibu 1.5L (platform mate with same engine and issue)) — Check Engine Light with code P1101. Owner had already replaced the MAF sensor twice with no success.
❌ Tried (didn't work) Replacing the Mass Airflow (MAF) sensor (twice).
✅ What actually fixed it A crankcase pressure test showed positive pressure. The mechanic removed the camshaft cover and found the internal PCV orifice was completely clogged. Replacing the orifice (Part No. 12641875) resolved the positive crankcase pressure and cleared the P1101 code. - Reddit user 'gmarms' on r/Chevy (2017 Chevrolet Malibu 1.5L (platform mate)) — Check Engine Light with P1101.
❌ Tried (didn't work) Replacing O2 sensors, Replacing spark plugs, Cleaning throttle body, Cleaning MAF sensor, Replacing air filter
✅ What actually fixed it The user reported trying all common fixes without success. Another user, a technician, advised that the cause is almost always the plugged PCV orifice under the valve cover for this engine, which implies this was the required, unstated final fix.
"I Checked Everything" — The Actual Cause
- In many documented cases for the 1.5L engine, a smoke test for vacuum leaks will come back clean. The P1101 code is not caused by a traditional vacuum leak (unmetered air being sucked in), but rather by positive crankcase pressure pushing unmetered air *out* into the intake tract, disrupting MAF sensor readings. This is why checking crankcase pressure is the critical first step before a smoke test.
OEM Part Supersession History
Unknown, but early repairs involved replacing the entire camshaft cover.→12641875 (Orifice only)— GM identified that only the small, inexpensive PCV orifice was failing, not the entire cover. This makes the repair much cheaper in terms of parts.
Model Year Variations Within This Range
- 2019 only: A 7.2 kW onboard charging system became standard on the Premier trim and optional on the LT trim, doubling the charging speed from the 3.6 kW charger on all 2016-2018 models and the 2019 LT base. This does not affect the P1101 code but is a notable change within the generation.
Helpful Videos
Used OEM Parts in Stock
New Aftermarket Parts Available


The information in this article is provided for general reference and educational purposes only. Vehicle specifications, procedures, and part compatibility can vary by production date, trim level, and region. Always consult your vehicle's factory service manual and verify part numbers before purchasing or performing repairs. Safety-critical components such as airbags, seat belts, and braking systems should be installed by a qualified professional.
- Chevrolet VOLT:
- 🎬 Helpful Videos
- 🛍️ Shop This Part
- What's Unique About the 2016-2019 Chevrolet VOLT
- Diagnostic Flowchart
- Symptoms You May Notice
- Most Likely Causes
- Rare But Worth Checking
- Diagnosis Steps
- Parts You'll Likely Need
- Technical Service Bulletins (TSBs) & Recalls
- Platform-Specific Known Issues
- Mechanic-Grade Diagnostic Values
- Scan Tool Commands That Help
- Wiring & Ground Locations
- Real Owner Repair Stories
- "I Checked Everything" — The Actual Cause
- OEM Part Supersession History
- Model Year Variations Within This Range
- 🎟️ Get 5% Off