

P0615 on 2008-2014 Cadillac CTS: Starter Relay Circuit Fault Causes and Fixes
On a 2008-2014 Cadillac CTS, code P0615 usually points to a faulty starter relay located in the under-hood fuse box. This is an inexpensive part and an easy DIY swap that often resolves no-start or intermittent starting issues. However, if other communication codes are present, suspect a known wiring harness issue near the transmission.
- P0615 on a 2008-2014 CTS most often means you have a bad starter relay, which is a cheap and easy fix.
- Before buying parts, perform a 'swap test' by trading the starter relay with an identical one in the fuse box.
- If you have other trouble codes, especially U-codes for communication, the problem could be a more complex wiring issue as noted in GM's Technical Service Bulletin PIC4740E.
- Always check the simple things first: battery health, terminal connections, and fuses.
What's Unique About the 2008-2014 Cadillac CTS

While P0615 often points to a simple relay, on the second-generation Cadillac CTS it can be a symptom of a larger electrical issue. A key Technical Service Bulletin (TSB) from GM, #PIC4740E (and its successor PIC4740F), links this code with numerous other communication and module codes (U-codes). This suggests that wiring harness problems, particularly chafing or unseated pins in the connector at the transmission, can cause P0615 along with other faults, making a thorough diagnosis crucial if other codes are present.
Diagnostic Flowchart
Tap your situation to follow the diagnostic path that matches what you're seeing on this vehicle.
Generation note: The 2008-2014 model years cover the entire second generation of the Cadillac CTS (platform code GMX322, also referred to as the Sigma II platform). The information in this guide is specific to this generation, though the causes are common to many GM vehicles.
Symptoms You May Notice
- Engine does not crank or start.
- Intermittent no-start condition, where the car sometimes starts and sometimes doesn't.
- A single, sharp 'click' sound from the engine bay when trying to start, with no crank.
- Check Engine Light is illuminated on the dashboard.
- In rare cases, the starter motor may continue to run after the engine has started if the relay is stuck closed.
- Replacing the starter motor when the actual problem is a simple, inexpensive relay.
- Replacing the battery without testing it first, when the issue is a bad relay or wiring.
- Condemning the ECM before thoroughly checking all fuses, relays, and wiring continuity between the ECM and the starter relay.
Most Likely Causes

- Faulty Starter Relay 🔴 High Probability Relays are electromechanical switches with a finite lifespan that can fail from heat, vibration, and repeated use. It's the most common and simplest failure point for this code.
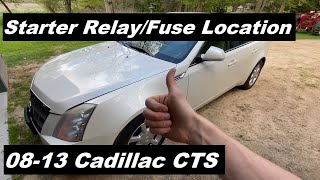
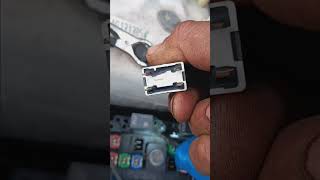
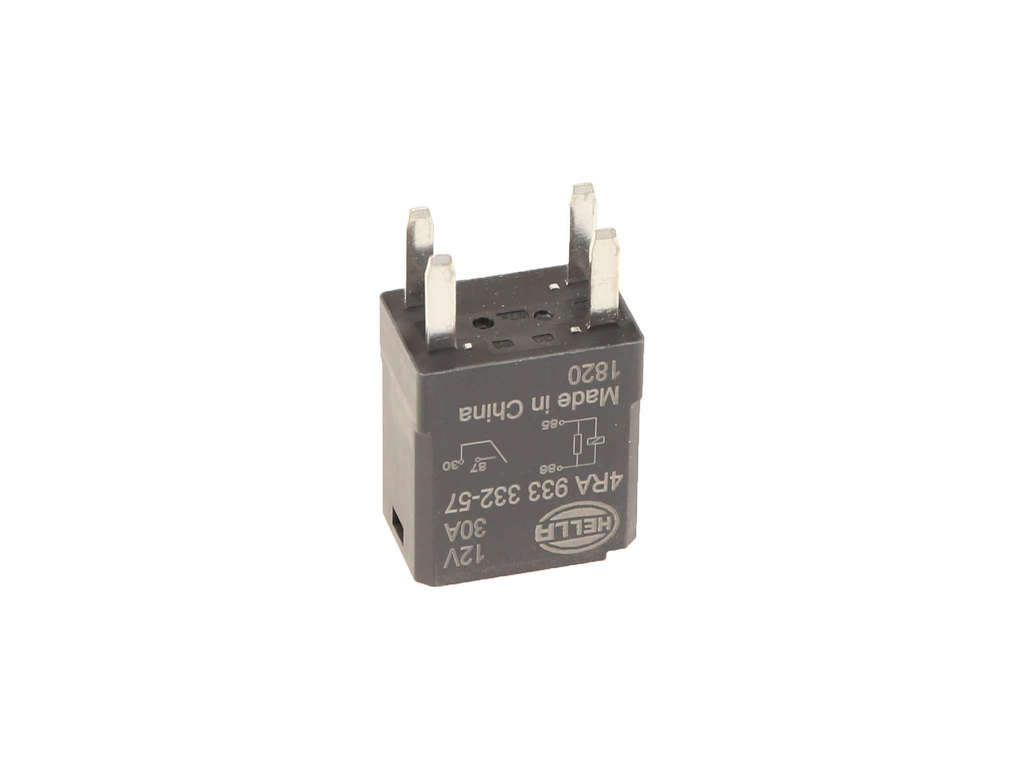
How to confirm: The starter relay is in the under-hood fuse/relay box. 🎬 Watch: Locate your starter relay and fuse in the engine bay. The easiest test is to swap the starter relay with an identical relay from a non-critical circuit (like the horn or fog lights) and see if the car starts. If it does, the relay is bad.
Typical fix: Replace the starter relay.
Est. part cost: $10-$30 - Wiring or Connector Issue 🟡 Medium Probability TSB #PIC4740E and its successor #PIC4740F specifically mention inspecting transmission wiring when P0615 is present with other codes. The harness can chafe against a securing bracket or pins can become unseated in the main transmission connector, causing an open or short in the starter control circuit that runs through that harness.
How to confirm: Visually inspect the wiring and connectors at the starter relay socket, the starter motor solenoid, and the main fuse box. Look for corrosion, loose pins, or chafed/broken wires. If other network codes are present, disconnect the main transmission connector and tug gently on each wire to ensure the pins are fully seated. Also inspect the harness near its mounting brackets for signs of rubbing or damage.
Typical fix: Repair the damaged section of the wiring harness, re-seat loose connector pins, or clean/replace the corroded connector.
Est. part cost: $5-$100 - Weak or Dead Battery / Poor Connections 🟡 Medium Probability Low system voltage can cause unpredictable behavior in various electronic control modules, leading to control circuit faults. Corroded or loose terminals are a common point of failure.
How to confirm: Test the battery voltage with a multimeter; it should be above 12.4 volts with the engine off. During a crank attempt, voltage should not drop below ~9.5V. Check that the battery terminals are clean and tight.
Typical fix: Recharge or replace the battery and clean the terminals.
Est. part cost: $150-$250 - Faulty Starter Motor or Solenoid ⚪ Low Probability The starter motor can fail over time. A failing solenoid can cause an abnormal voltage draw or feedback on the control circuit, triggering the code. This is often misdiagnosed as the primary issue when it's actually a relay or wiring problem.
How to confirm: If the relay is confirmed good and is sending power, but the starter doesn't engage, the starter motor is the likely culprit. This can be confirmed by testing for 12V+ at the starter's main terminal and on the signal wire during a crank attempt. If power is present but the starter doesn't work, the starter motor is faulty.
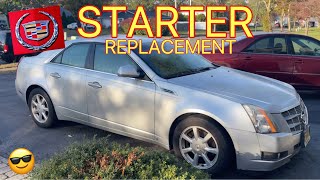
Typical fix: Replace the starter motor assembly. 🎬 Watch: A step-by-step guide to replacing the starter motor.
Est. part cost: $150-$400
Rare But Worth Checking
- Blown Fuse: Always a quick and easy check. A blown fuse for the starter circuit (often labeled 'CRNK' or 'STRTR') in the under-hood fuse box will prevent the relay from activating.
- Faulty Ignition Switch: The ignition switch sends the initial signal to the BCM/ECM to begin the starting sequence. A failure here can mimic other issues, though it is less common than a relay or wiring fault.
- Faulty Engine Control Module (ECM): This is the least likely cause. The ECM's internal driver for the starter relay circuit can fail, but all other possibilities should be exhausted before condemning the ECM.
Diagnosis Steps
- Read all fault codes stored in the ECM. Note if any communication (U-prefix) or transmission (P07xx) codes are present, as this points towards the TSB-documented harness issue.
- Check the battery. Ensure it has a full charge (12.4V+) and that the terminals are clean and tight. Perform a load test if possible.
- Inspect the fuses in the under-hood fuse box related to the starting circuit (e.g., 'CRNK'). Replace if blown.
- Locate the starter relay in the under-hood fuse box (refer to the diagram on the fuse box lid). Swap it with an identical relay (e.g., horn or A/C clutch relay) to see if the problem is resolved. This is the most common fix.
- If the relay swap works, replace the faulty relay. If not, swap the original relay back and proceed with diagnosis.
- If multiple U-codes are present, follow the guidance of TSB #PIC4740F. Inspect the vehicle's main transmission wiring harness connector for unseated pins and check the harness for chafing, especially near mounting brackets.
- If P0615 is the only code, inspect the wiring and connector pins at the starter relay socket and at the starter motor solenoid for damage or corrosion. Perform a 'wiggle test' on the harness while an assistant tries to start the car.
- If wiring and the relay are good, use a multimeter to test for power on the signal wire (solenoid wire) at the starter when an assistant attempts to crank the engine. If 12V is present but the starter doesn't work, the starter motor is faulty.
- If no voltage is present at the starter signal wire, check for voltage at the control side of the starter relay socket when the key is turned. If there's no voltage, the problem lies upstream (ignition switch, neutral safety switch, or ECM).
- If all other components test good, the issue may lie with the ignition switch or, rarely, the ECM itself.
Parts You'll Likely Need
- Starter Relay
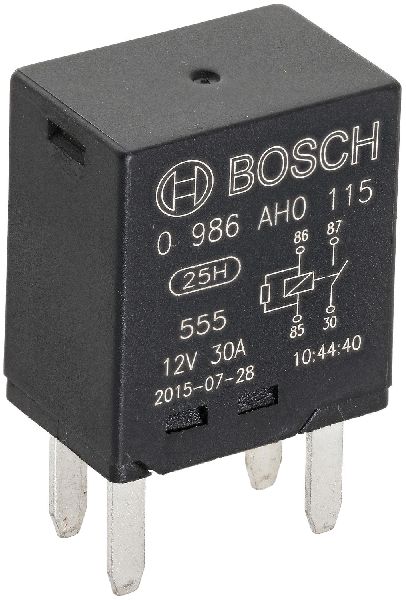
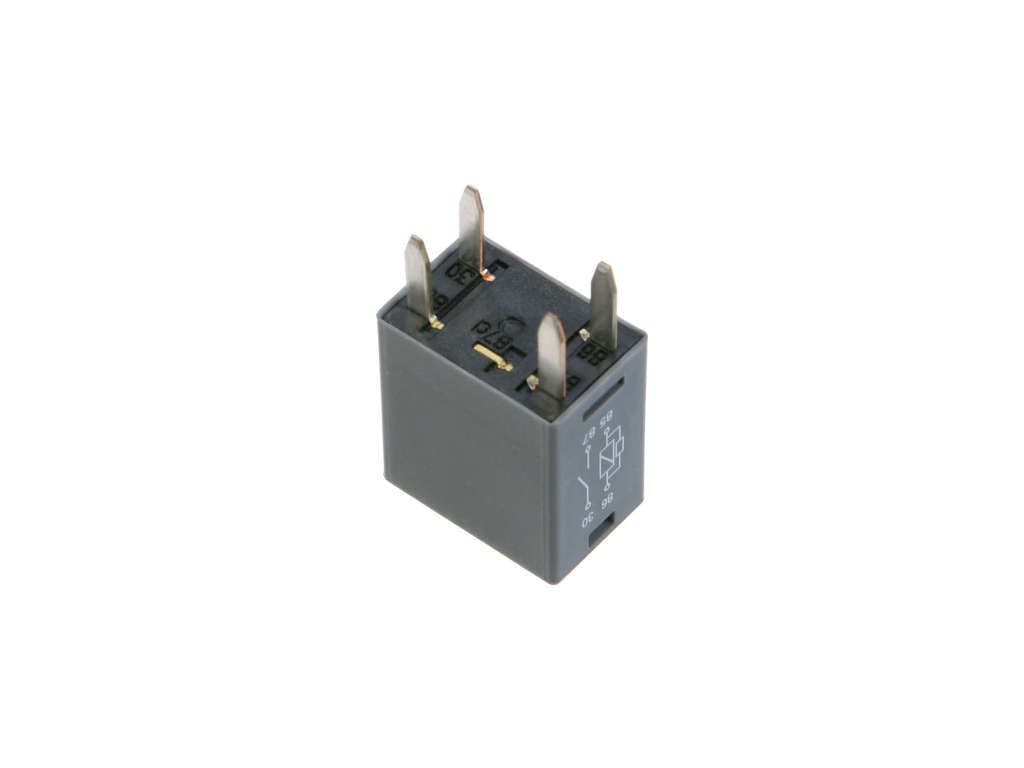
(OEM #13503102)— This is the most common failure point for a P0615 code and is a simple, inexpensive replacement.
Trusted brands: ACDelco, Bosch, Standard Motor Products
OEM price range: $15-$30
Aftermarket price range: $10-$20 - Starter Motor
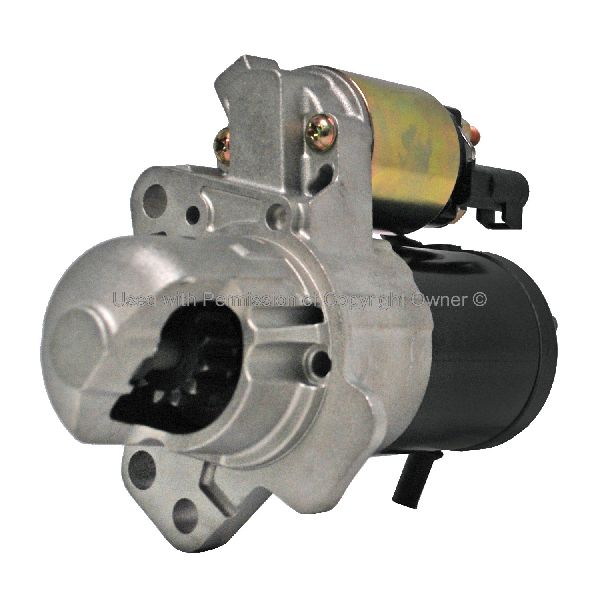
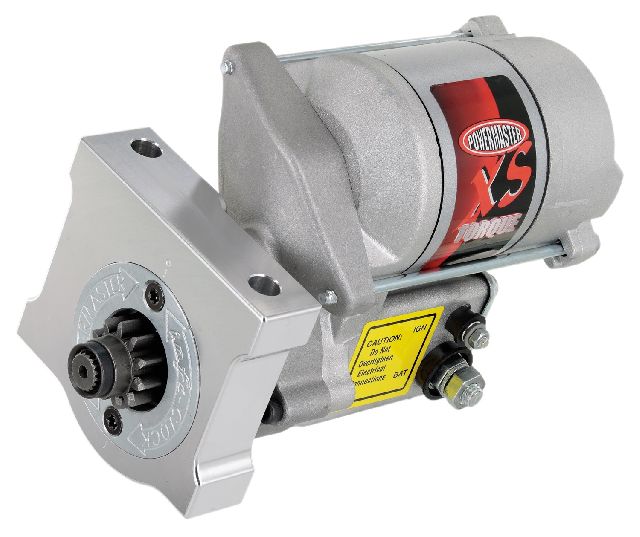
(OEM #12644788)— If the relay and wiring are confirmed to be good, the starter motor assembly is the next most likely component to have failed.
Trusted brands: ACDelco (GM Genuine), TYC, WAI
OEM price range: $200-$320
Aftermarket price range: $150-$250
Related Codes That Often Appear With This One
- U0100 — Lost Communication With ECM/PCM. Its presence with P0615 strongly suggests a wiring harness or network issue, as highlighted in TSB PIC4740E/F.
- U0121 — Lost Communication With Anti-Lock Brake System (ABS) Control Module. Also listed in TSB PIC4740E/F, pointing to a broader communication problem stemming from the same harness issue.
- P0700 — Transmission Control System Malfunction. This code, in conjunction with P0615, reinforces the TSB's recommendation to inspect the transmission wiring harness.
- P1682 — Ignition Switch Circuit 2. A user on the ScannerDanner forum reported this code alongside P0615 on a 2009 Cadillac, pointing towards a potential ignition switch or related circuit problem.
Technical Service Bulletins (TSBs) & Recalls

- PIC4740E / PIC4740F: Addresses a condition where the vehicle may not start or may have communication issues between modules, storing a wide array of DTCs including P0615. The recommended action is to inspect the transmission wiring harness connector for unseated pins and the harness for chafing.
Platform-Specific Known Issues
- TSB #PIC4740E (later #PIC4740F) is critical for this vehicle. It indicates that P0615, when appearing with codes like C0242, C0561, P0700, and various U-codes, may be caused by a compromised wiring harness. The bulletin specifically directs technicians to inspect the transmission connector for unseated pins and the harness itself for chafing against a securing bracket. This suggests a common factory routing or assembly issue can cause multiple, seemingly unrelated electrical faults.
- Real-world Repair Story: A user on the ScannerDanner forum with a 2009 Cadillac DTS (a related platform) experienced a no-crank with P0615 after a dealer had already replaced the starter to no avail. The user found that repla
Mechanic-Grade Diagnostic Values
- Starter relay ground circuit resistance — expected: Less than 5.0 Ohms. Failure: A reading greater than 5.0 Ohms indicates high resistance or an open in the ground circuit for the relay.
- Voltage at starter relay control circuit — expected: 12V. Failure: No voltage when the key is in the START position indicates a problem upstream (ECM, BCM, ignition switch).
- System voltage during crank attempt — expected: Should stay above 9.5V. Failure: A drop below 9.5V indicates a weak battery or excessive draw from the starter motor.
Scan Tool Commands That Help
- GDS2 / Tech2 (or equivalent professional scanner): Monitor Starter Circuit Status / Output Control — Use this to verify if the ECM is actually sending the command to energize the starter relay. If the scan tool shows the command is being sent but the relay doesn't click, the problem is likely in the wiring to the relay or the relay itself. If the command is NOT being sent, the problem is upstream (e.g., Park/Neutral switch input, BCM, ignition switch input).
Wiring & Ground Locations

- Transmission Connector X1 — The main electrical connector going into the transmission.. TSB PIC4740F explicitly calls out unseated pins in this connector as a primary cause for P0615 when accompanied by communication (U-prefix) codes. Wires can have a false positive lock and back out, causing an intermittent open circuit.
- Harness Securing Bracket — On the passenger side of the vehicle, where the transmission bell housing attaches to the engine block.. TSB PIC4740F notes that the wiring harness can chafe against this metal bracket, causing a short or open in the starter relay control circuit or other related circuits that run through this harness.
- G101 / G106 — G101 is on the lower front of the engine block; G106 is on the front center of the frame cross rail, under the crank pulley.. These are primary grounds for the Engine Control Module (ECM) and Transmission Control Module (TCM). A poor connection here can cause unpredictable behavior and fault codes, including P0615.
- G103 — Located at the left rear of the engine compartment on the cowl, above the brake booster.. This is a ground point for the Body Control Module (BCM), which is involved in processing the 'crank request' signal from the ignition switch before it gets to the ECM.
Real Owner Repair Stories
- GM Technical Service Bulletin PIC4740F (2008-2014 Cadillac CTS (and other GM models)) — No crank / No start, intermittent stalling, multiple communication codes (U-prefix) stored along with P0615, P0700, and others.
❌ Tried (didn't work) Replacing individual components like the starter relay or starter motor without diagnosing the full network issue.
✅ What actually fixed it Inspecting the transmission connector (X1) and finding unseated pins, then re-seating them. In other cases, finding the wiring harness chafed against a securing bracket on the passenger side of the bell housing and repairing the damaged wires.
OEM Part Supersession History
12193604, 15328864, 12088592, 12177236, 12135175, and others→13503102— Part consolidation and design updates by GM over many years.12610857, 12645299→12644788— Updated part for the starter motor assembly.
Model Year Variations Within This Range
- 2008-2009 vs 2010-2014: The layout and numbering of fuses and relays in the under-hood fuse box changed. For example, the fuse for the cigarette lighter/power outlet is labeled 'LTR' in 2008-2009 but is fuse #60 in 2010-2014. Always refer to the diagram on the vehicle's specific fuse box lid.
Helpful Videos
Used OEM Parts in Stock


New Aftermarket Parts Available


The information in this article is provided for general reference and educational purposes only. Vehicle specifications, procedures, and part compatibility can vary by production date, trim level, and region. Always consult your vehicle's factory service manual and verify part numbers before purchasing or performing repairs. Safety-critical components such as airbags, seat belts, and braking systems should be installed by a qualified professional.
- Cadillac CTS:
- 🎬 Helpful Videos
- 🛍️ Shop This Part
- What's Unique About the 2008-2014 Cadillac CTS
- Diagnostic Flowchart
- Symptoms You May Notice
- Most Likely Causes
- Rare But Worth Checking
- Diagnosis Steps
- Parts You'll Likely Need
- Related Codes That Often Appear With This One
- Technical Service Bulletins (TSBs) & Recalls
- Platform-Specific Known Issues
- Mechanic-Grade Diagnostic Values
- Scan Tool Commands That Help
- Wiring & Ground Locations
- Real Owner Repair Stories
- OEM Part Supersession History
- Model Year Variations Within This Range
- 🎟️ Get 5% Off