

P0462 on 2018-2019 Volkswagen Beetle: Fuel Level Sensor Circuit Low Causes and Fixes
This code means your fuel gauge is unreliable because of a fault in the fuel level sensor circuit. The most common cause is a failed fuel level sending unit inside the gas tank. Expect to replace the sending unit, which is often part of the fuel pump module. Before replacing parts, inspect the wiring harness under the rear seat for damage.
- P0462 on your Beetle means the fuel gauge is not working correctly due to a low voltage signal from the fuel level sensor.
- The most likely fix is to replace the fuel level sending unit, which is located in the fuel tank and usually comes as part of the fuel pump module.
- Before replacing parts, always check the relevant fuses and inspect the wiring connector on top of the fuel tank for corrosion or damage.
- Driving with this code is possible, but you must manually track your mileage to avoid running out of fuel.
- This repair involves handling gasoline and is best left to a professional if you are not experienced with fuel system work.
What's Unique About the 2018-2019 Volkswagen BEETLE
The 2018-2019 Beetle is part of the A5 (PQ35) platform, which it shares with other VW models like the Mk6 Jetta and Golf. On these vehicles, the P0462 code is most frequently 🎬 Watch: How this P0462 error was solved in record time. traced back to a failure of the fuel level sending unit itself, rather than more complex wiring or computer issues. The sending unit is integrated into the main fuel pump module, meaning the entire assembly is often replaced to correct the fault. Access is relatively straightforward via a panel under the rear passenger-side seat cushion.
Diagnostic Flowchart
Tap your situation to follow the diagnostic path that matches what you're seeing on this vehicle.
Symptoms You May Notice
- Fuel gauge reads empty or is stuck in one position.
- Check Engine Light is illuminated.
- Low fuel warning light stays on.
- Inaccurate or non-functional 'distance to empty' display.
- Fuel gauge fluctuates erratically before failing completely.
- Replacing the fuel pump when only the sending unit is bad. While they are often in the same module, sometimes the sender can be replaced separately. However, for this vehicle, they are most commonly sold as a single assembly.
- Assuming the sensor is bad without first checking the wiring. A simple short to ground in the harness can mimic the exact symptoms of a failed sensor.
- Installing an aftermarket fuel pump assembly with an incompatible fuel level sender. Different model years may use senders with reversed resistance ranges, causing a new part to fail immediately.
Most Likely Causes
- Failed Fuel Level Sending Unit 🔴 High Probability The variable resistor on the sending unit can wear out or fail from contaminants in the fuel over time, causing it to short internally and send an incorrect, low voltage signal.
How to confirm: Access the fuel pump module connector and measure the resistance of the sending unit with a multimeter. For many VWs of this era, the resistance should be approximately 50 Ohms when full and around 270-290 Ohms when empty. A reading of near-zero or infinite ohms indicates a failed sensor. Note that resistance values can vary significantly by model year, with some senders operating in reverse (e.g., ~30 ohms empty, ~240 ohms full).
Typical fix: Replace the fuel level sending unit. On this vehicle, it is sold as part of the complete fuel pump module assembly.
Est. part cost: $150-$450 - Wiring Harness Damage or Corrosion 🟡 Medium Probability The wiring and connector on top of the fuel tank are susceptible to moisture or physical damage, which can lead to corrosion and a poor connection or a short to ground. Wires can also become chafed or shorted to ground where they pass through the chassis.
How to confirm: Visually inspect the wiring harness and connector going to the fuel pump module for any signs of corrosion, melted plastic, or physical damage. Test for a short to ground on the signal wire using a multimeter by checking for continuity between the signal pin and the vehicle chassis.
Typical fix: Repair the damaged section of the wiring harness or clean/replace the corroded connector.
Est. part cost: $10-$50 - Poor Ground Connection ⚪ Low Probability The fuel tank and sending unit rely on a solid ground connection to the chassis. Rust or a loose connection at the grounding point can create high resistance or an intermittent open, which the PCM can interpret as a low voltage signal.
How to confirm: Locate the ground wire from the fuel pump assembly harness to the vehicle's chassis. Ensure the connection is clean, tight, and free of corrosion. Test for high resistance between the ground pin at the connector and a known good chassis ground.
Typical fix: Clean the grounding point and re-secure the connection. An additional ground strap can be added if necessary.
Est. part cost: $5-$20
Rare But Worth Checking
- Faulty Instrument Cluster: A failure within the instrument cluster itself, such as a cracked solder joint on the main connector, can prevent it from correctly interpreting the signal from the fuel level sensor. This is uncommon but possible, especially if other gauges are also behaving erratically. A cluster self-test using a scan tool can sometimes help diagnose this.
- Faulty Powertrain Control Module (PCM): In very rare cases, the PCM may be unable to correctly read the input from the sensor circuit. This should only be considered after all other possibilities, including the sensor, wiring, and instrument cluster, have been exhaustively ruled out.
Diagnosis Steps
- Scan the vehicle for any other stored trouble codes to see if other issues are present.
- Check the fuse for the fuel pump and instrument cluster. A blown fuse can cause this code.
- Gain access to the top of the fuel tank by removing the rear seat bottom cushion, then the access panel (typically on the passenger side).
- Visually inspect the electrical connector and wiring harness for any signs of corrosion, moisture damage, or chafing.
- With the key on, use a multimeter to check for the correct reference voltage being sent to the sensor (typically 5V or 12V) and a good ground.
- Disconnect the sensor and measure its resistance in Ohms. Compare this to the manufacturer's specification. For VW, this is often around 50 Ohms (Full) to 290 Ohms (Empty), but can be reversed on some models. If the reading is near zero or infinite, the sending unit has failed.
- If the sensor's resistance is plausible, check the signal wire for a short to ground between the tank and the PCM/Instrument Cluster.
- If wiring and the sensor check out, the issue may lie with the instrument cluster or, rarely, the PCM.
Parts You'll Likely Need
- Fuel Pump and Sending Unit Assembly
(OEM #5C0919051H)— This is the most common failure point for code P0462. The sending unit is integrated with the fuel pump into a single module. The original part number may have been superseded. It is critical to verify the part number against the vehicle's VIN, as incompatible senders are common.
Trusted brands: Bosch, VDO, Delphi, Genuine VW
OEM price range: $300-$450
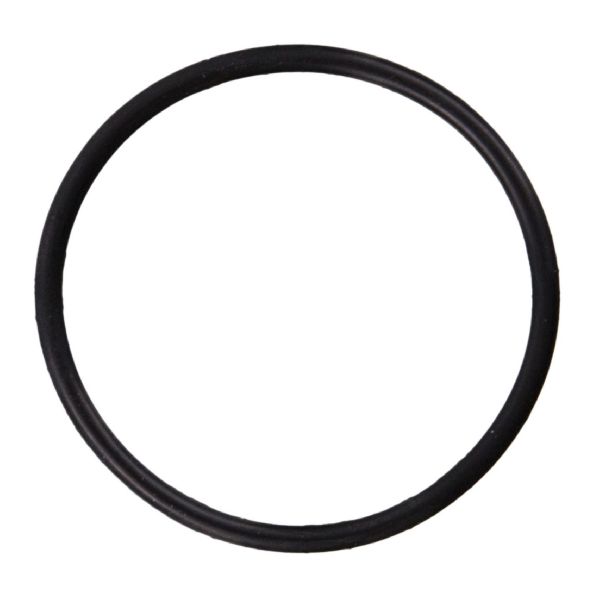
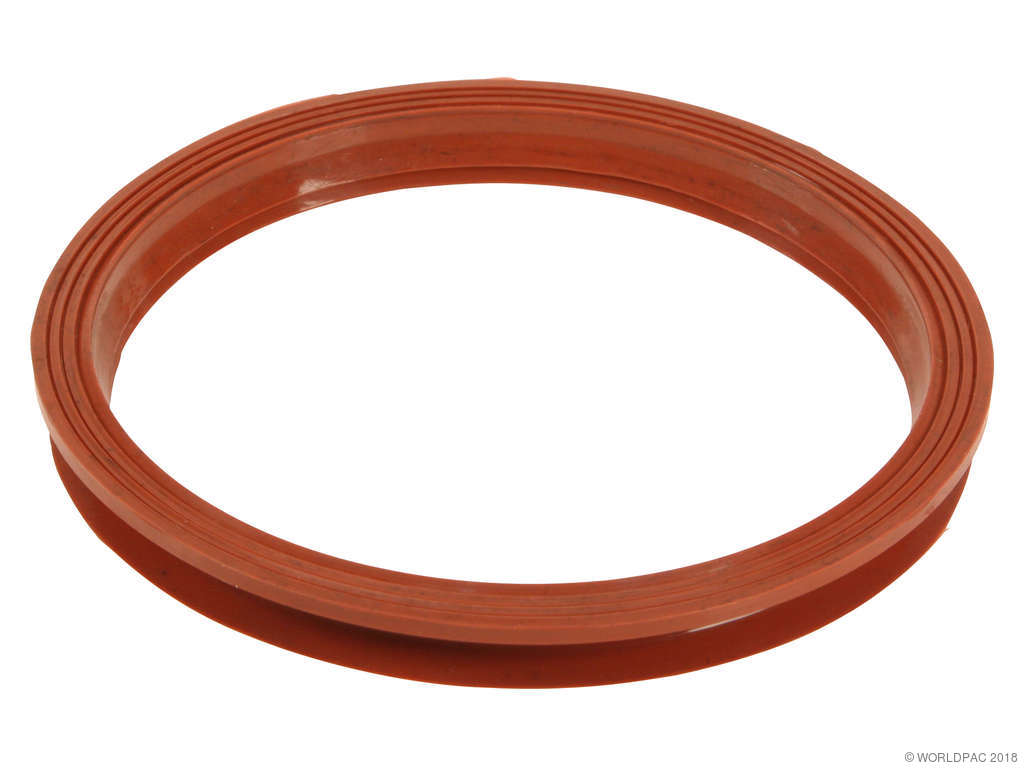
Aftermarket price range: $150-$250 - Fuel Pump Seal / Gasket — The large rubber seal for the fuel pump module should always be replaced when the module is removed to prevent fuel leaks and vapor smells. It is often sold separately.
Trusted brands: Genuine VW, Elring, Victor Reinz
OEM price range: $15-$30
Aftermarket price range: $10-$20 - Fuel Pump Lock Ring — The metal or plastic lock ring that holds the pump module in place can be damaged or corroded during removal and may need to be replaced.
Trusted brands: Genuine VW, URO Parts
OEM price range: $20-$40
Aftermarket price range: $15-$30
Related Codes That Often Appear With This One
- P0463 — This code is for 'Fuel Level Sensor Circuit High'. Seeing it alongside P0462 can point towards an intermittent wiring problem where the circuit is alternating between an open state (high voltage) and a short to ground (low voltage).
Platform-Specific Known Issues
- Access Under Rear Seat: Access to the fuel pump module is under the rear seat cushion on the passenger side. The cushion typically pulls up and hinges forward to reveal a black metal access plate held by three screws.
Mechanic-Grade Diagnostic Values
- Fuel Level Sender Resistance (VCDS Measuring Block) — expected: Values vary by model and fuel level. One example from a New Beetle showed 93 Ohms corresponded to 6.0 liters of fuel in the tank. A common range is ~50 Ohms (Full) to ~290 Ohms (Empty), but some models are reversed.. Failure: A reading near 0 Ohms (short to ground), infinite/OL (open circuit), or a value that doesn't change when fuel level changes.
- Fuel Level Sensor Signal Voltage — expected: A variable voltage, typically between ~0.5V (Empty) and ~4.5V (Full) on a 5V reference system.. Failure: A reading consistently below 0.5V, often near 0V, will trigger P0462.
Scan Tool Commands That Help
- VCDS (VAG-COM) / ODIS: Instrument Cluster (Address 17) -> Output Tests (03) — To perform a gauge sweep test. This command makes the instrument cluster cycle all its needles (including fuel) through their full range of motion. If the fuel gauge needle sweeps correctly, it confirms the gauge motor and its direct driver in the cluster are working, pointing the diagnosis back towards the sender or wiring.
- VCDS (VAG-COM) / ODIS: Instrument Cluster (Address 17) -> Measuring Blocks (08) — To view the raw data the instrument cluster is receiving from the fuel level sender. Check block 02 for the resistance reading in Ohms. This allows you to see the exact input value without having to physically measure it at the tank, helping to isolate a wiring vs. sender problem.
- VCDS (VAG-COM) / ODIS: Instrument Cluster (Address 17) -> Adaptation (10) -> Channel 30 — To perform fine-tune calibration of the fuel gauge after a sender replacement or to correct a slightly inaccurate reading. The value can typically be adjusted from 120 to 136. This is NOT a fix for a P0462 code but is used for calibration once the underlying electrical fault is repaired.
Wiring & Ground Locations
- Fuel Pump Assembly Ground — The ground wire for the fuel pump module is typically grounded to the chassis near the fuel tank access panel under the rear seat.. A corroded or loose ground at this point can cause a low voltage signal and trigger a P0462 code, mimicking a failed sender.
- G42 — On older related platforms (Golf/Jetta IV), this ground is located above the driver's footwell, to the left of the pedal cluster.. This is a major ground point for the instrument panel wiring harness, which processes the fuel level signal. A fault here could affect the instrument cluster's ability to read the sensor correctly.
- G50 — On the New Beetle, this ground point is in the rear of the luggage compartment on the left side.. This is a major chassis ground point in the rear of the vehicle that could be part of the fuel sender's ground path.
Real Owner Repair Stories
- Ross-Tech Forums user (2006 Volkswagen New Beetle Cabriolet) — Fuel gauge was wandering erratically, then became stuck on empty with the low fuel light on after a repair attempt.
❌ Tried (didn't work) Replacing the entire fuel pump assembly with a new, aftermarket unit.
✅ What actually fixed it The aftermarket fuel pump assembly, while new, contained an incorrect fuel level sender with an incompatible resistance range for that specific model year. The fix was to purchase the correct OEM-spec sender separately and install it onto the new fuel pump module.
OEM Part Supersession History
5C0919051H (and others)→Varies— Component revisions.
Heads up: Volkswagen is known for changing fuel level sender resistance ranges within a model's production run. For example, an early model may read ~240 Ohms full and ~30 Ohms empty, while a later model is reversed. Installing the wrong sender will cause an immediate P0462 or P0463 code. Always verify the part number with the VIN.
Helpful Videos


Used OEM Parts in Stock

New Aftermarket Parts Available


The information in this article is provided for general reference and educational purposes only. Vehicle specifications, procedures, and part compatibility can vary by production date, trim level, and region. Always consult your vehicle's factory service manual and verify part numbers before purchasing or performing repairs. Safety-critical components such as airbags, seat belts, and braking systems should be installed by a qualified professional.
- Volkswagen BEETLE:
- 🎬 Helpful Videos
- 🛍️ Shop This Part
- What's Unique About the 2018-2019 Volkswagen BEETLE
- Diagnostic Flowchart
- Symptoms You May Notice
- Most Likely Causes
- Rare But Worth Checking
- Diagnosis Steps
- Parts You'll Likely Need
- Related Codes That Often Appear With This One
- Platform-Specific Known Issues
- Mechanic-Grade Diagnostic Values
- Scan Tool Commands That Help
- Wiring & Ground Locations
- Real Owner Repair Stories
- OEM Part Supersession History
- 🎟️ Get 5% Off