

P0455 on 2011-2018 Chevrolet Volt: EVAP Gross Leak Causes and Fixes
For the 2011-2018 Chevy Volt, a P0455 code most often points to a faulty EVAP canister purge valve or a problem with the fuel filler area. A stuck-closed purge valve is a common GM-specific issue that registers as a large leak. A purge valve can cost between $25-$60 for an aftermarket part and is a relatively easy DIY replacement.
- P0455 on a Chevy Volt means a large leak has been detected in the sealed fuel vapor system.
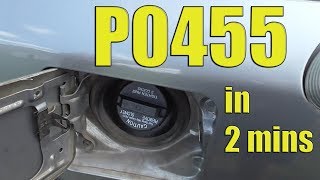
- Before buying any parts, check the fuel filler area. For 2011-2015 models, inspect the gas cap. For 2016-2018 models, inspect the capless filler's internal seal.
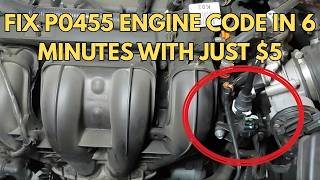
- The most common failed parts are the EVAP purge valve (in the engine bay) and the EVAP vent valve (under the car near the tank).
- A stuck-closed purge valve is a common GM issue that can set a P0455 code, even though it's not technically a 'leak'.
- If the problem isn't obvious, a smoke test is the best way to find the exact source of the leak.
What's Unique About the 2011-2018 Chevrolet VOLT
The Chevrolet Volt is a plug-in hybrid with a unique, pressurized fuel system to prevent vapor loss over long periods when the gasoline engine may not run. This makes the EVAP system components, particularly the seals and valves that maintain this pressure, critical. Unlike conventional cars where a loose gas cap is the number one cause, issues on the Volt are frequently traced to components like the purge valve or the specific fuel filler neck assembly. A stuck-closed purge valve can prevent the system from performing its vacuum test, which the ECM interprets as a large leak.
Diagnostic Flowchart
Tap your situation to follow the diagnostic path that matches what you're seeing on this vehicle.
Generation note: The 2011-2018 range covers two Volt generations. The 1st Generation (2011-2015) uses a traditional gas cap. The 2nd Generation (2016-2019) features a capless fuel filler system. This is a key difference in diagnosis, as a faulty capless filler door seal can cause this code on Gen 2 models, similar to how a bad gas cap would on a Gen 1.
Symptoms You May Notice
- Check Engine Light is on.
- A faint smell of gasoline, particularly around the rear of the vehicle (less common).
- Difficulty starting immediately after refueling (this can point specifically to a stuck-open purge valve).
- Remote start may be disabled.
- Message on dash to 'Tighten Fuel Cap' even after it has been checked (Gen 1).
- Replacing the gas cap on a Gen 2 (2016-2018) model, which does not have one.
- Replacing the charcoal canister when the actual fault is a less expensive cracked hose or a faulty vent valve attached to it.
- Immediately assuming a large physical leak is in a hose when a stuck-closed purge valve is a common cause on GM vehicles for this specific code, as it prevents the test from running correctly.
Most Likely Causes
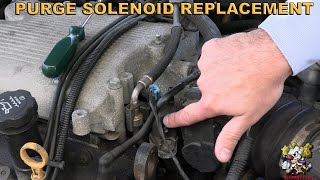
- Faulty EVAP Canister Purge Valve (Solenoid) 🔴 High Probability This valve controls the flow of fuel vapors to the engine. It can get stuck open or, more commonly for this code on GM vehicles, stuck closed. When stuck closed, it prevents the system from pulling a vacuum during its self-test. The computer misinterprets the inability to pull a vacuum as a massive leak. This is a very frequent failure point on GM vehicles of this era.
How to confirm: With the engine running, a scan tool can command the purge valve to open. If no vacuum is detected at the valve's inlet port (using a vacuum gauge) when commanded on, the valve is likely stuck closed. Alternatively, you can remove the valve and try to blow through it; it should be closed by default. Applying 12V to the terminals should make it click and open. If it's stuck open, you may have trouble starting after refueling.
Typical fix: Replace the canister purge valve. It is located in the engine bay and is an accessible, straightforward replacement held by one or two bolts.
Est. part cost: $25 - $60 - Loose or Faulty Gas Cap (Gen 1) / Faulty Capless Fuel Filler Neck (Gen 2) 🟡 Medium Probability On Gen 1 (2011-2015), a worn-out gas cap seal or a cap that isn't tightened until it clicks will cause a large leak. On Gen 2 (2016-2018), the spring-loaded door and its rubber seal in the capless filler neck can fail or get blocked by debris, preventing a proper seal.
How to confirm: For Gen 1, inspect the gas cap's rubber seal for cracks or damage and ensure it's tightened properly. For Gen 2, visually inspect the inner flap and seal of the capless filler for damage or debris preventing it from closing fully. Sometimes cleaning the seal with a rag is enough to fix the issue.
Typical fix: Replace the gas cap (Gen 1) or the entire fuel filler neck assembly (Gen 2). The Gen 2 filler neck replacement involves removing the rear driver's side wheel and liner for access.
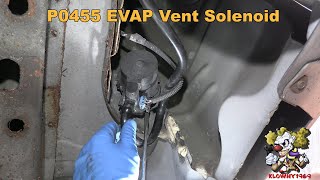
Est. part cost: $15 - $30 (Gas Cap), $80 - $150 (Filler Neck) - Faulty EVAP Canister Vent Valve (Solenoid) 🟡 Medium Probability This valve is normally open to allow air into the EVAP system and closes during system self-tests. Located near the charcoal canister under the car, it is exposed to road debris and moisture, which can cause it to corrode and stick open.
How to confirm: A scan tool can command the valve to close. If a smoke test is performed and smoke is seen exiting the vent valve when it's commanded shut, the valve has failed. You can also remove it and apply 12V to the terminals to see if it actuates; it should be open at rest and close when power is applied.
Typical fix: Replace the canister vent valve. This part is located near the EVAP canister, underneath the vehicle, often behind a plastic shield that must be removed.
Est. part cost: $20 - $50 - Cracked or Disconnected EVAP Hose/Line ⚪ Low Probability The plastic and rubber lines that carry fuel vapor can become brittle over time and crack. GM TSB #21-NA-124 specifically calls out checking all seven critical EVAP line connections for being unseated or damaged, as this is a common source of leaks.
How to confirm: A visual inspection may reveal an obvious break or disconnection. However, the most effective method is to use a smoke machine, which fills the EVAP system with a visible vapor to pinpoint the exact location of the leak.
Typical fix: Replace the damaged section of hose or reconnect the line.
Est. part cost: $10 - $40
Rare But Worth Checking
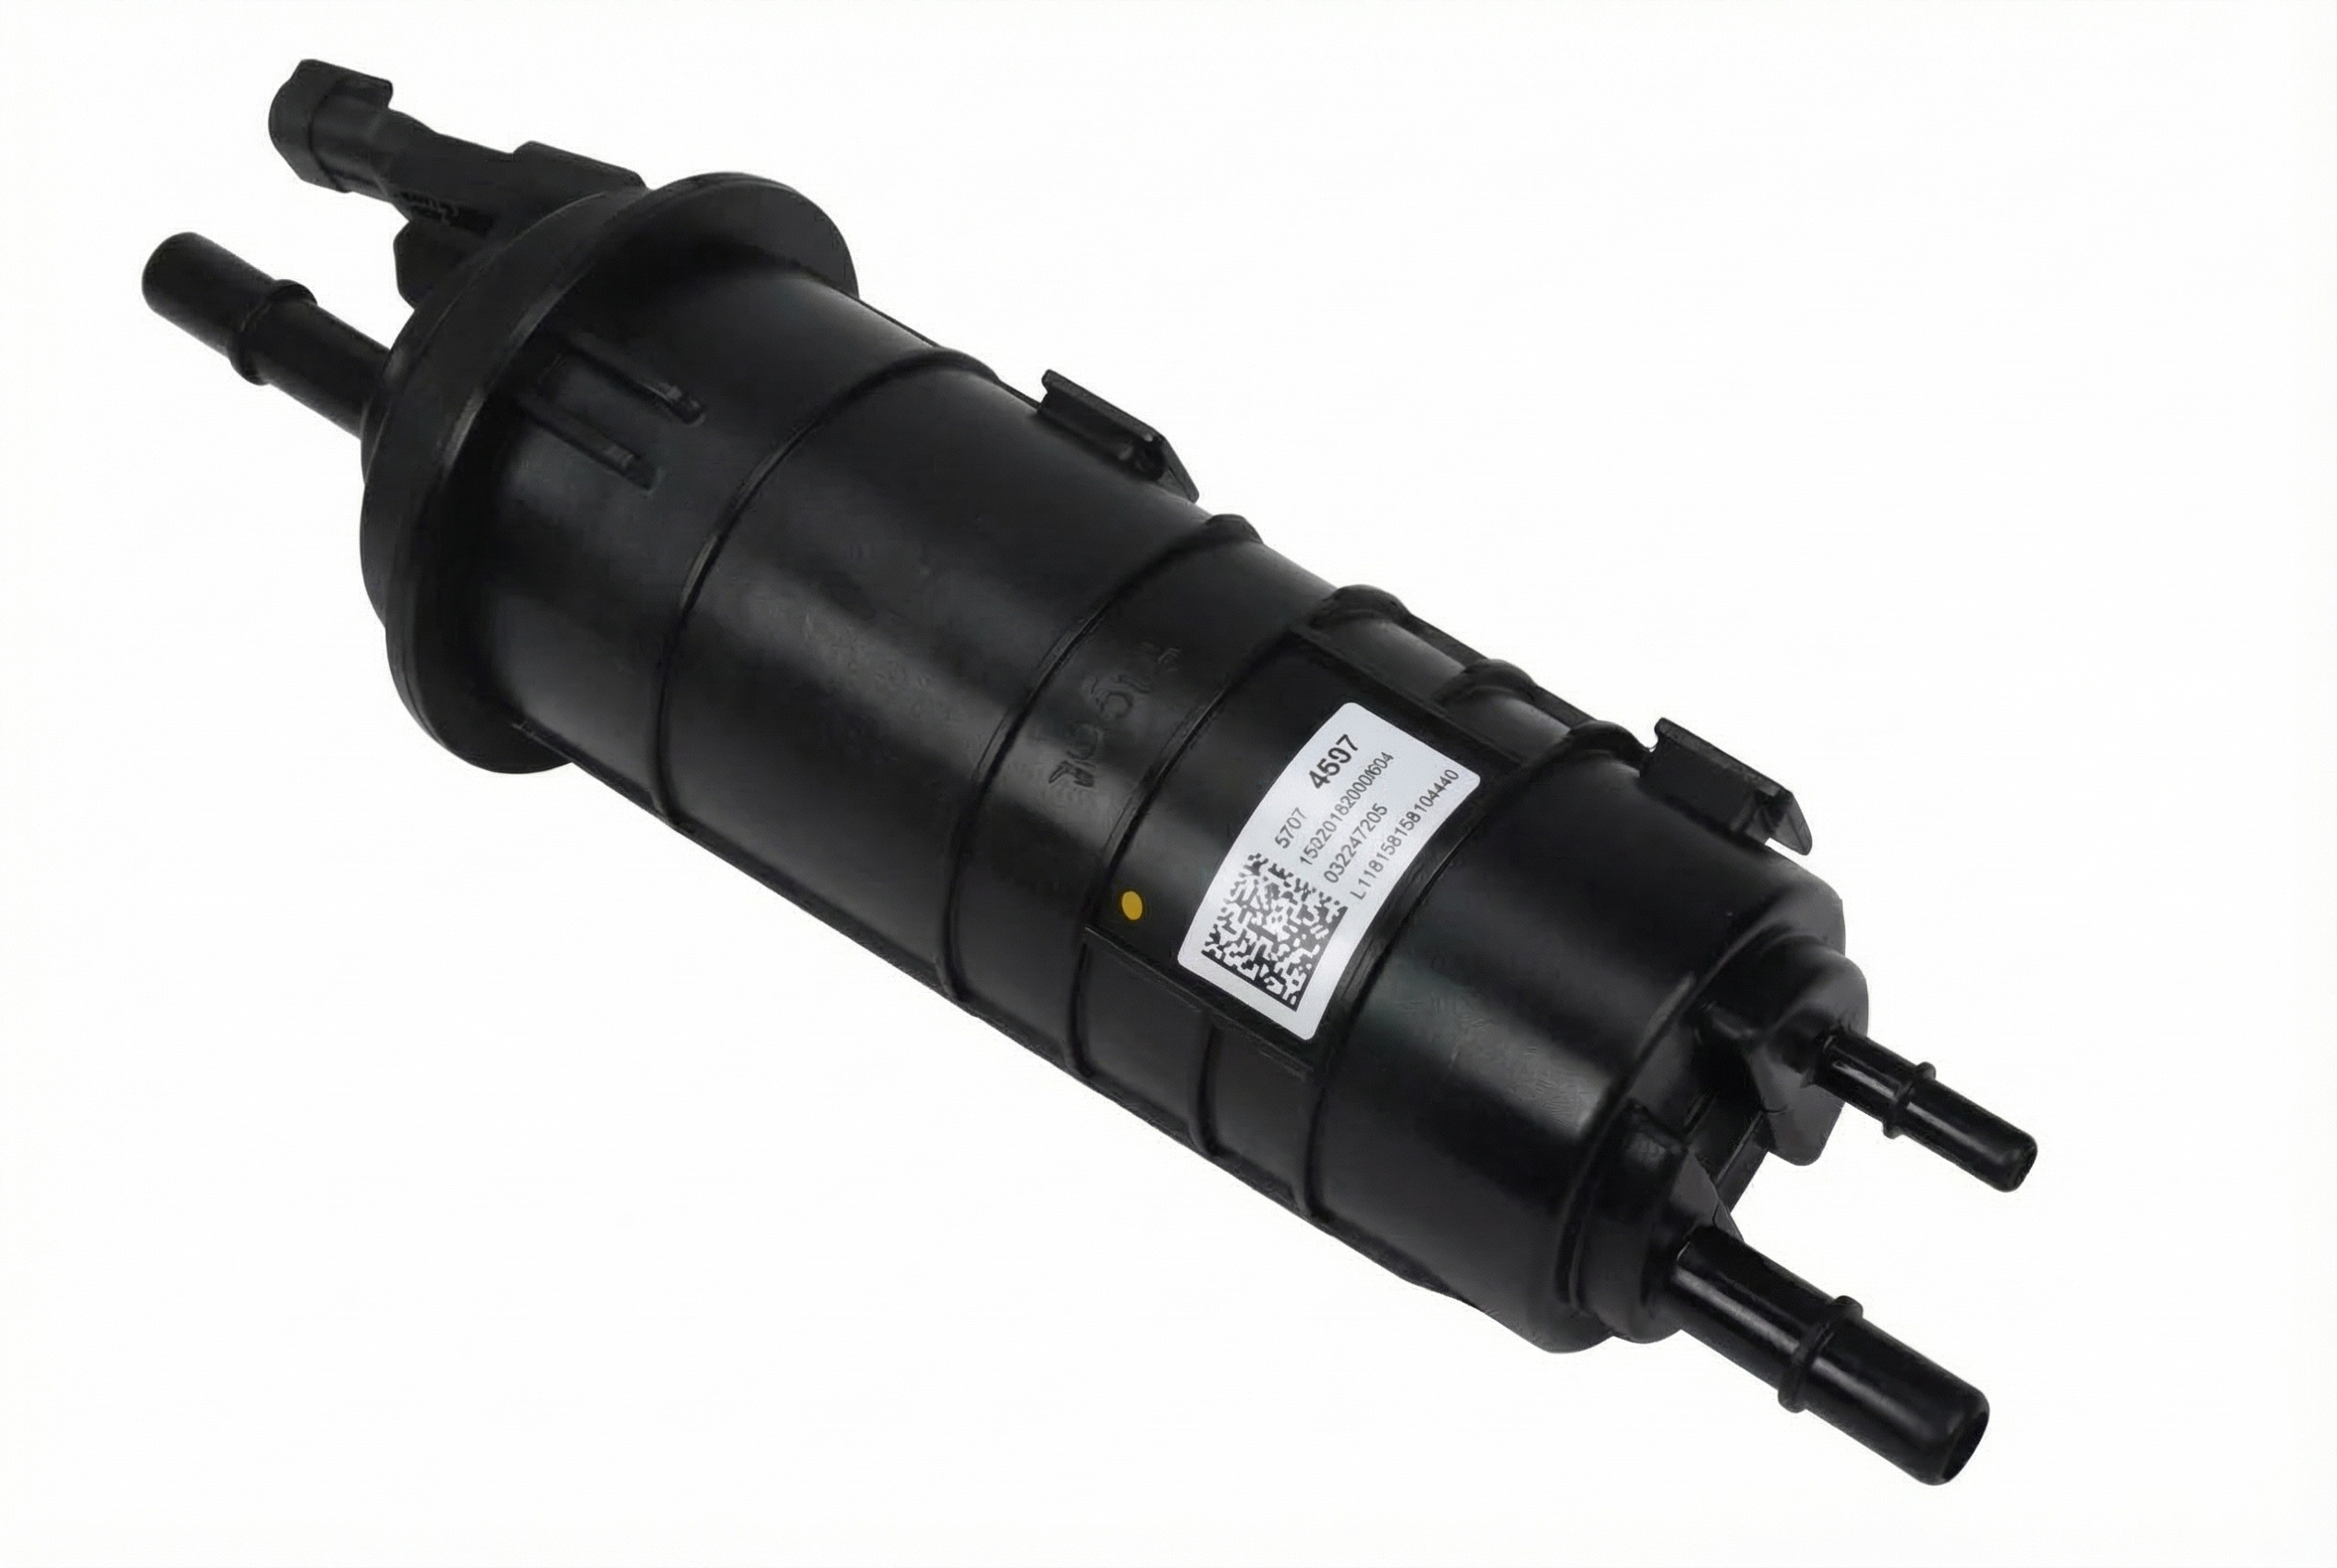
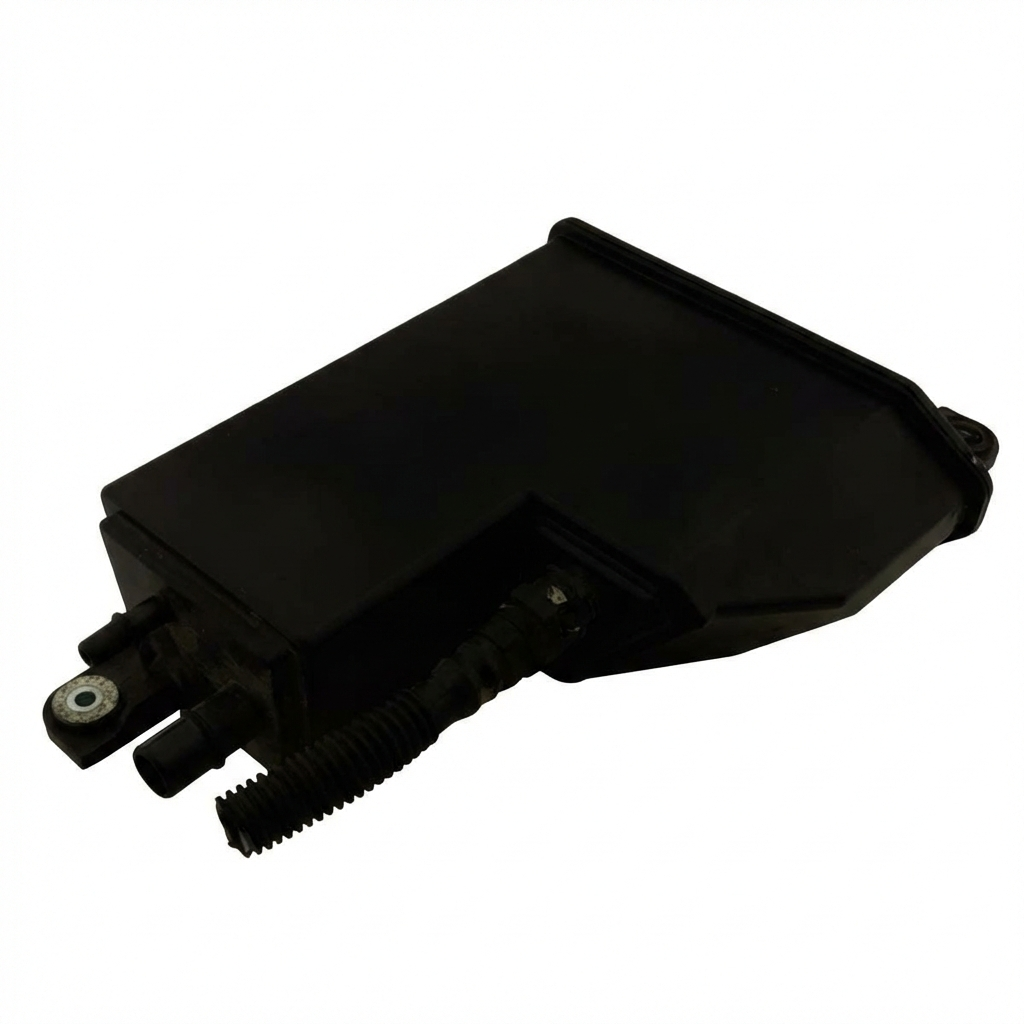
- Cracked Charcoal Canister: The plastic housing of the charcoal canister can develop cracks from age or impact from road debris, creating a large leak. This is usually found during a smoke test.
- Faulty Fuel Tank Pressure Sensor: A faulty sensor can send incorrect readings to the ECM, making it think there is a leak when there isn't one. This is less common and usually accompanied by other sensor-specific codes, but it can cause the P0455 code if it fails to detect a vacuum being pulled during the EVAP test.
Diagnosis Steps
- Check the Fuel Filler Area: For Gen 1 (2011-2015), inspect the gas cap for damage and ensure it is tightened until it clicks. For Gen 2 (2016-2018), inspect the capless filler neck's internal door and seal for debris or damage. Clean the seal with a cloth.
- Scan for Other Codes: Use an OBD-II scanner to check for any other pending or active codes. A P0496 strongly suggests a bad purge valve.
- Test the Purge Valve: Locate the EVAP purge valve in the engine bay. With the engine off, remove the valve and try to blow through it. It should be closed. If you can blow through it, it's stuck open and needs replacement. If it's closed, you can apply 12V and ground to its pins; it should click and open. If it doesn't, it's faulty.
- Inspect the Vent Valve: Locate the EVAP vent valve near the charcoal canister under the rear of the vehicle. Check its wiring and look for physical damage or corrosion. It is normally open and should close when 12V is applied.
- Visual Inspection of Hoses: Following the guidance of TSB 21-NA-124, visually inspect all accessible EVAP hoses and their connection points, especially between the engine, canister, and fuel tank for obvious cracks, disconnections, or brittleness.
- Perform a Smoke Test: If the cause is not obvious, the most definitive diagnostic step is to introduce smoke into the EVAP system using a specialized machine. The smoke will exit from the point of the leak, making it easy to identify. Command the vent valve closed with a scan tool during the test to ensure it's not the source of the leak.
Parts You'll Likely Need
- EVAP Canister Purge Valve / Solenoid
(OEM #12690512 (Supersedes older numbers like 12632174))— A very common failure point on GM vehicles that can cause a P0455 code by being stuck closed, preventing the EVAP test from running correctly.
Trusted brands: ACDelco, GM Genuine, Dorman
OEM price range: $40-$75
Aftermarket price range: $25-$60 - Gas Cap (2011-2015)
(OEM #GT333 (ACDelco))— The seal on the gas cap wears out over time, creating a leak. It's an inexpensive and simple first step for Gen 1 Volts.
Trusted brands: ACDelco, Stant, Gates
OEM price range: $20-$35
Aftermarket price range: $15-$25 - Fuel Filler Neck (2016-2018)
(OEM #23380321)— The internal seal of the capless system can fail or get damaged, requiring the replacement of the entire filler neck assembly to fix the leak.
Trusted brands: ACDelco, GM Genuine
OEM price range: $120-$180
Aftermarket price range: $80-$150 - EVAP Canister Vent Valve / Solenoid
Related Codes That Often Appear With This One
- P0442 — This code indicates a small EVAP leak. It can appear alongside P0455 if the system has multiple leaks of different sizes or if a component is failing intermittently. TSB #21-NA-124 covers diagnostics for both codes.
- P0496 — This code indicates 'EVAP Flow During a Non-Purge Condition,' which almost always points directly to a faulty EVAP purge valve that is stuck open or leaking. If you see this with P0455, the purge valve is the prime suspect.
Technical Service Bulletins (TSBs) & Recalls
- TSB #21-NA-124: Diagnostic Tip for Malfunction Indicator Lamp (MIL) Illuminated - DTC P0442 and/or P0455 Set: This bulletin provides diagnostic tips for P0442 (small leak) and P0455 (large leak). It states that for a P0455, the cause can be a large physical leak OR a blockage. It recommends a specific diagnostic order: 1. Check all EVAP line connections are seated. 2. Check for damaged lines. 3. Test the vent valve for being stuck open. 4. Test the purge valve for being stuck closed.
Platform-Specific Known Issues
- The pressurized fuel tank on the Volt makes a perfect seal absolutely critical. The system runs self-checks that may be delayed if the gasoline engine is not used frequently, so the light may appear long after the fault began.
- GM issued Technical Service Bulletin #21-NA-124, which provides diagnostic tips for finding EVAP leaks that cause P0442 and P0455, highlighting the importance of checking all tube connections. [12, ⭐]
Mechanic-Grade Diagnostic Values
- Fuel Tank Pressure (FTP) Sensor Voltage — expected: 1.3V - 1.7V with the gas cap off (at atmospheric pressure).. Failure: A voltage reading stuck high (e.g., ~4.8V) or low (near 0V) indicates a faulty sensor or wiring issue.
- EVAP Purge or Vent Solenoid Coil Resistance — expected: Approximately 15 - 30 Ohms.. Failure: A reading of infinite resistance (Open Loop) or very low resistance (short) indicates a failed solenoid coil.
Scan Tool Commands That Help
- GM GDS2 / Tech2: EVAP Service Bay Test — This is a guided, dealer-level test to force the EVAP monitor to run in the service bay, verifying system integrity without a lengthy drive cycle. It commands the valves and monitors the FTP sensor to confirm the system can hold a vacuum.
- GM GDS2 / Tech2: EVAP Purge and Seal — Used to verify a repair. This function commands the purge valve to pull a vacuum on the system and then commands the vent valve to close ('seal'). The scan tool then displays if the vacuum holds, confirming the leak is fixed.
Wiring & Ground Locations
- Instrument Panel Fuse F6 — Located in the instrument panel fuse block inside the vehicle.. This fuse provides power for the 'Fuel (Diurnal Valve and Evap. Leak Check Module)' on the 2014 Volt. A blown fuse here would disable EVAP components, potentially leading to a failed system test.
Real Owner Repair Stories
- Synthesized from multiple owner forums and reviews (2012 Chevrolet Volt (Gen 1)) — Check Engine Light with code P0455. Remote start disabled.
❌ Tried (didn't work) Initially replaced the gas cap with a new ACDelco one, but the code returned after a week.
✅ What actually fixed it The EVAP Canister Purge Valve (solenoid) in the engine bay was faulty. The valve was physically tested and found to be stuck closed; it would not open when 12V was applied. Replacing the purge valve and clearing the code resolved the issue permanently.
"I Checked Everything" — The Actual Cause
- A common scenario for P0455 on GM vehicles is passing a smoke test but still having the code return. The cause is often a faulty EVAP purge valve that is stuck in the closed position. A smoke test will not reveal this fault because the closed valve properly seals that part of the system, showing no physical leak. However, during the onboard diagnostic test, the ECM commands this valve to open to draw a vacuum on the tank. When it fails to open, no vacuum is generated, and the ECM interprets this functional failure as a 'gross leak', setting the P0455 code.
When the Usual Fixes Don't Work
- While replacing the gas cap is the most common advice for P0455 on standard vehicles, on the Chevrolet Volt (and similar GM platforms), it is critical not to stop there if the code returns. A significant number of P0455 codes on these vehicles are caused by a functionally failed (stuck-closed) purge valve, not a physical leak from the cap or hoses. This is supported by TSB #21-NA-124, which provides diagnostic steps beyond a simple cap check. Technicians and DIYers should be prepared to test the purge valve's operation even if a smoke test comes back clean.
OEM Part Supersession History
12610560, 12661763, 12690512→12737252— Standard part evolution for improved reliability or manufacturing changes.
Heads up: These part numbers are generally interchangeable for the specified applications, with the latest number being the recommended service part.20910150, 22891981→23294932— Part consolidation and updates for the Gen 1 vapor canister.
Heads up: This part is for Gen 1 (2011-2015) Volts only and is not compatible with Gen 2 models.
Model Year Variations Within This Range
- 2011-2015 (Gen 1): Uses a conventional, replaceable gas cap (ACDelco GT333). Diagnosis should always start with inspecting and tightening this cap. Uses vapor canister part number 23294932.
- 2016-2018 (Gen 2): Features a capless fuel filler system. Diagnosis should focus on the integrity of the spring-loaded door and its seal inside the filler neck. These models are also subject to recall N192273600 for a chafing EVAP pipe that can cause leaks. They use a different, non-interchangeable vapor canister than Gen 1 models.
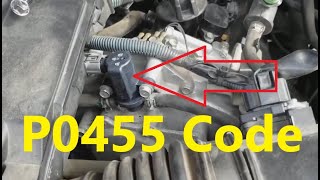
Helpful Videos


Used OEM Parts in Stock
New Aftermarket Parts Available




The information in this article is provided for general reference and educational purposes only. Vehicle specifications, procedures, and part compatibility can vary by production date, trim level, and region. Always consult your vehicle's factory service manual and verify part numbers before purchasing or performing repairs. Safety-critical components such as airbags, seat belts, and braking systems should be installed by a qualified professional.
- Chevrolet VOLT:
- 🎬 Helpful Videos
- 🛍️ Shop This Part
- What's Unique About the 2011-2018 Chevrolet VOLT
- Diagnostic Flowchart
- Symptoms You May Notice
- Most Likely Causes
- Rare But Worth Checking
- Diagnosis Steps
- Parts You'll Likely Need
- Related Codes That Often Appear With This One
- Technical Service Bulletins (TSBs) & Recalls
- Platform-Specific Known Issues
- Mechanic-Grade Diagnostic Values
- Scan Tool Commands That Help
- Wiring & Ground Locations
- Real Owner Repair Stories
- "I Checked Everything" — The Actual Cause
- When the Usual Fixes Don't Work
- OEM Part Supersession History
- Model Year Variations Within This Range
- 🎟️ Get 5% Off