

P0449 on 2011-2015 GMC Sierra 2500: EVAP Vent Solenoid Circuit Causes and Fixes
For a 2011-2015 GMC Sierra 2500, the P0449 code almost always points to a failed EVAP canister vent solenoid located near the fuel tank. Replacing this part is a common DIY fix, with the part costing between $40 and $140. Corrosion in the wiring connector is the second most likely cause.
- P0449 on your Sierra 2500 almost always means the EVAP vent solenoid under the truck has failed.
- Before buying parts, visually inspect the wiring and connector near the spare tire for corrosion or damage, as this is the second most likely cause.
- If your truck is also difficult to fill with gas, it's a very strong sign the vent solenoid is the culprit.
- Do not confuse the vent solenoid (by the tank) with the purge solenoid (in the engine bay). P0449 points to the vent solenoid.
- This is a highly DIY-friendly repair that can be completed in about an hour with basic tools.
What's Unique About the 2011-2015 Gmc SIERRA 2500

On this generation of GMC Sierra HD trucks, the P0449 code is an extremely common issue. The EVAP vent solenoid is mounted under the truck by the spare tire, exposing it to road grime, moisture, and physical damage. This harsh environment leads to frequent failure of the solenoid itself or the wiring connected to it. A GM Technical Service Bulletin (TSB) specifically notes that dust and water intrusion into the valve is a primary cause of failure. While the code is for an electrical circuit fault, the root cause is often a mechanical failure of the solenoid from this contamination. The TSB also acknowledges that this code is frequently accompanied by difficulty filling the fuel tank. [⭐ MANUFACTURER TSB — highest authority] Bulletin #15-06-04-002
Diagnostic Flowchart
Tap your situation to follow the diagnostic path that matches what you're seeing on this vehicle.
Generation note: The 2011-2015 year range covers two generations of the GMC Sierra 2500 HD. The 2011-2014 models are part of the second generation (GMT900), while the 2015 model year marks the beginning of the third generation. However, for this specific P0449 fault, the primary cause, location of the part, and the replacement part itself are consistent across both generations within this range.
Symptoms You May Notice
- Check Engine Light is on
- Difficulty filling the fuel tank (gas pump clicks off repeatedly) [⭐ MANUFACTURER TSB — highest authority] Bulletin #15-06-04-002. This happens because the vent valve is stuck closed, preventing air and vapor from escaping the tank as fuel enters.
- Slight fuel odor near the rear of the truck
- Audible buzzing or clicking from the solenoid area after turning the truck off (less common)
- Replacing the gas cap. A faulty gas cap typically causes a leak code (like P0455 or P0442), not a circuit malfunction code like P0449.
- Replacing the EVAP Purge Solenoid/Valve. The P0449 code specifically refers to the vent solenoid circuit (located near the fuel tank), not the purge solenoid, which is located in the engine bay.
Most Likely Causes

- Faulty EVAP Canister Vent Solenoid 🔴 High Probability The solenoid is located under the truck near the spare tire, where it is exposed to road debris, water, and salt. TSB #15-06-04-002 confirms that dust and water intrusion cause the valve to fail, leading to the P0449 circuit code.
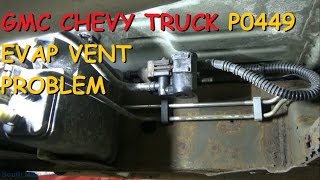
How to confirm: Locate the solenoid on the driver's side frame rail near the fuel tank. Use a capable scan tool to command the solenoid on and off while listening for an audible click. If it doesn't click, or if applying 12V and ground directly 🎬 Watch: How to test the solenoid with a power source to the solenoid terminals doesn't actuate it, the solenoid has failed. A functional solenoid should have a resistance between 14-30 ohms.
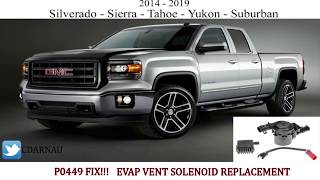
Typical fix: Replace the EVAP canister vent solenoid assembly. This is a plug-and-play part held by one or two bolts. 🎬 See this step-by-step vent solenoid replacement walkthrough Many owners complete this repair in under an hour.
Est. part cost: $40-$140 - Damaged Wiring or Corroded Connector 🟡 Medium Probability The wiring harness leading to the vent solenoid is in an exposed location. Corrosion is extremely common, especially in northern climates. The connector pins can develop green or white oxidation, and the wires can break internally right at the back of the connector, often inside the insulation where it isn't visible.
How to confirm: Visually inspect the wiring harness for cuts or abrasions. Unplug the connector and check for corrosion on the pins. Pay close attention to the white control wire, as it is a common point of failure. Gently tug on the wires at the connector to ensure they are not broken inside the insulation. If the code returns immediately after clearing, it often points to a wiring issue.
Typical fix: If corrosion is found, clean the connector terminals with contact cleaner and apply dielectric grease. If a wire is broken, repair the circuit. If the connector itself is damaged, it can be replaced with a new pigtail connector, such as ACDelco PT2160.
Est. part cost: $15-$40 for a pigtail connector - Blown Fuse ⚪ Low Probability
How to confirm: Check the owner's manual to identify the fuse related to the EVAP system (often labeled 'EMISSIONS' or 'EVAP' in the underhood fuse box). Visually inspect the fuse and test for continuity with a multimeter.
Typical fix: Replace the blown fuse. If the fuse blows again immediately, it indicates a short circuit in the EVAP vent solenoid or its wiring that must be diagnosed.
Est. part cost: $1-$5
Rare But Worth Checking
- Clogged or Damaged Charcoal Canister: While less common for a P0449 circuit code, a physically damaged or internally clogged charcoal canister can sometimes contribute to vent valve problems. This is more often associated with performance codes like P0446, but a blockage could potentially stress the solenoid.
- Faulty Engine Control Module (ECM): This is extremely rare. The ECM's internal driver for the vent solenoid circuit can fail, but this should only be considered after all other possibilities, including the solenoid and the entire wiring harness, have been definitively ruled out.
Diagnosis Steps

- Read the code with an OBD-II scanner to confirm P0449 is present.
- Check the fuse for the EVAP system in the underhood fuse box (often labeled 'EMISSIONS'). Replace if blown.
- Locate the EVAP vent solenoid under the truck, typically on the driver's side frame rail near the spare tire.
- Visually inspect the solenoid, its connector, and the wiring harness for any obvious signs of damage, corrosion (green crust), or loose connections.
- With the ignition on, use a multimeter to verify that the power wire in the connector (usually red or pink/black) has 12 volts.
- Use a capable scan tool to command the vent solenoid to close (energize). Listen for an audible 'click' from the solenoid.
- If no click is heard, disconnect the solenoid. Apply 12 volts and a ground directly to the solenoid's pins to see if it actuates. If it does not, the solenoid is faulty and needs to be replaced.
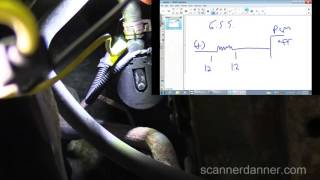
- If the solenoid clicks with direct power but not with the scan tool command, the issue is in the wiring. Check the control wire (usually white) for continuity back to the ECM. A common failure is a break in this wire near the connector. 🎬 Watch: How to diagnose and repair common wiring circuit faults
- If the solenoid and wiring are good, the problem may be with the ECM, but this is highly unlikely.
Parts You'll Likely Need

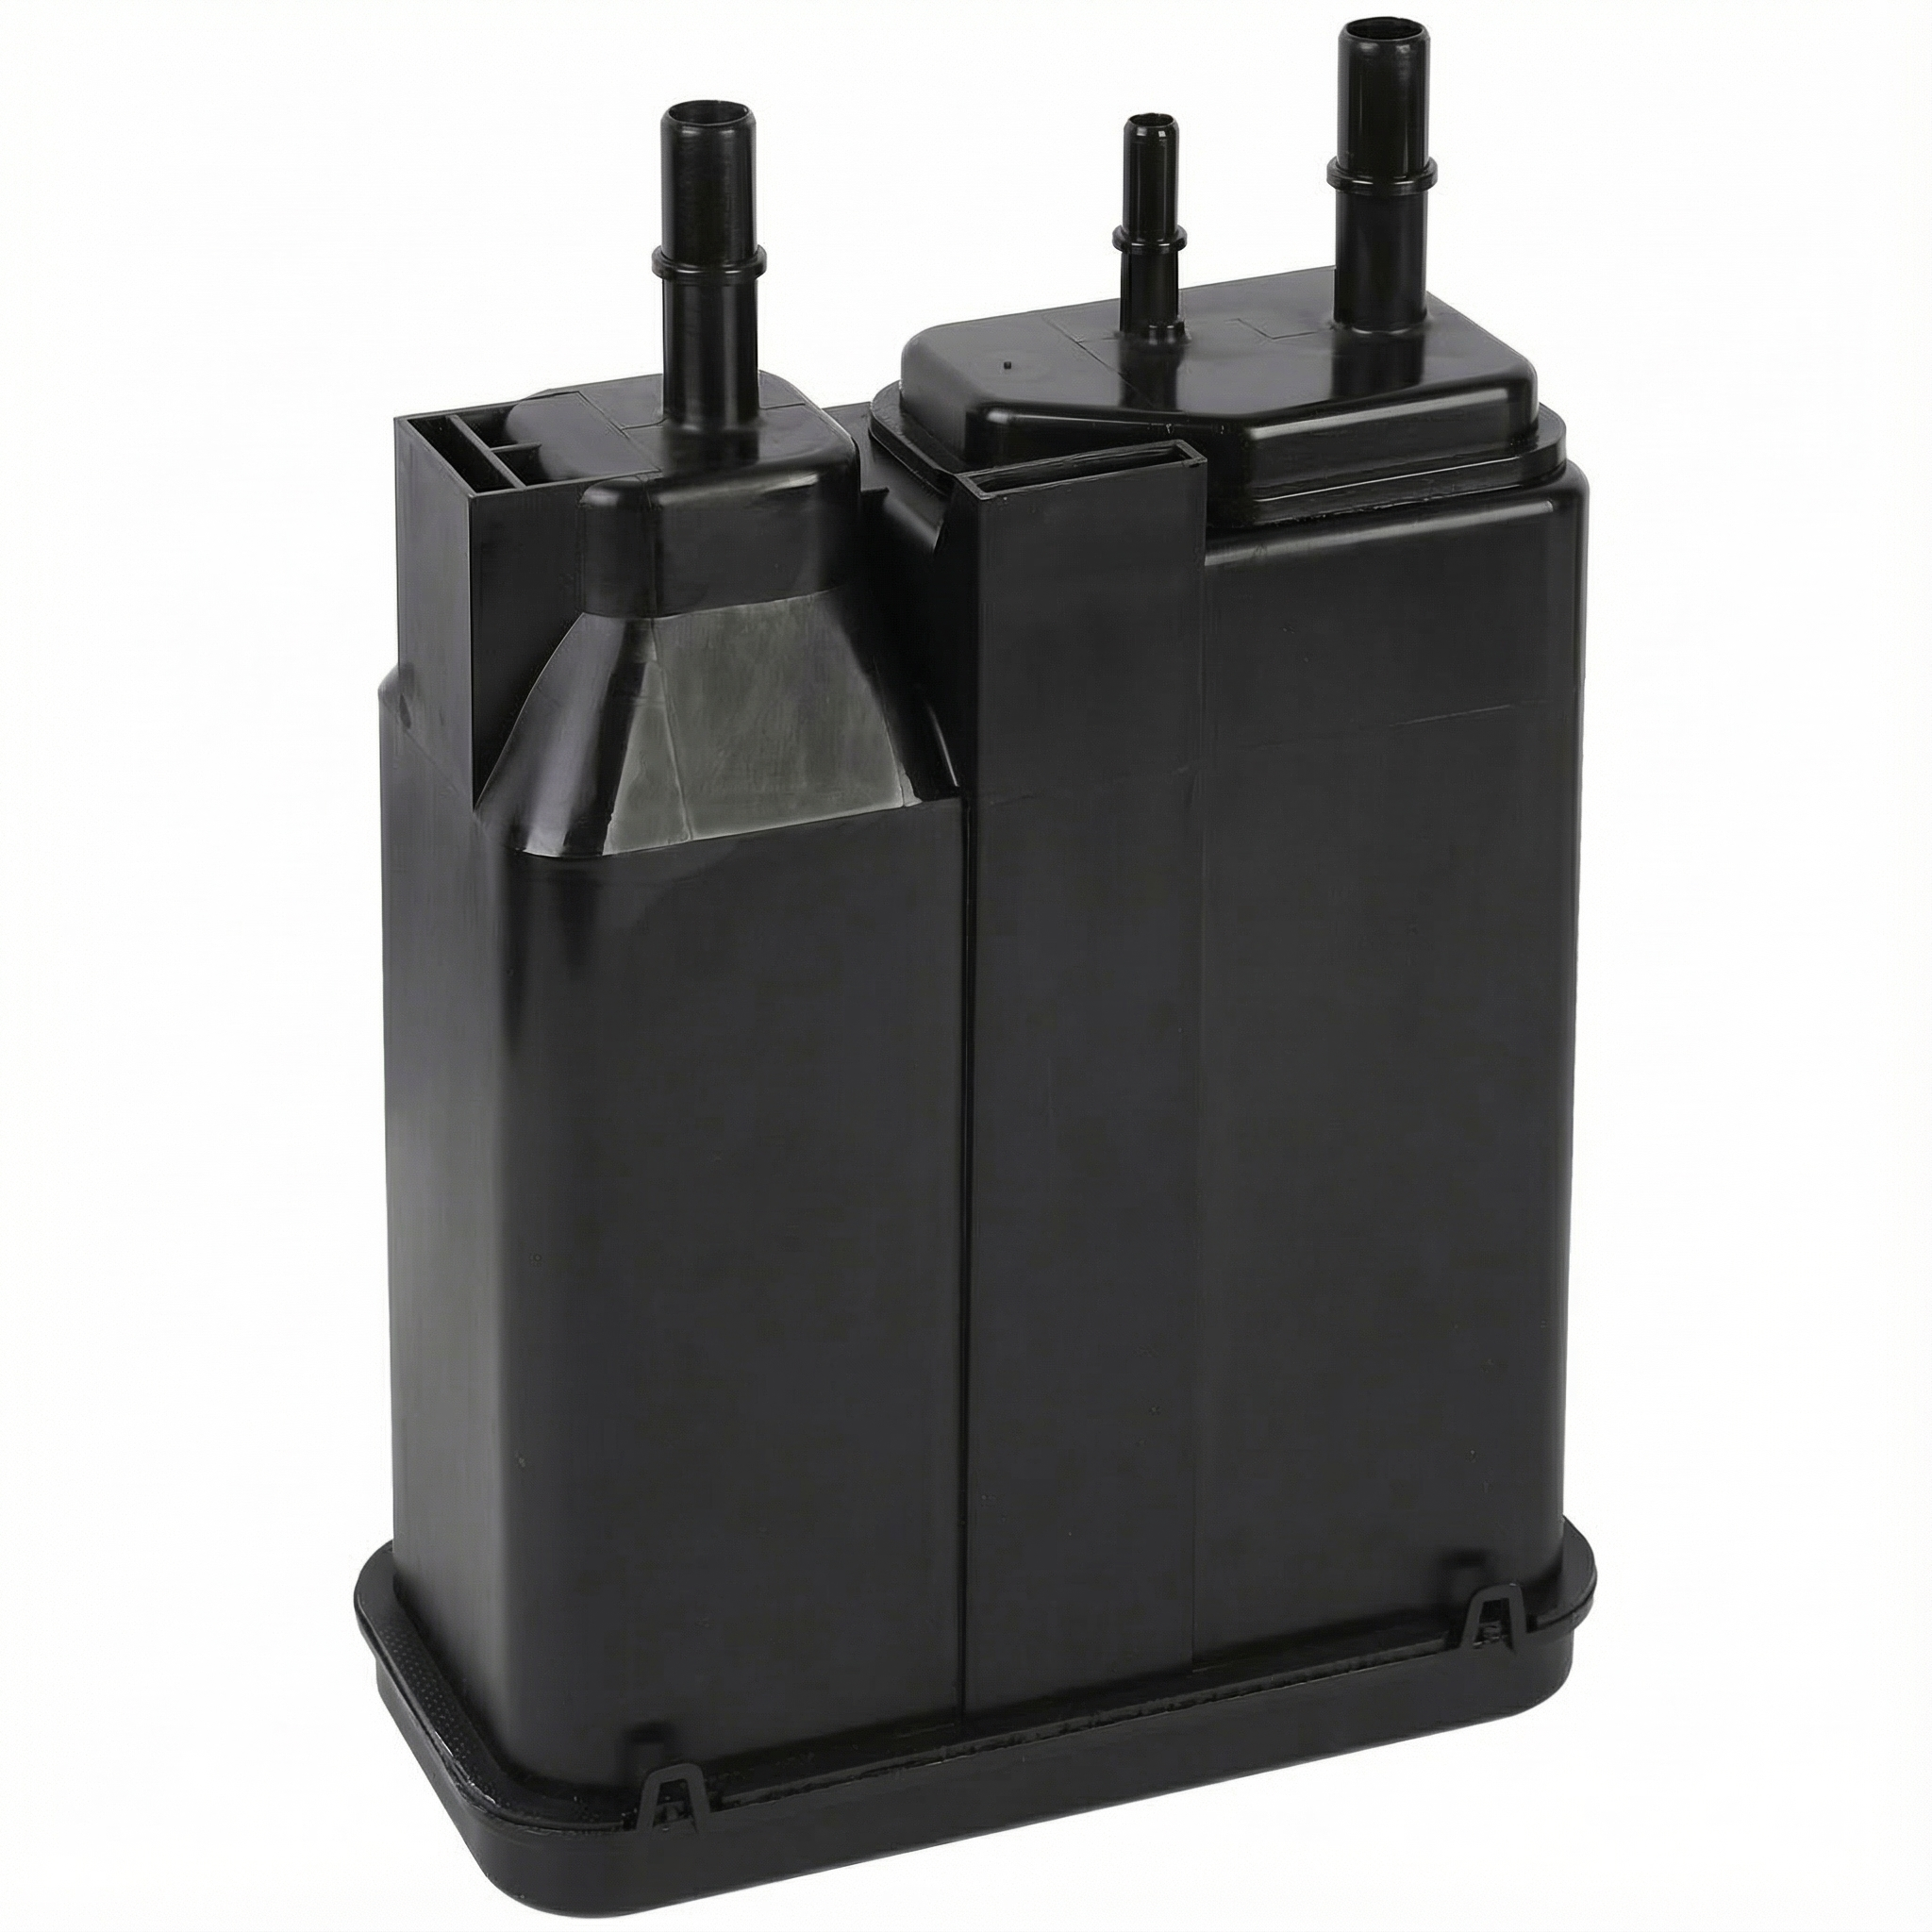
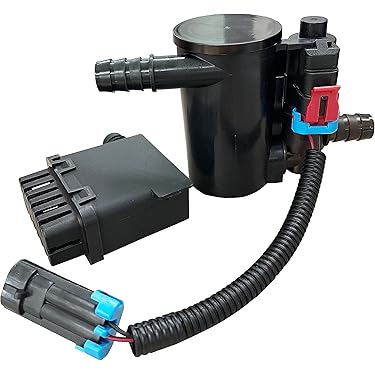
- EVAP Canister Vent Solenoid
(OEM #23481275 (Supersedes 20995472, 25962085))— This is the most common failure point for the P0449 code on this platform due to its exposed location, leading to internal corrosion and electrical failure from dust and water.
Trusted brands: ACDelco (OEM), Dorman (911-099)
OEM price range: $60-$110
Aftermarket price range: $40-$140 - EVAP Vent Solenoid Connector Pigtail
(OEM #ACDelco PT2160)— If the electrical connector is heavily corroded or the wires are broken flush with the connector, replacing the pigtail is the most reliable repair.
Trusted brands: ACDelco, Dorman
OEM price range: $20-$40
Aftermarket price range: $15-$30
Related Codes That Often Appear With This One
- P0446 — This code indicates a restriction in the vent system. A vent solenoid that is stuck closed due to debris or internal failure can cause both a circuit fault (P0449) and a vent performance issue (P0446).
- P0455 — This code indicates a large EVAP leak. If the vent solenoid is stuck open due to an electrical or mechanical fault, the system will fail its pressure test and register a large leak.
Technical Service Bulletins (TSBs) & Recalls
- 15-06-04-002: Addresses customer concern of Malfunction Indicator Lamp (MIL) illuminated, fuel tank hard to fill, and DTCs P0442, P0446, P0455 or P0449 set. It identifies the cause as dust/water intrusion into the EVAP canister vent solenoid and recommends replacement with a revised part.
Platform-Specific Known Issues
- A known issue documented in TSB #15-06-04-002 involves the P0449 code appearing along with customer complaints of the fuel tank being hard to fill. This is directly caused by a malfunctioning vent solenoid that cannot properly vent tank pressure during refueling. The TSB recommends replacing the original valve with a revised design that has improved filtering to prevent dust intrusion.
- Owner forums are filled with stories of this exact issue. A common repair story involves first replacing the solenoid, which fixes the problem for most. If the code returns, the next step is almost always repairing a corroded wire at the connector, which permanently solves the issue.
Mechanic-Grade Diagnostic Values
- EVAP Vent Solenoid Coil Resistance — expected: 14 to 30 Ohms. Failure: Infinite resistance (open circuit) or near-zero resistance (short circuit) indicates a failed solenoid.
- Voltage at Solenoid Connector - Power Wire (Key On) — expected: 12V+ on the power wire (typically Red or Pink/Black).. Failure: 0V indicates a blown fuse (e.g., 'EMISSIONS' fuse) or an open in the power wire from the fuse block.
- Voltage at Solenoid Connector - Control Wire (Key On, Commanded OFF) — expected: Should read 12V+ (or close to battery voltage).. Failure: The ECM sends a low-amperage test voltage through the circuit. When the circuit is open (e.g., broken wire, unplugged), you will see battery voltage on the control side. This is normal for an open circuit test.
- Voltage at Solenoid Connector - Control Wire (Commanded ON) — expected: Should drop to near 0V.. Failure: If voltage remains high (e.g., > 1V), it indicates the ECM is not providing a ground. This could be due to a broken control wire (usually white) between the connector and the ECM, or a poor frame ground (like G403).
Scan Tool Commands That Help
- GDS2 (GM Dealer Tool) / Pro-level Bidirectional Scanner: Output Controls -> EVAP System -> Vent Solenoid Valve — This is the definitive test to verify the integrity of the control circuit. A technician can command the solenoid ON and OFF while monitoring voltage on the control wire. If the command is sent but the solenoid doesn't click and the voltage doesn't drop to ground, it confirms the fault is in the wiring or the solenoid itself, not the ECM's logic.
Wiring & Ground Locations
- Underhood Fuse Block (UBEC) — Engine bay, typically on the driver's side.. This is the source of 12V power for the EVAP vent solenoid. The fuse is often labeled 'EMISSIONS' or 'EVAP' and should be the first electrical check.
- EVAP Vent Solenoid Connector — Under the truck on the driver's side frame rail, near the spare tire/charcoal canister.. This is the primary point of failure due to corrosion and wire fatigue. The power wire (often Red or Pink/Black) receives 12V, and the control wire (often White) is ground-side switched by the ECM.
- G403 (or similar frame ground) — On the driver's side frame rail, sometimes near a body mount or below the driver's door area.. Multiple components, including those related to the ECM, use this as a ground point. Corrosion at this single bolt can cause high resistance in the ground path, leading to intermittent and confusing electrical issues, including a P0449 code, even if the wiring at the solenoid appears intact.
Real Owner Repair Stories
- YouTube channel 'All Things Mechanical' (2018 Chevrolet Silverado 1500 (similar platform and common issue)) — P0449 Check Engine Light returned one year after replacing the vent solenoid.
❌ Tried (didn't work) The owner suspected the 1-year-old OEM replacement solenoid might have failed again.
✅ What actually fixed it A broken ground wire right at the connector. The wire had corroded green inside the insulation and eventually broke completely. The fix was to cut off the old connector and splice in a new pigtail (ACDelco PT2160). - Forum discussions and diagnostic videos (Various GM Trucks (Silverado/Sierra)) — P0449 code returns intermittently, especially after driving in wet conditions.
❌ Tried (didn't work) Replacing the EVAP vent solenoid (sometimes multiple times)., Replacing the connector pigtail.
✅ What actually fixed it The main frame ground (often G403) located on the driver's side frame rail was found to be heavily corroded. Removing the bolt, cleaning the frame, the wire terminal, and the bolt head to bare metal, and reassembling with dielectric grease resolved the high-resistance ground path that was preventing the ECM from properly controlling the solenoid circuit.
OEM Part Supersession History
20995472, 25962085→23481275— The original design was prone to failure from dust and water intrusion. The updated part (23481275) is a revised design with improved filtering and sealing to increase longevity, as referenced in TSB 15-06-04-002.
Heads up: Some applications using the newest part may also require an updated wiring harness connector if the original is a different style.
Model Year Variations Within This Range
- 2011-2015: While the fundamental cause and repair are consistent, wire colors in the harness may vary slightly by model year. However, the function of the two pins (12V+ power and ECM-controlled ground) remains the same. Always verify function with a multimeter rather than relying solely on color.
Helpful Videos

Used OEM Parts in Stock
New Aftermarket Parts Available


The information in this article is provided for general reference and educational purposes only. Vehicle specifications, procedures, and part compatibility can vary by production date, trim level, and region. Always consult your vehicle's factory service manual and verify part numbers before purchasing or performing repairs. Safety-critical components such as airbags, seat belts, and braking systems should be installed by a qualified professional.
- Gmc SIERRA 2500:
- 🎬 Helpful Videos
- 🛍️ Shop This Part
- What's Unique About the 2011-2015 Gmc SIERRA 2500
- Diagnostic Flowchart
- Symptoms You May Notice
- Most Likely Causes
- Rare But Worth Checking
- Diagnosis Steps
- Parts You'll Likely Need
- Related Codes That Often Appear With This One
- Technical Service Bulletins (TSBs) & Recalls
- Platform-Specific Known Issues
- Mechanic-Grade Diagnostic Values
- Scan Tool Commands That Help
- Wiring & Ground Locations
- Real Owner Repair Stories
- OEM Part Supersession History
- Model Year Variations Within This Range
- 🎟️ Get 5% Off